How to automatically save health checkup data read by OCR into Microsoft Excel by integrating OCR with Microsoft Excel
How to Utilize AI Operations
・
2024/11/18
How to automatically save health checkup data read by OCR into Microsoft Excel by integrating OCR with Microsoft Excel
s.miyamoto
Are you spending too much time managing employee health check-up data? The integration of AI's OCR technology with Microsoft Excel might help streamline your data management. For example, manual data entry carries the risk of human error, but automation through app integration significantly reduces these risks. This article explains in detail how to achieve this automation without programming and the benefits it offers. Please take a look.
Recommended for
・HR personnel considering efficiency improvements due to spending a lot of time on health check-up result entry tasks ・Managers analyzing health check-up data to manage employee health status ・Administrative staff aiming to improve accuracy due to frequent human errors in manual data entry ・Head office personnel wanting to efficiently analyze and report by centrally managing multi-location employee data
Benefits and Examples of AI OCR and Microsoft Excel Integration
By integrating AI's OCR technology with Microsoft Excel, you can automate the manual entry of health check-up forms. For instance, a company processing 100 health check-up forms per month could save over 8 hours of work time monthly if each form required 5 minutes of manual entry. This reduces the burden on HR and other document organization staff, allowing them to focus on other important tasks.
Benefit 2: Reducing Human Error
Manual data entry poses risks of input errors and oversights. AI's OCR technology automatically reads the text and numbers from health check-up forms and inputs them into Microsoft Excel, reducing errors. For example, incorrect data recorded while managing employee health status could lead to missing significant health risks. Utilizing app integration enables reliable data and health management, improving efficiency for managers and administrative staff.
Benefit 3: Streamlining Diagnostic Data Analysis
Quickly reflecting necessary information from health check-up forms into a database can streamline data management and analysis tasks. For example, when centrally managing employee health check-up data from multiple locations, using app integration to import health check-up forms into Microsoft Excel allows for quick aggregation, facilitating the next steps like analysis. This enables the head office to swiftly grasp trends in the overall health status of employees, allowing the company to take appropriate measures, potentially improving employee satisfaction.
[About Yoom]
How to Create a Workflow Integrating OCR and Microsoft Excel
From here, we will explain the steps for app integration. The general flow is as follows.
・Integrate Microsoft Excel with My Apps ・Copy the template ・Set a trigger with OCR and configure an action in Microsoft Excel ・Turn on the trigger to complete the flow setup
If you are already registered with Yoom, log in. If not, register for free and proceed with the setup.
Step 1: Integrate Microsoft Excel with My Apps
First, integrate Microsoft Excel with My Apps. After logging into Yoom, click "My Apps" on the left side of the screen and proceed with the setup from "+New Connection".
Next, in the "New Connection for My Apps" that appears, search for and click Microsoft Excel. Then, sign in with the account you want to use and complete the My Apps integration. ※ Microsoft365 (formerly Office365) has plans for home use and general business use (Microsoft365 Business). If you are not subscribed to the general business plan, authentication may fail.
Step 2: Set the Trigger
Next, copy the flow bot template. Log in to Yoom and click "Try it" on the banner below.
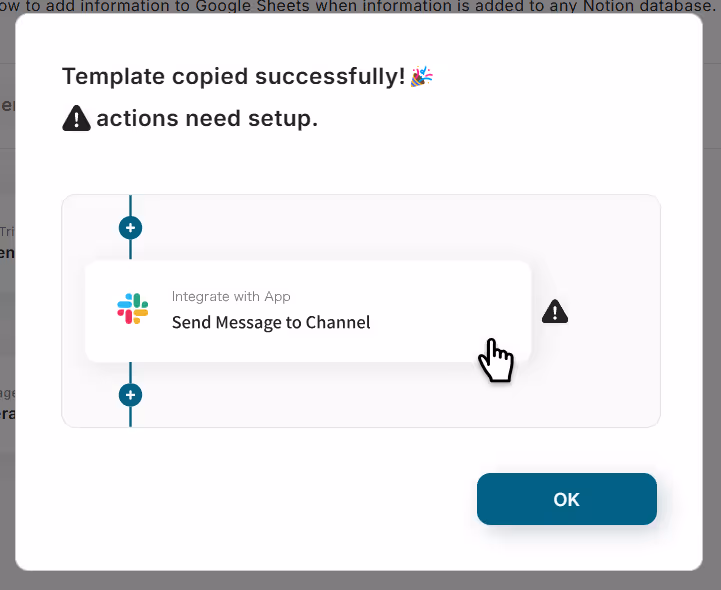
When the message "Template has been copied!" appears, click "OK" to complete the copy.
Next, click on "Health Check Form Submission" to edit the template.
① You can preview the question form you created. You can check it even while editing. ② You can edit the title and description (optional) of the question form.
① You can set the title and description (optional) of the question. ② You can choose the action to perform in the question section. In the image, "Attachment" is selected. ③ You can add a new question section. Please add it optionally if multiple check items are required. ④ You can hide the Yoom logo. Use this if you do not want to display the Yoom logo at the bottom of the question form page.
Also, by clicking "+ Add text above the submit button", you can optionally edit the text displayed on the button. Use this if you want to change the text from "Submit".
Scroll down to edit the "Completion Page Settings" after form submission. ① You can set the heading of the completion page. By default, "Submission Complete" is displayed. ② You can optionally add a description. If not needed, leave it blank. ③ You can set the display related to Yoom. Turn on this button if you want to hide it. ④ You can set access restrictions. Use this when using it internally only. ⑤ You can set the activation of the flow bot. You can choose whether only the administrator can activate it or if it activates upon form submission. Once each setting is complete, click "Next".
① You can check the display of the "Response Page" and "Completion Page" you created earlier. ② In "Obtained Values", you can set sample values to be used in the next flow test. Set the name and file for testing. The file will be read later with OCR.
This time, I entered "Test Taro" for "Name" and selected a file like the image for "Health Check Form". Once each item is set, click "Save".
Next, set up to read the text of the health check form using OCR. Click "Read text from image/PDF". * AI operations are only available with the Team Plan and Success Plan. For Free Plan and Mini Plan, the operation of the flow bot you set will result in an error, so please be careful.
On the next screen, you can optionally edit the "Title". Without changing the "Action", click "Next".
Next, proceed with the detailed settings for reading. In "File Attachment Method", you can choose "Use Obtained Values" or "Upload File". This time, since we are using the file selected with "Obtained Values" earlier, we chose "Use Obtained Values". In "Items to Extract", you can specify the items you want to extract from the health check form. You can optionally add or delete items, so it is recommended to specify each item while comparing it with the health check form you plan to submit. In "AI to Use", you can select the AI to perform the reading. This time, we selected Chat GPT.
Also, enter the items set in "Items to Extract" into the Excel sheet where the data will be stored. * For instructions on setting up Excel, please refer to here. Once each item is set, click "Test".
When "Test Successful" is displayed, check if the content written in the file has been obtained.
Similarly, check if the obtained content is reflected in the "Output". Once confirmed, click "Save".
Step 3: Set Actions
Next, set the action to save the diagnostic data to Microsoft Excel. Click "Add Record".
On the next screen, optionally edit the title and verify the account. Once complete, scroll down the page.
Set up the database integration. ① "File Storage Location" can be selected from "OneDrive" or "SharePoint". This time, SharePoint was selected. ② Select the location where the Excel file is stored with "Site ID". For OneDrive, it will be displayed as "Drive ID". ③ Specify the target Excel file with "Item ID". ④ Specify the sheet where the data will be saved with "Sheet Name". ⑤ Optionally specify the table range where the data will be saved with "Table Range". Once each setting is complete, press "Next".
Next, set the "Values of the Record to Add". Click each item field and set the data that matches each item from the output. Once each item is set, click "Test".
Once you confirm the test is successful, click "Save".
Once the trigger is set to ON, the flow operation is ready.
After setting the trigger to ON, you can click "Copy Form Link". Now, when the form is answered, the diagnostic data will be automatically saved to Excel.
Other Automation Examples Using Microsoft Excel
1. Extracting Information from Email Body and Storing it in Microsoft Excel
This is a flow that allows you to set detailed conditions on the email body to extract information and store it in Microsoft Excel. It is recommended for HR departments and customer support teams that need to manage a large volume of emails.
2. Update Microsoft Excel Information Once the Contract is Completed with CloudSign
This is a flow that automates contract data management from document signing. It is recommended for sales departments that want to start other tasks such as document preparation but are too busy with data management.
3. Add a Record to Microsoft Excel When an Order is Placed on Shopify
This is a flow that automatically reflects Shopify order statuses in Microsoft Excel. It not only makes inventory management easier but can also be used for analyzing product trend tendencies.
Summary
The integration of OCR and Microsoft Excel streamlines health checkup data management and reduces the risk of human error. This allows companies to more accurately understand the health status of their employees, making it easier to provide appropriate responses to them. Let's utilize this method, which can be easily implemented without programming, to improve operational efficiency.
The person who wrote this article
s.miyamoto
I have approximately 5 years of experience in the customer success industry for foreign companies.
We will continue to disseminate useful content on a daily basis based on field issues cultivated from various standpoints, such as operators and managers.
Using Yoom, we will continue to deliver content that can be used in the field, such as hints to improve the customer experience!
Conventional RPA can only automate simple repetitive tasks, and the setup process was very complicated. With “hyperautomation,” which combines various technologies such as AI, API, RPA, and OCR, it is possible to automate many tasks that could not be realized until now more easily than before.
Most tools simply connect one app to another, leaving the complex tasks to you. Yoom goes much further: From document creation and browser automation to OCR and generative AI, Yoom handles it all seamlessly in one platform.
Why settle for basic integrations? Streamline your entire workflow with Yoom’s powerful hyperautomation.