[No Code Required] How to Automatically Link Google Chat Data to Google Sheets
How to Integrate Applications
・
2025-05-08
[No Code Required] How to Automatically Link Google Chat Data to Google Sheets
If you want to store the content of Google Chat messages, you often use database tools like Google Sheets. Therefore, many people might be manually transcribing messages from Google Chat. The issue here is the "effort of data transcription and management." Checking specific messages and transcribing them into Google Sheets can be quite a hassle...
That's why we recommend integrating Google Chat with Google Sheets! By integrating the data, not only can you automate data transcription, but also translations, which should help reduce the daily workload.
In this article, we will introduce how to connect Google Chat and Google Sheets using the no-code tool Yoom, even if you don't have programming knowledge! We will explain in detail, so please take a look.
For those who want to try it quickly: By using Yoom, you can easily connect Google Chat and Google Sheets without any code. Yoom provides templates for integrating Google Chat and Google Sheets, so you can achieve integration immediately just by registering, even without API knowledge.
What You Can Do by Integrating Google Chat and Google Sheets
By integrating the APIs of Google Chat and Google Sheets, you can automatically link data from Google Chat to Google Sheets!
For example, you can automatically perform data integration like the one below without human intervention.
Translate Content Posted in Google Chat and Add It to Google Sheets
Recommended for those who frequently interact with overseas teams or individuals! This is a flow you should try if translating messages every time is cumbersome for you.
Add Content Posted in a Specific Room on Google Chat to Google Sheets
This flow is recommended for those who want to compile information and message content posted on Google Chat to facilitate smooth information sharing within the team. Information is automatically transcribed, leading to improved work efficiency.
Update Google Sheets when a post is made on Google Chat
This is recommended for those who manually transfer customer information from Google Chat to Google Sheets each time. It simplifies the task of organizing information.
Let's Create a Workflow to Integrate Google Chat and Google Sheets!
Let's get started by creating a workflow that integrates Google Chat and Google Sheets!
This time, we'll use Yoom to proceed with the integration of Google Chat and Google Sheets without any coding. If you don't have a Yoom account yet, please create one using the registration form here.
[What is Yoom]
This time, we will create a flow bot that translates content posted on Google Chat and adds it to Google Sheets!
The creation process is broadly divided into the following steps:
Integrate Google Chat and Google Sheets with My Apps
Copy the template
Set up triggers and actions
Set the trigger to ON and complete the preparation for flow operation
Step 1: Register My Apps
First, register your apps for "Google Chat" and "Google Sheets".
Click "+ Add" on the right from "My Apps" on the left.
Register My App for Google Chat
After clicking "+ Add", search for "Google Chat" from the list of apps.
When the following screen appears, click "Sign with Google".
Refer to this article to register your app. After entering "Client ID" and "Client Secret", click "Add".
Once "Google Chat" appears in My Apps, registration is complete!
Register My App for Google Sheets
After clicking "+ Add", search for "Google Sheets" from the list of apps.
When the following screen appears, click "Sign with Google".
Select the Google account you want to use and enter your password.
When the following screen appears, click next to log in.
Once "Google Sheets" appears in My Apps, registration is complete!
Step 2: Copy Template
Now, let's create a flow bot! First, click "Try it" on the banner below to copy the template.
Once the template has been copied, the following screen will appear.
Click "OK" to proceed to the next step.
Step 3: Setting the App Trigger
First, click on "When a message is sent to the space".
When the following screen appears, check the account information to be linked and proceed to the next step.
Set the "Trigger Activation Interval" according to your business needs from the dropdown menu.
The trigger activation timing can be set to either 5 minutes, 10 minutes, 15 minutes, 30 minutes, or 60 minutes. Depending on your plan, the shortest interval for setting the trigger may vary, so be sure to check that. Additionally, we recommend using the shortest activation interval available for your plan!
For the "Space Resource Name", please obtain it from the target space and enter it.
Try testing from the "Test" below.
The values of the output below can be referenced in future settings.
Finally, click "Save" to proceed to the next step.
Step 4: Setting for Translation
Click "Translate".
Check the following screen and proceed to the next step.
Actions can be selected from the dropdown menu. Choose the one that suits your character count and other needs.
Proceed to set the details.
For "Text to Translated", select "Message Content" from the output. It will translate the message content posted on Google Chat.
For "Target Language", enter the language you want to translate into.
Here, we use English, but please enter the language you usually communicate in and want to translate into.
Please conduct a test. If the test is successful, the following screen will appear.
The values of the output below can also be referenced in future settings. Click "Save" to proceed to the next step.
Step 5: Setting to Add a Record
Next, click "Add Record".
Next is the database linkage setting.
Check the account information to be linked. Select "Add Record" for the execution action.
Scroll down.
For the database linkage "Spreadsheet ID", select from the candidates. Information will be added to the specified Google Spreadsheet.
Select the "Spreadsheet Tab Name" from the candidates as well. Select the target sheet.
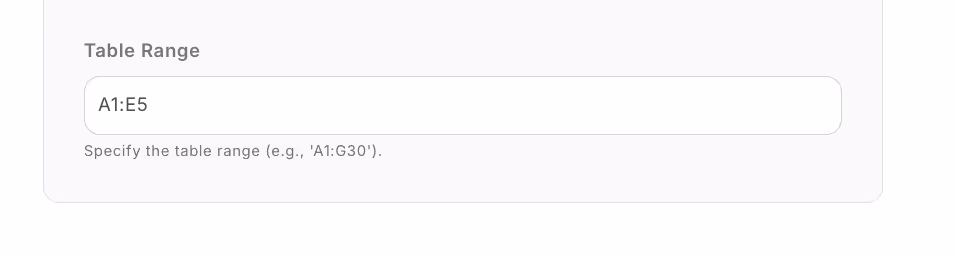
"Table Range" refers to the range in the Google Spreadsheet. Enter the columns of the target range.
Once you have set the above, proceed to the next step.
Set the values for the record to be added.
The items you have entered in the target Google Spreadsheet will appear. It's also a good idea to prepare the Google Spreadsheet based on the items you want to add!
For "Date", select "Creation Date" from the output.
For "Content", select "Message Content" from the output. This is the message content before translation.
For "Translated Content", select "Translation Result" from the output. This is the message content after translation.
Finally, conduct a test. Check if the messages and other settings have been added to the Google Spreadsheet as configured above.
Click "Save" to proceed to the next step.
Step 6: Automating the Flowbot
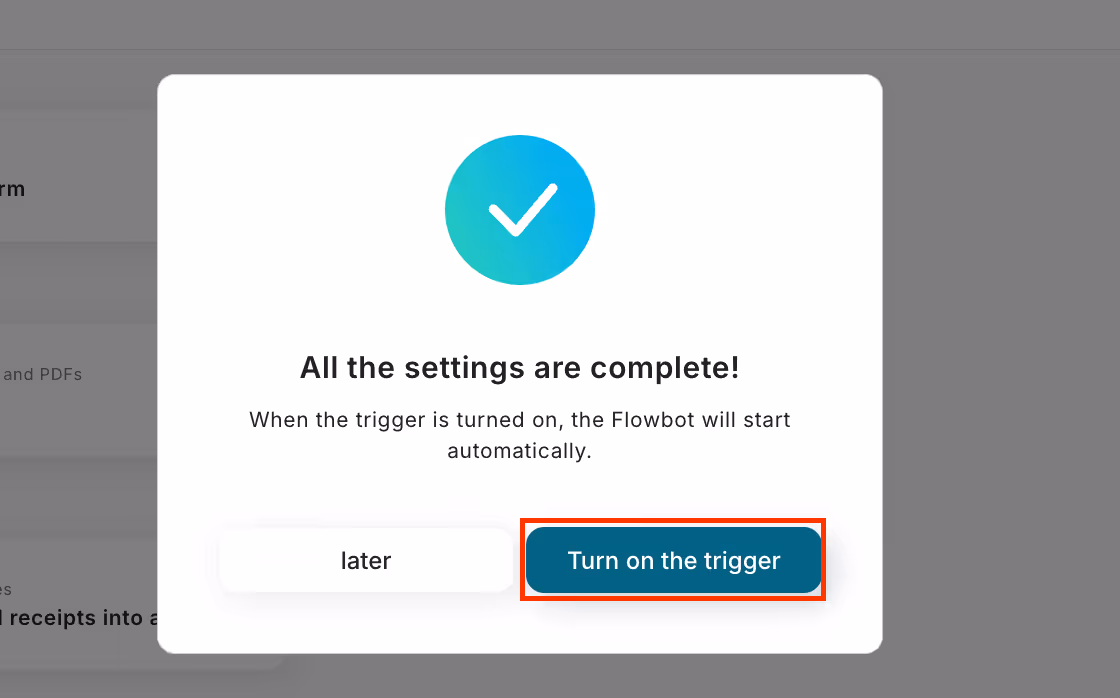
When the following screen appears, click "Turn on the trigger". All settings are complete!
If you want to link Google Chat data to Google Spreadsheet
This time, we introduced how to link data from Google Chat to Google Spreadsheet, but if you want to link data from Google Spreadsheet to Google Chat instead, please also use the following template.
Translate the content added to Google Spreadsheet and notify Google Chat
This flow is recommended for project managers who are communicating with both overseas and domestic teams. It is also recommended for those who communicate with overseas teams via Google Chat and organize information in Japanese on Google Spreadsheet.
Notify Google Chat When a Row is Added in Google Sheets
If you manage data using Google Sheets, you can set up notifications in Google Chat whenever updates are made. This is recommended for team leaders who are responsible for data verification.
Other Automation Examples Using Google Chat and Google Sheets API
By leveraging the APIs of Google Chat and Google Sheets, various automations can be achieved! How about the following automations?
Convenient Automation Examples Using Google Chat
There are flows to automate information sharing, such as adding data to Google Sheets or Notion, transcribing Zoom meetings, creating files in Google Drive, and triggering notifications to Google Chat from posts in Microsoft Teams!
Example of Automation Using Google Sheets
You can synchronize schedules with calendar and task management tools or add records to other databases.
Conclusion
How was it? By integrating Google Chat with Google Sheets, you can simplify the process of manually transcribing messages received in Google Chat and streamline translation tasks, making it easier to store and analyze message content than before.
With a no-code tool like Yoom, such data integration can be achieved without any programming knowledge!
Its simple design makes it easy for beginners to try, allowing anyone to easily implement automation. If you're interested, start by creating a free account and see how it works for yourself.
Registration takes just 30 seconds. Once registered, you can immediately start using the tool and check its usability while operating it! Take this opportunity to experience the wonders of automation.
The person who wrote this article
Tags
No items found.
Related Apps
No items found.
App integration
No items found.
What is Yoom hyperautomation?
Conventional RPA can only automate simple repetitive tasks, and the setup process was very complicated. With “hyperautomation,” which combines various technologies such as AI, API, RPA, and OCR, it is possible to automate many tasks that could not be realized until now more easily than before.
Most tools simply connect one app to another, leaving the complex tasks to you. Yoom goes much further: From document creation and browser automation to OCR and generative AI, Yoom handles it all seamlessly in one platform.
Why settle for basic integrations? Streamline your entire workflow with Yoom’s powerful hyperautomation.


.avif)


.avif)


