【Easy Setup】How to Automatically Link Form Data with Google Analytics
How to Integrate Applications
・
2025-05-21
【Easy Setup】How to Automatically Link Form Data with Google Analytics
h.hamada
In this article, we introduce a method of automation to quickly grasp data from a specified period in Google Analytics reports! By implementing this automation, you can skip the actions of accessing Google Analytics, specifying the period, copying the data, and notifying/storing it in various tools, making it possible to efficiently obtain report data.
While implementing automation typically requires knowledge akin to that of an engineer, it can be easily done without specialized knowledge by utilizing the no-code tool Yoom! <span class="mark-yellow">If you're considering streamlining your operations, be sure to check it out!</span>
For those who want to try it as soon as possible
Yoom offers templates for automating workflows using Google Analytics! If you want to try it right away, click the banner below to get started!
What You Can Do by Integrating Google Analytics with Forms
By integrating Google Analytics with various form APIs, you can automatically link form response data to Google Analytics!
Simply click "Try it out" on the automation example you're interested in and register an account to immediately experience the integration of Google Analytics and forms. Registration takes just 30 seconds, so feel free to give it a try!
Linking Yoom Form Data to Google Analytics
You can automatically link Yoom form response data to Google Analytics. Yoom Forms allow you to use response data as is, making it easy to achieve data integration without complex operations.
Link Google Form Data to Google Analytics
You can automatically link response data from Google Forms to Google Analytics. If you are using Google services, you can create forms in a wide range of data formats for free with Google Forms, which can also be linked to Google Analytics.
Integrate Typeform Data with Google Analytics
You can automatically integrate Typeform response data with Google Analytics. By connecting Typeform's intuitive form operations with Google Analytics, both form respondents and administrators will have an enhanced experience in form usage and data management.
Integrate Jotform Data with Google Analytics
You can automatically integrate Jotform response data with Google Analytics. All response data from forms created with Jotform's extensive widgets can be fully integrated with Google Analytics.
Integrate Tally Data with Google Analytics
You can automatically integrate Tally response data with Google Analytics. Even simple forms on Tally can be integrated with Google Analytics using the API. This is recommended for those who want to effectively manage data even with minimal forms.
Integrate Zoho Forms Data with Google Analytics
You can automatically integrate response data from Zoho Forms with Google Analytics. For those familiar with using Zoho services, this form can also be integrated with Google Analytics to achieve response data integration.
Let's Create a Google Analytics and Form Integration Flow
Now, let's actually create a Google Analytics and form integration flow! This time, we'll proceed with the setup using Yoom, a no-code platform. If you don't have a Yoom account yet, please create one using the registration form here.
[What is Yoom]
This time, we will create a flow bot that retrieves event reports in Google Analytics based on form responses and sends notifications! The creation process is broadly divided into the following steps.
Integrate Google Analytics with My App
Copy the template
Set triggers in Yoom forms and configure actions in Google Analytics
Set the trigger to ON and complete the preparation for flow operation
Step 1: Integrate My App
Here, we will integrate Yoom with each app to enable operations. First, log in to Yoom, press "My Apps" on the left menu, and then click the "Add" button on the right.
Google Analytics Integration
1. Search Enter "Google Analytics" in the search box and click the Google Analytics icon.
2. Select Account Select the account you want to integrate. If you want to integrate an account other than the displayed ones, click "Use another account" and sign in with the account you wish to integrate. After selecting the account, the screen will transition, so press "Continue".
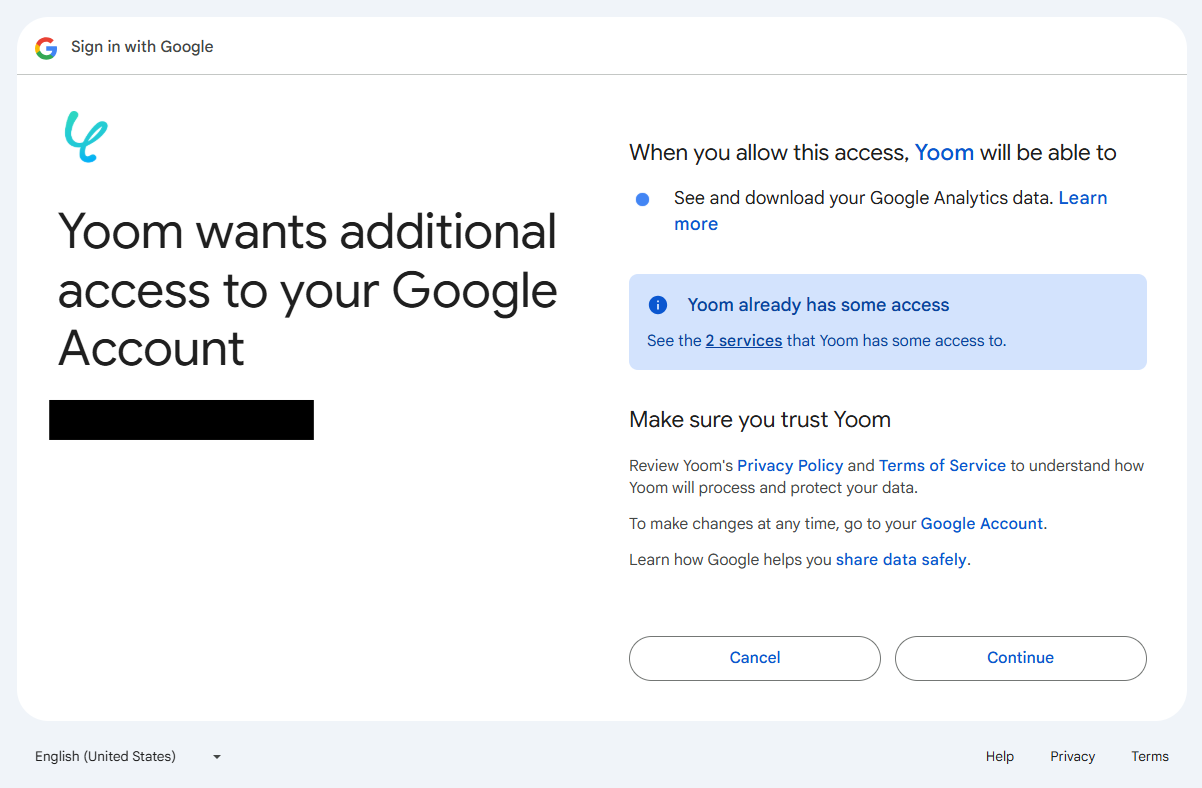
3. Grant Access A confirmation screen will appear to allow Yoom to access your Google account. Press "Continue" to proceed.
Return to the Yoom screen, and if the following display appears, the integration is complete!
Step 2: About Template Copy
Now, let's start creating the flow! There are templates available for easy setup, so let's copy them first. Log in to Yoom and click "Try it" on the banner below.
1. Click "View Details" on the banner above 2. When the screen changes, click "Try this template" 3. If you haven't registered with Yoom yet, please register * If you have already registered, the login screen will be displayed, so please enter your login information. 4. The template will be copied to your Yoom management screen as shown below, so press OK to proceed with the settings.
Step 3: Setting the Inquiry Form Trigger
1. Select a Trigger This is the first memorable setting! First, click the red frame below.
2. Create a Form Let's create a form that will serve as a trigger! This time, we created a form like the one below.
When obtaining reports from Google Analytics, you need to enter the start and end of the period to be acquired, so make sure to set these items. Once the input is complete, press "Next" to proceed.
3. Confirm Form Display and Detailed Settings Select the red frame below and check in the preview whether the content of the form you set earlier is reflected correctly. If there are any errors in the content, go back to the previous screen and correct them.
If the preview content is correct, enter the following items. Try entering a sample response for the form you created. This time, we entered test content like the one below. Once you have entered it, select "Save" and proceed to the next step!
Step 4: Setting Up Google Analytics Event Report Retrieval
1. Select a Trigger Click the red frame below. The screen will transition, and the content you entered in Step 1 will be reflected. If no corrections to the title, etc., are needed, click "Next" as is.
2. API Connection Settings Here, enter the information for Google Analytics.
Property ID: Check the Google Analytics property ID using the following method.
Log in to Google Analytics
Click the gear icon at the bottom left of the screen
Select "Data Streams" from "Data Collection and Correction"
Click the stream for the relevant website
Copy the "Measurement ID (e.g., G-XXXXXXXXXX)"
Start Date, End Date: Click each input field to display an output like the one below. Select the start and end of the period according to each item. * For more details about the output, please see here.
Once the input is complete, try running "Test"! If the test is successful, the output will be displayed. If the Google Analytics information is reflected in each item of the image below, it's OK. Finally, select "Save" and proceed to the next step.
Step 5: Setting Up Slack Message Sending
1. Select a Trigger Click the red frame below. The screen will transition, and the content you entered in Step 1 will be reflected. If no corrections to the title, etc., are needed, click "Next" as is.
2. API Connection Settings Here, set up sending messages to Slack. If you haven't created a Slack channel yet, create one at this time. This time, we created a Slack channel like the one below.
Once Slack is ready, return to the Yoom screen. Enter the following items.
Destination Channel ID: Click the input field to display options like the one below. Select the Slack channel you created earlier.
Message: Enter the content of the message to be sent to Slack. Click the input field to select the retrieved value from Google Analytics in the previous step. Customize the content you want to send as you like.
Once the input is complete, try running "Test"! If the test is successful, a message should be sent to Slack, so check it out. If the message data you set is reflected as shown in the image below, it's OK. Finally, return to the Yoom screen and press "Save" to proceed to the next step.
Step 6: Turn ON the Trigger and Check Operation
Thank you for your hard work! All settings are now complete. Once the settings are complete, the following menu will be displayed, so turn the trigger ON. All settings are now complete, so let's check the operation!
Other Automation Examples Using Google Analytics
Yoom offers many other automation templates that utilize Google Analytics! Be sure to look for automation examples with apps you are familiar with.
Conclusion
By implementing the automation introduced this time, you can easily obtain report data based on the content submitted from the form. Additionally, the acquired report data is smoothly sent and forwarded to each tool, making sharing and storage quick and efficient, which is a great point!
Furthermore, Yoom offers a free account! If you're interested, please register first and check out the usability for yourself.
Registration takes just 30 seconds. After registering, you can immediately operate the actual device, allowing you to check the usability while operating it!
The person who wrote this article
h.hamada
I had about 8 years of sales and office work experience at an insurance agency.
While dealing with customers, we have been organizing the operations of each branch office and working to improve efficiency and leveling them.
While carrying out the main business, we will use tools determined by the company to disseminate various contents so that it can contribute to improving the work efficiency of everyone who is inputted and managed.
Tags
No items found.
Related Apps
No items found.
App integration
No items found.
What is Yoom hyperautomation?
Conventional RPA can only automate simple repetitive tasks, and the setup process was very complicated. With “hyperautomation,” which combines various technologies such as AI, API, RPA, and OCR, it is possible to automate many tasks that could not be realized until now more easily than before.
Most tools simply connect one app to another, leaving the complex tasks to you. Yoom goes much further: From document creation and browser automation to OCR and generative AI, Yoom handles it all seamlessly in one platform.
Why settle for basic integrations? Streamline your entire workflow with Yoom’s powerful hyperautomation.


.avif)


