How to Extract Text from Images & Add It to Google Docs Using OCR
How to Integrate Applications
・
2025-06-10
How to Extract Text from Images & Add It to Google Docs Using OCR
s.ougitani
Have you ever felt that you spend too much time manually typing out text from images or screenshots into Google Docs?
This task can be tedious and error-prone especially when you have to deal with many files. Although Google Docs has a built-in OCR, setting up automatic text extraction and transcription can be tricky without the right tools.
✨ Imagine if:
text from images uploaded to Google Drive is automatically extracted and added to Google Docs
you can skip manual copy-paste tasks and reduce transcription mistakes
If you:
regularly handle images or scanned documents with important text
want to eliminate manual transcription tasks
are looking a way to streamline your document workflows
Then this article is for you :) We’ll show you <span class="mark-yellow">how to automate OCR text extraction from images to Google Docs without writing a single line of code, using Yoom</span>.
Meet Yoom: No-Code Automation
Yoom is a next-generation no code automation tool that lets you connect and automate tasks between your favorite apps. Yoom makes automation accessible to everyone.
🌐 Connect with apps like Google Docs, Google Drive, Slack and more.
📖 Use automation templates - no technical set up required
📈 Boost productivity and reduce human errors
<span class="mark-yellow">No need to go through complex set up and IT jargons</span>, Yoom keeps things simple and visual. You can build your automation workflows with just a few clicks, saving hours of time and stress from repetitive work.
In this guide, you’ll learn the step by step process of how to use Yoom to extract text from an image file using OCR and automatically transcribe it into Google Docs.
✔️ For Those Who Want to Try It Right Away
<span class="mark-yellow">Yoom offers a pre-built template for easy setup.</span> Click the “Try It” button to get started now! We’ll also walk you through the step-by-step process of creating this automation flow later in this article.
🙌 What You Can Do by Automating Image Text Transcription
Below are practical ready-to-use templates that use OCR to extract and transcribe text from images. Just click the “Try It” button to get started quickly!
OCR Images from Cloud Services & Transcribe to Google Docs
When image files are added to online storage like Google Drive or Box, Yoom's OCR function automatically extracts the text and adds it to a specific Google Doc. <span class="mark-yellow">Recommended for those who want to easily keep meeting minutes, reports, or shared documents up to date without manual effort.</span>
OCR Images Received from Forms & Transcribe to Google Docs
Automatically extract text from image attachments submitted via Google Forms or FormBridge, then transcribe the content into Google Docs. <span class="mark-yellow">Ideal for anyone looking to streamline data entry by automatically extracting key details such as from receipt images in expense forms and compiling them to Google Docs.</span>
OCR Images Received via Email & Transcribe to Google Docs
Automatically extract text from image attachments in email applications that meet specified conditions, then add that text to Google Docs. <span class="mark-yellow">Perfect for managing order forms or image-based requests sent via email so you no longer need to manually open and transcribe them.</span>
🚀 Let's Create a Flowbot to OCR Images from Google Drive & Transcribe Them into Google Docs
Let’s walk through how to create a Flowbot that texts from an uploaded image on Google Drive using OCR and add to the specified Google Document file.
⏱️ Setup time: 5 minutes
🔧 What You’ll Need
A free Yoom account
Access to Google Docs & OneDrive
If you do not yet have a Yoom account, register now from this registrationform.
⚠️ Note: OCR (reading text) used in this Flowbot is only available in Yoom's paid plans. If you're using the Free plan, the Flowbot may face errors due to limited access. But don't worry - all plans have 2-week free trial! You can try all features without restrictions. For more details, on Yoom and its plans, visit our Yoom Help Center.
Setup Overview
Register Google Drive & Google Docs in Yoom
Copy the Template
Set the Google Drive Trigger and OCR & Google Docs Actions
Activate the Flowbot
Step 1: Register Google Drive & Google Docs in My Apps
Add Google Drive
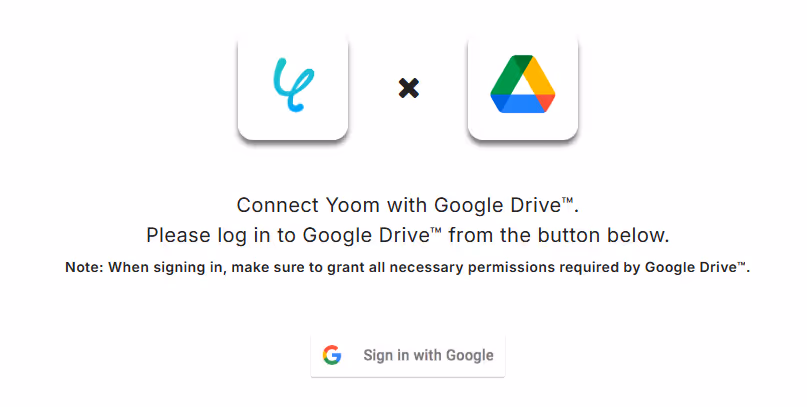
In Yoom, go to the My Apps tab, and click the “+ Add” button.
Search for Google Drive from the qpps list and select it.
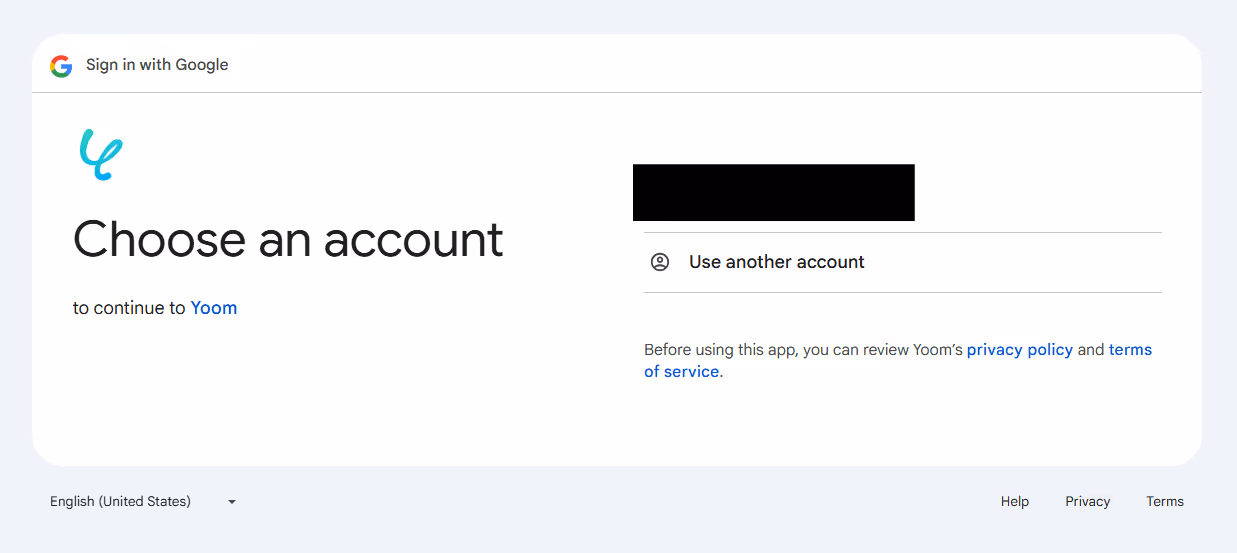
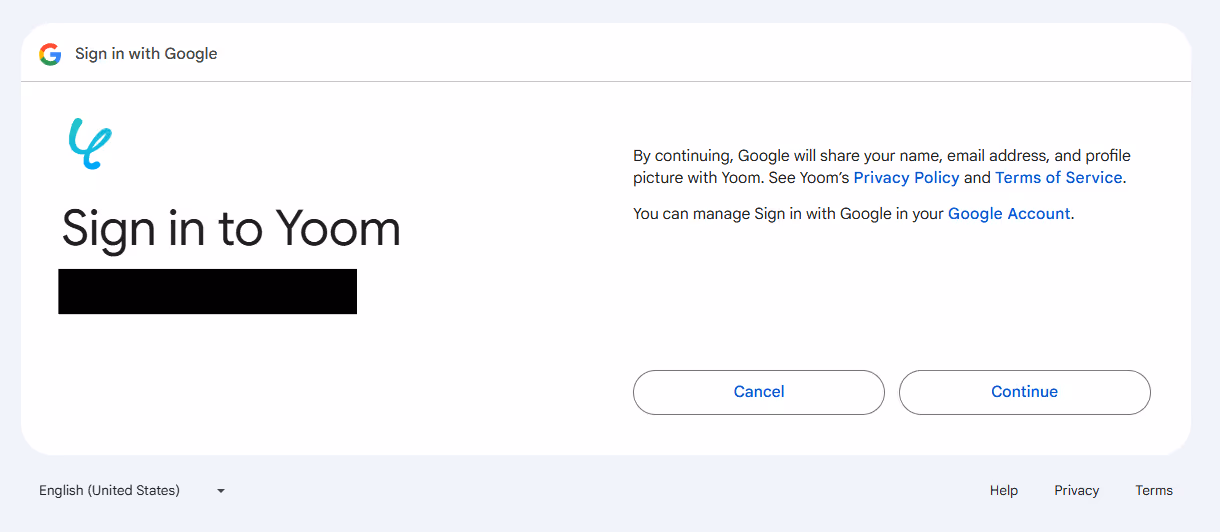
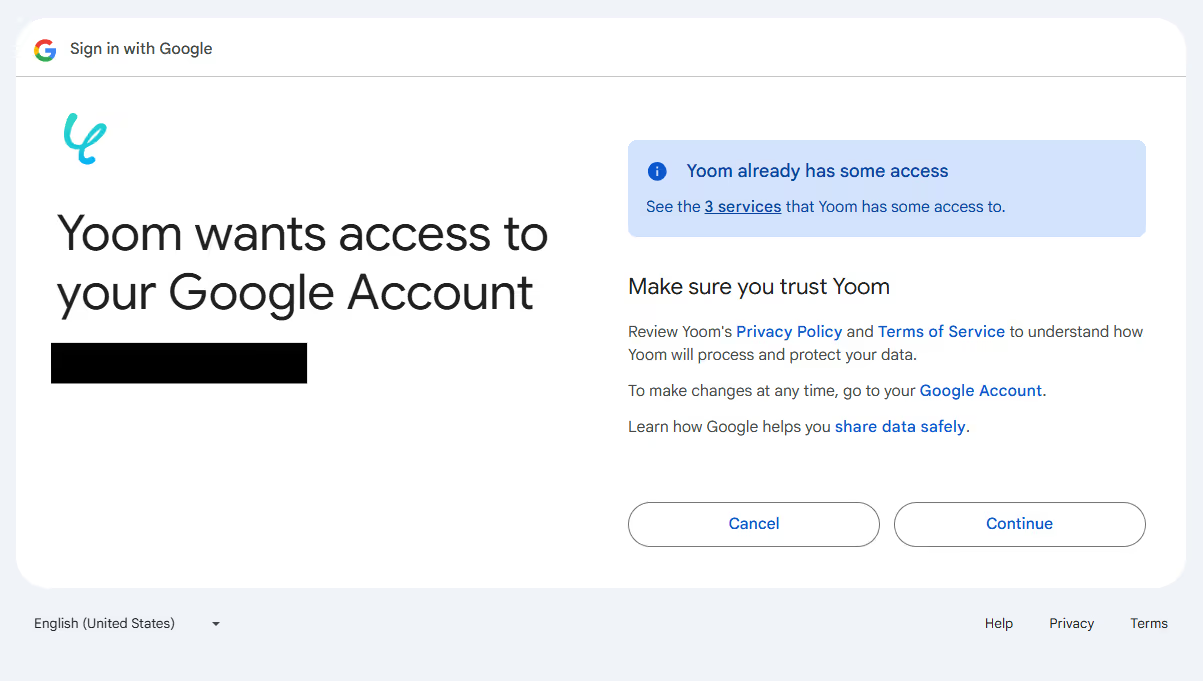
Click on "Sign in with Google".
Select the account you want to connect to.
Click "Next".
Select "Continue."
Add Google Docs
Click on My Apps and select “+ Add”.
Search for Google Drive and select it.
Select "Sign in with Google".
Click on the account you want to integrate.
Click "Next".
Select "Continue".
Step 2: Copy the Template
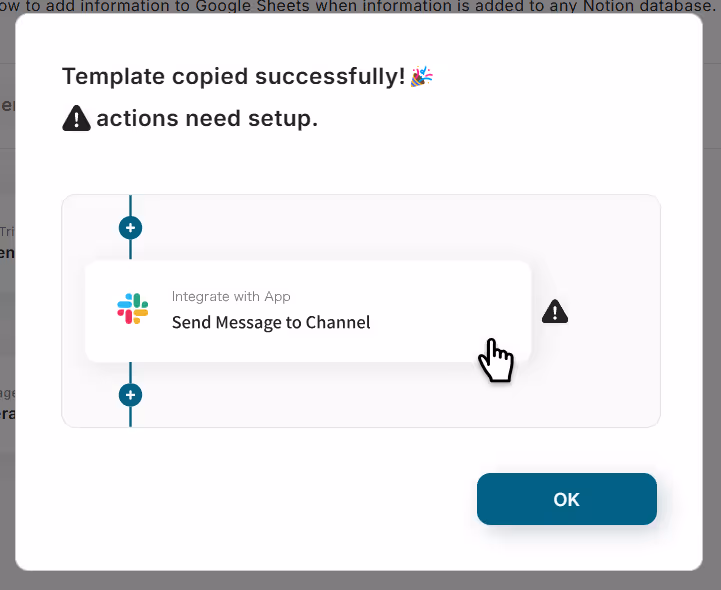
Click the “Try it” button to copy the pre-built template into your project.
Click "Try this template".
Click "OK".
Click "OK" and give this Flowbot a name to recognize.
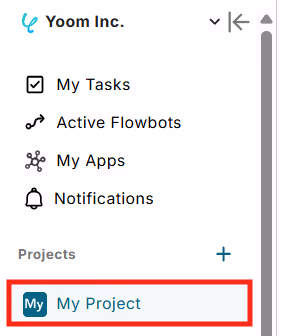
This template will be copied to your “My Project”.
Step 3: Set Up the Google Drive Trigger
Click on the trigger step labeled, "When a new file or folder is created in a specific folder".
Give your trigger a title (anything you like).
Select your account, and check the default settings. If there are no issues, click “Next”.
Set your trigger interval (how often you want Yoom to check for new updates). It can be set to 5 minutes, 10 minutes, 15 minutes, 30 minutes, or 60 minutes.Set the trigger activation interval.
⚠️ Note: The trigger interval varies on your Yoom plan. Be sure to check your current plan’s limit.
We recommend setting the trigger to the shortest activation interval available for your plan.
Select the Folder ID from the displayed options. Then add a test file in the specified Google Drive folder to trigger the flow. Click “Test”.
If successful, the data from Google Drive should appear as retrieved values. You’ll use these data in the following steps, so check the details are correct.
Step 4: Configure Google Drive Action
Click on the action step labeled, "Download File".
You can change the title (optional). Select your account, and check the default settings. If there are no issues, click “Next”.
Select "File ID" from the "Retrieved Values" of the previous step (When a new file or folder is created in a specific folder). After setting, click "Test".
If successful, the data from Google Drive should appear as is retrieved values. Then, click "Save".
Step 5: Set Up Text Recognition (OCR) for Images/PDF
Click the action labeled, "Read Text from Images/PDF".
Confirm the action is set to "Extract text information from any PDF/Image file (within 4000 characters)." Rename the title if needed and click “Next”.
For the file attachment method, select "Use Retrieved Values" and choose the "File Retrieved from Google Drive" option.
Specify the items you want to extract from the image. After setting, click "Test".
If you see correct extraction items in the retrieved value, then save it.
Step 6: Set Up Google Docs Action
Click the "Add Text to End of Document" action.
Give your action a name (anything you like). Select your account and check the default settings. If there are no issues, click “Next”.
Select the Document ID from the displayed options.
Select the item you want to add to Google Docs from the "Retrieved Values" from the previous step (Read Text from Images/PDF). Once the setting is done, click “Test”.
Check the information is added to specified Google Docs, and save it.
Step 7: Activate the Flowbot
Toggle on the "Trigger ON" button to activate your flow.
That’s it! 🎉
Your Google Doc file is now automatically getting updated with the extracted text from images/PDFs :)
💡 Other Automation Ideas Using Google Docs
📖 Summary
Now you know how to automatically extract text from images using OCR and trascribe it to Google Docs :) Manually inputting texts from images can be time-consuming and prone to errors. But automation with Yoom can make this process smooth and reliable :) No technical skills are needed to get started.
If you want to...
save time on data entry from PDFs & images
reduce mistakes from manual input
streamline your invoice or document process
then this Yoom's ready-made template is perfect for you :) <span class="mark-yellow">Try our variety of ready-made templates to help you automate from document creation, form recording, minutes creation and more!</span>
Ready to simplify your workflow? Sign up for Yoom and try it today!
After being in charge of sales and CA at a human resources company for about 5 years, I have been involved in jobs such as creating job advertisements and scouting sentences at companies that hire engineers.
I'm fascinated by Yoom's revolutionary service of “automating office work.”
I would like to write so that I can send out information that can be useful to everyone, even a little bit.
Conventional RPA can only automate simple repetitive tasks, and the setup process was very complicated. With “hyperautomation,” which combines various technologies such as AI, API, RPA, and OCR, it is possible to automate many tasks that could not be realized until now more easily than before.
Most tools simply connect one app to another, leaving the complex tasks to you. Yoom goes much further: From document creation and browser automation to OCR and generative AI, Yoom handles it all seamlessly in one platform.
Why settle for basic integrations? Streamline your entire workflow with Yoom’s powerful hyperautomation.


.avif)


.avif)
.avif)
.avif)


