How to Integrate Applications

2025-04-23

[No Code Required] How to Automatically Link ovice Data to Zoom and Schedule Meetings

"Manually check chat notifications and then set up a meeting on Zoom."
Are you repeating such tasks every day?
In your work, manually integrating information from ovice and Zoom can surprisingly take a lot of time and effort.

Moreover, there are not a few people who feel, "I want to automatically connect tools, but the setup seems difficult," or "Do I need programming knowledge?" and hesitate to take the step towards integration.

The solution to these concerns is data integration using the no-code tool Yoom!

<span class="mark-yellow">Anyone can easily build a system to automatically connect ovice and Zoom.</span>
This article will introduce in detail convenient integration methods, starting with the flow of "creating a meeting on Zoom when a chat is sent to the public space in ovice."

If you want to prevent omissions in your work and make communication within your team smoother, please read to the end.

For those who want to try it out quickly

By using Yoom, you can easily integrate ovice and Zoom without any code. Yoom provides templates for integrating ovice and Zoom in advance, so you can achieve integration immediately just by registering, even without API knowledge.

What You Can Do by Integrating ovice with Zoom

By integrating ovice with Zoom's API, you can automatically sync ovice data with Zoom!
For example, you can automatically perform data synchronization like the following without any manual intervention.

Simply click "Try it out" for the automation example you're interested in and register an account to immediately experience the integration between ovice and Zoom.
Registration takes just 30 seconds, so feel free to give it a try!

Create a Zoom Meeting When a Chat is Sent to a Public Space in ovice

This flow is recommended for those using ovice and Zoom who want to automate the integration of communication and meetings within their team.

When a post text is sent from a form created with Yoom, it can be translated using DeepL's API and then posted to X using an API provided by X.

Generally, programming knowledge is required to achieve this, but it can be easily accomplished without programming knowledge by using the no-code tool Yoom.

[About Yoom]

This flow will be created through the following process:

  • Integrate DeepL and X with My Apps
  • Copy the Flowbot template
  • Create a form for SNS post text as a trigger
  • Set actions for DeepL and X
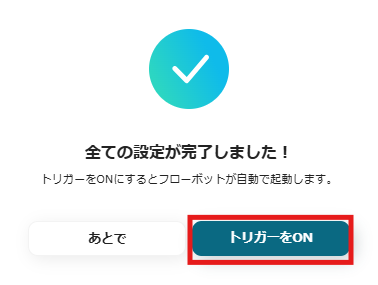
  • Turn on the trigger and prepare to launch the Flowbot

If you are not using Yoom, you can register for free here.
If you are already using Yoom, log in and proceed with the setup!

Step 1: Integrate DeepL and X with My Apps

First, to smoothly perform the automation setup, register DeepL and X, which will be used this time, in Yoom's My Apps.

1. Select "My Apps" from the left side of the Yoom management screen and click "New Connection".

2. Search for "DeepL" and "X" in the search window and select the apps to transition to the next screen.

〈For DeepL〉

On the following screen, set each item according to the instructions.

  • API Key: You can obtain it by logging into DeepL. For detailed acquisition methods, click here

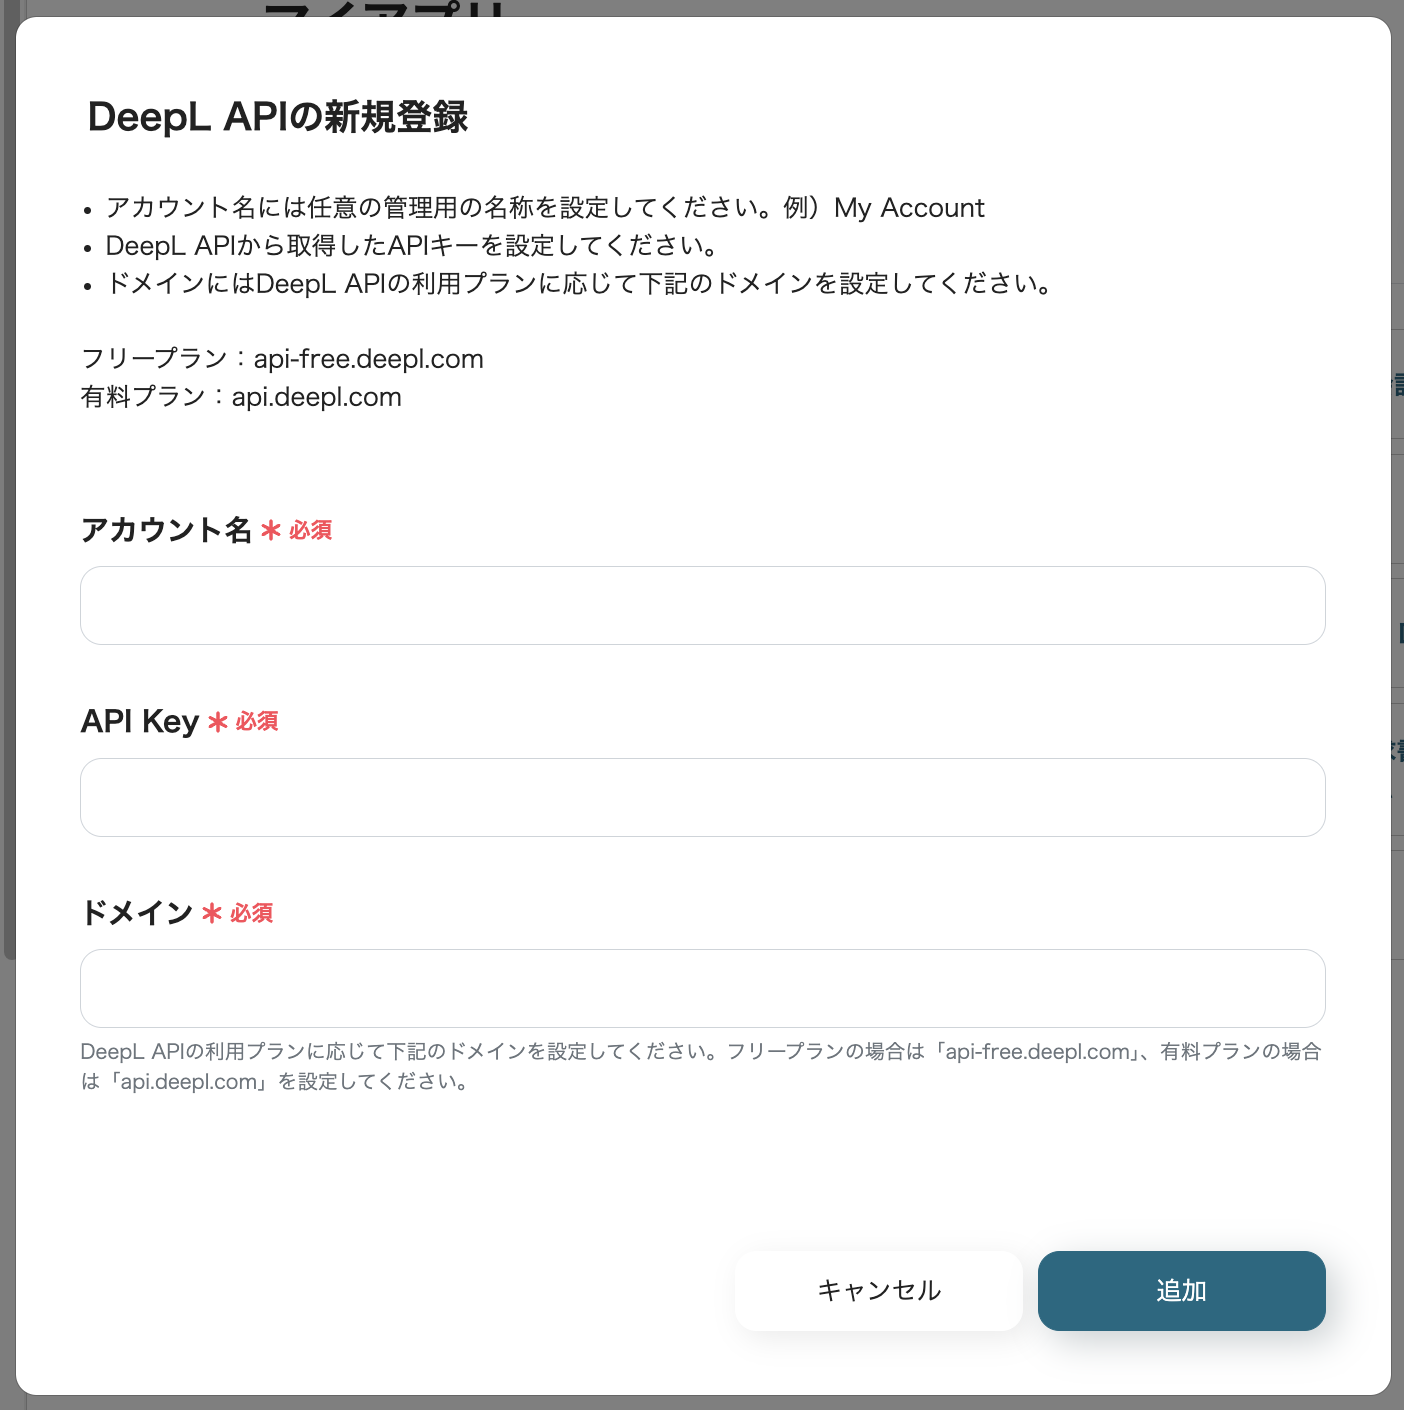
Once completed, click "Add", and when "My Apps have been registered" is displayed on the Yoom screen, the integration is complete!

〈For X〉

On the following screen, log in to the X account you want to integrate.

When prompted for access, click "Allow access to the app".

__wf_reserved_inherit

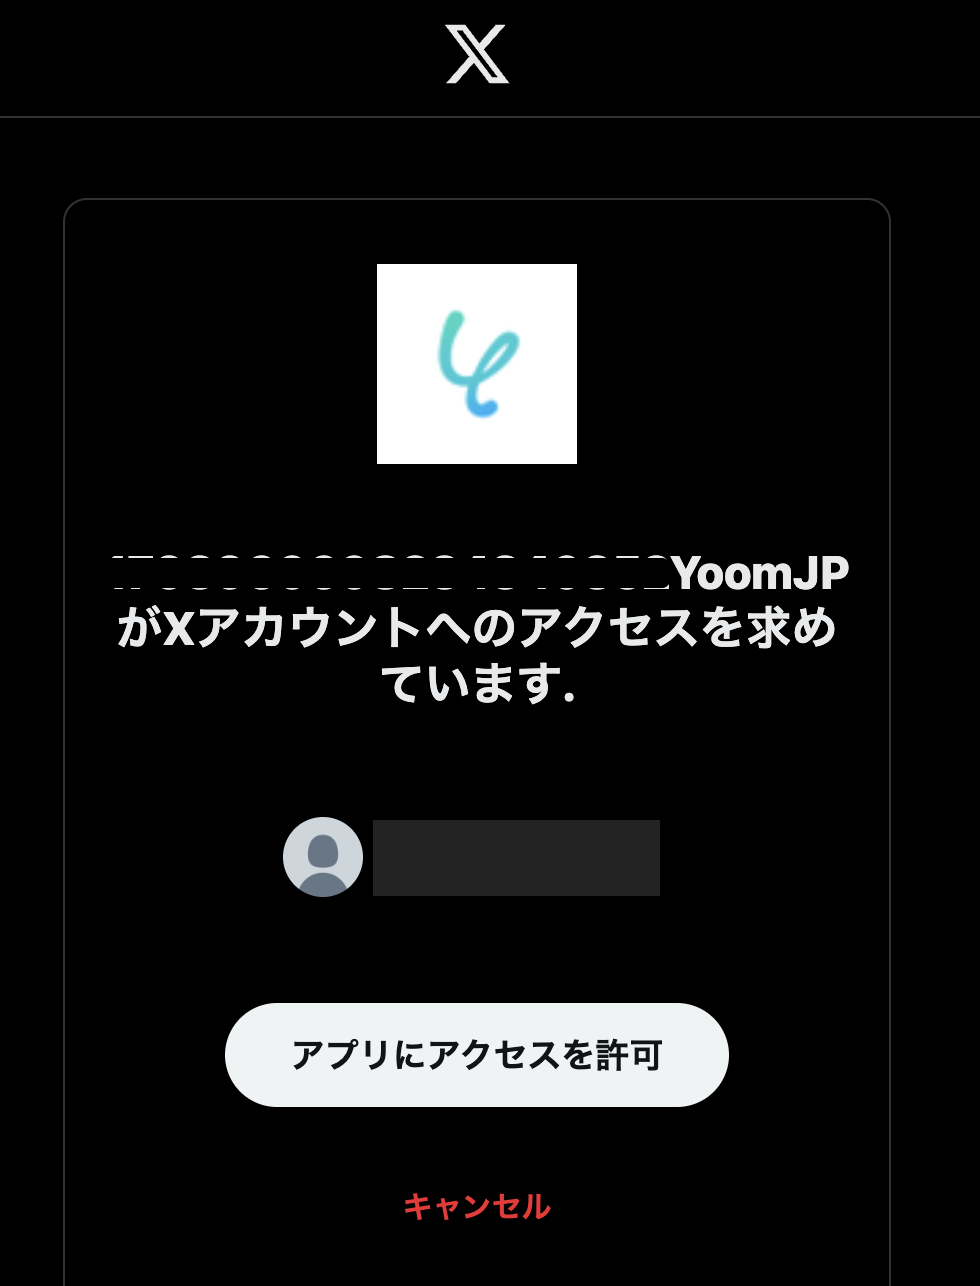
When "My Apps have been registered" is displayed on the Yoom screen, the integration is complete!

Step 2: Copy the Flowbot Template

While logged into Yoom, click "Try it" on the following template.

The template will be automatically copied to the workspace.
When the following screen appears, click "OK" to proceed with the Flowbot settings!

Step 3: Create a Text Form for SNS Posts to Trigger

First, let's create a form to send the SNS post text you want to translate, which will trigger the flow!
Click on Flowbot's "SNS Post Text Form".

__wf_reserved_inherit

In the form creation screen below, a form is created by default.
Adjust the form content as needed.

Click the "Preview Page" button in the upper right to check the preview of the form.

  • Flowbot initiator when using shared forms: You can choose from the following two options.

Once the form settings are complete, click "Next".

On the following screen, check the form display and enter a test text for SNS posts in the "SNS Post Text" field.

Once the input is complete, click "Save" to finish the setup.

Step 4: Set Up DeepL Action

Next, set up an action to translate the text sent from the form using DeepL!
Click on Flowbot's "Translate Text".

Check the linked account on the following screen and click "Next".

In the API connection settings screen below, set up the translation with DeepL.
Follow the instructions to set the language you want to translate the original text into, etc.

  • Text to Translate: Set the text sent to the form created in Step 3 as the text to be translated, as shown below.

Once the setup is complete, click "Test" and if there are no issues, click "Save".

Step 5: Set Up X Action

Next, set up an action to post the text translated by DeepL on X!
Click on Flowbot's "Post a Post".

Check the linked account on the following screen and click "Next".

In the API connection settings screen below, set up the post to be posted on X. Follow the instructions to proceed with the setup.

  • Post Text: Set the text translated in Step 4 as the text to be posted, as shown below.

Once the setup is complete, click "Test" and if there are no issues, click "Save".

Step 6: Turn On the Trigger and Complete Flowbot Activation Preparation

Congratulations! You are now ready to activate Flowbot.
When "All settings are complete!" is displayed, click "Turn on Trigger".

This is how to automatically translate SNS post text sent to the form with DeepL and post it on X (Twitter)!

Let's Create a Flow to Integrate ovice and Zoom

Now, let's create a flow that integrates ovice and Zoom!
We'll use Yoom to proceed with the integration of ovice and Zoom without any coding, so if you don't have a Yoom account yet, please create an account from this link.

[What is Yoom]

<span class="mark-yellow">This time, we will create a flow bot that creates a Zoom meeting when a chat is sent to a public space in ovice!</span>
We will create it in the following major steps.

  • Integrate ovice and Zoom with My Apps
  • Copy the template
  • Set the trigger in ovice and the operation in Zoom
  • Turn on the trigger and verify the operation of the integration flow

Step 1: Connect ovice and Zoom to My Apps

Let's register My Apps to connect ovice and Zoom to Yoom.
By registering My Apps first, you can proceed with the automation settings smoothly.

1. Click on My Apps on the left side of the Yoom page and select "New Connection".
Enter "ovice" in the search box at the top right and select the ovice icon from the search results.

2. On the displayed screen, enter the required fields and click "Add".
※ For how to obtain the client secret and client ID, please refer to here.

3. Next, register Zoom to My Apps.

Search for Zoom using the same procedure as before. On the next screen, enter the required fields and click "Add".
※ For how to register Zoom to My Apps, please refer to here.

If ovice and Zoom are displayed in My Apps, the registration is complete.

Step 2: Copy the Template

From here, let's create the flow! Since we are using a template, open the template page below and click 'Try this template'.

The template will be automatically copied to your workspace. Please click "OK" on the next screen.

Step 3: Setting up ovice triggers

※The following screen will appear when you click "Create a meeting in Zoom when a chat is sent to a public space in ovice" in the Flowbot under "My Projects" on the left side of the Yoom page screen.

1. Click "OK" on the previous screen, then click the app trigger "When a Webhook is received" on the displayed screen.

2. Check each item on the displayed screen. Leave the trigger action as it is and click "Next".

3. On the displayed screen, refer to the setup procedure in the image below and configure the settings.

4. After completing the settings, send a chat in ovice and then execute "Test".

If the chat content, etc., is successfully obtained in the output, click "Save".
※The displayed output can also be utilized in the next settings.

Step 4: Setting up data extraction from text

1. Click "Extract data from text".


Check each item and click "Next".

Select "Target text" from the output displayed when you click the input field.

2. For "Items to extract", enter the specific items you want to extract from the text in the template.
※This time, we used the template and entered it as shown in the image below.


After entering, execute "Test" and if successful, click "Save".

Step 5: Zoom settings

1. Click "Create a meeting" to integrate with the app.


Check each item and click "Next".

2. Set up the API connection.
Select "Email address" from the output displayed when you click the input field.

Select "Topic", "Start date and time", and "Meeting duration" from the output displayed when you click the input field.


After entering, execute "Test" and if successful, click "Save".

Step 6: Setting up ovice notifications

1. Click "Send notifications to workspace members" to integrate with the app.


Check each item and click "Next".

2. Set up the API connection.
Select "Message content" from the output displayed when you click the input field.

Select "Workspace ID" from the candidates displayed when you click the input field.
※Although not shown in the image, a list of candidates will be displayed. Please select one from the list.

Select "Member permissions to send" from the dropdown.


After entering, execute "Test" and if successful, click "Save".

Step 7: Turn on the trigger button and verify the integration flow

Click the "Turn on trigger" button in the red frame on the screen below to automatically start the Flowbot.

If you want to integrate Zoom data into ovice 

This time, we introduced how to integrate data from ovice to Zoom, but if you want to integrate data from Zoom to ovice, please also use the following template.

Notify ovice when a meeting ends in Zoom

This flow is recommended for those who frequently use Zoom and want to streamline post-meeting notification tasks and enhance team communication using ovice.

2. Translate Google Form Responses with DeepL and Send via Gmail

This flow translates responses from Google Forms using DeepL and sends them via Gmail.

You can automatically translate inquiries and feedback from overseas and notify the person in charge.
By automating translation and notification to the person in charge, <span class="mark-yellow">the start of customer response becomes smoother, contributing to an increase in customer satisfaction.</span>

Other Automation Examples Using ovice and Zoom API

In addition to integration with ovice, utilizing Zoom's API can enable the automation of various tasks. All of these can be easily implemented, so feel free to try out anything that catches your interest!

Convenient Automation Examples Using ovice

You can notify entry and exit information or chat messages via chat tools, and automatically notify information from spreadsheet tools.

Convenient Automation Examples Using Zoom

It is possible to automate tasks such as saving to a database or cloud storage at the end of a meeting, or creating meetings from the contents of databases, forms, and communication tools!

Conclusion

This time, we introduced a method to streamline work by combining ovice and Zoom.
In particular, the integration flow of "creating a meeting in Zoom when a chat is sent in ovice" helps keep daily communication smooth.

With Yoom, you can easily integrate tools without any programming knowledge, making it accessible for anyone to start.
If you want to reduce the hassle of tasks and focus more on essential work,
register for Yoom for free and experience convenient integrations right away.

The person who wrote this article
Tags
No items found.
Related Apps
No items found.
App integration
No items found.
What is Yoom hyperautomation?
Conventional RPA can only automate simple repetitive tasks, and the setup process was very complicated.
With “hyperautomation,” which combines various technologies such as AI, API, RPA, and OCR, it is possible to automate many tasks that could not be realized until now more easily than before.
Don't Just Connect Apps—Automate Everything
Most tools simply connect one app to another, leaving the complex tasks to you. Yoom goes much further: From document creation and browser automation to OCR and generative AI, Yoom handles it all seamlessly in one platform.

Why settle for basic integrations? Streamline your entire workflow with Yoom’s powerful hyperautomation.
Learn more about Yoom
RELATED ARTICLES
No items found.
Helpful Materials
I understand Yoom! 3-piece set of materials
Download materials
Understand in 3 minutes! Yoom service introduction materials
Download materials
Find out by Before After! Yoom Case Study Collection
Download materials
See a list of useful materials
No items found.