


Preparation
After copying the template, first register Salesforce and Microsoft Excel from Yoom's "My Apps" as a preparation.
※ If you have already registered, please proceed to "Step 1. Set App Trigger".
<Procedure>
1. After logging into Yoom, click "+ New Connection" from the "My Apps" menu on the left

2. Search for the app name, enter the necessary login information, and register the app

<For Salesforce>
※ When linking Salesforce with My Apps, be careful with the account linked with other services and Salesforce settings. Detailed settings can be checked on this help page. ※ Salesforce is only available with the Team Plan and Success Plan. If you are on the Free Plan or Mini Plan, operations and data connections set in Flow Bot will result in errors, so please be careful. Paid plans such as Team Plan and Success Plan offer a 2-week free trial. During the free trial, you can use apps that are subject to restrictions.
・Once logged in, the My Apps registration is complete.
<For Microsoft Excel>
※ Microsoft365 (formerly Office365) has a home plan and a general business plan (Microsoft365 Business), and if you are not subscribed to the general business plan, authentication may fail.
・Sign in.
・Click "Agree" to complete the registration in My Apps.
If Salesforce and Microsoft Excel are displayed in the My Apps list, preparation is complete!
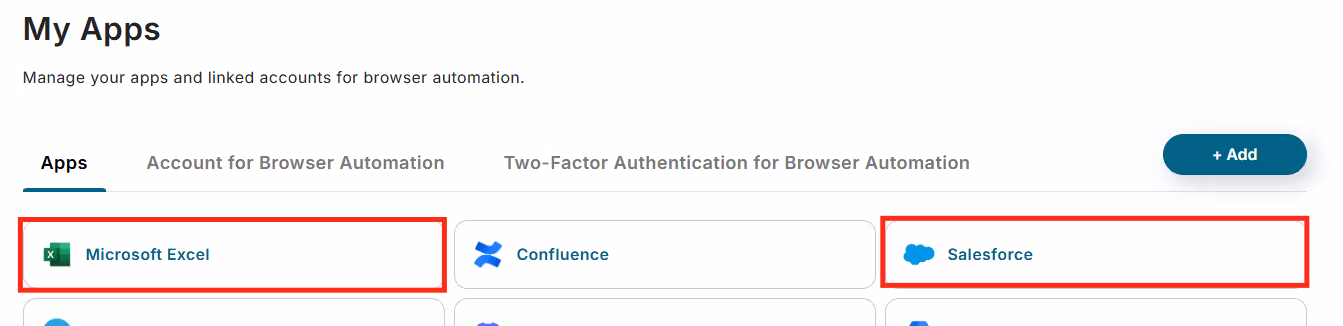
Let's proceed to the detailed settings!
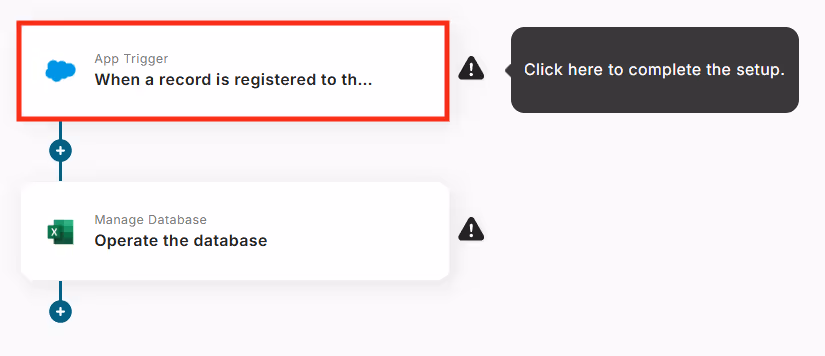
Step 1. Set App Trigger
First, click on the app trigger "When a record is registered in the ToDo object".
On the first page, the pre-linked account information will be displayed, so please check it.
If there are no issues, click "Next".

On the next page, set up the connection with Salesforce and API.
Specify the trigger interval and My Domain URL.
※ The time you can specify for the trigger interval varies depending on your plan. For details, please seehere. A shorter setting is generally recommended.
Once all fields are filled in, click "Test" to check for errors.
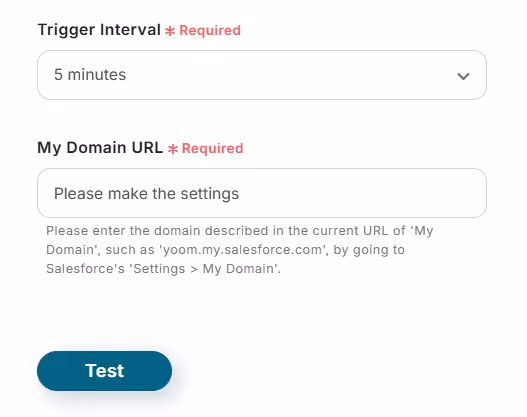
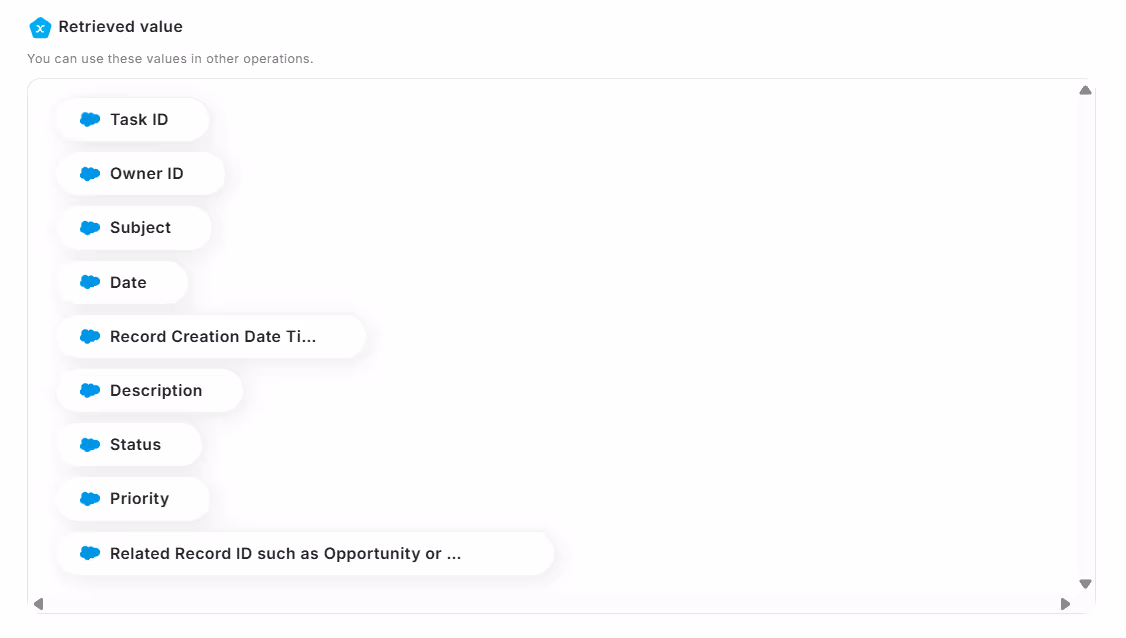
If the test is successful, the Salesforce object fields will be reflected in the output.
If there are no issues up to this point, click "Save" to complete the trigger settings.
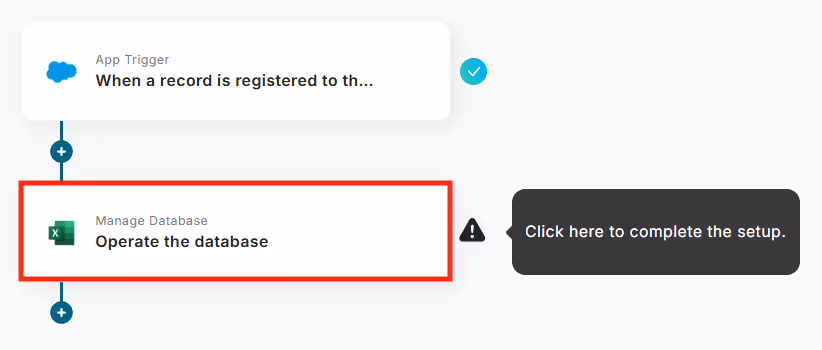
Step 2. Add Records
Next, click "Add Records".
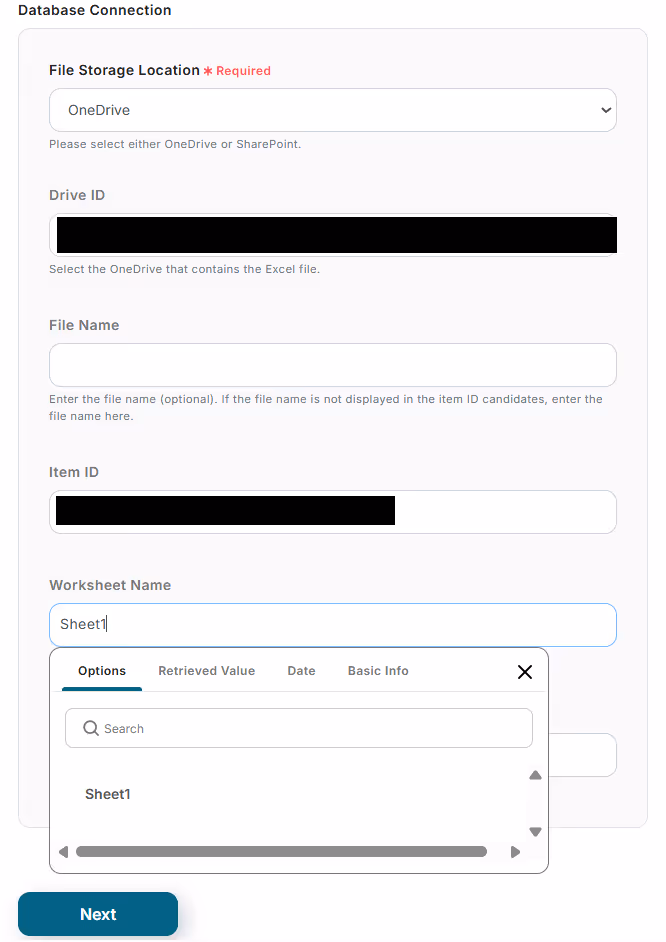
At the beginning of the first page, check the account information as in Step 1.
Below that, there are input fields necessary for linking with Microsoft Excel. Specify the file storage location and the relevant drive ID.
Utilize the output information, and once all necessary information is entered, proceed to the next step.
※ For details on setting operations that manipulate the Microsoft Excel database, you can also check here.
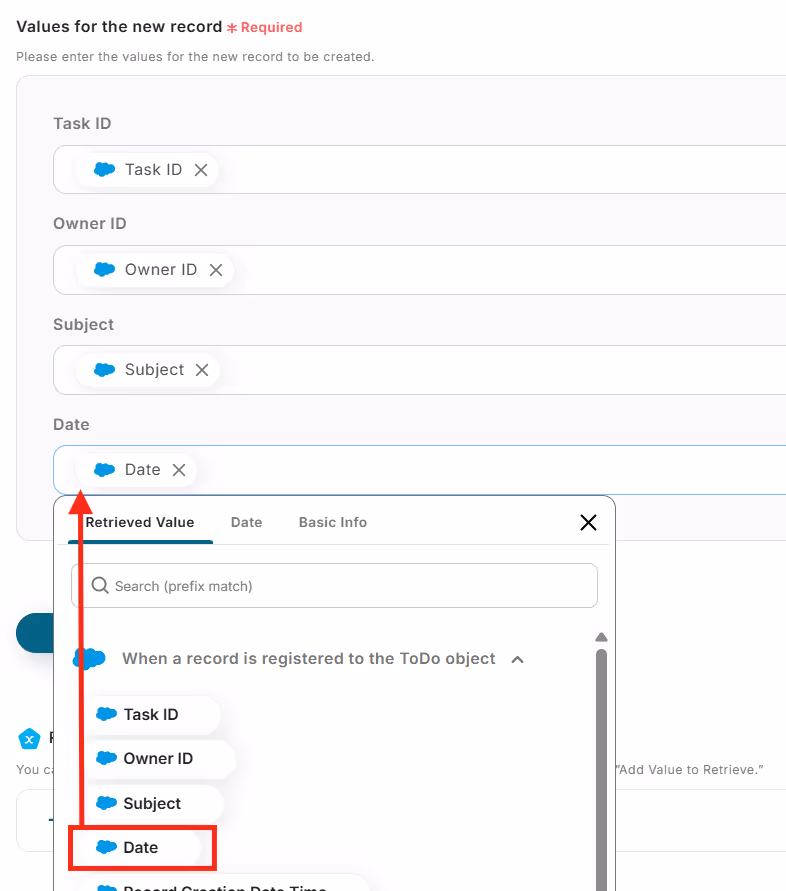
On the next page, set the values for the records to be added.
Utilize the information output from Salesforce.
Click "Test" and if no errors occur, click "Save".
If a popup like the image below appears, all settings are complete.
Turning on the trigger will execute the flow.

The template introduced this time is here↓


.avif)
.avif)


