

Register Shopify Customer Data as Salesforce Lead Information
By utilizing this flow, you can automatically register Shopify customer data as Salesforce lead information. This allows you to always check the latest lead information in Salesforce.
.png)
・
"Entering data into Salesforce again... It's tedious and I'm worried about making mistakes."
Many people manually input information into Salesforce every time an order is placed on Shopify. Are you feeling frustrated with this repetitive task? In fact, by integrating Shopify with Salesforce, you can automate the registration and updating of order information and customer data. For example, when a new order is placed on Shopify, you can create an opportunity in Salesforce, or automatically update records in Salesforce when an order is canceled. It's a great advantage to be able to manage information centrally while preventing mistakes and omissions.
This article provides a detailed introduction to what you can do by integrating Shopify with Salesforce and the specific setup methods. If you're struggling with manual data entry and looking to improve operational efficiency, be sure to check it out.
By using Yoom, you can easily integrate Shopify and Salesforce without any coding. Yoom offers templates for integrating Shopify and Salesforce, so you can achieve integration immediately just by registering, even without API knowledge.
By integrating the APIs of Shopify and Salesforce, you can automatically link Shopify data to Salesforce!
For example, you can automatically perform data integration like the following without human intervention.
When a new order is placed in Shopify, the information can be automatically reflected in Salesforce. This helps eliminate the hassle of manual entry into Salesforce and reduces the risk of input errors and duplication. This flow is especially recommended for sales representatives who want to reduce the time spent entering data into Salesforce!
By utilizing this flow, you can automatically register Shopify customer data as Salesforce lead information. This allows you to always check the latest lead information in Salesforce.
This flow automatically updates the Salesforce record status when an order in Shopify is cancelled. By ensuring timely updates, it maintains data consistency between Shopify and Salesforce.
Now, let's create a flow that integrates Shopify and Salesforce!
We will use Yoom to proceed with the integration of Shopify and Salesforce without any code, so if you don't have a Yoom account yet, please create one using this registration form.
[What is Yoom]
This time, we will create an opportunity in Salesforce whenever a new order is placed in Shopify!
The creation process is broadly divided into the following steps.
(1) After logging into Yoom, select "My Apps" from the left column and click "+ Add".
From the app list in My Apps, click on Shopify.
※ Shopify and Salesforce are apps available only with the Team Plan and Success Plan.
Please note that if you are on the Free Plan or Mini Plan, the operations and data connections of the flow bot you have set will result in an error.
If you want to "Try it for free first!", you can register for a 2-week free trial, during which you can use the restricted apps!

(2) On the "Shopify Registration" screen, enter the API key, API secret key, and subdomain, then click "Add".
For detailed instructions on how to register My App with Shopify, please refer to the site below.
How to Register My App with Shopify

(3) Next, connect with Salesforce. Similarly, click on Salesforce from the app list in Yoom.
On the Salesforce login screen, enter your "Username" and "Password" and click Login.
Once the connection is complete, Shopify and Salesforce will be registered in My Apps in Yoom.
This completes the registration of My Apps.
Next, let's set up triggers using templates!
We will use the template introduced earlier.
Click "Try it" on the banner below to copy it.
Once copied, the template will be copied to your Yoom management screen as shown below, so press OK to proceed with the setup.

(1) Configure the settings for when an order is placed on Shopify.
Click on "When an order is placed" in the app trigger.

(2) From the "Select your Account" screen in Shopify, verify that there are no errors in the account information linked with Shopify, keep the trigger action as "When an order is created," and click "Next."

(3) From the "API Connection Settings for the App Trigger" screen, select the trigger interval.
Select the trigger interval from the dropdown menu: 5 minutes, 10 minutes, 15 minutes, 30 minutes, or 60 minutes.
Note: The shortest trigger interval varies depending on the plan, so please be careful.

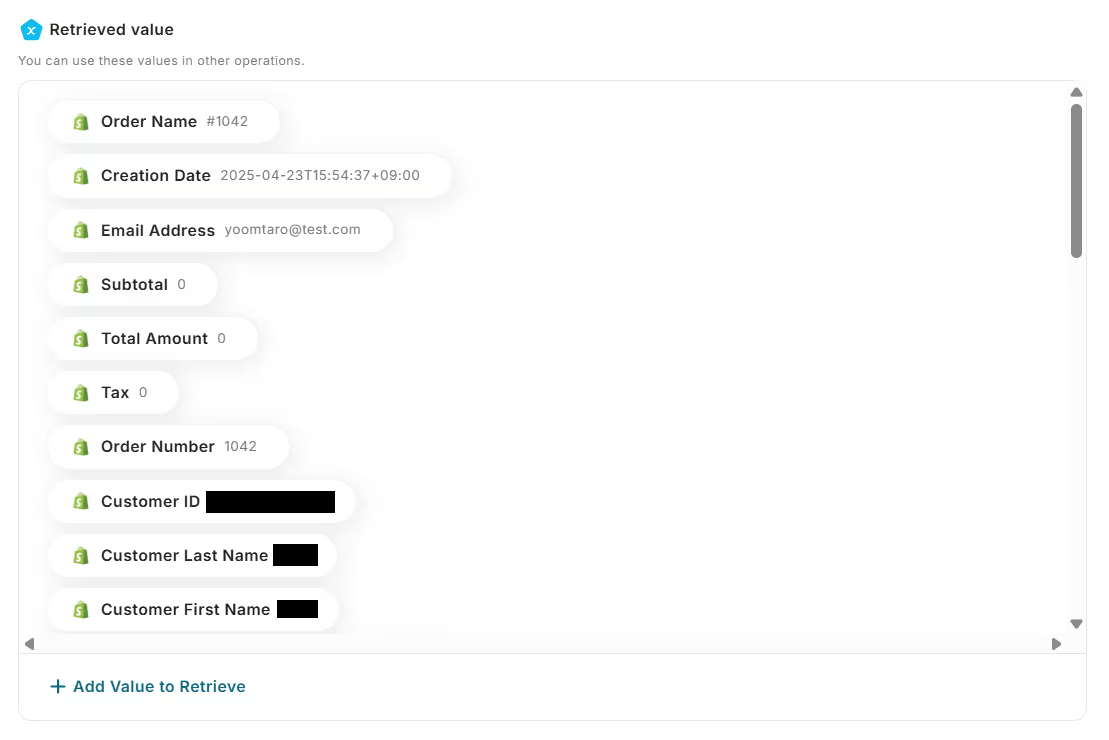
Scroll down, check the red line, and enter the subdomain.

If the Shopify information is reflected in the retrieved value, the test is successful.
For more details about the retrieved value, please refer to the site below!
If the test is successful, click "Save" at the bottom and proceed to the next step!
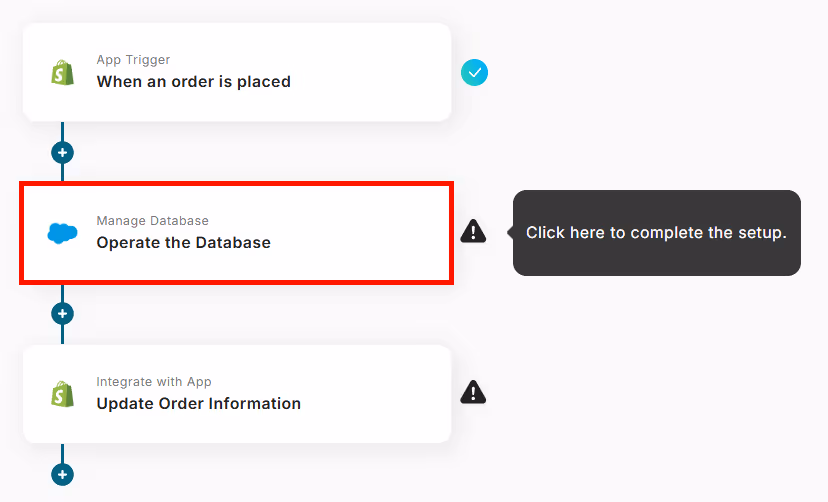
(1) Next, integrate with Salesforce to add a record.
Click on "Operate the Database."
(2) From the "Database Integration" screen, verify that there are no errors in the account information linked with Salesforce, and keep the execution action as "Add Record."

Scroll down, check the red line, and enter your My Domain URL.
Select the object API name from the options.
Once the input is complete, click "Next" at the bottom.

(3) From the "Database Operation Detailed Settings" screen, input the values for the record to be added using the retrieved values. By using the retrieved value, you can reference the information obtained by the app trigger!
Once the input is complete, click "Test" at the bottom, and if no errors occur, click "Save."

(1) Next, integrate with Shopify to update order information.
Click on "Update Order Information."

(2) From the "Select Linked Account and Action" screen in Shopify, verify that there are no errors in the account information linked with Shopify, keep the action as "Update Order Information," and click "Next."

(3) From the "API Connection Settings" screen, select the order ID from the retrieved value.
In the image below, it is set so that the Salesforce deal ID is reflected in the note.

The content entered in the note will be reflected in the red frame in Shopify.

Return to the previous screen!
Once the input is complete, click "Test" at the bottom, and if no errors occur, click "Save."

Well done! All settings are now complete.
Once the settings are complete, a menu like the one below will be displayed, so turn the trigger ON.
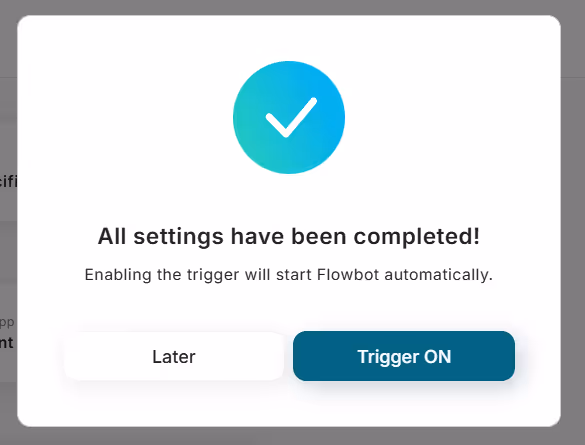
Try actually starting the flow bot and check if an opportunity is created in Salesforce when a new order is placed on Shopify!
By leveraging Shopify and Salesforce APIs, various automations can be achieved.
You can automatically post to X (Twitter) when product information is added, or update information in Google Sheets when an order status is canceled.
It is possible to notify Slack when a record is registered in the Lead object, and to register leads in Salesforce based on participant information at the end of a Zoom webinar.
How was it? By integrating Shopify and Salesforce, you should be able to solve issues such as "eliminating order data entry errors," "immediately reflecting the latest customer information," and "making sales activities smoother." Automatic information integration reduces manual workload and ensures more reliable data management.
With the no-code tool Yoom, you can easily set up integration between Shopify and Salesforce without any specialized knowledge. If you're interested, start by creating a free account and see how it works for yourself. Registration takes just 30 seconds! You can experience automatic integration right away.
Why not switch to a smarter way of working by preventing input errors and omissions with automatic integration?
.avif)


.avif)


