

.avif)


This time, we will explain the flow of "Transcribing content posted on Slack to Microsoft Excel"!
There are only 2 steps, so it can be easily created.
- Setting up a trigger that activates when a message is posted on Slack
- Microsoft
Setting up the action to transcribe to Excel
If you are already using Yoom, select a project from the "Project List" on the left side of the screen.
If you are creating a new project, you can create it from the "+" next to the "Project List".
When creating a flow, you can start with "Create" → "Create from Scratch" at the top right.

Please set "Title" and "Description" as you like.
Set the condition for the flow bot to activate to "Trigger from an app event".
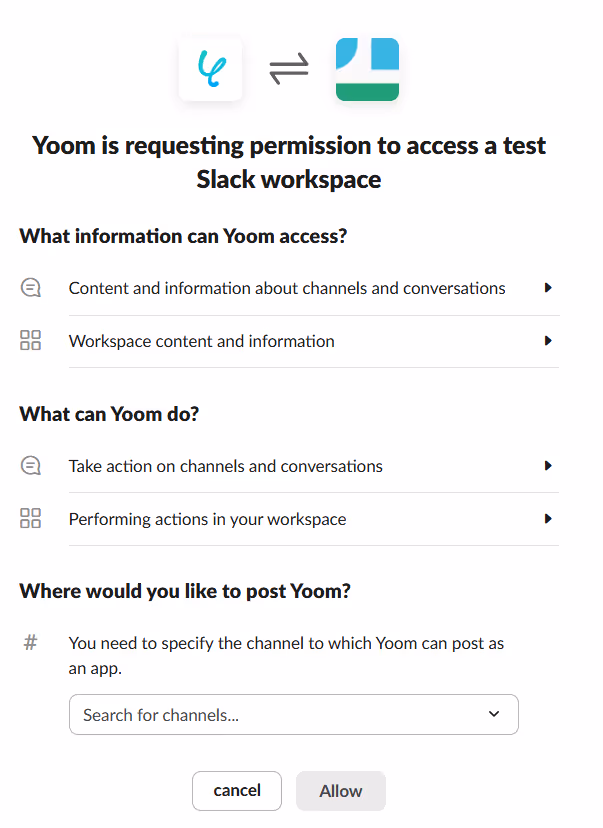
You will move to the "Select App" screen, so please select Slack.

Set the title of the "App Trigger" yourself and set the "Trigger Action" to "When a new message is posted in the channel".

Set the "Trigger Activation Time" to any time and set the "Channel ID" from the options.
Click "Test" below, and if "Test Successful" is displayed, the setup is complete.
Click "Save" to complete the settings on Slack.

Next, let's set up the action to transcribe to Microsoft Excel.
You can create it from the "+" under the Slack app trigger you just created.
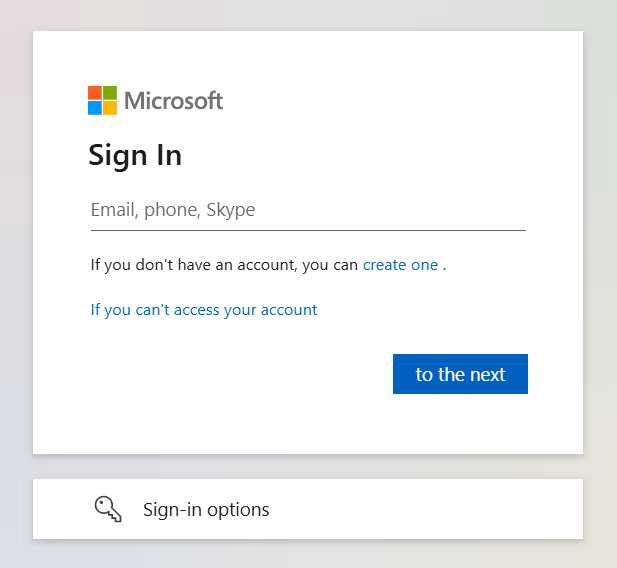
When "Select an action type" is displayed, click or search for "Microsoft Excel" .

Enter the title as you like and set the "Execute Action" to "Add Record".

Regarding database integration, please read the explanation at the bottom and enter each one.
Regarding the setting of the operation to manipulate the database in Excel

Click "Next" to move to the detailed settings screen for database operations.
For the value of the record to be added, select "Sender" from the output field → Slack's "When a new message is posted in the channel" → "Sender".
For "Message Content" below that, select "Message Content" from the output field in the same way as the sender.
Click "Test" → "Test Successful" → "Save".
* The header items (first row) of the sheet specified above will be displayed as the value of the record to be added.

To ensure you don't forget, turn the app trigger "ON" to complete all the steps!

Here is the template we introduced this time.


.avif)
.avif)


