・
Meta広告(Facebook)にリードが登録から自動でZoomウェビナーへの登録とGmail送信する方法

Meta広告(Facebook)はSNSツールに広告を表示させ、認知度や新規顧客の獲得を行うために活用されるツールの一つだと思います。
しかし、手作業で登録されたリードの対応を行うことを負担に感じることはないでしょうか?
この記事では、Meta広告(Facebook)でリードが登録されたら、自動的にZoomのウェビナーに登録してGmailを送信するフローを自動化する方法をご紹介します。
さらにYoomを活用するとノーコードでアプリの連携やフローボットを作成できます。
具体的な手順について、Yoomの画面を参考に詳しく解説します。
ぜひご覧ください。
Meta広告(Facebook)、Zoom、Gmailを連携するメリット
メリット1: 手作業の削減による効率化
Meta広告(Facebook)・Zoom・Gmailを連携することでウェビナー運用にまつわるフローを自動化できます。
手動では、Zoomのウェビナーの登録やGmailで詳細内容を送信する作業に労力と時間がかかります。
例えば、多数のリードが登録された場合、全てを手作業で行っていると、設定ミスや漏れが発生するかもしれません。
自動化できれば、事務作業やヒューマンエラーを軽減でき、顧客にも正しいウェビナー登録と情報を通知できそうです。
結果的に、作業の効率が向上し、顧客対応などの重要な業務に時間を使うことが期待できます。
メリット2: 迅速なリードフォローアップ
リード情報が登録されたらすぐにウェビナーに登録し、内容を送信できるようになるので、ウェビナーの運営管理が効率化できそうです。
例えば、Meta広告(Facebook)のフォーム経由でウェビナー参加者を募りたい場合、どうしてもウェビナー登録作業が手動になってしまいます。
回答者が多いほど、この作業負荷は大きくなりコア業務に支障が出る可能性もありますが、今回の自動化を導入することで、参加者の多寡にかかわらずウェビナー参加者の管理が効率化できるようになるでしょう。
以上Meta広告(Facebook)・Zoom・Gmailを連携するメリット2つをご紹介しました。
次にYoomについてご説明します。
[Yoomとは]
Meta広告(Facebook)、Zoom、Gmailの連携フローの作り方
それではYoomを活用して「Meta広告(Facebook)でリードが登録されたら、自動的にZoomのウェビナーに登録してGmailを送信する」フローの作成手順を解説します。
3ステップで簡単に設定できますので、一緒に作成してみましょう!
まずは下のバナーをクリックし、今回使用するテンプレートをコピーします。
■概要
Meta広告(Facebook)でリードが登録されたら、Zoomでウェビナーを作成しGmailでその情報を相手に送信するフローです。
Yoomを利用すると、プログラミング不要で簡単にアプリ同士を連携することができます。
■このテンプレートをおすすめする方
1.Meta広告(Facebook)でウェビナー集客をしているマーケティング担当者
・リード獲得後に手動でウェビナー登録や情報送信を行う手間を省いて自動化することで業務効率化を図りたい方
2.複数ツールを連携させて効率的なマーケティング活動を行いたい方
・リード獲得からウェビナー開催までのプロセスを自動化してシームレスなマーケティング活動を実現したい方
■このテンプレートを使うメリット
Meta広告(Facebook)で獲得したリードに対し迅速にウェビナーを設定しコミュニケーションをスタートすることは、リードナーチャリングにおいて非常に重要です。
このフローを活用することで、Meta広告(Facebook)でリードが登録されるとZoomでウェビナーが自動作成されて参加情報がGmailで相手に送信されます。
これによって、シームレスなマーケティング活動を可能にして業務効率化を図ることができます。
■注意事項
・Meta広告(Facebook)、Zoom、GmailのそれぞれとYoomを連携してください。
バナーをクリックしたら、Yoomのテンプレートサイトへ移動します。
その画面の「このテンプレートを試す」をクリックしてください。
するとYoomのワークスペースに画面が切り替わり、コピーが完了したと表示が出ますので「OK」をクリックしてください。
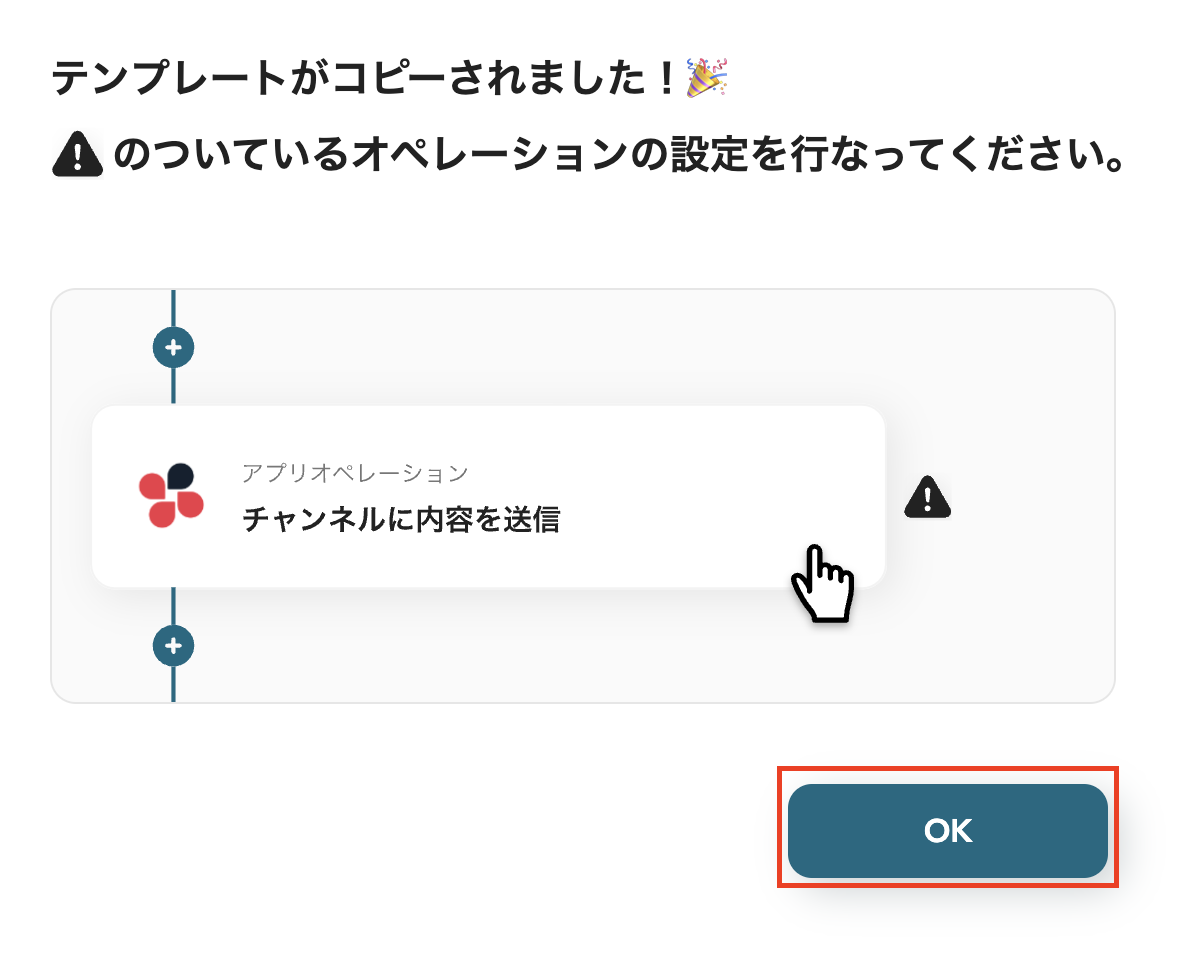
コピーされたテンプレートがYoomのマイプロジェクトへコピーできました。
ステップ1:マイアプリ登録
次にYoomと各アプリを連携する作業を行います。
これにより、ノーコードでフローボットを作成できるようになります。
1.Meta広告(Facebook)のマイアプリ登録
まずはMeta広告(Facebook)をYoomと連携します。
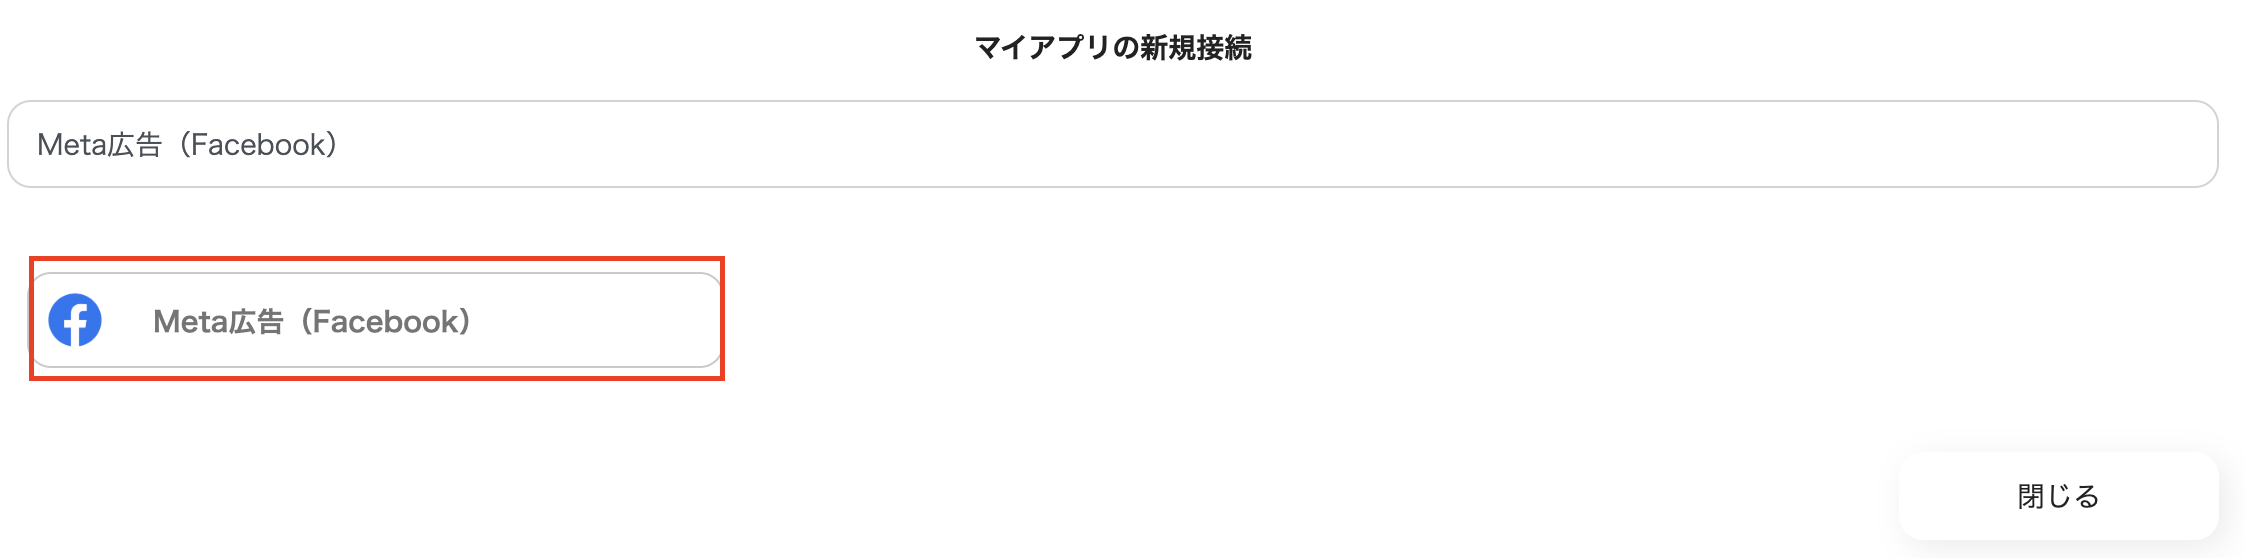
Yoomのワークスペース左に表示されているマイアプリをクリックし、新規接続を選択してください。

マイアプリの新規接続でMeta広告(Facebook)を選択しましょう。
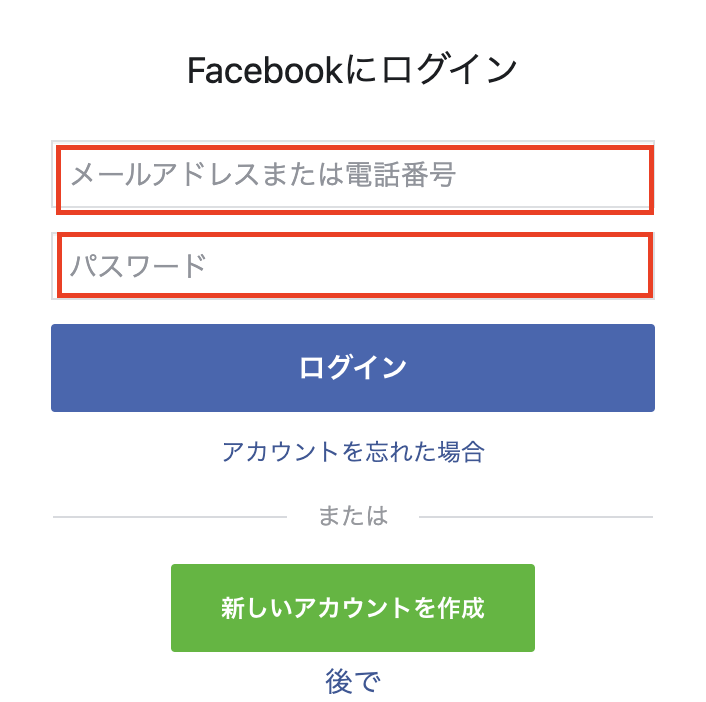
Facebookにログインしましょう。
メールアドレスとパスワードを入力します。
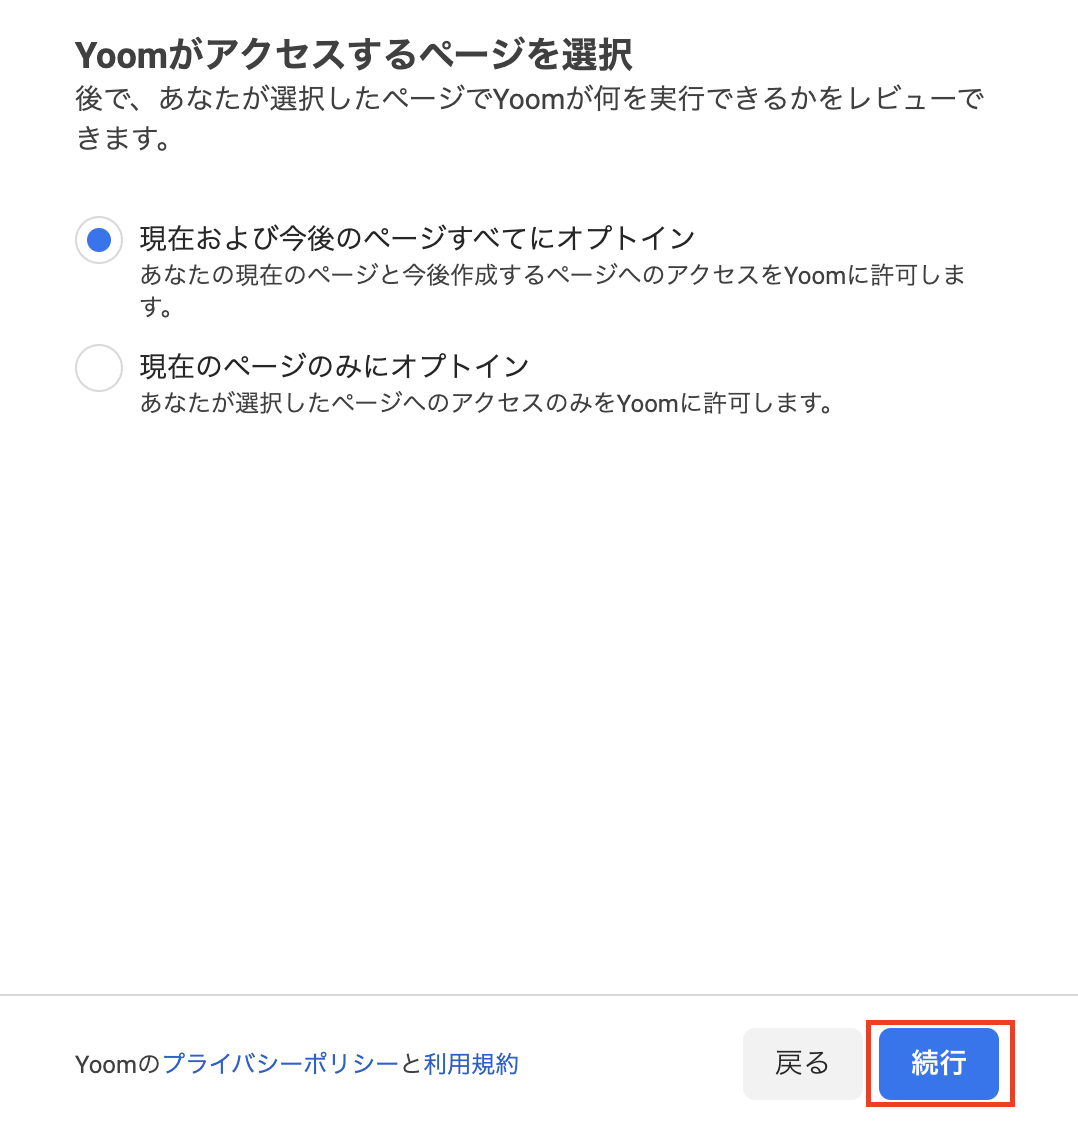
アクセスするページを選択して、「続行」を選択しましょう。
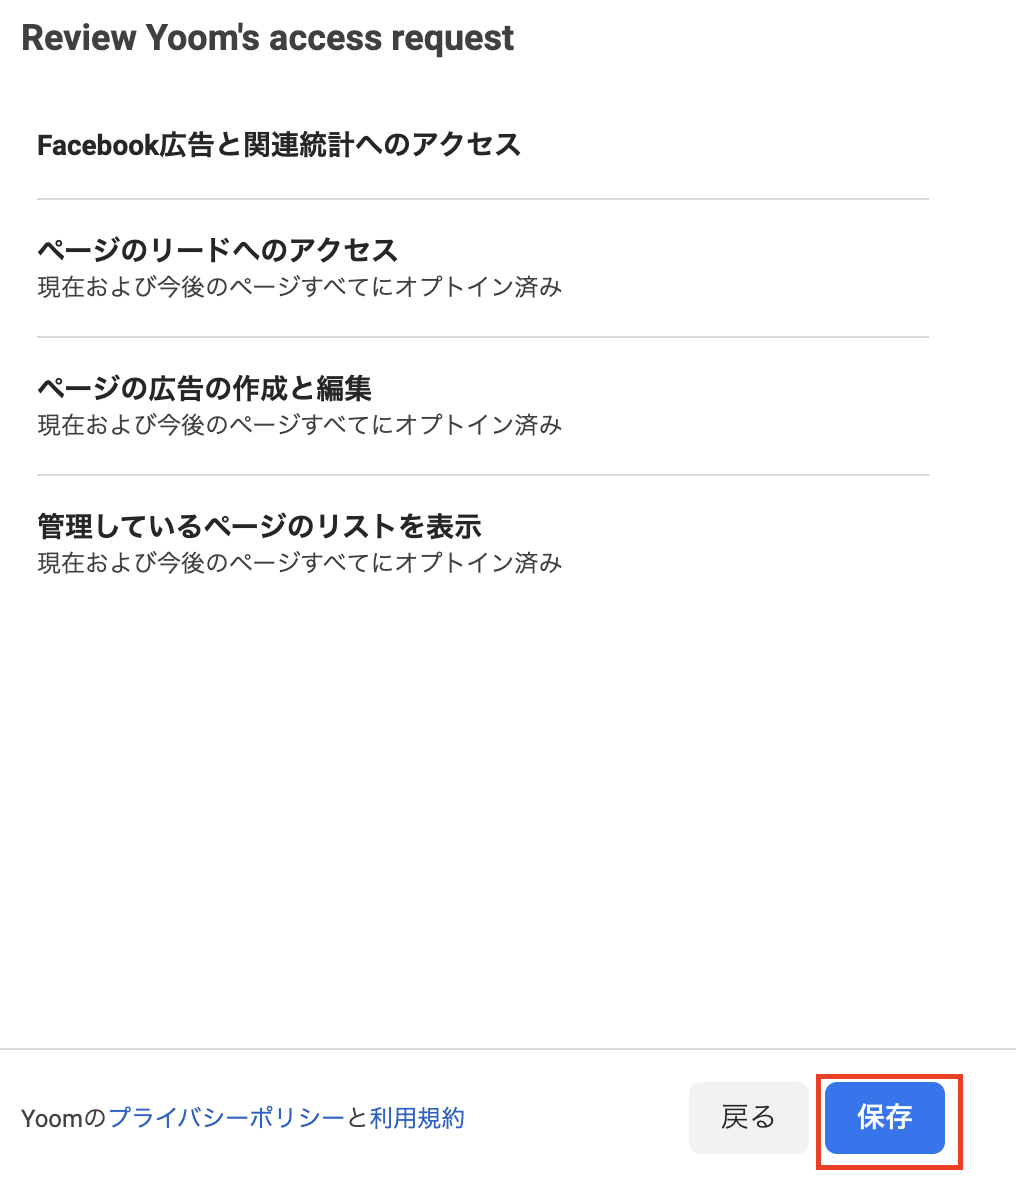
アクセスリクエストを確認して「保存」をクリックします。
Yoomにリンクされていますの画面で「OK」をクリックしてください。
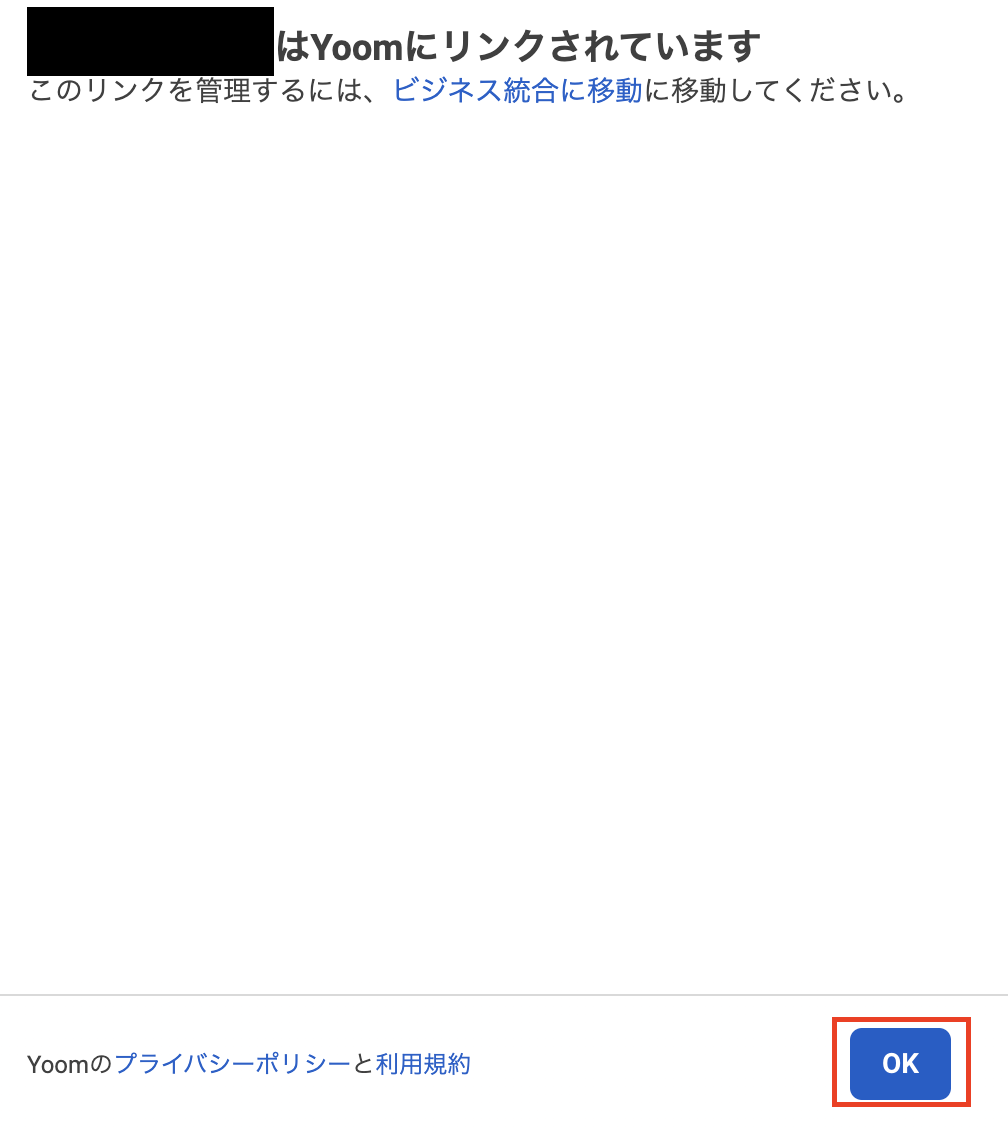
以上でMeta広告(Facebook)のマイアプリ登録ができました。
2.Zoomのマイアプリ登録
次にZoomをYoomと連携しましょう。
さきほどと同様に、マイアプリ→新規接続の順でクリックしましょう。

マイアプリの新規接続でZoomをクリックしましょう。

Client IDとClient secretを入力しましょう。
Zoomの詳しいマイアプリ登録方法はこちらをご確認ください。

以上でZoomのマイアプリ登録ができました。
3.Gmailのマイアプリ登録
次にGmailをYoomと連携します。
さきほどと同様に、マイアプリ→新規接続をクリックしましょう。

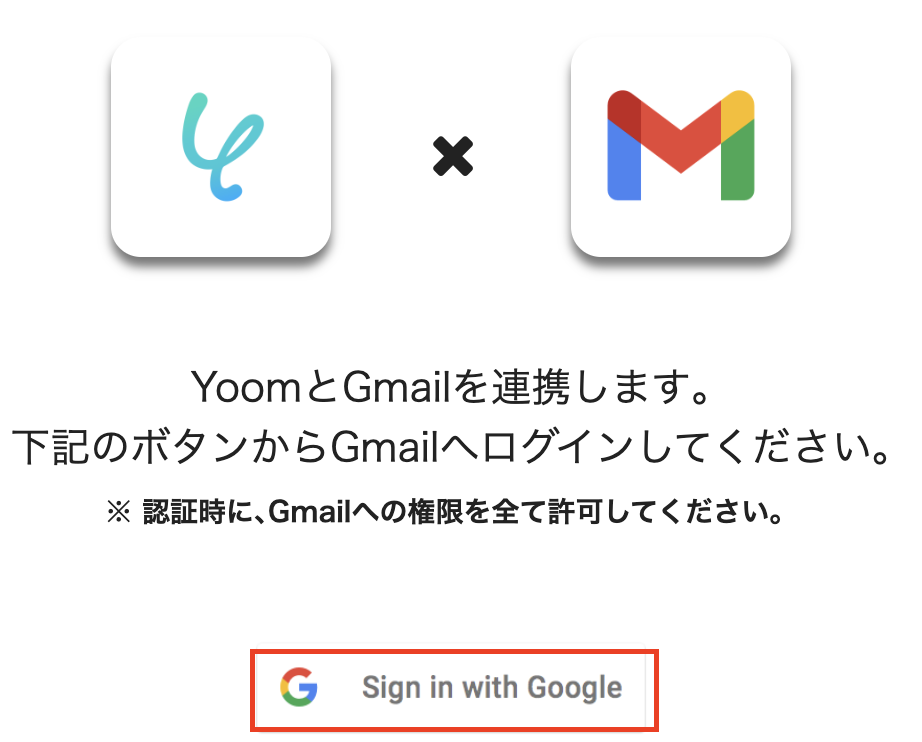
マイアプリの新規接続でGmailを選択しましょう。

「Sign in with Google」をクリックしてください。
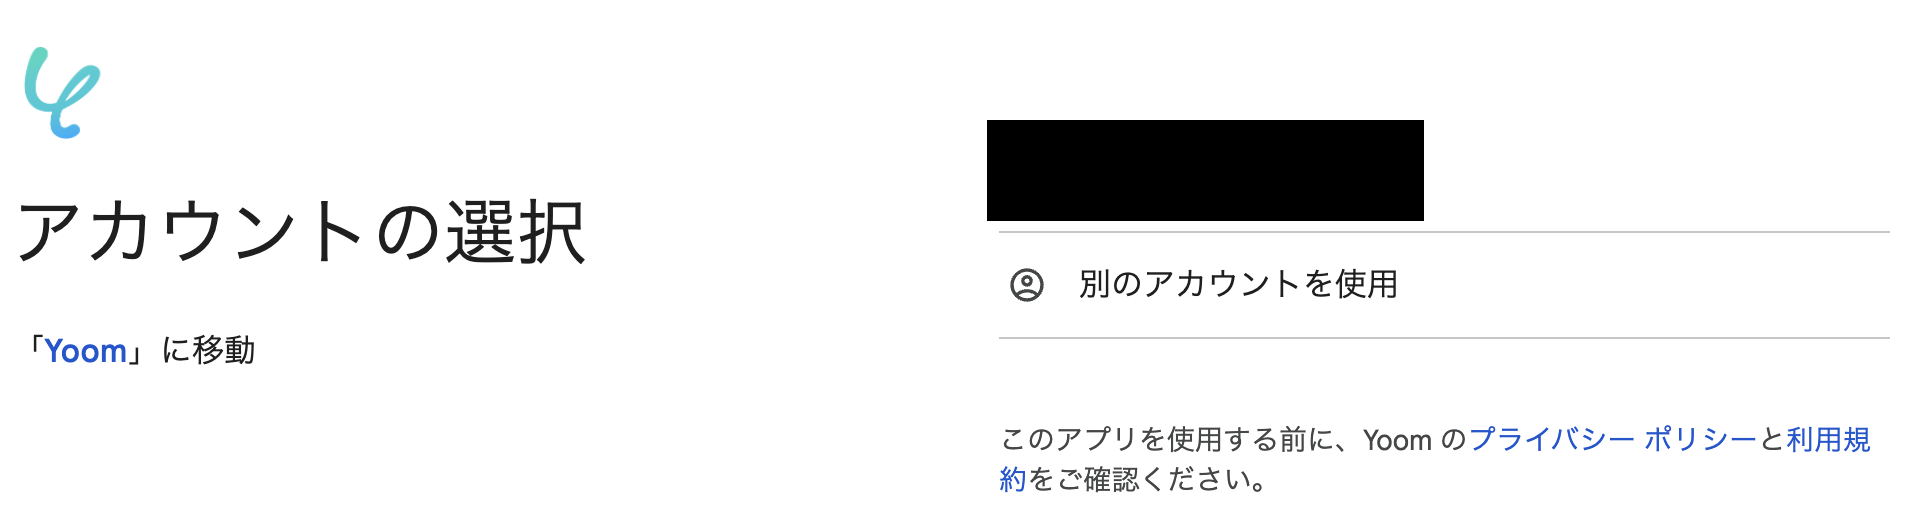
アカウントを選択しましょう。
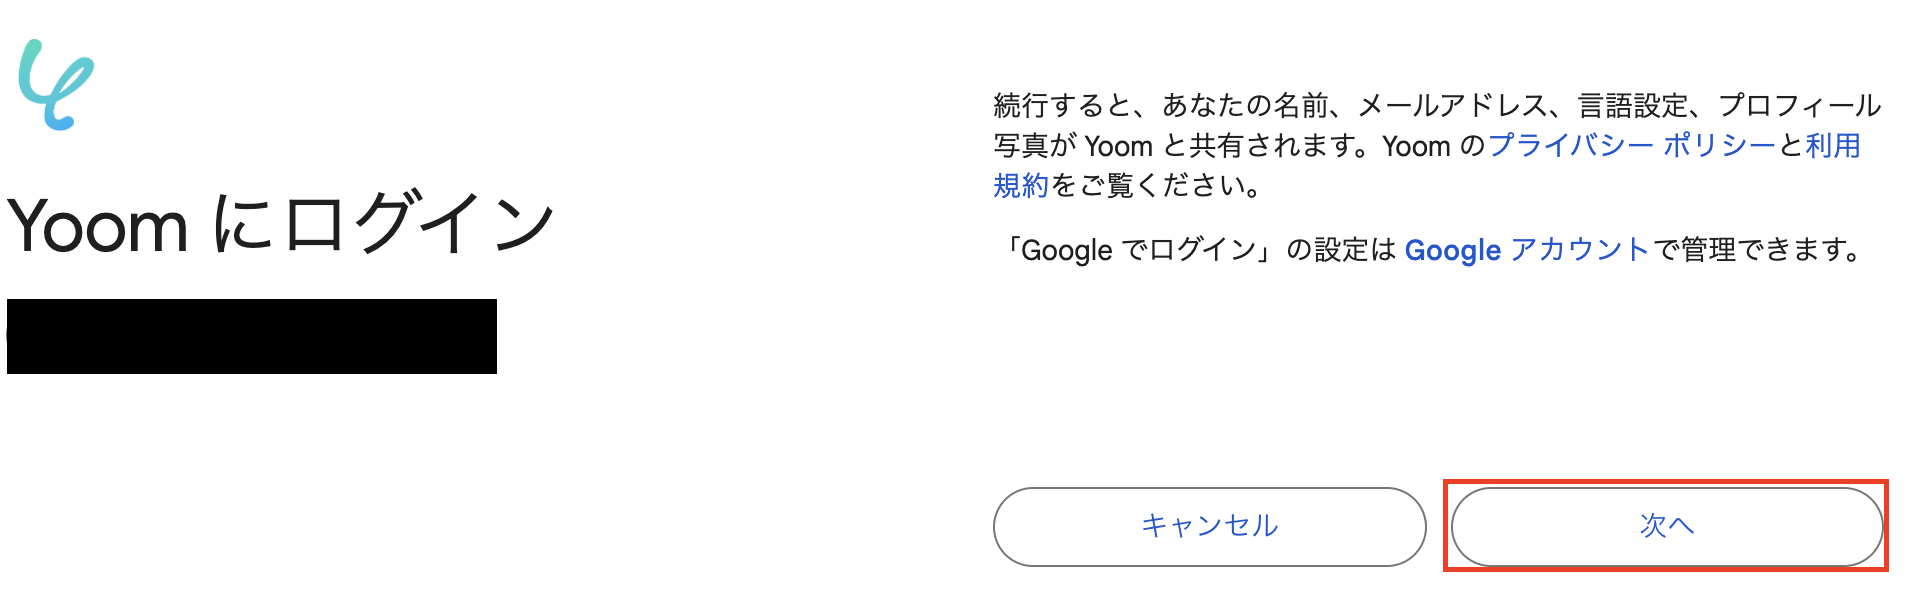
「次へ」を選択しましょう。
「続行」をクリックしてください。
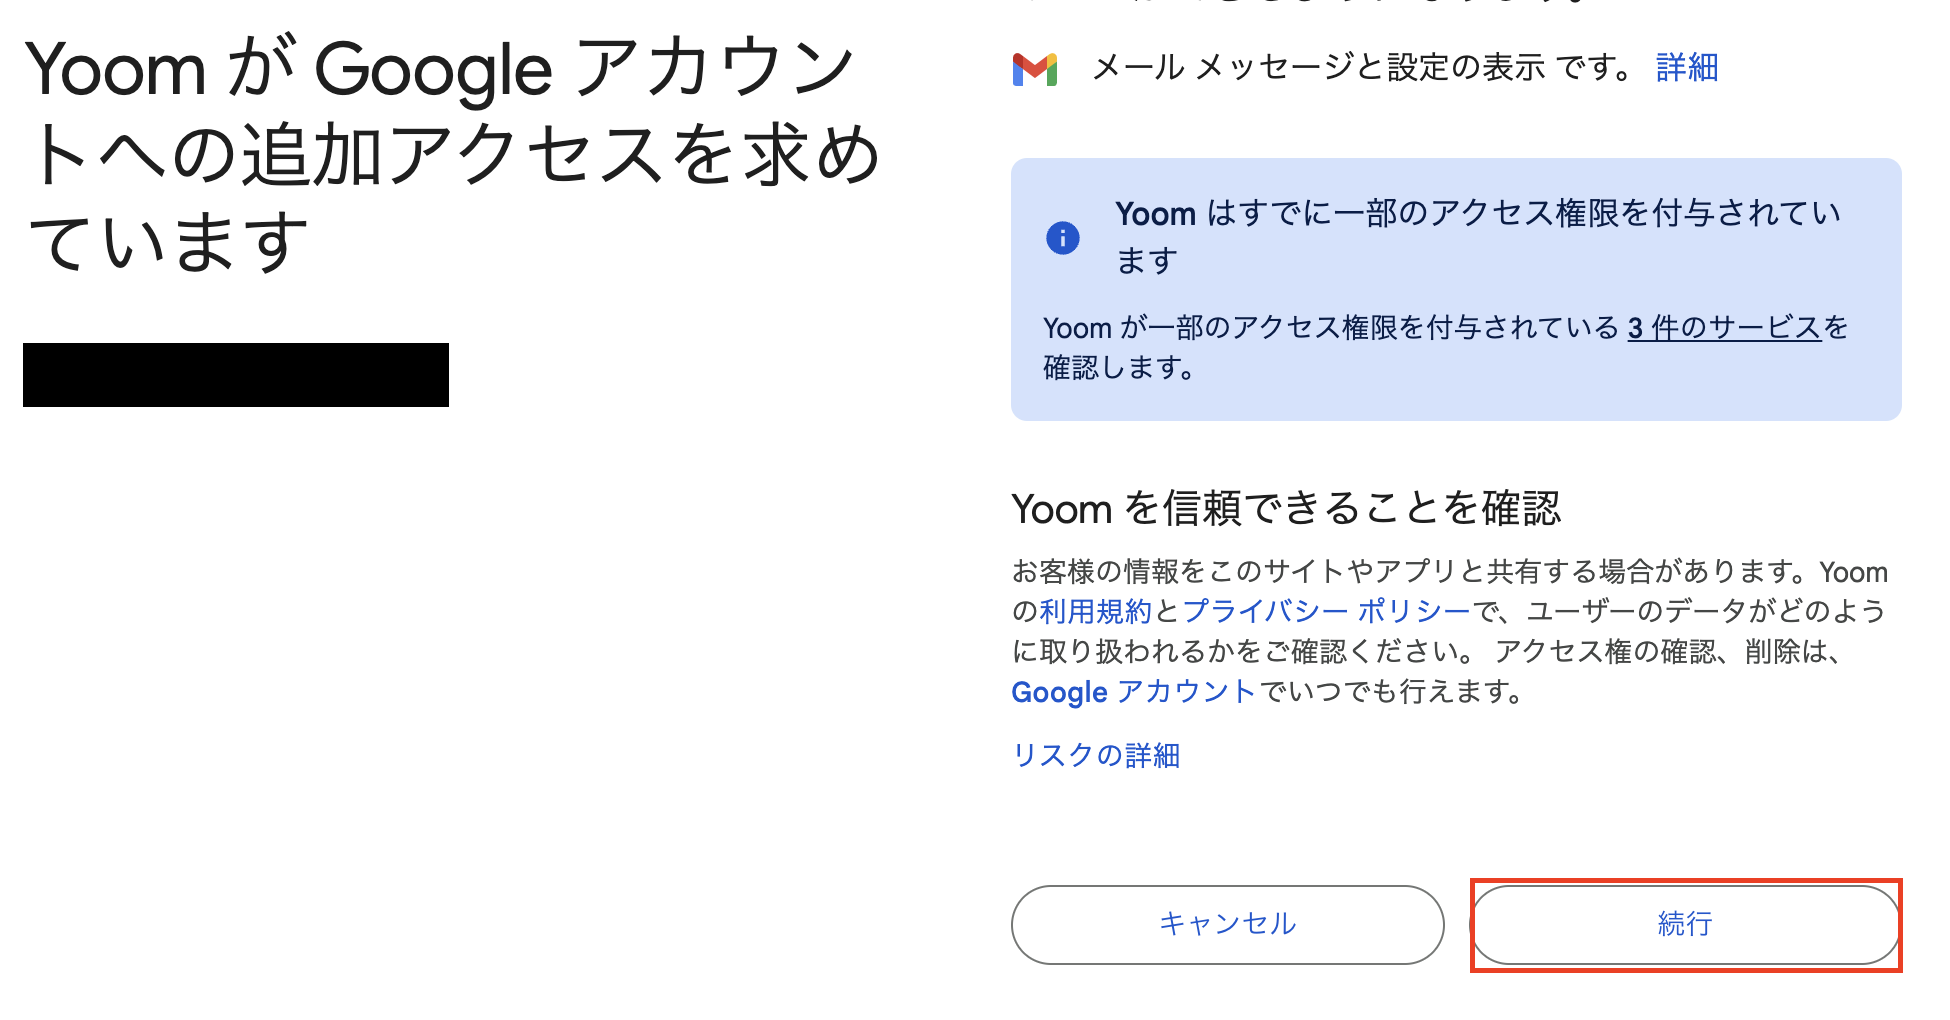
以上でGmailのマイアプリ登録ができました。
■概要
Meta広告(Facebook)でリードが登録されたら、Zoomでウェビナーを作成しGmailでその情報を相手に送信するフローです。
Yoomを利用すると、プログラミング不要で簡単にアプリ同士を連携することができます。
■このテンプレートをおすすめする方
1.Meta広告(Facebook)でウェビナー集客をしているマーケティング担当者
・リード獲得後に手動でウェビナー登録や情報送信を行う手間を省いて自動化することで業務効率化を図りたい方
2.複数ツールを連携させて効率的なマーケティング活動を行いたい方
・リード獲得からウェビナー開催までのプロセスを自動化してシームレスなマーケティング活動を実現したい方
■このテンプレートを使うメリット
Meta広告(Facebook)で獲得したリードに対し迅速にウェビナーを設定しコミュニケーションをスタートすることは、リードナーチャリングにおいて非常に重要です。
このフローを活用することで、Meta広告(Facebook)でリードが登録されるとZoomでウェビナーが自動作成されて参加情報がGmailで相手に送信されます。
これによって、シームレスなマーケティング活動を可能にして業務効率化を図ることができます。
■注意事項
・Meta広告(Facebook)、Zoom、GmailのそれぞれとYoomを連携してください。
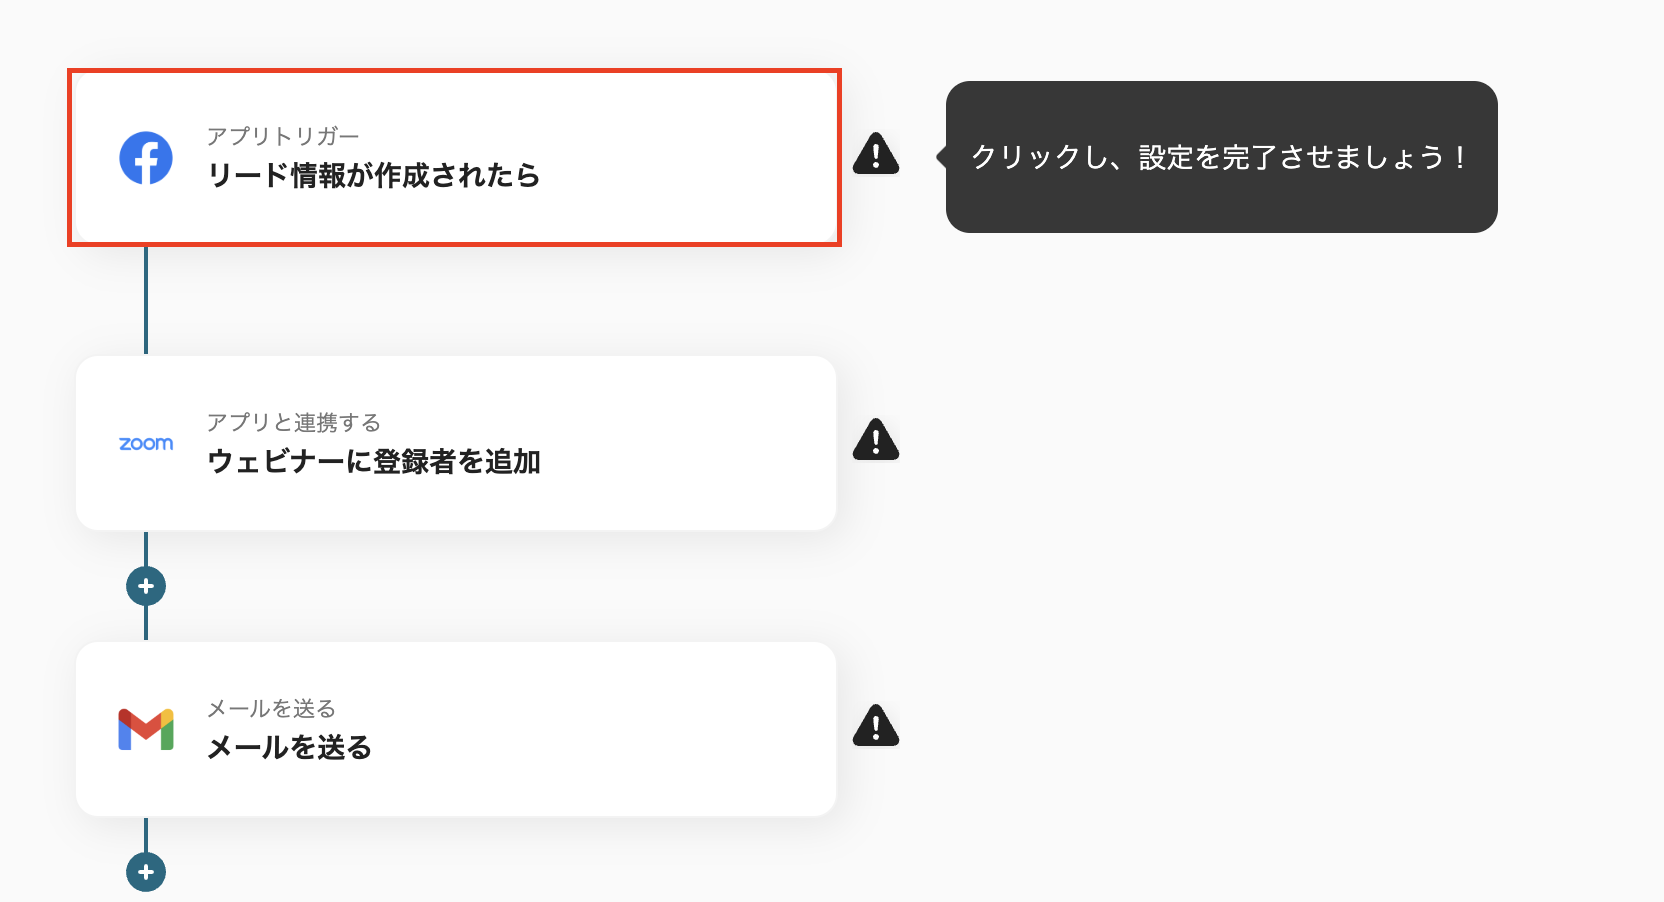
ステップ2:Meta広告(Facebook)のトリガーを設定
下準備が完了したら、フローボットの設定を進めましょう。
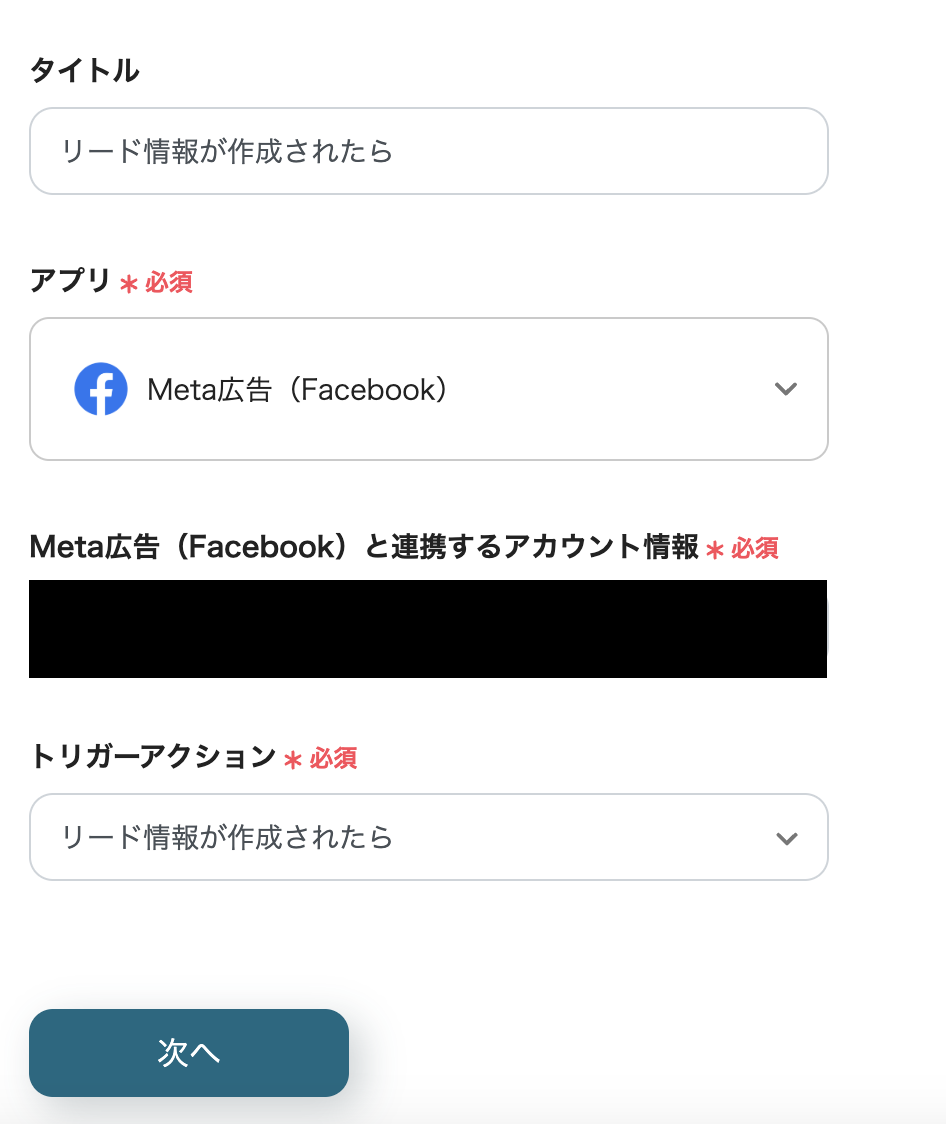
「リード情報が作成されたら」をクリックしてください。
1.連携アカウントとアクションを選択
・タイトルは変更可能です。
・Meta広告(Facebook)と連携するアカウント情報を確認しましょう。
・トリガーは「リード情報が作成されたら」です。
・全て設定できたら「次へ」をクリックしましょう。
2.アプリトリガーのAPI接続設定
・トリガーの起動間隔を設定しましょう。
・起動間隔は契約プランによって異なりますので、ご確認ください。
・フォームIDを入力しましょう。
・全て設定できたら、テストをします。
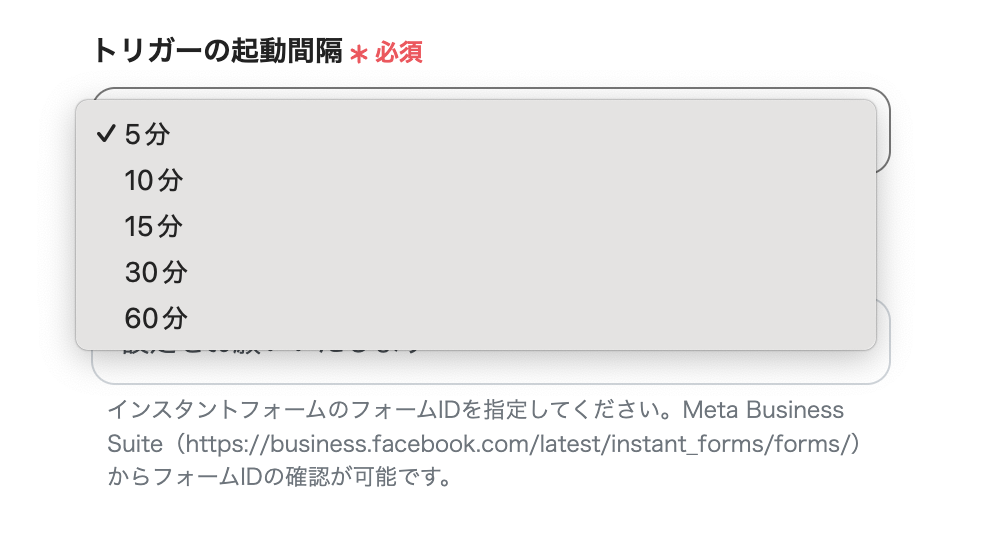
・テストが成功し、Facebookのアウトプットが取得できたら保存しましょう。
・アウトプットについてはこちらを参考にしてください。

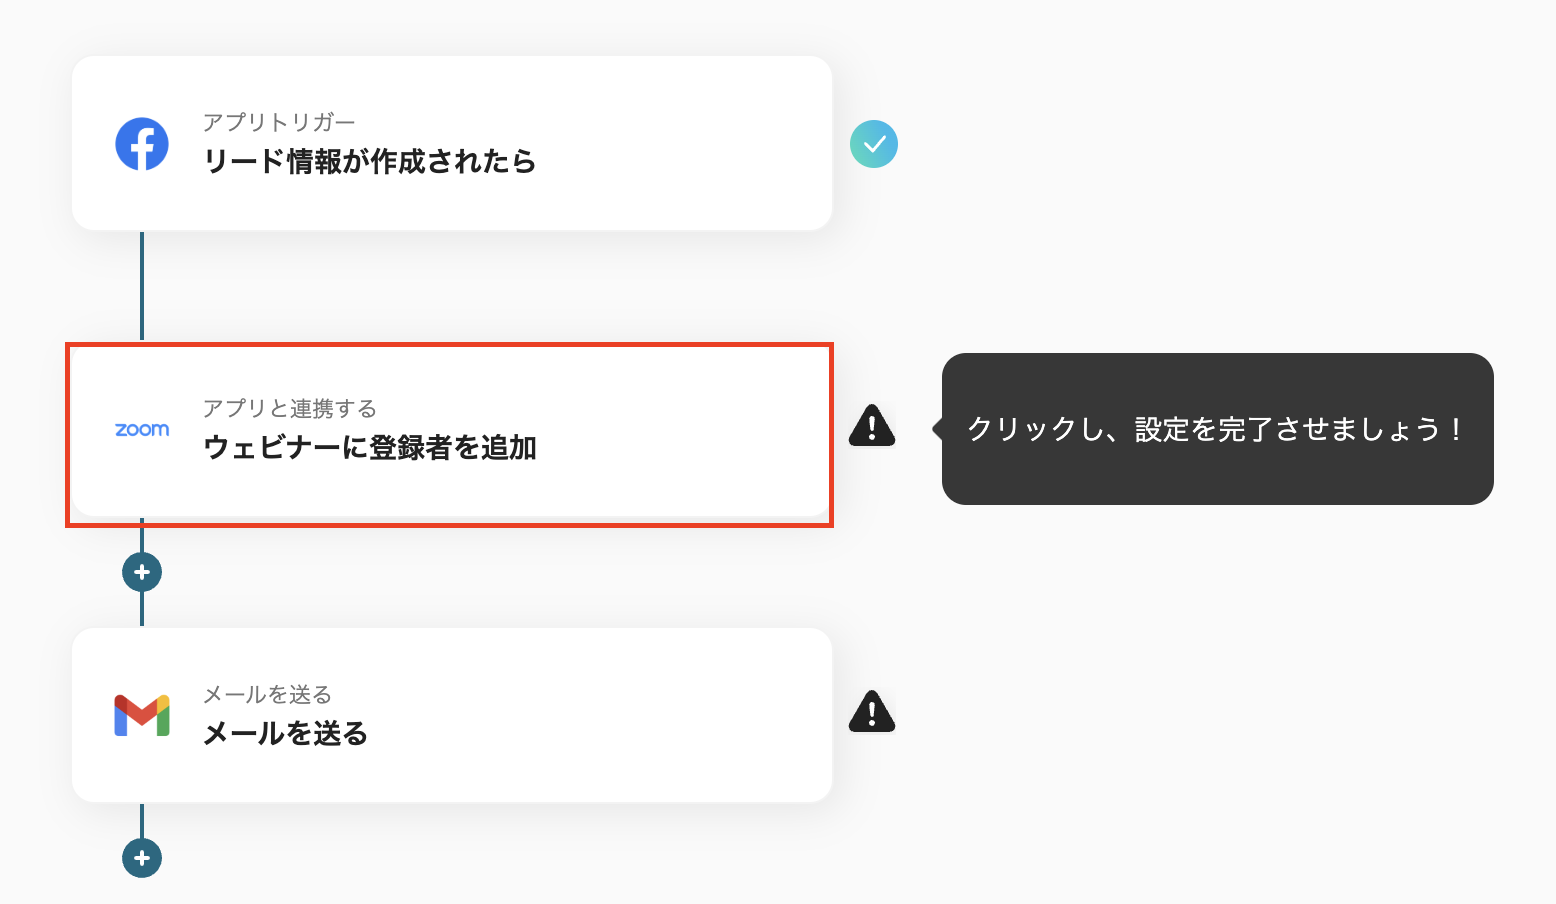
ステップ3:Zoomでミーティングを作成
次に「ウェビナーに登録者を追加」をクリックして設定を続けましょう。
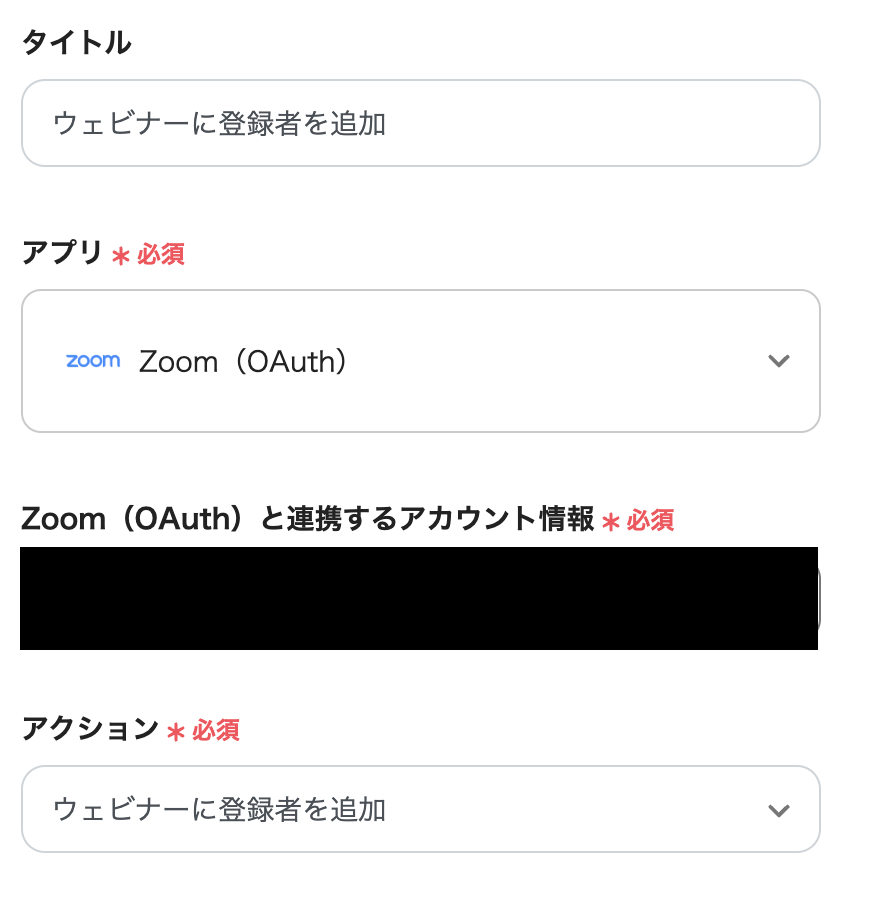
1.連携アカウントとアクションを選択
・タイトルは変更できます。
・Zoomと連携するアカウント情報を確認しましょう。
・アクションは「ウェビナーに登録者を追加」です。
・設定できたら「次へ」をクリックします。
2.API接続設定
・必須項目を入力しましょう。
・入力するときに、Meta広告(Facebook)のアウトプットから選択し、添付画像のように入力しましょう。
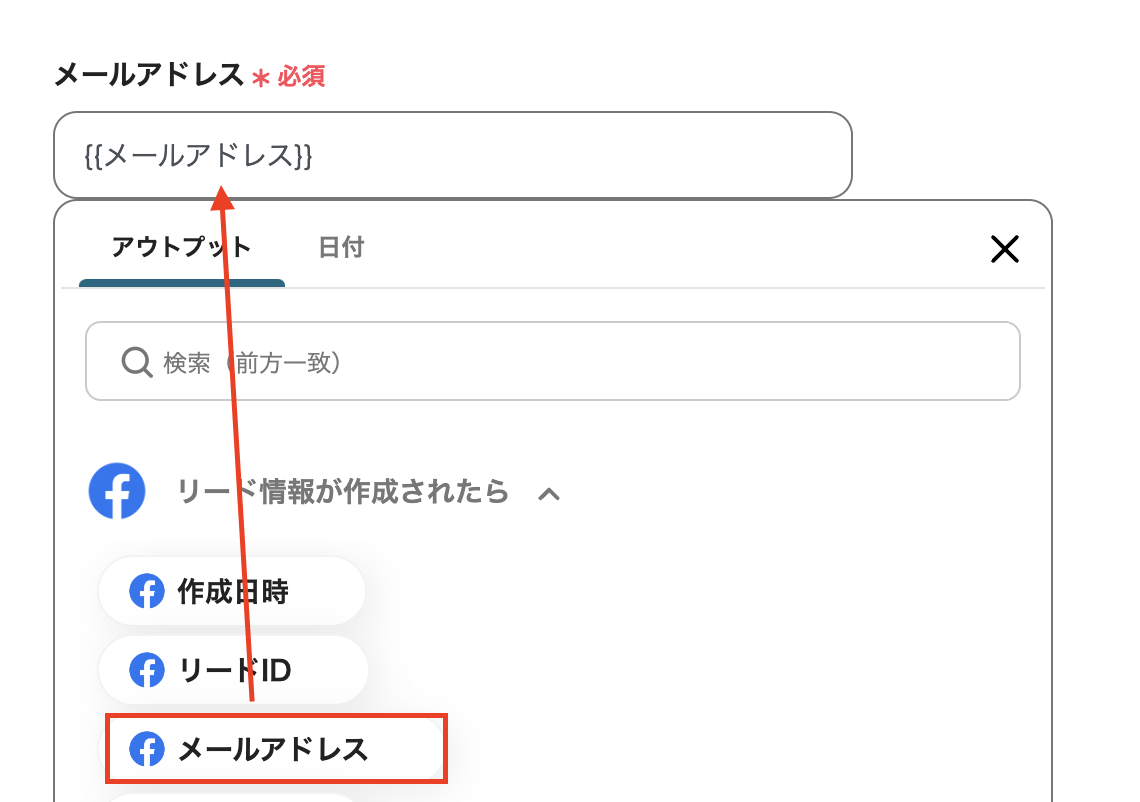
入力できたらテストを実行して、アウトプットが取得できたら保存しましょう。
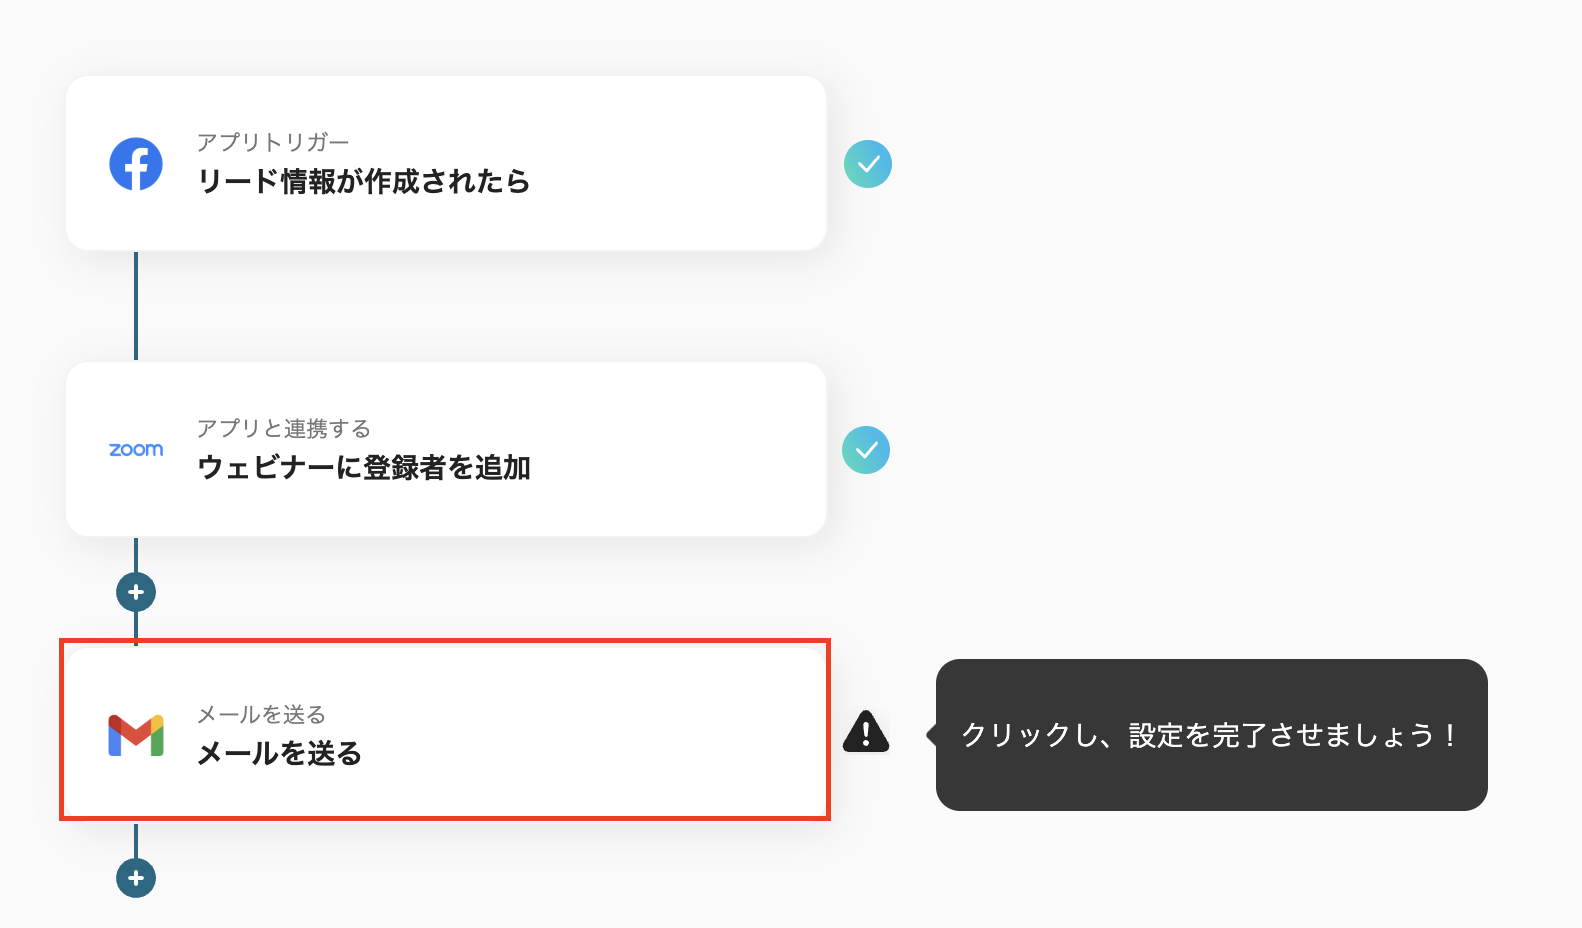
ステップ4:Gmailで案内を送信
最後の項目になりました。
「メールを送る」をクリックして設定を進めましょう。
1.メールの設定
・タイトルは変更できます。
・Gmailと連携するアカウント情報を確認しましょう。
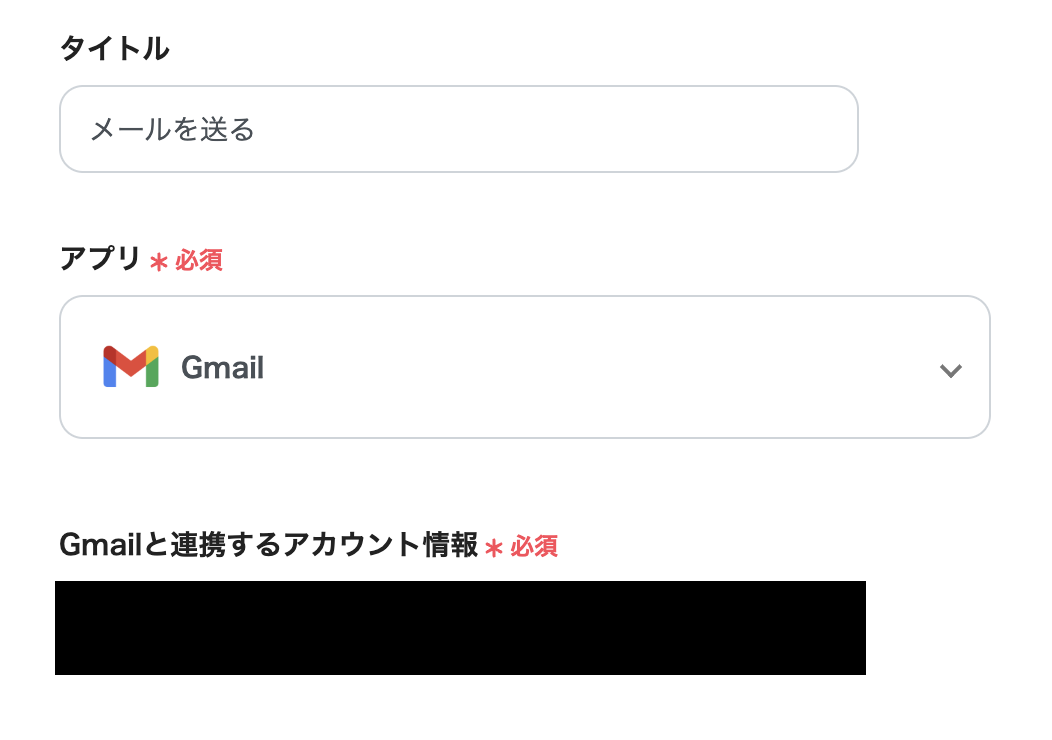
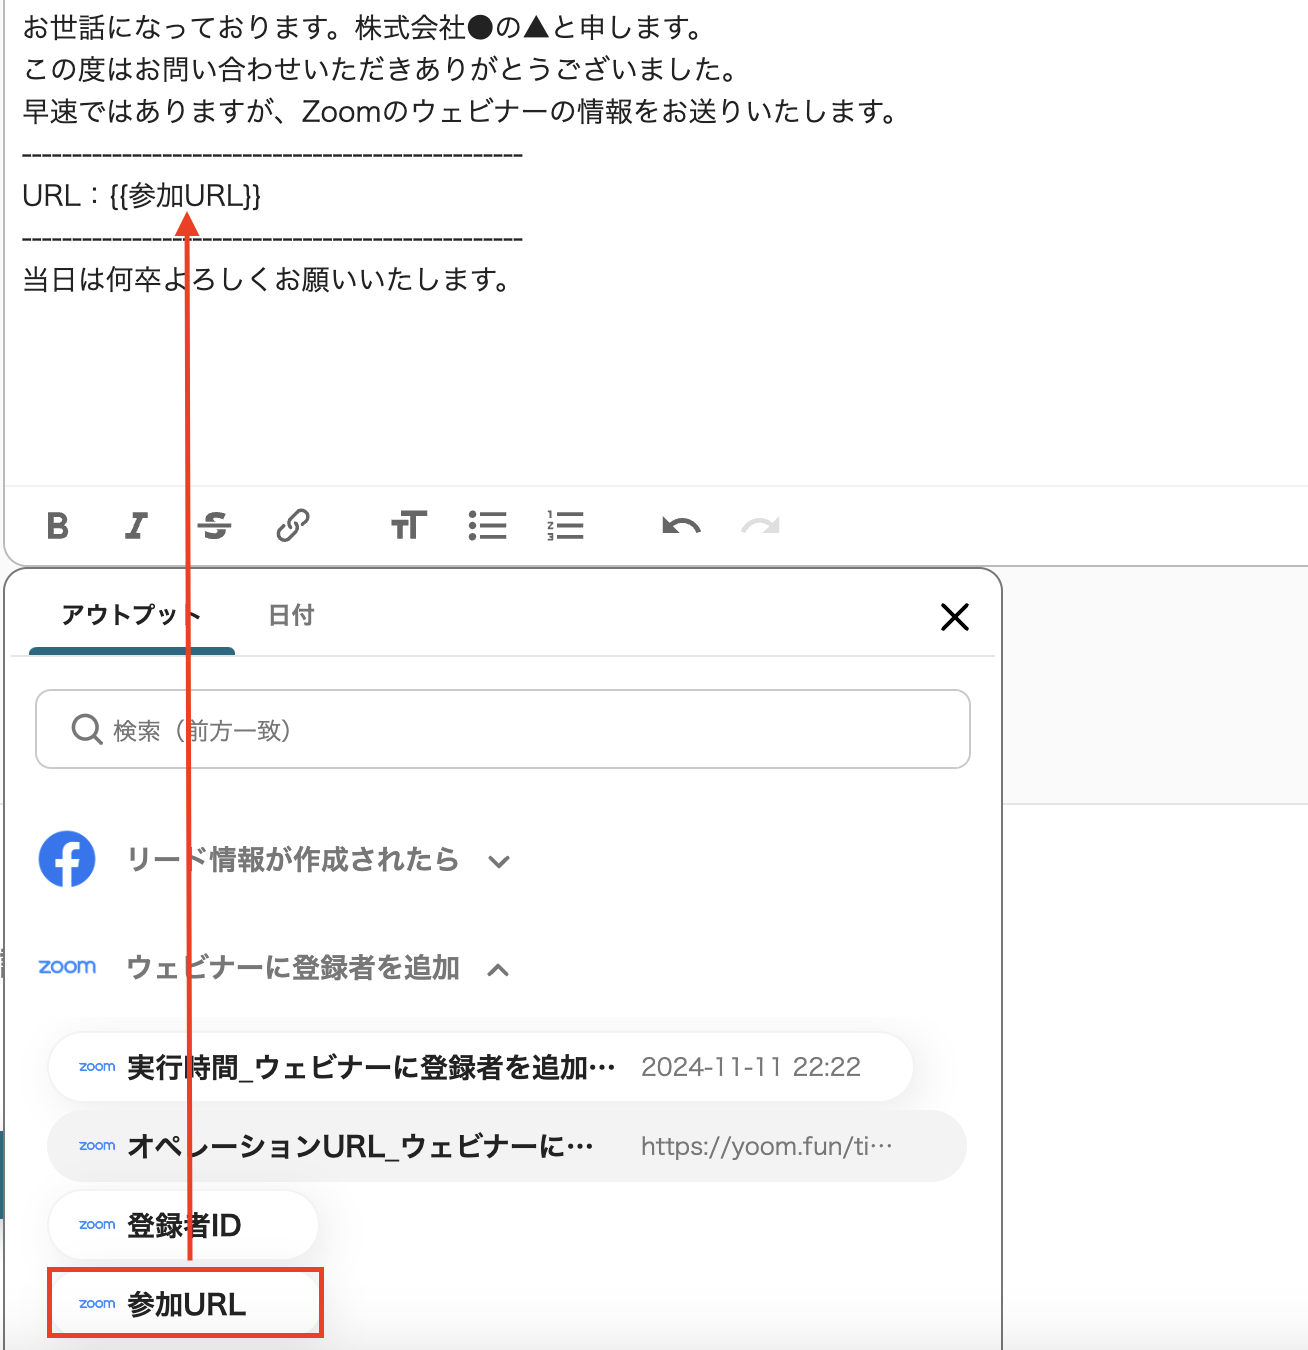
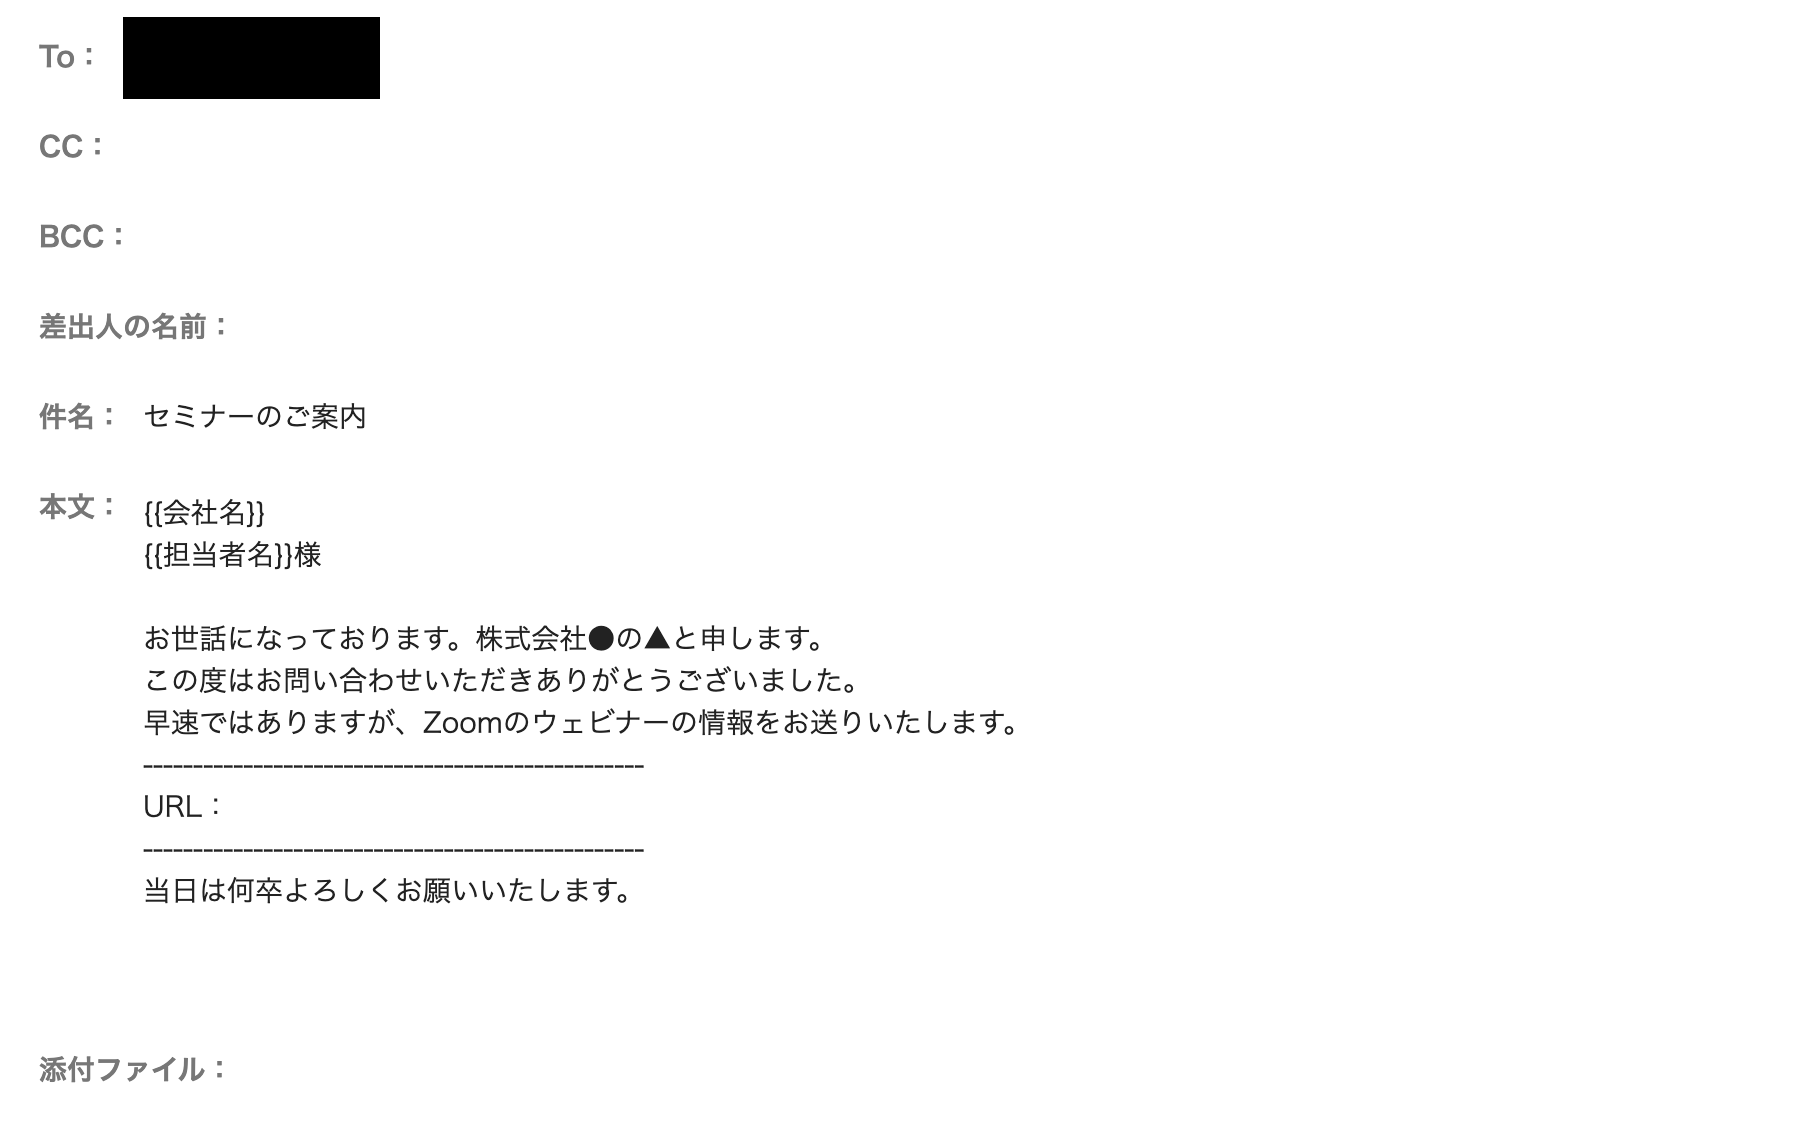
・メール内容の必須項目を入力してください。
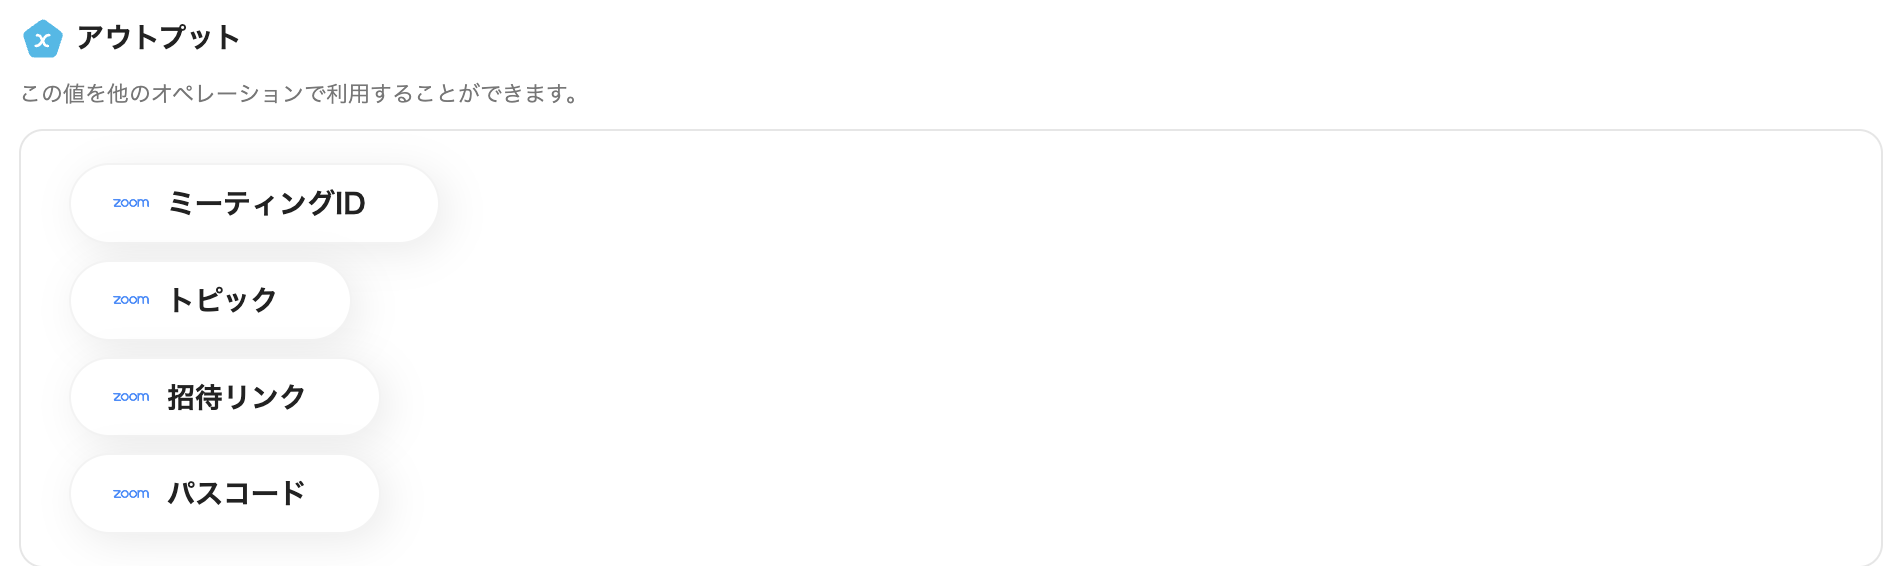
・メッセージ内容は添付画像のように、Zoomの参加URLをアウトプットから選択しましょう。
・設定できたら「次へ」をクリックします。
2.メール送信のテスト
・メールの内容を確認したらテストを実行し、メールが届いたら保存しましょう。
保存をしたら、すべての設定が完了したと表示がされたら、「トリガーをON」をクリックしましょう。
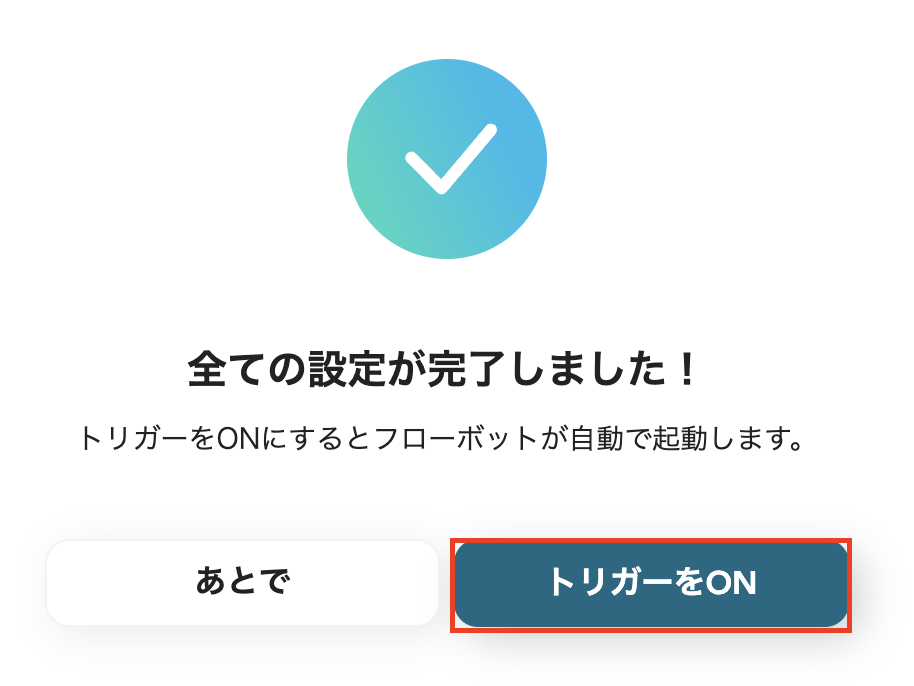
以上でフローボット設定が完了しました!
■概要
Meta広告(Facebook)でリードが登録されたら、Zoomでウェビナーを作成しGmailでその情報を相手に送信するフローです。
Yoomを利用すると、プログラミング不要で簡単にアプリ同士を連携することができます。
■このテンプレートをおすすめする方
1.Meta広告(Facebook)でウェビナー集客をしているマーケティング担当者
・リード獲得後に手動でウェビナー登録や情報送信を行う手間を省いて自動化することで業務効率化を図りたい方
2.複数ツールを連携させて効率的なマーケティング活動を行いたい方
・リード獲得からウェビナー開催までのプロセスを自動化してシームレスなマーケティング活動を実現したい方
■このテンプレートを使うメリット
Meta広告(Facebook)で獲得したリードに対し迅速にウェビナーを設定しコミュニケーションをスタートすることは、リードナーチャリングにおいて非常に重要です。
このフローを活用することで、Meta広告(Facebook)でリードが登録されるとZoomでウェビナーが自動作成されて参加情報がGmailで相手に送信されます。
これによって、シームレスなマーケティング活動を可能にして業務効率化を図ることができます。
■注意事項
・Meta広告(Facebook)、Zoom、GmailのそれぞれとYoomを連携してください。
Meta広告(Facebook)・Zoomを使ったその他の自動化例
Yoomでは、日々テンプレートを増産中です。
ここでは、その一部をご紹介します。
1.Meta広告(Facebook)でリードが登録されたら、自動的にZoomで会議を作成しOutlookで送信する。
この記事でご紹介したフローのメール送信をGmailからOutlookに変更したテンプレートです。
このテンプレートを活用できれば、入力作業を削減でき、時間を有効活用することが可能になります。
これにより、業務の生産性が向上することが期待できます。
■概要
Meta広告(Facebook)でリードが登録されたら、Zoomにウェビナーを登録しOutlookで会議情報を先方に送信するフローです。
Yoomを利用すると、プログラミング不要で簡単にアプリ同士を連携することができます。
■このテンプレートをおすすめする方
1.Meta広告(Facebook)でウェビナー集客をしているマーケティング担当者
・リード獲得後、手動でウェビナー登録や会議情報送信を行う手間を省いて自動化することで業務効率化を図りたい方
2.複数ツールを連携させて効率的なマーケティング活動を行いたい方
・リード獲得からウェビナー開催までのプロセスを自動化してシームレスなマーケティング活動を実現したい方
■このテンプレートを使うメリット
Meta広告(Facebook)で集客したリードを、Zoomのウェビナーに招待したいと考えている方が多いと思います。
しかし、手作業でZoomウェビナーに登録しOutlookで個別に会議情報を送るのは、人的なミスや対応の遅れに繋がる可能性も懸念されます。
このフローを活用することで、Meta広告(Facebook)でリードが登録されるとZoomにウェビナーが自動登録されてOutlookで会議情報が先方に送信されます。
これにより、リード獲得から会議設定までのプロセスを自動化して迅速な対応が可能となります。
■注意事項
・Meta広告(Facebook)、Zoom、OutlookのそれぞれとYoomを連携してください。
・Microsoft365(旧Office365)には、家庭向けプランと一般法人向けプラン(Microsoft365 Business)があり、一般法人向けプランに加入していない場合には認証に失敗する可能性があります。
2.Meta広告(Facebook)でリードが登録されたら、自動的にZoomで会議を作成してメールで送信する。
こちらも、この記事で紹介したフローのメール送信アプリを変更したテンプレートです。
マイアプリ登録をするだけで、業務に沿ったフローボットを簡単に作成できるのがYoomのメリットです。
■概要
Meta広告(Facebook)でリードが登録されたら、Zoomで会議を作成しメールで会議情報を先方に送信するフローです。
■このテンプレートをおすすめする方
1.Meta広告(Facebook)でリード獲得を行いZoomでオンライン商談や説明会などを実施している方
・手作業で会議設定やメール送信を行う手間を省いて業務効率を向上させたい方
2.リードナーチャリングを効率化したい方
・自動的に会議を設定することで、顧客との接触機会を増やしナーチャリングプロセスを促進したい方
■このテンプレートを使うメリット
Meta広告(Facebook)は多くの潜在顧客にリーチできる効果的なマーケティングツールです。
しかしながら、リード獲得後の対応を手作業で行うのは時間のかかる作業となってしますことが度々あります。
このフローを導入することで、Facebook広告でリードが登録されたらZoom会議が自動作成され会議情報がメールで送信されます。
これにより、リード獲得から会議設定までのプロセスを自動化し迅速な対応が可能になります。
■注意事項
・Meta広告(Facebook)、ZoomのそれぞれとYoomを連携してください。
3.Meta広告(Facebook)にリード情報が登録されたら、Zoomのウェビナーに追加する。
セミナーなど多数の出席が予想される場合、リード登録情報を手作業でウェビナーに登録していると、入力の手間や労力がかかります。
このテンプレートを活用すると、都度入力作業を自動化し、重要な業務に時間を充てることが可能になります。
■概要Meta広告(Facebook)で獲得したリード情報を、一件ずつ手作業でZoomのウェビナーに登録していませんか?この作業は手間がかかるだけでなく、転記ミスや登録漏れといったヒューマンエラーの原因にもなりがちです。このワークフローを活用すれば、Meta広告(Facebook)のフォームに新しいリード情報が登録されると、自動でZoomのウェビナーに登録者を追加することが可能になり、こうした手作業による煩わしさを削減します。
■このテンプレートをおすすめする方- Meta広告(Facebook)で集めたリード情報を活用し、ウェビナー集客を行っているマーケターの方
- 広告リードの手動登録による工数や、Zoomへの登録漏れに課題を感じているご担当者様
- ウェビナーへの登録プロセスを自動化し、本来の業務に集中したいと考えている方
■このテンプレートを使うメリット- Meta広告(Facebook)にリードが登録されると、自動でZoomのウェビナーに追加されるため、これまで手作業で行っていた登録業務の時間を短縮できます。
- 手作業でのデータ転記が減ることで、入力ミスや登録漏れといったヒューマンエラーを防ぎ、リード情報を正確に管理することが可能になります。
■フローボットの流れ- はじめに、Meta広告(Facebook)とZoomをYoomと連携します。
- 次に、トリガーでMeta広告(Facebook)を選択し、「リード情報が作成されたら」というアクションを設定します。
- 最後に、オペレーションでZoomの「ウェビナーに登録者を追加」アクションを設定し、トリガーで取得したリード情報をマッピングします。
※「トリガー」:フロー起動のきっかけとなるアクション、「オペレーション」:トリガー起動後、フロー内で処理を行うアクション
■このワークフローのカスタムポイント- Meta広告(Facebook)のトリガー設定では、リード情報を検知する対象のフォームを任意で設定してください。
- Zoomのオペレーション設定では、ウェビナー登録者として追加する氏名やメールアドレスなどの情報を任意で設定することが可能です。
■注意事項- Meta広告(Facebook)、ZoomのそれぞれとYoomを連携してください。
- トリガーは5分、10分、15分、30分、60分の間隔で起動間隔を選択できます。
- プランによって最短の起動間隔が異なりますので、ご注意ください。
- Meta広告(Facebook)で集めたリード情報を活用し、ウェビナー集客を行っているマーケターの方
- 広告リードの手動登録による工数や、Zoomへの登録漏れに課題を感じているご担当者様
- ウェビナーへの登録プロセスを自動化し、本来の業務に集中したいと考えている方
- Meta広告(Facebook)にリードが登録されると、自動でZoomのウェビナーに追加されるため、これまで手作業で行っていた登録業務の時間を短縮できます。
- 手作業でのデータ転記が減ることで、入力ミスや登録漏れといったヒューマンエラーを防ぎ、リード情報を正確に管理することが可能になります。
- はじめに、Meta広告(Facebook)とZoomをYoomと連携します。
- 次に、トリガーでMeta広告(Facebook)を選択し、「リード情報が作成されたら」というアクションを設定します。
- 最後に、オペレーションでZoomの「ウェビナーに登録者を追加」アクションを設定し、トリガーで取得したリード情報をマッピングします。
■このワークフローのカスタムポイント
- Meta広告(Facebook)のトリガー設定では、リード情報を検知する対象のフォームを任意で設定してください。
- Zoomのオペレーション設定では、ウェビナー登録者として追加する氏名やメールアドレスなどの情報を任意で設定することが可能です。
- Meta広告(Facebook)、ZoomのそれぞれとYoomを連携してください。
- トリガーは5分、10分、15分、30分、60分の間隔で起動間隔を選択できます。
- プランによって最短の起動間隔が異なりますので、ご注意ください。
まとめ
Meta広告(Facebook)・Zoom・Gmailを連携することで、ウェビナー管理を自動化し手作業を軽減できます。
この連携で、これまでのウェビナー管理で費やした時間を使ってコア業務へよりコミットできそうですね。
またYoomを活用すると、プログラミングの知識がなくてもアプリの連携やフローボットの作成ができます。
非エンジニアでも簡単に操作できるため、試しやすいと思います
この機会にYoomを活用してミーティングの設定を自動化しませんか?
プログラミング知識なしで手軽に構築できます。