


The process consists of only 4 steps, so it can be set up in 10-15 minutes.
- Register CloudSign and Salesforce as My Apps
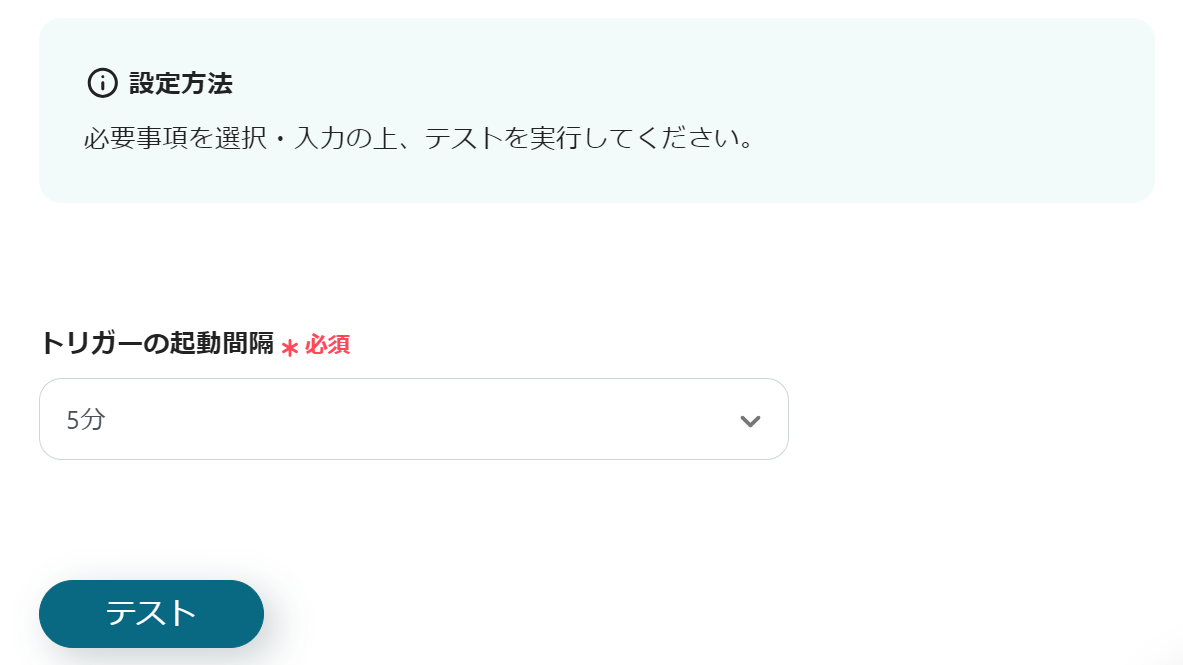
- Set a trigger to activate when the document signing is completed in CloudSign
- Set an action to update records in Salesforce
- Verify the automation between CloudSign and Salesforce
If you are not using Yoom, please register for free here.
If you are already using Yoom, please log in.
Step 1: Register CloudSign and Salesforce as My Apps
Register CloudSign and Salesforce as My Apps to connect them to Yoom.
Completing the My Apps registration first will make the automation setup smoother.
First, register CloudSign as My App.
It is described on the Yoom Help Page, so please refer to it for registration.
Next, register Salesforce as My App.
*Salesforce is an app available only on the Team Plan and Success Plan.
For Free Plan and Mini Plan, there is a possibility of errors occurring in the operations or data connections set in Flowbot, so please be careful.
Paid plans offer a 2-week free trial.
During the free trial, you can use apps that are subject to restrictions, so please give it a try.
This is also described on the Help Page, so please refer to it for registration.
Once the My Apps registration for both CloudSign and Salesforce is completed, they will be displayed.
Step 2: Set a trigger to activate when the document signing is completed in CloudSign
To set up automation, please click "Try it" on the banner below.


.avif)
.avif)


