


The template will be copied to My Project. You can access My Project from the left menu bar.

Step 3: Schedule Trigger "At 9 AM Every Day"
Click on the first step of the template.

Since it is pre-configured, the light blue icon (proof of completion) is lit, but we will introduce the contents.
(1/1) Specify Execution Time

This time, select only weekdays from the day selection tab and set it to start at 9:00. You can reconfigure the repeat days or change the time from this screen. If you need detailed timing settings such as minute intervals, you can operate from the Cron settings tab.
>Learn more: How to Set Cron Settings
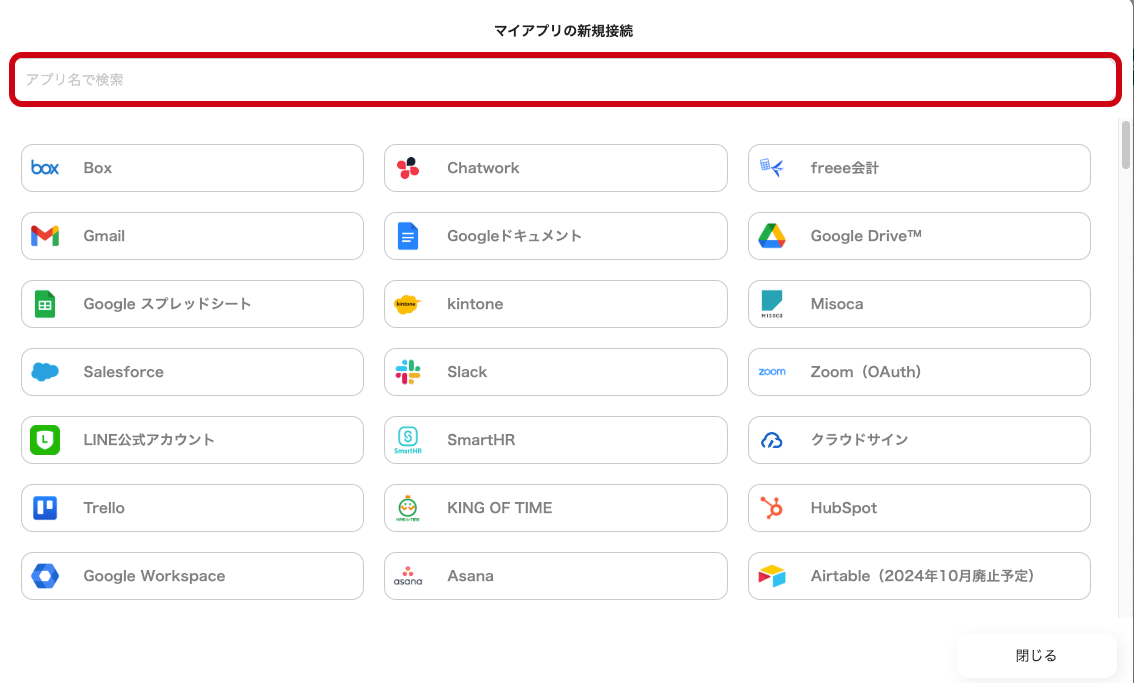
Step 4: Integrate Apps "Get List of Meetings"
Click on the second step of the template.

Retrieve meeting information scheduled for the day on Zoom.
(1/2) Select Linked Account and Action
The items displayed here are pre-configured.
- Title
- Schedule Settings
- Account Information Linked with Zoom
- Trigger Action
→ Click Next
(2/2) API Connection Settings

- Email Address
- Please enter the email address of your Zoom account
- Start Date of Retrieval
- Set to the current day.
- End Date of Retrieval
- Set to the current day.
→ Click Test → Success: The list of meetings scheduled for the day has been retrieved.

→ Click Save
Step 5: Integrate Apps "Send Message to Channel"
Click on the third step of the template.

In this step, set the template message to be sent to Slack.
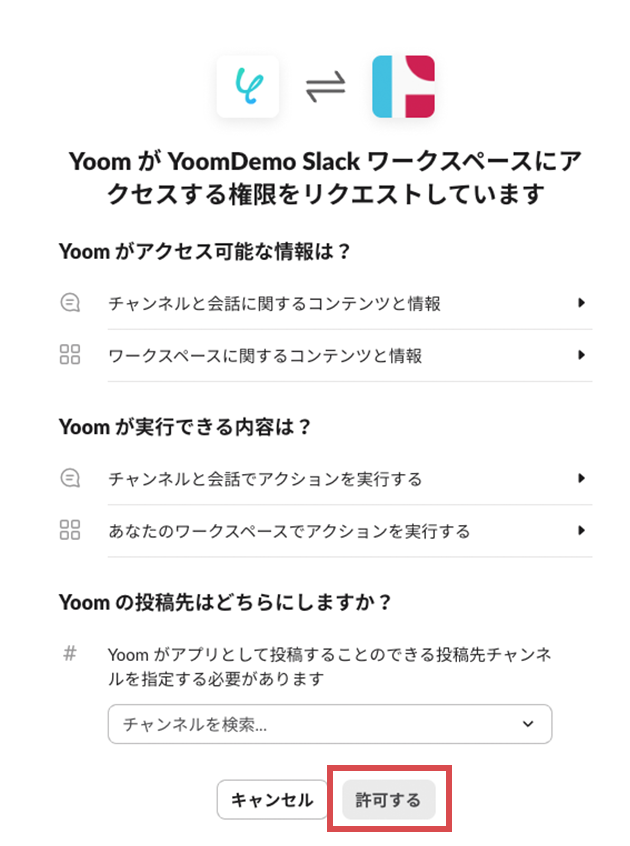
(1/2) Select Linked Account and Action
These items are pre-configured.
- App Trigger Title
- App
- Account Information Linked with Slack
- Trigger Action
→ Click Next.
(2/2) Detailed Settings for Database Operations
- Channel ID to Post
- Click the edit field to display a list of linked channels. Select the relevant channel to quote the ID.
- Alternatively, right-click the relevant channel in the channel list of the Slack desktop app, proceed to Copy/Copy Link, and obtain the URL. The string after /archive/ is the channel ID.

- Message Content
- Click the edit field to display the output retrieved from Zoom. Create the template message while quoting this. It becomes easier to understand if you enter the item name before the quote code.
→ Click Test. → Success
→ Click Save. This concludes the settings for this flow.
Step: Turn ON the App Trigger
Once all steps are configured, a completion screen will be displayed.

Turn ON the Trigger to activate the flow bot. You can switch it with the toggle at the top left of the template. The notification was confirmed in the Slack channel.

<span class="mark-yellow">You have configured the flow bot without programming.</span> Here is the template used this time.


.avif)
.avif)


