

Aggregate Microsoft Excel Data Daily and Post Reports to Microsoft Teams
This flow is recommended for those who spend time aggregating and reporting large amounts of Microsoft Excel data daily. Efficient and accurate data sharing can be expected.
.avif)
・

"Many people find themselves overwhelmed with the task of sharing Microsoft Excel content on Microsoft Teams every week."
Repeatedly opening files, checking them, and posting them on Microsoft Teams can be more cumbersome than you might think.
However, when trying to automate tasks, many might feel anxious, thinking "the setup seems difficult" or "I might not be able to do it without specialized knowledge."
This is especially true if you want to proceed without relying on the IT department.
<span class="mark-yellow">That's why we recommend integrating Microsoft Excel and Microsoft Teams using the no-code tool Yoom.</span>
For example, setting up a flow like "retrieve records from Microsoft Excel at a specified schedule and notify Microsoft Teams" can be done easily by anyone.
If you want to "be freed from tedious manual tasks even a little," be sure to check out this article to the end.
By using Yoom, you can easily integrate Microsoft Excel and Microsoft Teams without any code. Yoom provides templates for integrating Microsoft Excel and Microsoft Teams, so you can achieve integration immediately just by registering, even without API knowledge.
By integrating the APIs of Microsoft Excel and Microsoft Teams, you can automatically link Microsoft Excel data to Microsoft Teams! For example, you can automatically perform data integration like the one below without human intervention.
You can immediately experience the integration of Microsoft Excel and Microsoft Teams by simply clicking "Try it out" for the automation example you're interested in and registering an account.
Registration takes just 30 seconds, so feel free to give it a try!
Since you can automatically notify Microsoft Teams based on the schedule you set, it's recommended for those who find manual notifications cumbersome.
This flow is recommended for those who spend time aggregating and reporting large amounts of Microsoft Excel data daily. Efficient and accurate data sharing can be expected.
Let's get started by creating a flow that integrates Microsoft Excel and Microsoft Teams!
This time, we'll use Yoom to proceed with the integration of Microsoft Excel and Microsoft Teams without any coding. If you don't have a Yoom account yet, please register here to create an account.
[What is Yoom]
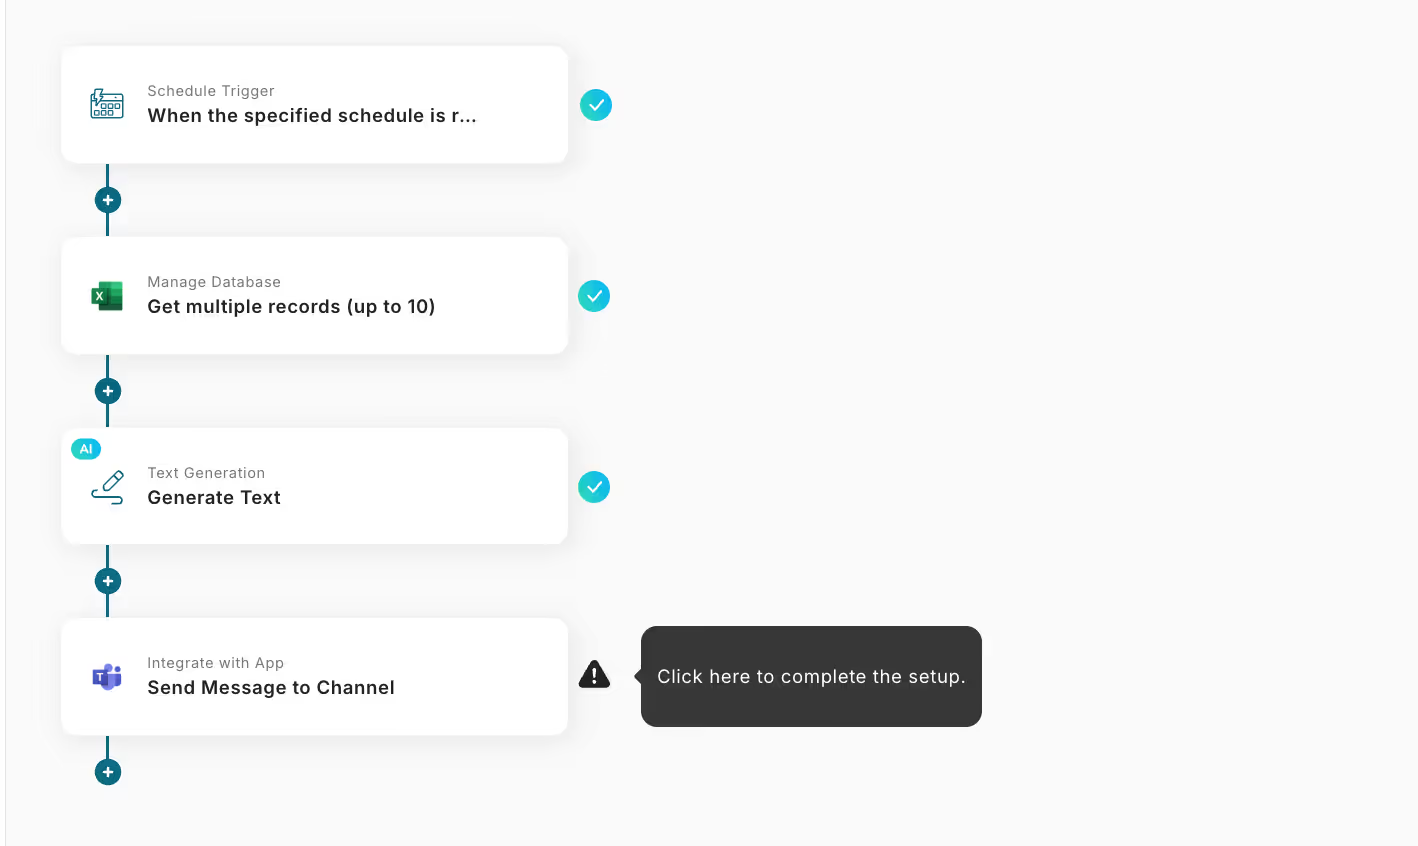
This time, we will create a flow bot that retrieves records from a specific Microsoft Excel at a designated schedule and notifies Microsoft Teams!
The creation process is broadly divided into the following steps.
[Notes]
Both apps used in this flow are from Microsoft. "Microsoft 365 (formerly Office 365)" has both personal and business plans (Microsoft 365 Business). If you do not have a business plan, authentication from Yoom may not work properly, so please be aware.
Here, we will integrate Yoom with each app to enable operations.
First, log in to Yoom, click on My Apps in the left menu, and then click the "+ Add" button on the right.

1. Search
Enter Microsoft Excel in the search box and click the Microsoft Excel icon.

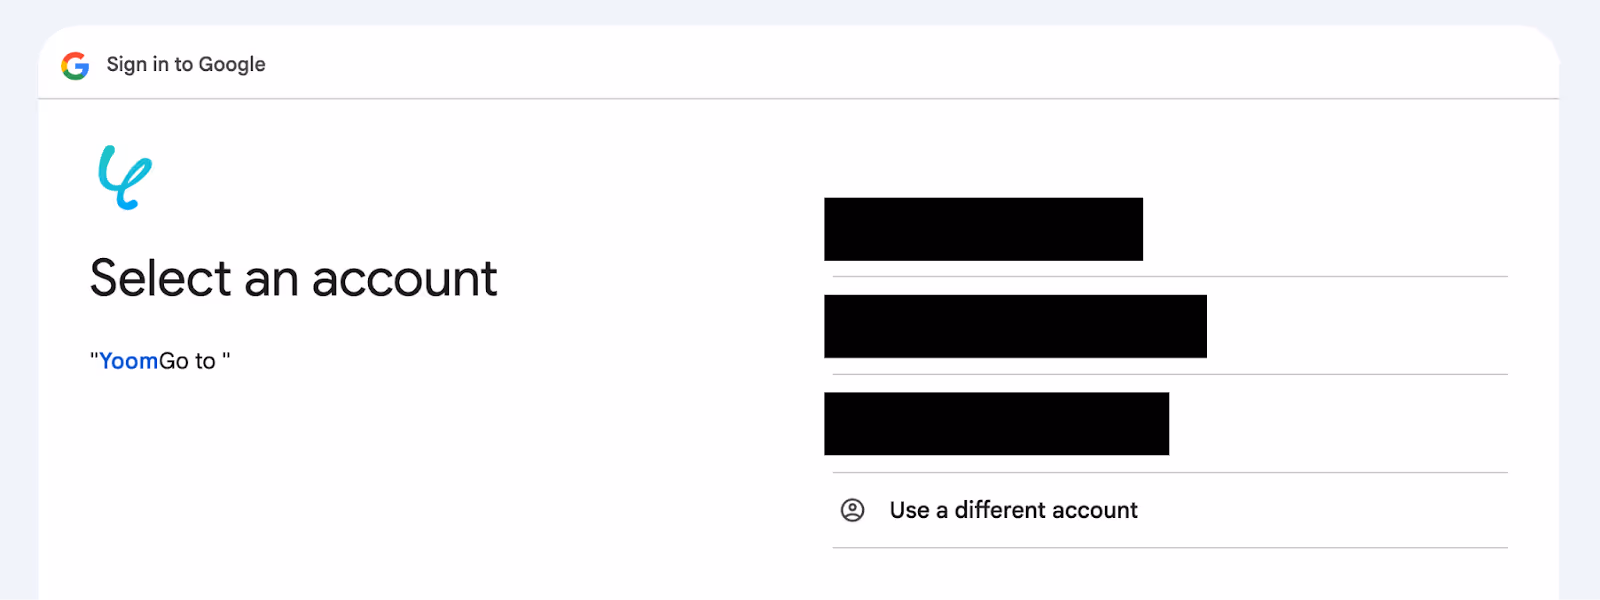
2. Select Account
Select the account you want to integrate with My Apps.
If you see the sign-in screen, enter your ID and password to sign in.
3. Grant Access
Since you will be asked to grant access to Yoom, please click "Continue".

Return to the Yoom screen, and if the following display appears, the integration is complete!

1. Search
Enter Microsoft Teams in the search box and click the Microsoft Teams icon.
2. Sign In
Since you have already integrated Microsoft Excel with My Apps, the screen will automatically sign you in as shown below. Please wait as it is.
Return to the Yoom screen, and if the following display appears, the integration is complete!
Now, let's start creating the flow!
There is a template available for easy setup, so let's copy it first.
Log in to Yoom and click "Try it" on the banner below.
1. When the screen changes, click "Try it"
2. If you haven't registered with Yoom yet, please register
※ If you have already completed registration, the login screen will be displayed, so please enter your login information.
3.The template will be copied to your Yoom management screen as shown below, so press OK to proceed with the settings.

1. Select Trigger
This is the first memorable setting!
First, please click "When the specified schedule is reached".

2. Specify Execution Time
Here, specify the date or day of the week you want to execute the action. Set it according to what you want to execute.
This time, we want to execute it every Monday at 9:00 AM, so we set it as follows.
Once you have entered it, press "Save" to proceed to the next step.

1. Select Trigger
Please click "Get multiple records (up to 10)".
2. Database Integration
Here, you will set up to retrieve records listed in Microsoft Excel.
If you haven't prepared Microsoft Excel yet, create it at this time.
This time, we prepared a file with shared information as shown below.
In the test operation of the next step, text generation will occur, so enter sentences into the records and save them to OneDrive or SharePoint.

Once Microsoft Excel is ready, return to the Yoom screen.
The account information and other details entered in Step 1 are reflected.
Scroll down the page and enter the database integration items.

Once the input is complete, press "Next" to proceed.
3. Detailed Settings for Database Operations
Retrieve the Microsoft Excel records set earlier based on conditions.
This time, we want to use all the entered records as conditions, so we set it as shown in the image below.
You can also change or add trigger conditions to suit your preferences, so feel free to customize them.

Once you have entered it, try executing "Test"!
If the test is successful, the specified records will be displayed as shown below.
Once you have confirmed that the data is reflected correctly, press "Save" to proceed to the next step.

1. Select Trigger
Please click "Generate Text".
2. Select Action
By default, "Generate Text | Up to 500 Characters (3 Tasks)" is selected.
Select according to the number of characters you want to generate and press "Next".

3. Set Details
Here, you will set up to generate text using generative AI.

Once you have entered it, try executing "Test"!
If the test is successful, the output will be displayed as shown below, so check if the instructed content is reflected.
Once you have confirmed that it is reflected correctly, select "Save" and proceed to the next step.

1. Select Trigger
Please click "Send Message to Channel".
2. API Connection Settings
Here, you will set up the message to be sent to Microsoft Teams.
If you haven't created a Microsoft Teams team or channel, create it at this time.
Once Microsoft Teams is ready, return to the Yoom screen.


You can also set mention information and attachment information, so enter according to the content you want to send.
Once you have entered it, try executing "Test"!
If the test is successful, the message should be sent to the specified Microsoft Teams channel, so check it.
Finally, return to the Yoom screen and press "Save" to proceed to the next step.
Thank you for your hard work! All settings are now complete.
Once the settings are complete, the following menu will be displayed, so turn on the trigger and check the operation!

This time, we introduced how to integrate data from Microsoft Excel to Microsoft Teams, but if you want to integrate data from kintone to Microsoft Excel, please also use the template below.
Automatically recording interactions in Microsoft Teams into Microsoft Excel may make it easier to add and manage tasks received in messages.
When important messages are sent on Microsoft Teams, they are automatically recorded in Microsoft Excel, reducing the effort and errors of manual entry and enabling better information management.
Besides integration with Microsoft Teams, utilizing the Microsoft Excel API can further streamline your daily tasks. If you find any flow interesting, please give it a try!
You can add emails received in Outlook as records in Excel or store survey results received in Gmail into Excel. By using these flows, you can manage various information centrally without hassle.
In Microsoft Teams, it is possible to send notifications of information that occurred in specific apps or to automatically perform regular reminders.
By utilizing these flows, you can prevent missing information or communication errors, and keep communication within the team smooth.
The integration of Microsoft Excel and Microsoft Teams gradually makes tedious tasks easier.
As introduced in this article, with Yoom, anyone can easily build flows without any coding.
By automating tasks such as notifications based on schedules and data transfers, you can create more time and prevent any oversight in your work.
If you feel like "I can do this too," start by registering for Yoom for free.
.avif)


.avif)


