


Let's integrate Yoom with each app next. We call this "My App Integration." My App Integration is very simple.
My App Integration
Click the template banner, and you'll find a "Try this template" button at the bottom of the screen. Click it, and you'll be taken to a page called "My Project." From the menu on the left side of the screen, select "My App!"
↓
Let's start with Meta Ads (Facebook)! Next, click on Create New in the top right corner!

Enter "Meta Ads (Facebook)" in the search box, and the Meta Ads (Facebook) icon will appear, so click on it!
Log in to the account that uses Meta Ads (Facebook). Once logged in, My App Integration with Yoom is complete, so next, let's move on to My App Integration with Google Sheets!
↓
Click on Create New in the top right corner! Enter "Google Sheets" in the search box, and the Google Sheets icon will appear, so click on it.
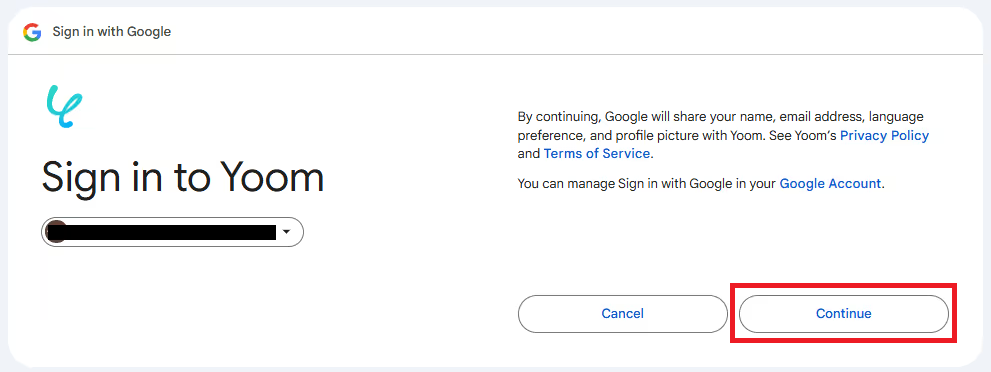
On the "Select Account" page, click on the Google account with the Gmail address that you want to integrate with Yoom! Next, you'll be taken to a page called "Log in to Yoom," so click Next. Finally, if a page appears saying "Yoom is requesting additional access to your Google account," just click Continue, and you're good to go!
Now that the two apps, Meta Ads (Facebook) and Google Sheets, are integrated with Yoom, let's set up the contents of the Flowbot next.
Meta Ads (Facebook) Trigger Settings
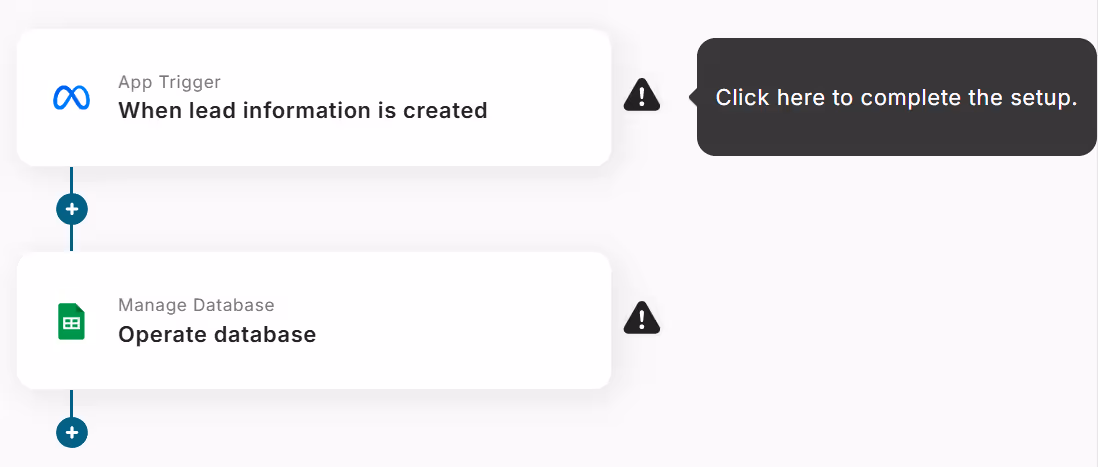
From "My Project" on the left side of the screen, click on "【Copy】When lead information is registered in Meta Ads (Facebook), add the lead to Google Sheets" and press Edit in the top right corner.
↓
Click on "When lead information is created" on the Meta Ads (Facebook) icon. Since the necessary fields are already filled in thanks to the template, check that the account information integrated with Meta Ads (Facebook) is correct, then click Next!
↓
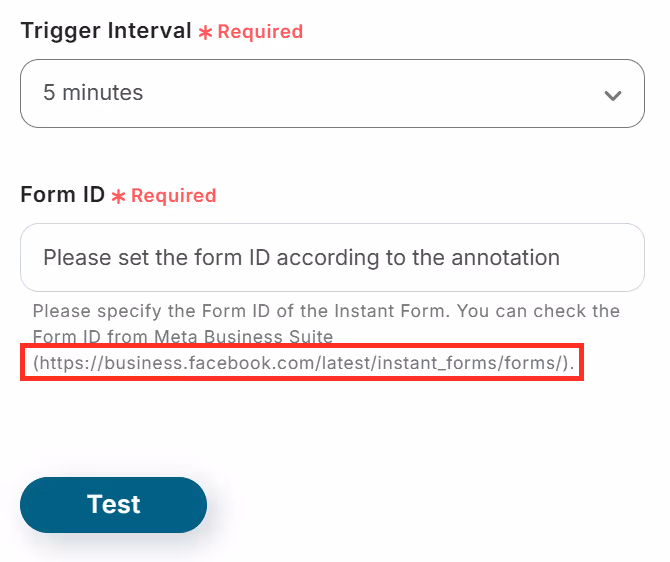
Test send lead information from Meta Ads (Facebook) and enter the form ID. You can go to the ad page from the URL in the red frame, so test send the response and copy-paste the form ID at the same time.
Once you've filled in the form ID, press Test just below it, and if "Test Successful" is displayed in blue, press Save and proceed to the next step! In the output, you can obtain the creation date, lead ID, and other optional values.

Google Sheets Settings
First, prepare a spreadsheet to register lead information from Meta Ads (Facebook).
It's recommended to create columns such as company name and person in charge in the header (first row)! Once prepared, proceed to the next step.
↓
Click on "Add Record" on the Google Sheets icon.
Again, since the necessary fields are already filled in thanks to the template, just check that the account information is correct.
As you move down, you'll find an item called Database Integration.
↓

Enter the Google Sheets ID where information obtained from Meta Ads (Facebook) will be accumulated.
When you click inside the box, the integrated Google Sheets will be displayed in a list, so please select it.
Similarly, you can click inside the box to select the Tab Name input below it. After selecting the range of the spreadsheet, press Next.
↓

This is the final setting! Enter the values for the records to be added.
Click to select content that matches the displayed box item name = the column created in Google Sheets.
For example, in the image, the box item name is "Company Name," so select the one that corresponds to the company name. When you click inside the box, the content of the test response from Meta Ads (Facebook) will be displayed, so choose the corresponding one!
↓
Once all the required fields are filled in, press Test, and if "Test Successful" is displayed in blue, save it. This completes the app integration of Meta Ads (Facebook) and Google Sheets!
The Flowbot using the template has minimal settings like this time. If you think "It might be easier than I thought!", please check out Yoom.


.avif)
.avif)
.avif)


