

.avif)
Let's start by registering with Yoom.
1. Click on "View Details" in the banner above
2. Click on "Try this template" at the bottom of the screen you moved to
3. Register with Yoom
※ If you have already completed registration, the login screen will be displayed, so please log in.
The integration flow this time is broadly divided into the following processes.
・Integrate GitHub and Chatwork with My Apps
・Set up GitHub
・Set up notifications to Chatwork
・Turn on the trigger button and verify the integration between GitHub and Chatwork
First, we will integrate with My Apps.
Step 1: Integrate GitHub and Chatwork with My Apps
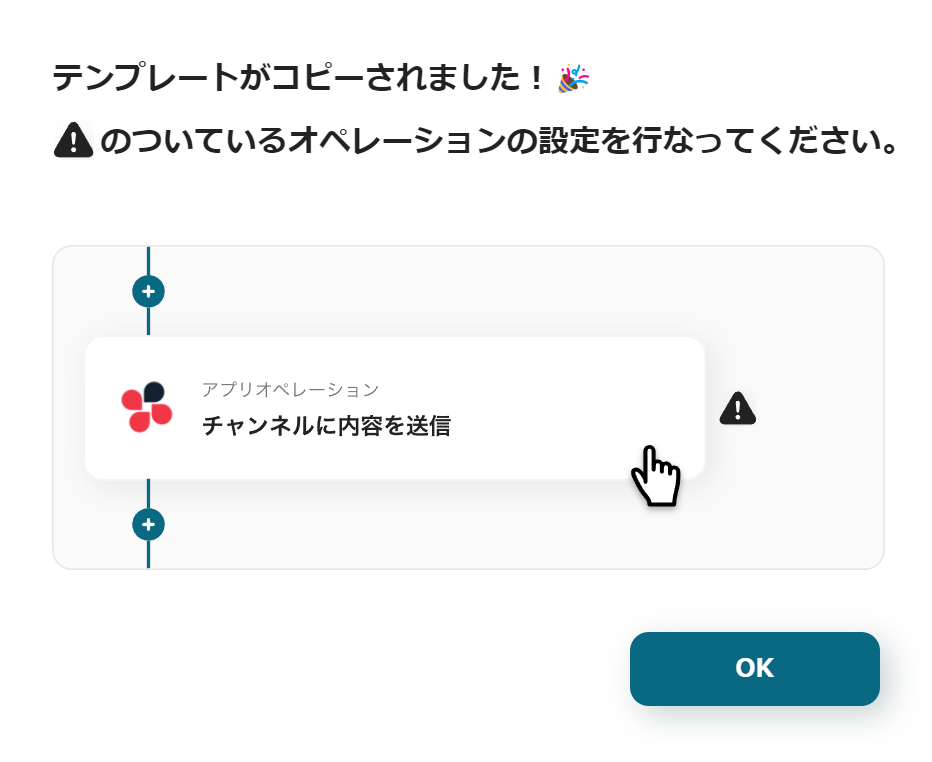
Once registration with Yoom is complete, the flowbot template will be copied to "My Projects".
When the display appears as shown in the image, please select "My Apps" from the menu on the left.

Next, click the new connection button in the upper right corner.

Integration of GitHub and Yoom
Integrating My Apps with GitHub is quickly completed by logging into GitHub.
Therefore, please log into GitHub at this stage.
1. Search

Search for GitHub and select the GitHub icon.

Clicking will switch the screen.
Once the above display appears, the integration is complete.
Integration with Chatwork
1. Search

Search for Chatwork and click on the Chatwork icon.
2. Log in to Chatwork

The login screen will be displayed.
Log in with the account you want to notify of Issue registration.
3. Press Allow

When the above screen is displayed, press Allow.
After that, the screen will automatically switch to Yoom, and if the above display appears, the integration is complete.
Step 2: Set up GitHub
1. Open My Projects

Open "My Projects" from the menu on the left side of the screen.
2. Open the copied template
Click on "[Copy] Notify Chatwork when an Issue is created in GitHub".
3. Select App Trigger

Click on "When a new Issue is created" under the GitHub icon.
The title and other settings are complete, so press Next.
4. Set the Trigger Activation Interval

Set the activation interval.
Triggers can be set to activate at intervals of 5, 10, 15, 30, or 60 minutes.
Please note that the shortest activation interval varies depending on the plan.
Once set, scroll down the screen.
5. Enter Required Fields

Follow the notes at the bottom of the box and copy & paste from the GitHub URL.
6. Run the Test
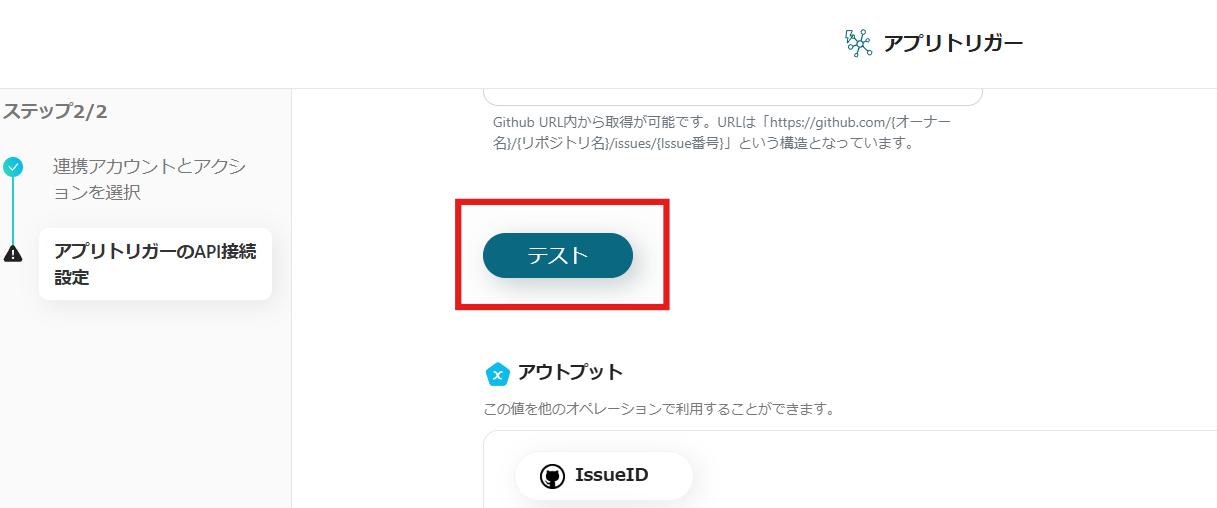
Once the settings are complete, create a test Issue on GitHub. Then press the test button at the bottom of the screen.
Once the test success message appears, you are done. Click Save.
Step 3: Set up Notifications to Chatwork
1. Integrate with the App

Click on "Notify Chatwork" under the Chatwork icon.
The title and other settings are complete, so press Next.
2. Set the Room ID for Posting

Set the room ID to notify of GitHub Issues. Click the box.

A list of channels will be displayed, so click to insert.
3. Set the Message Content

Continue to set the message to be posted to Chatwork. Click the box.

Select "When a new Issue is created" in the red frame.

Since GitHub data can be selected, click on what you want to send to Chatwork.
4. Arrange the Layout

If there is other data you want to insert, continue to set it.
When data can be inserted, it will look like the image.

After that, for better readability, it is recommended to arrange the layout.
5. Run the Test

Once the settings are complete as shown in the image, press the test button at the bottom of the screen.
Once the test success message appears, the setup is complete. Save it.
6. Turn on the Trigger

Once the flowbot is created, the display will appear as shown above. The trigger is initially set to OFF, so turn it ON.
Flowbot template used this time
Notify Chatwork when an Issue is created in GitHub


.avif)


