.avif)


Read the following screen display and click "OK".

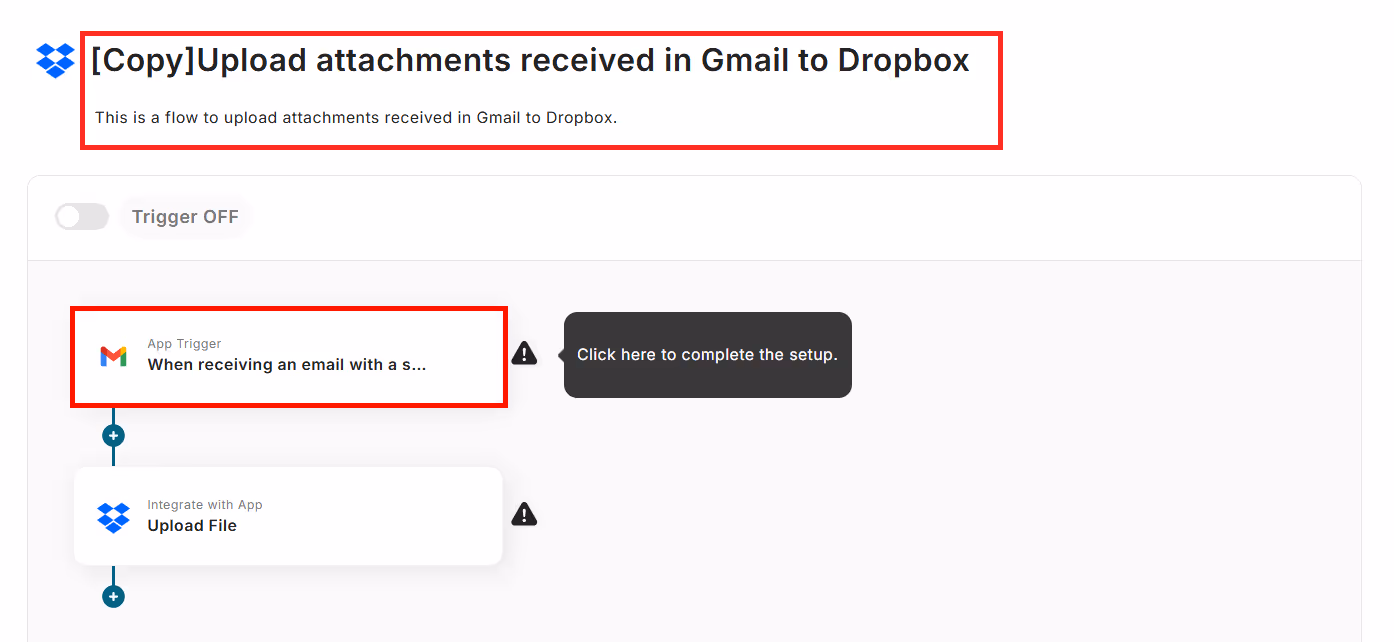
The following screen will be displayed, so please check the "Title" and "Description".
If you want to make changes, please do so from the screen below.
First, set up Gmail by clicking "When receiving an email with a specific label".
Step 3: Set the Gmail trigger that starts the flow and the subsequent Dropbox operation
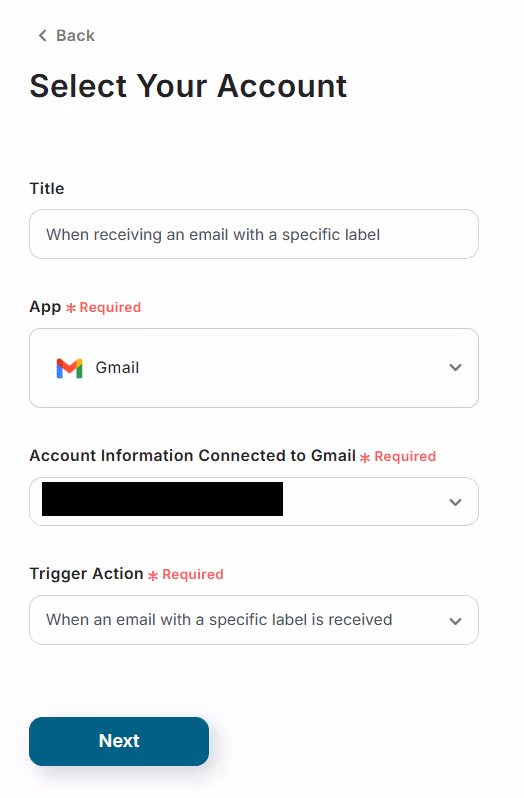
When the following screen is displayed, please check the settings.
- "Title" → Can be freely changed
- "Account information connected to Gmail" → Check for discrepancies in the account
- "Trigger Action" → When an email with a specific label is received
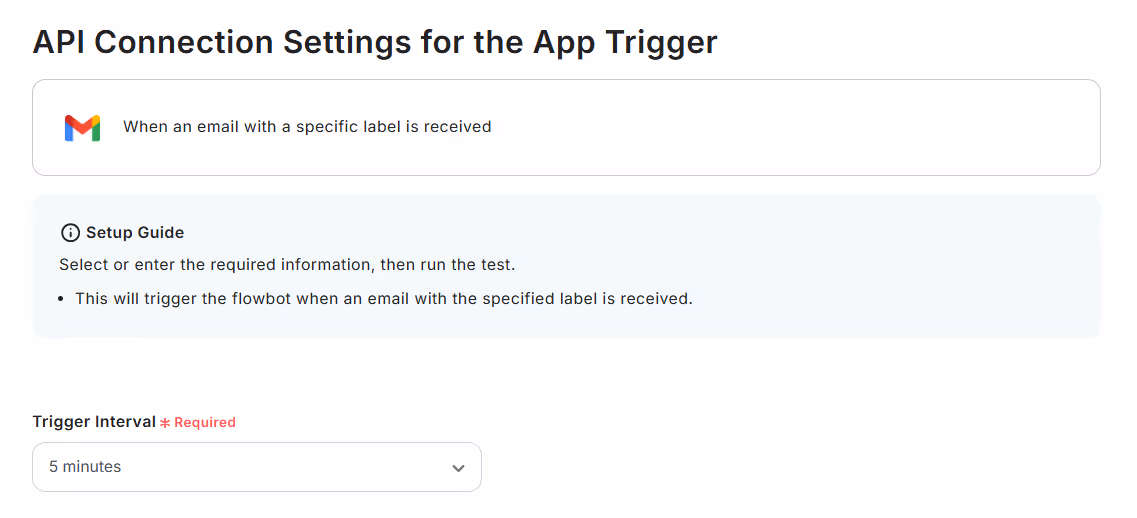
When the following screen is displayed, select the "Trigger Interval" from 5 minutes, 10 minutes, 15 minutes, 30 minutes, or 60 minutes.
※The trigger interval varies depending on the plan, but a shorter setting is generally recommended.
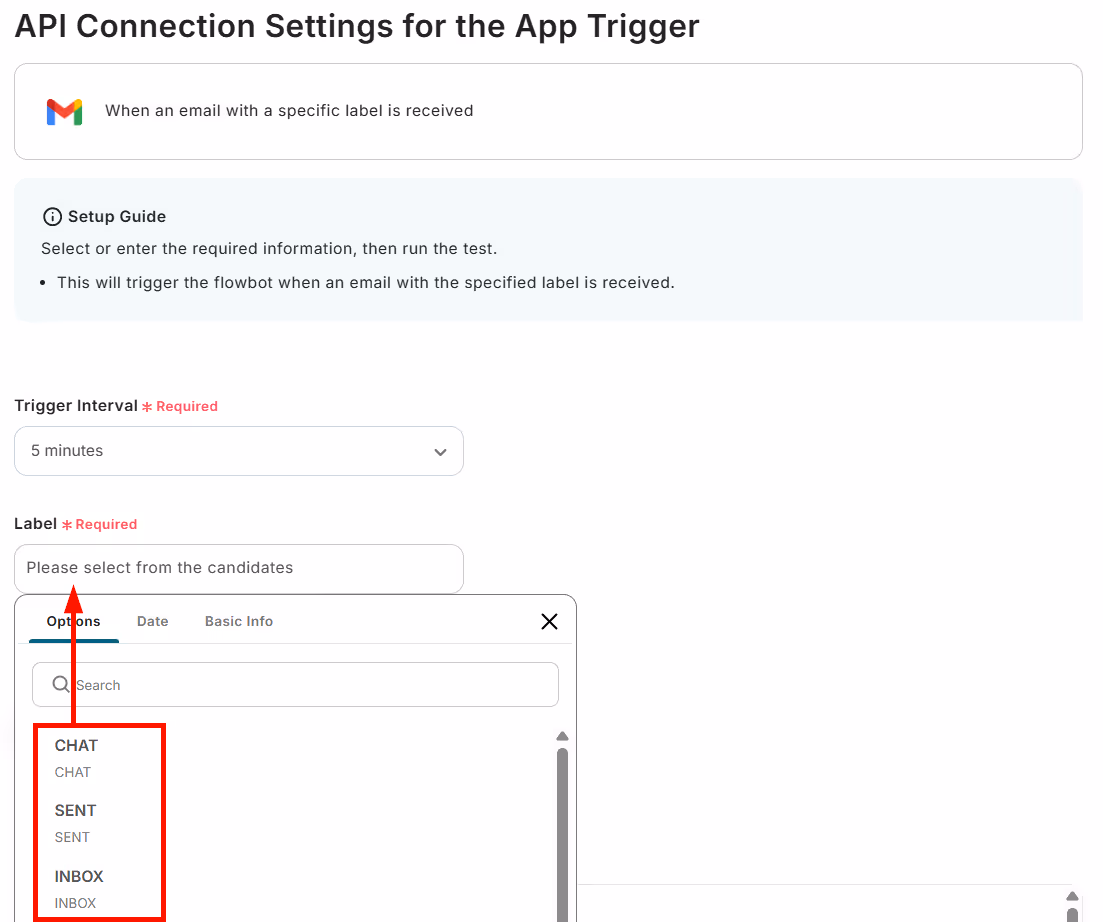
Next, select a "Label" from the options.
Click inside the box to display the candidates and select the appropriate label.
Once set, click "Test" → "Test Successful" → "Save".
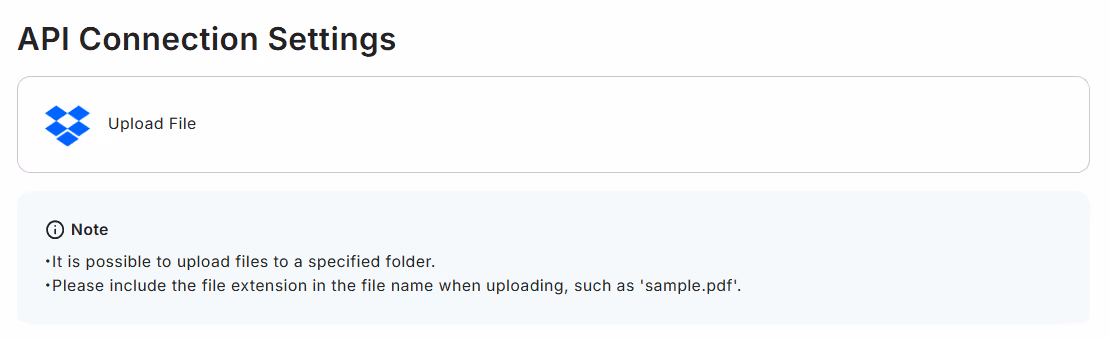
Next, set up Dropbox by clicking "Upload File".
When the following screen is displayed, please check the settings.
- "Title" → Can be freely changed
- "Linked Account" → Check for discrepancies in the account
- "Action" → Upload File

Please see the following precautions.
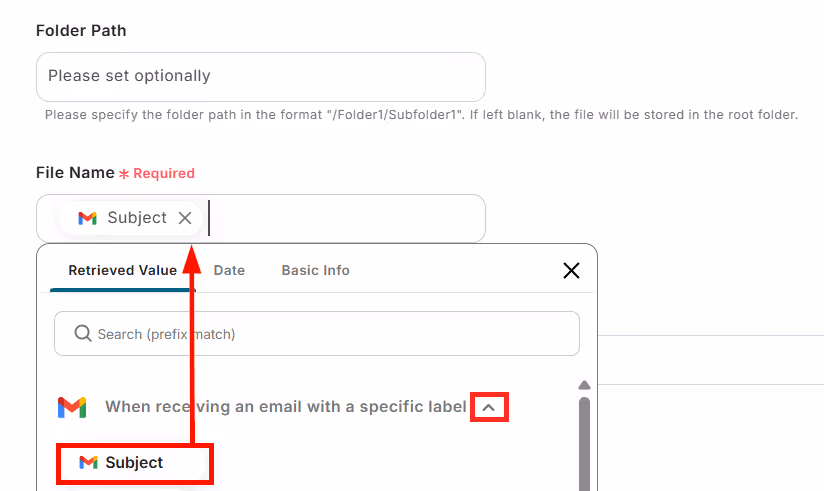
Scroll down and make the following settings.
- "Folder Path" → Set as described
- "File Name" → Set as described or use the retrieved value
Use the retrieved values from Gmail to make the settings.
The retrieved values will be displayed when you click the arrow in the red frame.
The following is an example, so please set it as you like.
Next, set the "File Attachment Method".
Click the arrow for "File" and select the attachment 1.
Once set, click "Test" → "Test Successful" → "Save".

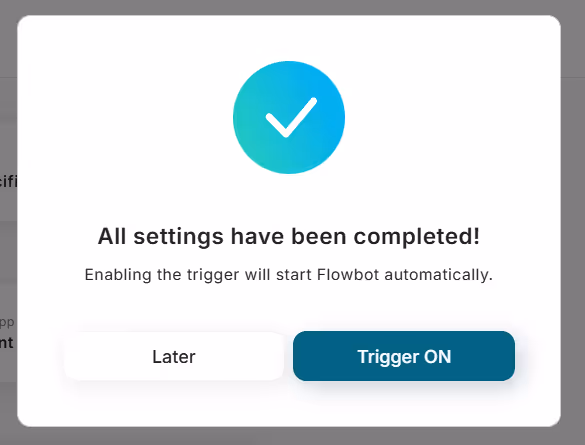
Step 4: Turn on the trigger button and check the operation of the Gmail and Dropbox integration
Finally, click "Turn on Trigger" to complete the automation setup.
Check if the flow bot starts correctly.
Here is the template used this time.


.avif)
.avif)
.avif)