[Easy Setup] How to Automatically Link Google Drive Data to ChatGPT
How to Integrate Applications
・
2025-05-20
[Easy Setup] How to Automatically Link Google Drive Data to ChatGPT
k.tsukamoto
"I'll read this PDF later" "I wish someone would organize the content of this image..."
Are you finding yourself buried under a mountain of files due to these "little procrastinations"? By integrating Google Drive with ChatGPT, you can automatically extract text from image files and PDF files uploaded to Google Drive. ChatGPT can then summarize the content and append it to a Google Document, or translate it and save it as a new document.
In this article, we will introduce what you can do by integrating Google Drive with ChatGPT and provide detailed instructions on how to set it up. If you're facing challenges with improving work efficiency, this is a must-read. Be sure to read to the end!
For those who want to try it quickly
By using Yoom, you can easily integrate Google Drive and ChatGPT without any coding. Yoom offers templates for integrating Google Drive and ChatGPT, so you can achieve integration immediately just by signing up, even without any API knowledge.
What You Can Do by Integrating Google Drive and ChatGPT
By automating the confirmation, organization, and sharing of information handled in Google Drive using ChatGPT, you can improve the efficiency of record-keeping, overcome language barriers, and enhance the accuracy of file management.
Here, we introduce some templates using Google Drive and ChatGPT. Simply click "Try it out" on the automation example you're interested in and register your account information to immediately experience the integration of Google Drive and ChatGPT. Registration takes just 30 seconds, so feel free to give it a try!
Summarize Image Files Added to Google Drive with ChatGPT and Save the Results in a Document
This flow extracts text from image files or PDF files uploaded to Google Drive, summarizes the content with ChatGPT, and appends it to a Google Document. When content from a whiteboard is shared via photo or contracts are received in PDF form, the key points are automatically compiled into a single document, streamlining record-keeping and enabling swift information management. Text conversion also aids in later searches and report creation. ※ AI operations for OCR and voice transcription are features exclusive to the Team Plan and Success Plan. Please note that errors may occur during execution with the Free Plan or Mini Plan. ※ Paid plans such as the Team Plan and Success Plan offer a two-week free trial. During the trial period, you can use all apps and AI operations that are normally restricted, so be sure to try out the features you're interested in.
Automatically Translate Image Files Added to Google Drive with ChatGPT and Add the Results to a New Document
This is a flow that extracts text from image and PDF files in Google Drive, translates it using ChatGPT, and creates a new document in Google Docs based on the content. It will be useful in situations where you need to communicate with overseas parties or organize multilingual materials. The translation results are saved as a new document, making it easy to manage each file and organize them according to their purpose.
Analyze Image Files Uploaded to Google Drive with ChatGPT and Move Them to Appropriate Folders
This flow involves ChatGPT classifying content based on text extracted from image and PDF files in Google Drive, and moving the files to suitable folders. When dealing with site photos, scanned documents, handwritten notes, whiteboard records, etc., files with similar thumbnails but different purposes can be mixed together, making manual sorting tedious and prone to errors. In this flow, ChatGPT analyzes the content of the files and moves them to folders according to predefined classifications, creating an environment where you can quickly access the necessary information. Note: The "Switch Destination" feature (operation) is only available with paid plans of Mini Plan or higher. Please be aware that errors may occur during execution with the free plan.
Let's Create a Google Drive and ChatGPT Integration Flow
Now, let's create a flow that integrates Google Drive and ChatGPT!
This time, we will use Yoom to proceed with the integration of Google Drive and ChatGPT without any coding. If you don't have a Yoom account yet, please issue one from the Yoom account issuance link.
[What is Yoom]
In this article, we will create the flow "When an image file is added to Google Drive, summarize it with ChatGPT and save the result in a document" that we introduced earlier! The creation process is broadly divided as follows.
Integration of the apps to be used in My Apps
Copying the template
Setting up the Google Drive trigger, text extraction, summarization by ChatGPT, and addition to Google Docs
Preparation for flow operation (setting the trigger to ON)
Step 1: Integrate My Apps with the Apps You Use
Register the three apps (Google Drive, ChatGPT, Google Docs) used in this flow to My Apps and integrate them with Yoom.
Select "My Apps" from the sidebar of the Yoom management screen and click "+ Add" on the right side of the My Apps screen.
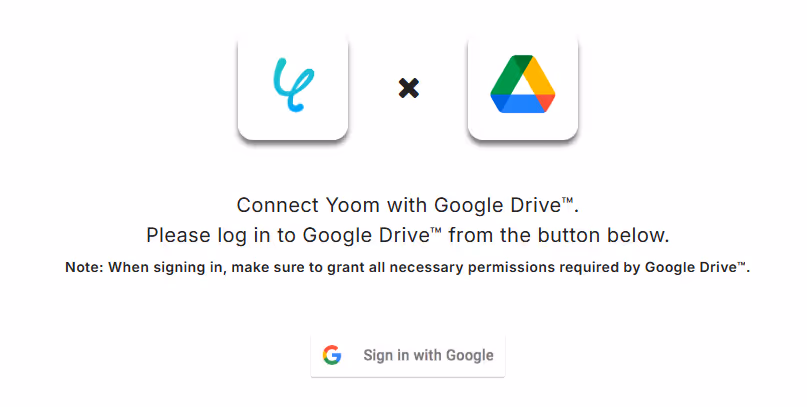
Let's start by integrating Google Drive. When the "App List" is displayed, search for and select Google Drive.
Click "Sign in with Google".
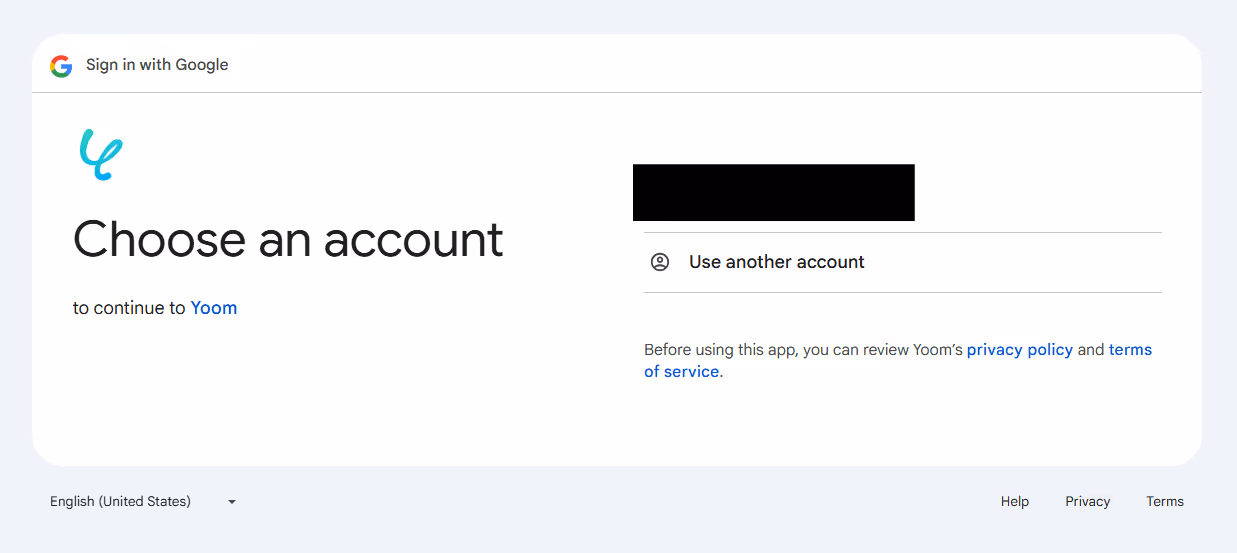
Select any Google account and sign in.
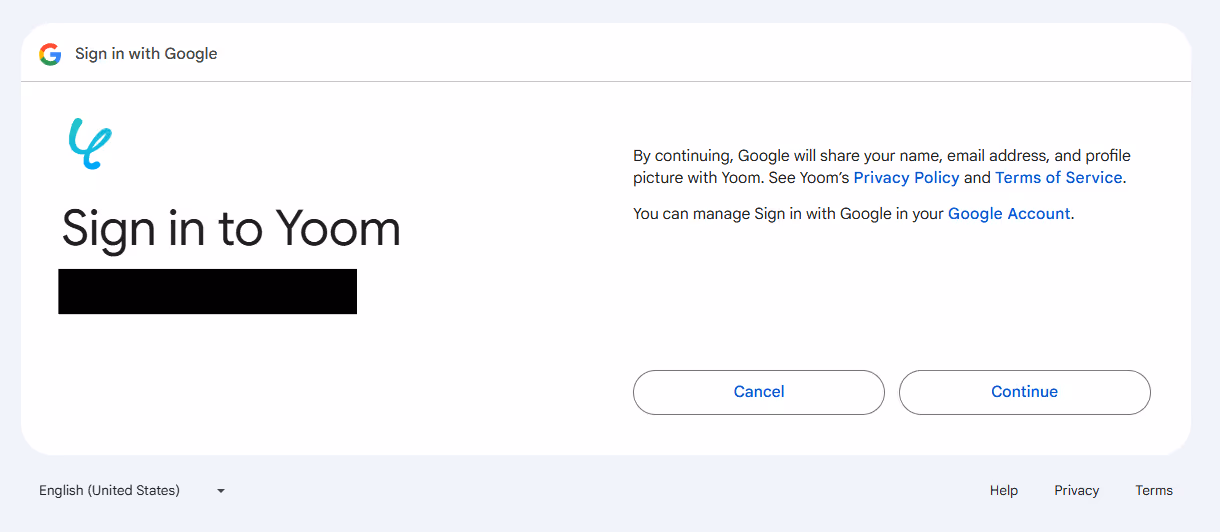
Check the content and click "Continue".
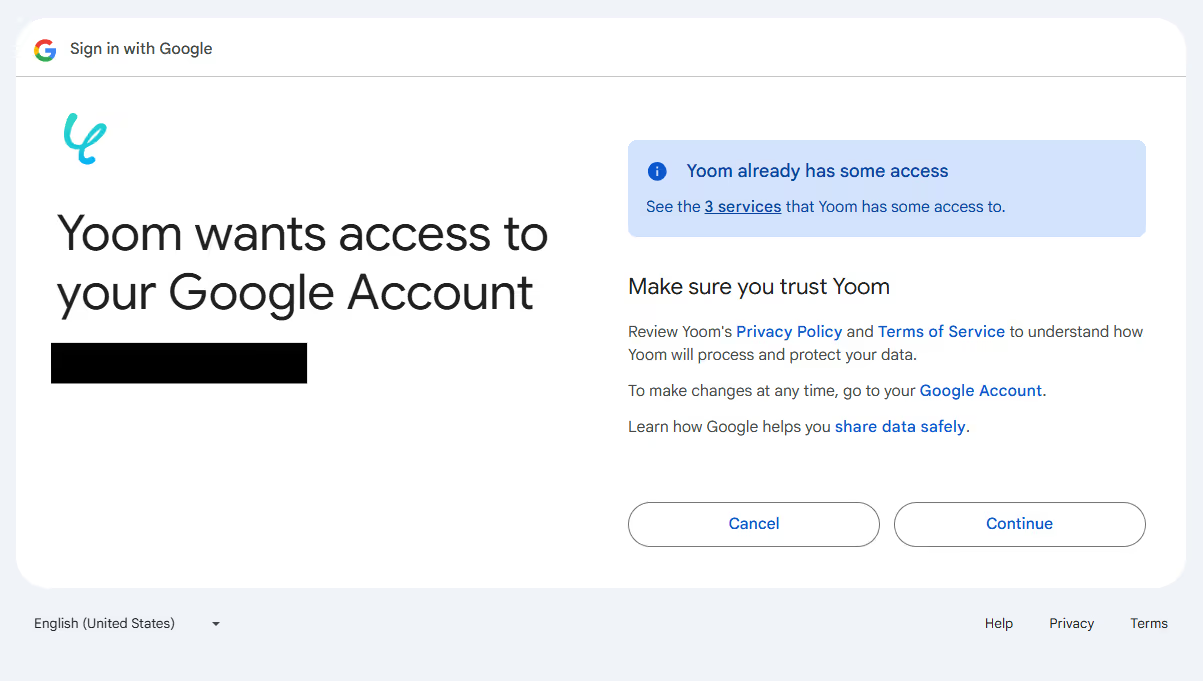
Check the content and click "Continue". ※ If "Please select the information Yoom can access" is displayed, please check "Select all".
Return to the "My Apps" screen, and if Google Drive is added, the integration is complete.
Next, let's integrate ChatGPT. ※ To run actions using ChatGPT (OpenAI), you need to subscribe to the OpenAI API paid plan. Prepare your contract details so that you can smoothly make payments when API usage fees occur.
After clicking "+ Add" in "My Apps", when the "App List" is displayed, search for and select ChatGPT.
Set any management name for "Account Name" and the Secret key of the ChatGPT (OpenAI) API for "Access Token".
To create and obtain the API Secret key, first log in to the OpenAI API platform. Then, click the gear icon at the top right → API Keys in the left menu → Create new secret key at the top right in order.
Set each item and create the Secret key.
Copy the displayed Secret key and save it in a safe place. <span class="mark-yellow">Note that once you leave the screen, you cannot check it again.</span>
Click "Add".
Return to the "My Apps" screen, and if ChatGPT is added, the integration is complete.
Finally, let's integrate Google Docs. Search for and select Google Docs in the "App List".
Click "Sign in with Google".
Proceed with the same steps as Google Drive. Return to the "My Apps" screen, and if Google Docs is added, the integration is complete.
Step 2: Copy the Template
Once the integration of the three apps is complete, copy the template you will use. After logging into Yoom, click "Try it" on the banner below.
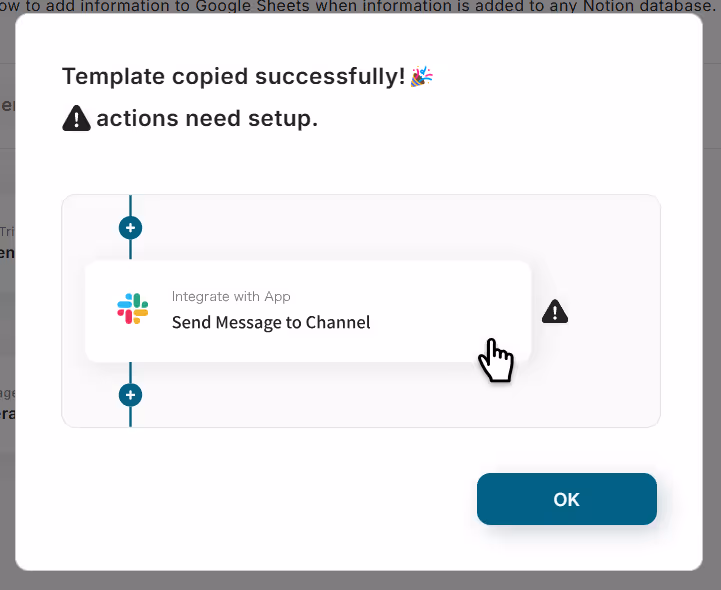
Your Yoom management screen will have the template copied. Click "OK" to proceed with the flow settings.
First, set up the trigger action that will be the starting point of the flow. Click on "When a new file or folder is created in a specific folder" in Google Drive.
Review the content and click "Next."
Select the desired interval from the "Trigger Interval" dropdown. Note: The trigger interval can be set to 5, 10, 15, 30, or 60 minutes. The shortest interval you can set depends on your plan, so make sure to check. It is generally recommended to use the shortest activation interval for your plan.
Set the ID of the folder that will be the trigger in "Folder ID." Click the input field to display candidates from the connected Google Drive folders, and select the target folder. Note: The folder ID can also be confirmed from the Google Drive folder URL (/folders/{{ID part}}/).
Click "Test" to execute the test for retrieving file information. Note: The test will fail if no new files have been created within the last hour. Since this flow deals with PDF and image files, please upload one of these files to the target folder for testing.
When the "Test Successful" result is displayed, the latest file information created in the target folder will be added to the "Retrieved value."
If there are no issues with the retrieved value, click "Save" at the bottom of the page. Return to the flow screen and ensure that a checkmark is placed next to "When a new file or folder is created in a specific folder" to complete the process.
Step 4: File Download
Download the file based on the file information obtained in Step 3. Click "Download File."
Review the content and click "Next."
The file ID obtained in Step 3 is set by default.
Click "Test" to execute the file download test.
When the "Test Successful" result is displayed, the downloaded file will be added to the "Retrieved data." Note: The file name here is fixed as "Untitled," but there is no problem.
If there are no issues with the output, click "Save" at the bottom of the page. Return to the flow screen and ensure that a checkmark is placed next to "Download File" to complete the process.
Step 5: Text Extraction
Extract text from the downloaded file. Click "Read Text from Image/PDF" in AI Operations.
The "Read Text from Any PDF/Image File" action changes the number of tasks based on the number of characters. Choose any action from 4,000 characters (5 tasks), 8,000 characters (10 tasks), or 12,000 characters (15 tasks). The default is 12,000 characters. Note: Yoom's OCR function may not read data correctly if it exceeds the specified character count or if the text is too small. Please allow some margin for character count and size.
Click "Next."
The file attaching method is set by default to the file downloaded in Step 4.
Set "Items to Extract" to "Written Text" to make all text in the file subject to extraction. Note: If you want to extract partially, set items like "Title," "Deadline," or "Remarks."
Select any AI from the dropdown for "AI to Use."
Click "Test" to execute the extraction test.
When the "Test Successful" result is displayed, the extracted text will be added to the "Retrieved value." Note: The retrieved item name will be usually the same as the item name set in "Items to Extract."
If there are no issues with the retrieved value, click "Save" at the bottom of the page. Return to the flow screen and ensure that a checkmark is placed next to "Read Text from Image/PDF" to complete the process.
Step 6: Summary Generation
Summarize the extracted text. Click "Generate Text" in ChatGPT.
Review the content and click "Next."
Set the text you want to summarize in ChatGPT in "Message Content."
The default is "Written Text," but if the retrieved item name obtained in Step 5 is different, click the input field and select the item from "Read Text from Image/PDF" in the retrieved value. Also, rewrite any instructions related to the summary as needed.
Various other settings are possible.
Click "Test" to execute the summary test.
When the "Test Successful" result is displayed, the summarized text will be added to the "Retrieved Data." Note: In the image below, the test isn't conducted, so there is no text in the response content frame.
If there are no issues with the output, click "Save" at the bottom of the page. Return to the flow screen and ensure that a checkmark is placed next to "Generate Text" to complete the process.
Step 7: Adding to Document
Finally, add the summarized text to any document. Click "Append Text to End" in ChatGPT.
Review the content and click "Next."
Set the ID of the document where you want to add the summary text in "Document ID." Click the input field to display candidates from the connected ChatGPT documents, and select the target document. The document ID can also be confirmed from the ChatGPT document URL (/document/d/{{ID part}}/).
Values obtained in each action can be selected from the retrieved value displayed when clicking the input field.
Click "Test" to execute the text addition test.
When the "Test Successful" result is displayed, confirm that the text has been added to the ChatGPT document as specified, and click "Save."
Step 8: Preparing for Flow Operation (Set Trigger to ON)
Return to the flow screen, and if "All settings are complete!" is displayed, the flow setup is complete. If you want to operate the flow immediately, click "Set Trigger to ON."
If you want to operate it later, you can turn the trigger ON by clicking the trigger switch on the flow screen.
Based on this flow bot, you can automate various other tasks! Please try out Yoom's convenient features.
If you want to link ChatGPT data to Google Drive
This article introduced a flow where ChatGPT generates text based on Google Drive data, but if you want to reflect text generated by ChatGPT in Google Drive, please use the following template.
Summarize the content of inquiry emails with ChatGPT and save it to Google Drive
You can save the effort of extracting key points from the large number of emails received daily and accumulate only the important information summarized by ChatGPT as a record in Google Drive. This will also facilitate searching inquiry histories and creating report materials, helping to prevent missed responses.
Regularly Generate New Ideas with ChatGPT and Save Them to Google Drive
You can automate the process where ChatGPT automatically generates information and saves it to Google Drive. This flow allows you to prepare drafts for brainstorming sessions or content proposals without spending time or manpower. It expands the scope of your work by automating not only passive information processing but also creative tasks.
Other Automation Examples Using Google Drive and ChatGPT API
By leveraging the Google Drive and ChatGPT API, various automations can be achieved.
Automation Examples Using Google Drive
Google Drive can be utilized more practically by integrating it with other applications, not just as a file storage destination. By connecting it with sales management tools, forms, emails, electronic contracts, spreadsheets, etc., you can automate information transfer, file organization, access management, and more.
Examples of Automation Using ChatGPT
Tasks that were previously done manually, such as handling emails, creating meeting minutes, classifying inquiries, and drafting content, can now be entrusted to ChatGPT.
Conclusion
How was it? By integrating Google Drive with ChatGPT, you can potentially solve issues such as "wanting to automate file summarization," "needing to quickly translate documents from abroad," and "reducing the hassle of organizing folders." Automating everything from file reading to summarization, translation, and classification can improve the accuracy of information management and significantly enhance overall work efficiency.
<span class="mark-yellow">By utilizing the no-code tool Yoom, you can easily integrate Google Drive and ChatGPT without any programming knowledge!</span> If you're interested, start by creating a free account and see how it works for yourself. Registration takes just 30 seconds! You can experience automatic integration right away.
Why not automate tedious file checks and translations to take your work speed to the next level?
The person who wrote this article
k.tsukamoto
Having worked as a system engineer for four years, I often struggled with manually entering attendance data into Excel and digitizing receipts. I wish I had discovered Yoom sooner. Although I have only just begun using Yoom, I am committed to providing information that will help fulfill everyone's wish for automation.
Conventional RPA can only automate simple repetitive tasks, and the setup process was very complicated. With “hyperautomation,” which combines various technologies such as AI, API, RPA, and OCR, it is possible to automate many tasks that could not be realized until now more easily than before.
Most tools simply connect one app to another, leaving the complex tasks to you. Yoom goes much further: From document creation and browser automation to OCR and generative AI, Yoom handles it all seamlessly in one platform.
Why settle for basic integrations? Streamline your entire workflow with Yoom’s powerful hyperautomation.


.avif)


.avif)


