How to delete a file from Google Drive when a row is updated in Google Sheets
How to Integrate Applications
・
2025-02-05
How to delete a file from Google Drive when a row is updated in Google Sheets
a.ohta
When a new employee joins the company, various preparations must be made to ensure they can start work smoothly, such as registering the employee in Google Sheets and creating a dedicated folder in Google Drive. Similarly, when an employee leaves, there are multiple administrative tasks associated with their departure. However, unlike when joining, there is no urgent need to complete these tasks immediately upon resignation, so they might be postponed. This time, we introduce an app integration that can simplify administrative tasks when an employee resigns. If you manage employees with Google Sheets and create dedicated folders for them in Google Drive, please take advantage of this.
Recommended for
Companies managing employees with Google Sheets
Companies creating employee-specific folders in Google Drive
Those who want to simplify administrative tasks after an employee resigns
Those who want to quickly complete administrative tasks after an employee resigns
Benefits and Examples of Integrating Google Sheets and Google Drive
Benefit 1: Easier to Maintain Optimal Storage
With this integration, when employee data in Google Sheets is updated to "resigned," the corresponding employee's dedicated folder in Google Drive can be automatically deleted. This may help maintain optimal cloud storage in Google Drive. For example, folders of resigned employees often remain because there is no urgent need to delete them. However, leaving unused folders can consume storage space and make organization difficult, potentially impacting operations. By integrating and linking with Google Sheets, resigned employees' folders can be automatically deleted, making it easier to maintain optimal storage.
Benefit 2: Reduced Workload
By integrating Google Sheets and Google Drive, administrative tasks required upon resignation can be simplified, potentially reducing the workload. Normally, after an employee resigns, you would update the employee data in Google Sheets to indicate the resignation and then delete the folder in Google Drive. With this app integration, simply updating the employee data in Google Sheets allows for the deletion of the folder in Google Drive, reducing the effort and potentially lightening the workload.
Benefit 3: Easier to Maintain Business Processes
When deleting an employee folder in Google Drive upon resignation, a guideline is created where you only need to update the employee data in Google Sheets, making it easier to maintain business processes. For example, if multiple people are responsible for administrative tasks when an employee resigns, variations in methods can lead to errors. However, by integrating Google Sheets and Google Drive, the process for folder deletion becomes clearer, reducing the likelihood of such errors.
Now, let's explain how to use the no-code tool Yoom to "delete a file in Google Drive when a row is updated in Google Sheets."
[What is Yoom]
Delete a File in Google Drive When a Row is Updated in Google Sheets
First, when an update is made in a specific field in Google Sheets, the data is retrieved using the Google Sheets API. Then, using the Google Drive API, the updated data is received, and a specific folder can be deleted. Typically, implementing such integration requires programming knowledge, but with the no-code tool Yoom, it can be easily achieved without programming knowledge.
The integration flow is broadly divided into the following processes:
Integrate Google Sheets and Google Drive with My App
Set up to launch Google Sheets
Set up to delete a specific folder in Google Drive
Turn on the trigger button and verify the integration between Google Sheets and Google Drive
First, register with Yoom. Yoom offers a 2-week trial, allowing you to try it out and see how it feels in practice.
Step 1: Integrate Google Sheets and Google Drive with My App
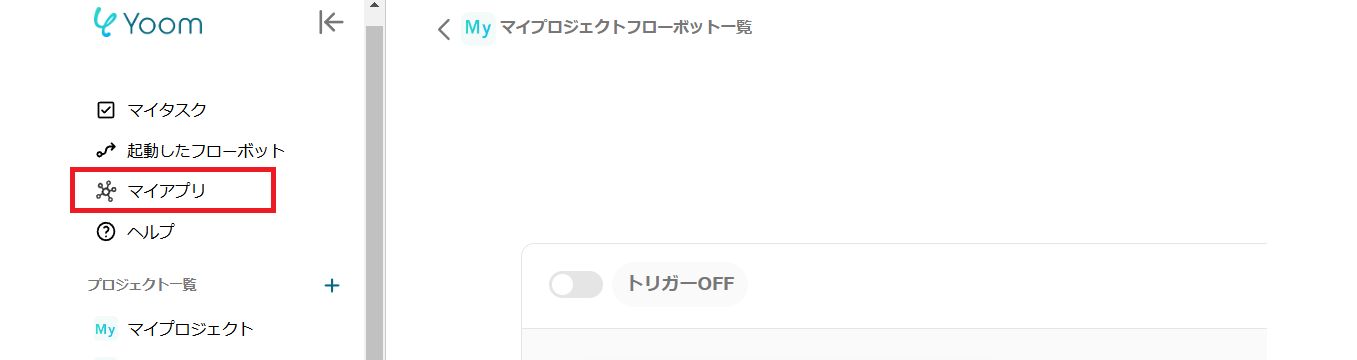
After completing the registration for Yoom, please select "My App" from the menu on the left.
Next, click the new connection button at the top right.
Integrating Google Sheets with Yoom
1. Search
Click the Google Sheets icon.
2. Sign In
Click the red frame.
3. Select Account
Select the account to integrate.
Review and agree, then press Next.
4. Integration Complete
The screen will change, and if the above display appears, the integration is complete.
5. Prepare Google Sheets
Prepare the Google Sheets to be integrated with Google Drive.
At this time, make sure to create the items " Unique Value (data that does not duplicate with other items)" and "Resignation"
This time, we have set "Folder ID = Unique Value".
The resignation item is set as shown in the image.
Note that it is not necessary for other items to match the image. You can integrate by adding "Unique Value (data that does not duplicate with other items)" and "Resignation" to the Google Sheets you usually use.
Integrating Google Drive with Yoom
1. Search
Click the Google Drive icon.
2. Sign In
Click the red frame.
3. Select Account
Select the account to integrate.
Review and agree, then press Next.
4. Integration Complete
The screen will change, and if the above display appears, the integration is complete.
Step 2: Copy the Template
Next, please copy the template to be used this time.
1. Click "View Details" on the top banner 2. Click "Try this template" at the bottom of the transitioned screen 3. If you haven't registered with Yoom yet, please register ※ If you have already registered, the login screen will be displayed, so please log in.
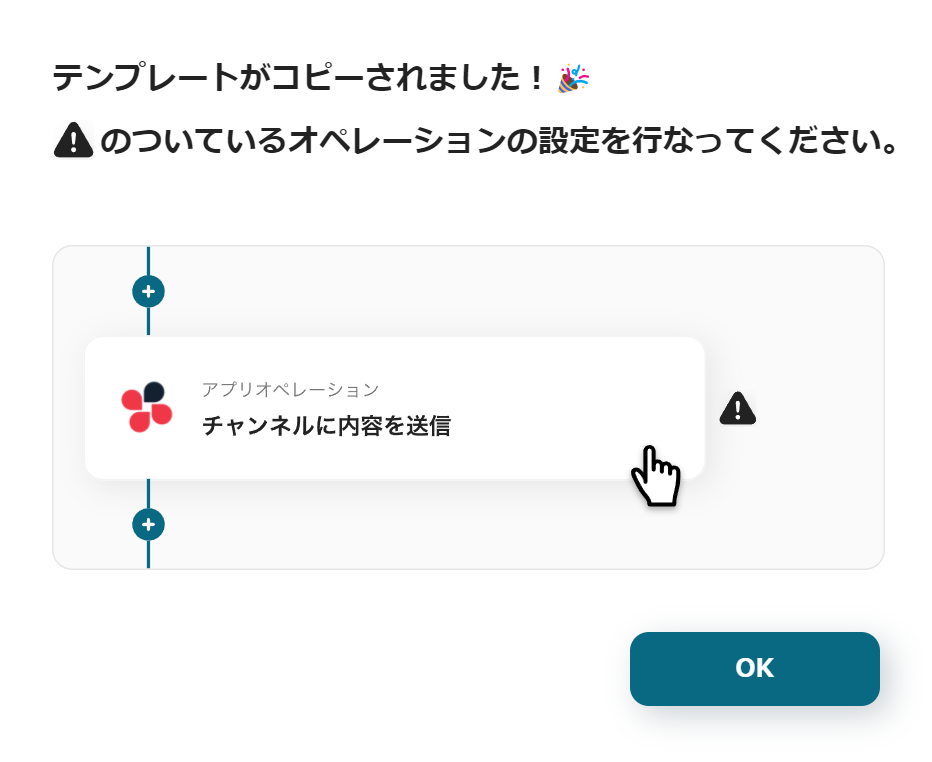
Once the Flowbot template is copied to "My Projects", the above display will appear.
You will be transitioned to a page like the image, so let's proceed with detailed settings.
Step 3: Launch Settings for Google Sheets
1. Open My Projects
Open "My Projects" from the menu on the left side of the screen.
2. Open the copied template Click "【Copy】Delete Google Drive files when a row is updated in Google Sheets".
3. Select App Trigger
Click "When a row is updated" on the Google Sheets icon. Since the title and other settings are complete, press Next.
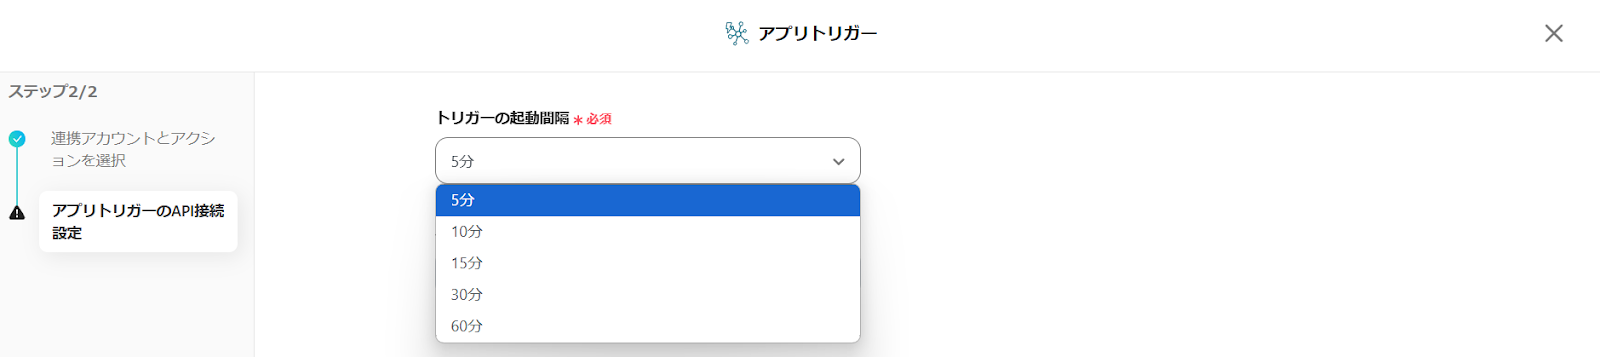
4. Set Trigger Launch Interval
Set the launch interval. Triggers can be set at intervals of 5 minutes, 10 minutes, 15 minutes, 30 minutes, or 60 minutes. Please note that the shortest launch interval varies depending on the plan.
5. Enter ID
Follow the supplement at the bottom of the box and set from the candidates. Click the box.
Since the data in Google Sheets will be displayed in a list, click and insert the one you want to link with Google Drive (the one managing employee data). Similarly, set the sheet ID.
6. Enter Table Range, etc.
Specify the table range, etc.
This time, the table range of the prepared Google Sheets will be A to E.
The column that does not overlap with others is the folder ID in D.
The column you want to detect updates in is E, which is "Retirement".
<span class="mark-yellow">With these settings, by editing "Retirement", the folder in Google Drive will be deleted.</span>
Therefore, the settings will be as shown in the image.
7. Run Test
Once the settings are complete, press the test button. If "Test Successful" is displayed, it is complete. Click Save.
Step 4: Set to Delete Specific Folders in Google Drive
1. Link with App
Click "Delete File" on the Google Drive icon. Since the title and other settings are complete, press Next.
2. Set Required Items
Set the required items. Click the File ID box.
Folders within the linked Google Drive will be displayed in a list, but do not select the relevant folder from there; instead, select "Output" from the tab at the top.
Since the display will switch as shown in the image, select the Google Sheets icon.
The data registered in the linked Google Sheets will be displayed in a list. Click and insert the data equal to the folder ID from among them.
Once inserted, it will look like the image.
3. Run Test
Once the settings are complete, press the test button. If "Test Successful" is displayed, it is complete. Click Save.
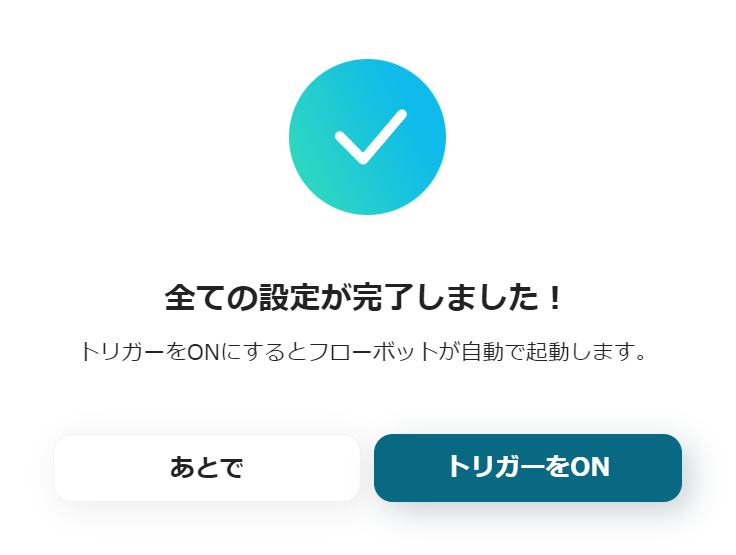
4. Turn ON the Trigger
Once the creation of the Flowbot is complete, the above display will appear. The trigger is initially set to OFF, so turn it ON. This completes the app integration.
Flowbot template used this time Delete Google Drive files when a row is updated in Google Sheets
Other Automation Examples Using Google Sheets and Google Drive
Here are some other examples of automation using Google Sheets and Google Drive.
1. Create a folder in Google Drive when a row is added in Google Sheets
It supports not only deletion but also addition. It is recommended to use it in combination with the template introduced this time.
2. Rename a Google Drive file when a row is updated in Google Sheets
It is also possible to change the file name. Utilizing it alongside various templates as needed will enhance convenience.
3. Read files stored in Google Drive using OCR, verify the content, store it in the Google Sheets DB, and notify via Google Chat
You can read files from Google Drive and store that data in Google Sheets.
Summary
Managing employees and related administrative tasks inevitably increase in workload and time pressure during periods of frequent hiring and departures. Therefore, by creating the Google Sheets and Google Drive flowbot introduced this time, it is likely that you can reduce the workload and perform more efficient administrative tasks. Yoom allows app integration without the need for programming, so even those who have given up on automation due to its difficulty can easily try it. Please make use of it.
The person who wrote this article
a.ohta
After working as a general store manager, I started working from home as an SEO writer. Later, an outsourcing agreement was signed with a marketing startup for about 5 years.
Surrounded by students at the University of Tokyo, I held a computer and spent my days studying various business terms and how to use SaaS tools.
When I was a general store manager, time was taken over and over again by office work such as sales and inventory management, human resource management, and ordering, etc., and I was unable to serve customers and often missed sales times. Even when outsourcing, there are many detailed tasks such as input, etc., and “can't such monotonous tasks be automated?” I thought so, and I really sympathize with Yoom's vision!
Conventional RPA can only automate simple repetitive tasks, and the setup process was very complicated. With “hyperautomation,” which combines various technologies such as AI, API, RPA, and OCR, it is possible to automate many tasks that could not be realized until now more easily than before.
Most tools simply connect one app to another, leaving the complex tasks to you. Yoom goes much further: From document creation and browser automation to OCR and generative AI, Yoom handles it all seamlessly in one platform.
Why settle for basic integrations? Streamline your entire workflow with Yoom’s powerful hyperautomation.


.avif)


