How to Create a Meeting Space in Google Meet with Information Added to Google Sheets
How to Integrate Applications
・
2025-02-18
How to Create a Meeting Space in Google Meet with Information Added to Google Sheets
m.takahashi
Have you ever thought that if you could automate the issuance of meeting spaces in Google Meet, efficient meeting management could be achieved? In this article, we introduce a method where a Google Meet meeting space is automatically created when a row is added in Google Sheets. By implementing this flow, you can eliminate manual work and focus on your core tasks!
Recommended for
This template is recommended for the following people!
・Those who use both Google Sheets and Google Meet for business ・Teams that use Google Sheets for project management and data sharing ・Administrators who want to efficiently manage team collaboration in remote work or multi-location deployment ・Those who want to create an environment where they can focus on core tasks by eliminating the hassle of setting up meetings and creating links ・Those who want to promote business efficiency through automation
Benefits and Examples of Integrating Google Sheets and Google Meet
Benefit 1: Time Savings through Work Efficiency
By utilizing this template, a new row in Google Sheets is detected, and a Google Meet meeting space is automatically generated, saving employees the trouble of manually creating meeting links. Especially when handling a large number of tasks or during project progress, having to manually create meeting spaces can be cumbersome and may interrupt other tasks. For example, when a sales team adds customer data to Google Sheets, a meeting link is immediately generated. By reducing work time through such processes, you may be able to focus more on meeting preparation.
Benefit 2: Reduction of Delay Risks
By integrating Google Sheets and Google Meet, you can reduce the risk of project delays due to meeting setup delays caused by human error. For instance, when setting up meeting spaces manually, have you ever forgotten to create one or gotten confused about which meeting the created space was for? By using this integration, you can avoid human errors and accurately set up meeting spaces, minimizing the risk of impacting project progress. Eliminating the hassle of meeting setup can help create an environment where information sharing can be done smoothly.
Benefit 3: Centralized Schedule Management
It's a hassle to open the calendar to check the schedule for meetings, isn't it? You might even panic if you can't find the meeting space URL right before the meeting. With this integration, you can smoothly check meeting information just by checking Google Sheets. For example, by managing meeting titles, schedules, and automatically generated Google Meet information on a shared Google Sheets, you can centrally manage meeting-related information, potentially enhancing team members' access to information.
From here, I would like to explain how you can automate using Yoom!
[What is Yoom]
How to Create a Google Sheets and Google Meet Integration Flow
This time, we will introduce how to set up a template that creates a meeting space in Google Meet when a row is added in Google Sheets.
This template is broadly created through the following processes.
・Register Google Sheets and Google Meet as My Apps ・Copy the template ・Set triggers for the Google Sheets that serve as the starting point of the flow, and configure the subsequent operations ・Turn on the trigger button to verify the integration
If you are not using Yoom, please register for free here. If you are already using Yoom, please log in.
Step 1: Integrate Google Sheets and Google Meet as My Apps
First, please register Google Sheets and Google Meet as My Apps. Pre-registering as My Apps will make the flow configuration smoother.
Since both are Google apps this time, the integration method is almost the same. Prepare the Google account you want to integrate and follow the steps below to integrate!
First, access the My Apps menu on the left side of the Yoom screen and press the new connection button on the right side of the screen.
Next, enter Google Sheets in the search window and select "Google Sheets" from the displayed options. When integrating Google Meet, enter Google Meet in the search window and select "Google Meet" from the options.
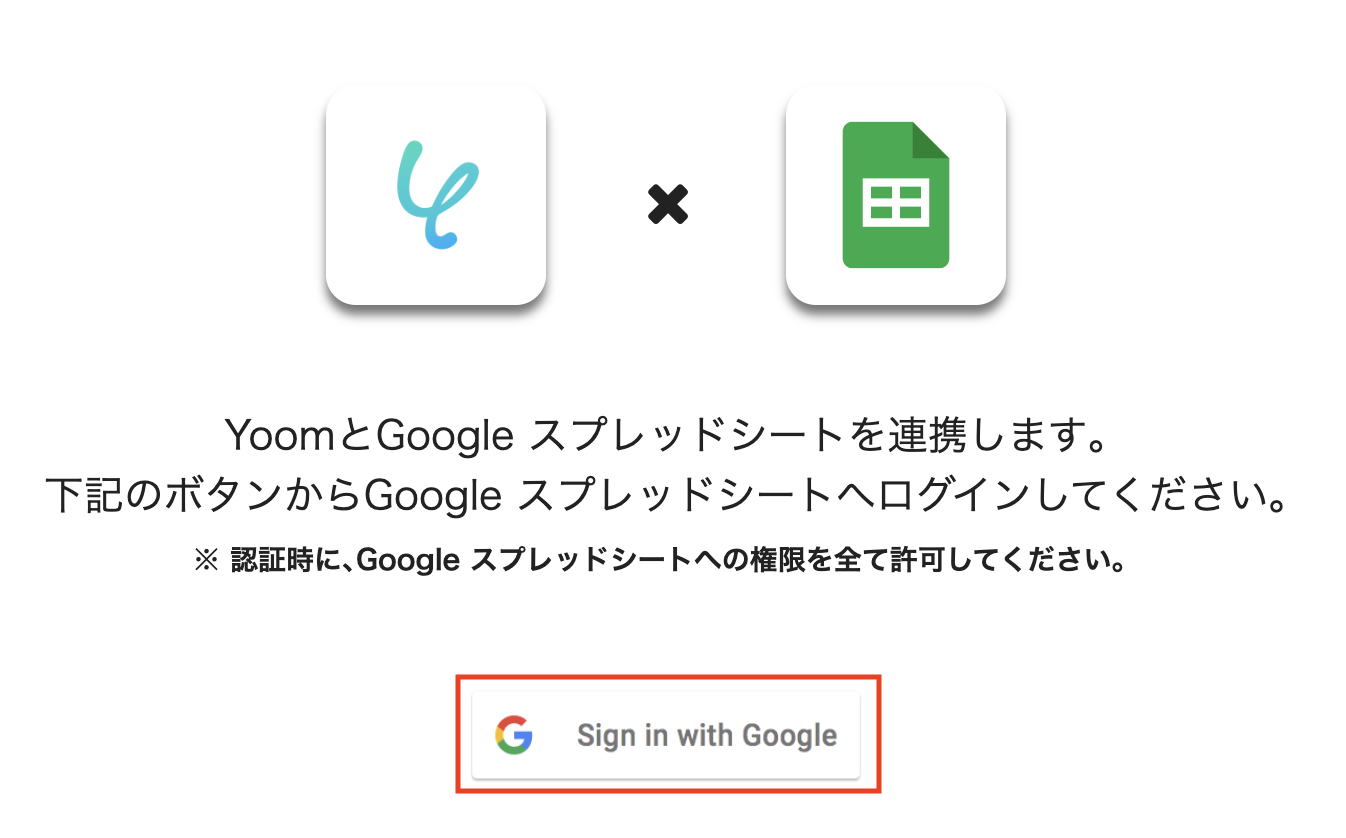
Click "Sign in with Google" and select and authenticate the Google account you will use for integration as shown below.
If Google Sheets and Google Meet are displayed in My Apps, registration is complete.
Step 2: Set a trigger to activate when a row is added in Google Sheets
To set up automation, click "Try it" on the banner below.
The following screen will be displayed, so let's check the "Title" and "Description". If changes are necessary, you can click on the relevant section to make modifications. First, to set up Google Sheets, click "When a row is added".
When the following screen is displayed, please check the settings.
- "Title" → Can be changed as needed
- "Account information to link with Google Sheets" → Check if the account is correct
- "Trigger Action" → When a row is added
Let's also configure the settings for the Google Sheets you will be using. Please set the configuration items according to your convenience.
Based on the Google Sheets you will be using, we will configure the trigger action. Return to the Yoom screen and check the following setup method.
Scroll down and make the following settings.
- "Trigger Interval" → Choose from 5 minutes, 10 minutes, 15 minutes, 30 minutes, 60 minutes
* Note that the trigger interval varies depending on the plan.
- "Spreadsheet ID", "Sheet ID" → Select from candidates or check the description to enter
- "Table Range (Start)" → In this case, A
- "Table Range (End)" → In this case, E
* Specify the alphabet of the column where the items end.
- "Column with Unique Values" → Specify the column where values do not duplicate within the column
* Always set a column with unique values. If values are duplicated, it may not work correctly, so be careful. It is easy to understand if you set a number as a unique key for Flowbot activation, as shown in the image.
After setting, click "Test" → "Test Successful" → "Save".
Step 3: Create a meeting space with Google Meet, update Google Sheets, and set each action
Next, to set up Google Meet, click "Create Meeting Space". When the following screen is displayed, please check the settings.
- "Title" → Can be changed as needed
- "Account information to link with Google Meet" → Check if the account is correct
- "Trigger Action" → Create Meeting Space
Proceed to the next step, and the following screen will appear. Click "Test" and if successful, it's OK.
Press "Save" and proceed to set the final action "Update Record"! In this action, the information of the meeting space obtained with Google Meet will be registered in Google Sheets.
When the following screen is displayed, please check the settings.
- "Title" → Can be changed as needed
- "Account information to link with Google Sheets" → Check if the account is correct
* Please set the same account as the Google Sheets used in the trigger action here.
- "Trigger Action" → Update Record
Once set, scroll down and configure the Google Sheets settings.
- "Spreadsheet ID", "Spreadsheet Tab Name" → Select from candidates or check the description to enter
- "Table Range" → In this case, A1:D30
* Set according to the "Table Range (Start)" and "Table Range (End)" set in the trigger action.
Once the settings are complete, click "Next". After checking the section of the following setup method, scroll and proceed to "① Conditions for the record you want to update".
First, set the conditions for the record you want to update. This time, since a unique key was set on Google Sheets, the condition is that the "Unique Key" is "Equal". Since we want to update the record added by the trigger action, enter the output of the "Unique Key" obtained with "When a row is added". * For more about output, please see [here](https://intercom.help/yoom/ja/articles/8223528).
Next, set which values to update. In "Values of the updated record", a list of item names obtained from the sheet will be output, so select the item you want to update from here and add the output. This time, we added two items: "Obtained Meeting URL" and "Obtained Meeting Code".
After setting, click "Test" → "Test Successful" → "Save".
Step 4: Check the operation of the integration between Google Sheets and Google Meet
Finally, click "Turn on Trigger" to complete the automation setup. Let's check if the Flowbot starts correctly.
Thank you for your hard work on the setup!
Other examples of automation using Google Sheets and Google Meet
There are many other examples of automation using Google Sheets on Yoom, so let me introduce a few.
1. The first one to introduce is a Flowbot that **registers schedules registered in Google Sheets to Google Calendar**.
You can automate the registration of schedules to the calendar. If you can register schedules to a calendar shared by the team, schedule management seems to become smoother!
2. Next, we introduce a flow bot that creates contacts in HubSpot using information added to Google Sheets.
For those who register contact information in both Google Sheets and HubSpot, this can be useful to eliminate the repetitive manual entry.
3. The last introduction is a flow bot that extracts necessary items from the content of messages posted on Chatwork using AI and registers the necessary items in Google Sheets.
By checking the shared sheet, you can quickly access the information you want, allowing for smooth business operations. ※AI operations are only available with the Team Plan and Success Plan.
Summary
The automatic creation of meeting spaces by integrating Google Sheets and Google Meet, as introduced this time, is expected to improve work efficiency. By eliminating the hassle of manually creating meeting spaces, it can also lead to faster business operations. Especially for those working remotely or companies with multiple locations, there are likely many opportunities to use Google Meet, so this integration could be effective.
Please take this opportunity to utilize this template and strive for more efficient operations.
The person who wrote this article
m.takahashi
I experienced jewelry sales as a new graduate, got married and gave birth, and worked at a social insurance labor consultant office for about 6 years. I experienced a variety of office work in both industries, including inventory management and customer management. Especially when I work at a company labor office, I often end the day with a huge amount of input work and paperwork. When I learned about Yoom, my first voice was “Why couldn't we meet sooner...” I try to write easy-to-understand sentences so that I can bring the convenience of Yoom to everyone!
Conventional RPA can only automate simple repetitive tasks, and the setup process was very complicated. With “hyperautomation,” which combines various technologies such as AI, API, RPA, and OCR, it is possible to automate many tasks that could not be realized until now more easily than before.
Most tools simply connect one app to another, leaving the complex tasks to you. Yoom goes much further: From document creation and browser automation to OCR and generative AI, Yoom handles it all seamlessly in one platform.
Why settle for basic integrations? Streamline your entire workflow with Yoom’s powerful hyperautomation.


.avif)


