How to Create a Client in Money Forward Cloud Accounting Plus When a Row is Added in Google Sheets
How to Integrate Applications
・
2024/12/13
How to Create a Client in Money Forward Cloud Accounting Plus When a Row is Added in Google Sheets
a.ohta
If you are implementing an accounting system like Money Forward Cloud Accounting Plus while also utilizing a data management tool like Google Sheets, it is recommended to integrate and automate the processes. <span class="mark-yellow">By integrating apps, you can automate tasks such as data entry</span>, which may allow you to perform tasks more efficiently. By eliminating the need for manual data entry, it may also help reduce the workload of accounting personnel. Why not take this opportunity to try app integration?
Recommended for
・Companies managing Money Forward Cloud Accounting Plus data with Google Sheets ・Individuals transferring data managed in Google Sheets to Money Forward Cloud Accounting Plus ・Personnel who find manual registration of client information into Money Forward Cloud Accounting Plus cumbersome ・Companies looking to implement automation to improve operational efficiency
Benefits and Examples of Integrating Google Sheets with Money Forward Cloud Accounting Plus
Benefit 1: Maintaining Data Accuracy
By implementing this automation, it is possible to automatically transfer client information managed in Google Sheets to Money Forward Cloud Accounting Plus. This is expected to improve data accuracy. For example, have you ever added incorrect information due to typing errors when manually transferring data? Human error is inevitable in data entry, but by automating the process, the data from Google Sheets can be directly registered in Money Forward Cloud Accounting Plus, significantly reducing the likelihood of human error. This is expected to keep the data accurate.
Benefit 2: Improved Efficiency
Automatically transferring client data managed in Google Sheets to Money Forward Cloud Accounting Plus may improve efficiency. For instance, if you have been manually entering data into Money Forward Cloud Accounting Plus, the workload would increase proportionally with the amount of data. Some may have found this a bit cumbersome. By implementing this integration, the transfer process can be completed automatically without spending time or effort, potentially improving efficiency.
Benefit 3: Prevention of Duplicate Entries
Adding a new row in Google Sheets will also add the same client data to Money Forward Cloud Accounting Plus, potentially preventing duplicate entries. For example, while adding a client in Google Sheets, another person might be registering the same client in Money Forward Cloud Accounting Plus. If both proceed without realizing it, the same client might be registered twice in both tools. However, by implementing automation, simply adding to Google Sheets will also add to Money Forward Cloud Accounting Plus, potentially preventing such duplicate entries.
Now, let's explain how to use the no-code tool Yoom to "create a client in Money Forward Cloud Accounting Plus when a row is added in Google Sheets."
[What is Yoom]
How to Create a Client in Money Forward Cloud Accounting Plus When a Row is Added in Google Sheets
First, obtain the data added to a row in Google Sheets using the Google Sheets API. Then, it is possible to receive this data using the Money Forward Cloud Accounting Plus API. Generally, programming knowledge is required to achieve such integration, but with the no-code tool Yoom, it can be easily realized without programming knowledge.
The integration flow is broadly divided into the following processes:
・Integrate Google Sheets and Money Forward Cloud Accounting Plus with My Apps ・Set up to launch Google Sheets ・Add data to Money Forward Cloud Accounting Plus and set up to add client IDs to Google Sheets ・Turn on the trigger button and verify the integration operation between Google Sheets and Money Forward Cloud Accounting Plus
First, register with Yoom. Yoom offers a 2-week trial, allowing you to actually operate and check the usability.
Step 1: Integrate Google Sheets and Money Forward Cloud Accounting Plus with My Apps
After completing the registration for Yoom, please select "My Apps" from the menu on the left.
Next, click the new connection button at the top right.
Integration of Google Sheets and Yoom
1. Search
Click the Google Sheets icon.
2. Sign In
Click the red frame.
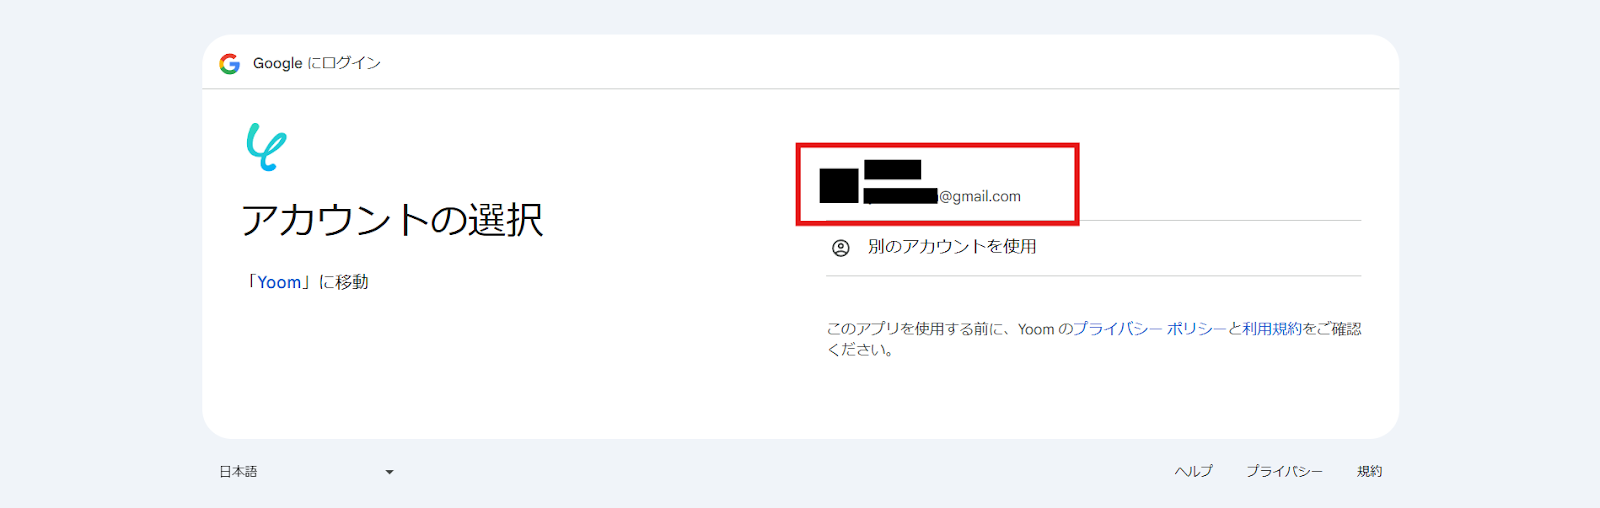
3. Select Account
Select the account to integrate.
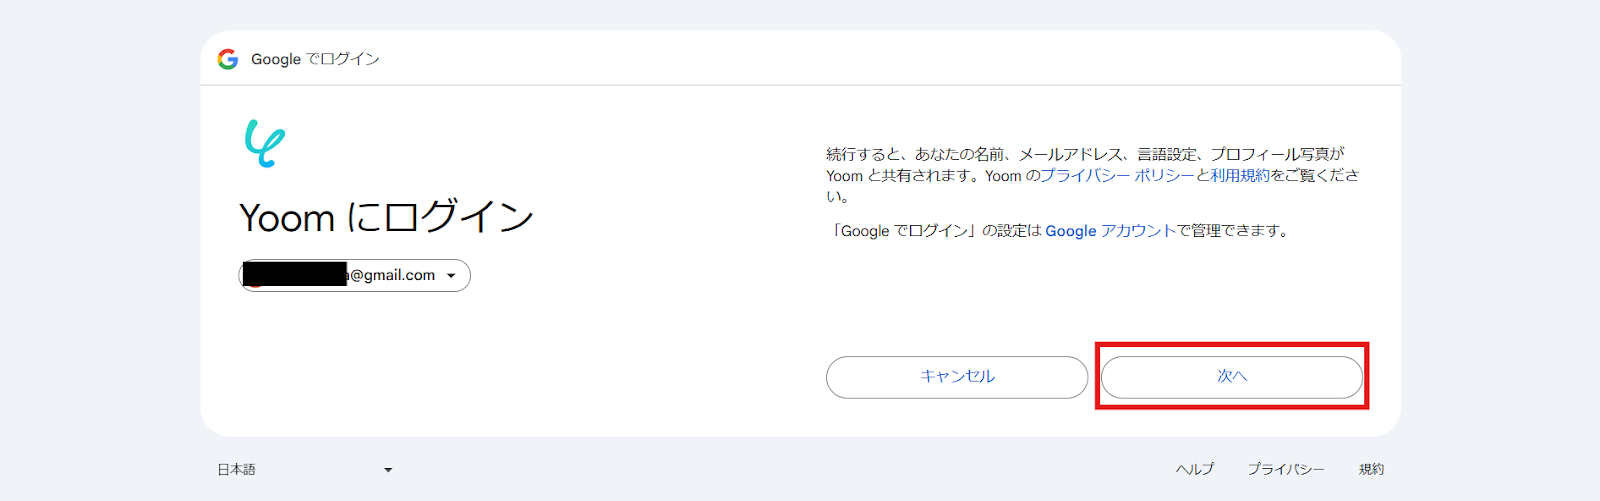
After confirming and agreeing, press Next.
4. Integration Complete
The screen will switch, and if the above display appears, the integration is complete.
5. Prepare Google Sheets
Prepare the Google Sheets that manage the client data to be registered in Money Forward Cloud Accounting Plus.
At this time, be sure to create "Client Code", "Client Name", and "Client ID"
The Client ID will be added after registering the client in Money Forward Cloud Accounting Plus using the data from Google Sheets. Therefore, it can be left blank at this point.
Integration of Money Forward Cloud Accounting Plus and Yoom
1. Search
Click the Money Forward Cloud Accounting Plus icon.
2. Log In
First, let's log in.
3. Select Business
After selecting the business to integrate, click Next.
4. Allow Integration with App
After confirming the details and agreeing, press Allow.
5. Integration Complete
The screen will switch, and if the above display appears, the integration is complete.
Step 2: Copy the Template
Next, please copy the template to be used this time.
1. Click "View Details" on the top banner 2. Click "Try this template" at the bottom of the transitioned screen 3. If you haven't registered with Yoom yet, please register ※ If you have already registered, the login screen will be displayed, so please log in.
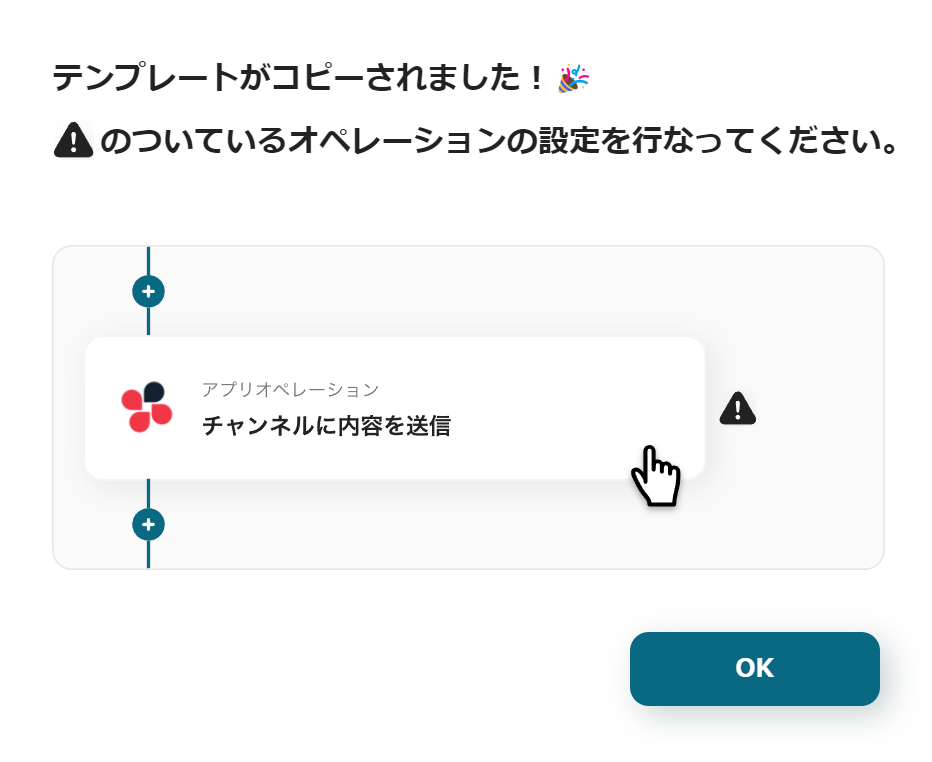
When the Flowbot template is copied to "My Projects", the above display will appear.
You will transition to a page like the image, so let's proceed with detailed settings.
Step 3: Launch Settings for Google Sheets
1. Open My Projects
Open "My Projects" from the menu on the left side of the screen.
2. Open the copied template Click "【Copy】When a row is added in Google Sheets, create a client in Money Forward Cloud Accounting Plus".
3. Select App Trigger
Click "When a row is added" on the Google Sheets icon. Since the title and other settings are complete, press Next.
4. Set Trigger Launch Interval
Set the launch interval. Triggers can be set to launch at intervals of 5 minutes, 10 minutes, 15 minutes, 30 minutes, or 60 minutes. Please note that the shortest launch interval varies depending on the plan.
5. Enter ID
Follow the supplement at the bottom of the box and set from the candidates. Click the box.
Since the data from Google Sheets will be displayed in a list, click and insert the one you want to link with Money Forward Cloud Accounting Plus. Similarly, set the Sheet ID.
6. Enter Table Range, etc.
Specify the table range, etc.
This time, the table range of the prepared Google Sheets is A to D.
The column that does not overlap with others is set as A, the client code.
Therefore, the settings will be as shown in the image.
7. Run Test
Once the settings are complete, press the test button. If "Test Successful" is displayed, it is complete. Click Save.
Step 4: Add Data to Money Forward Cloud Accounting Plus and Add Client ID to Google Sheets
1. Link with App
Click "Create Client" on the Money Forward Cloud Accounting Plus icon. Since the title and other settings are complete, press Next.
2. Set Required Items
Set the required items, but since the template is being used, it is complete.
Therefore, if there are other data insertions, please enter them. This time, since the qualified invoice issuer registration number is set in Google Sheets, this data insertion will be performed. First, click the box.
Select "When a row is added" in the red frame.
Since the record data from Google Sheets will be displayed, click and insert the one that matches the name of the box.
Once inserted, it will look like the image.
3. Run Test
Once the settings are complete, press the test button. If "Test Successful" is displayed, it is complete. Click Save.
Next, set up to add the "Client ID" issued from Money Forward Cloud Accounting Plus to Google Sheets.
1. Operate the Database
Click "Update Record" on the Google Sheets icon. Scroll down.
2. Set Required Items
Enter the required items. Click the box for the Spreadsheet ID.
When you click inside the box, the created sheets will be displayed in a list as shown in the image, so select the Google Sheets that you linked with Money Forward Cloud Accounting Plus earlier. Set the tab name in the same way.
Regarding the table range, it depends on the prepared Google Sheets, so enter it according to the contents of Google Sheets.
This time, since A to D are used, it was set as shown in the image. Once you have entered it, press Next.
3. Conditions for the Record to be Updated
Set the conditions for the record you want to update.
Set the left box to client code and click the right box. Select the Google Sheets icon.
Retrieve the unique value set as non-duplicate with other data from the Google Sheets data. This time, since the unique value was set as the client code, click the client code. By doing this, the unique value set in Google Sheets will be linked with the information in Money Forward Cloud Accounting Plus, allowing the client ID issued when newly registered in Money Forward Cloud Accounting Plus to be added to Google Sheets. This allows you to check the client ID in Money Forward Cloud Accounting Plus from Google Sheets as well.
4. Values of the Record After Update
Next, set it so that data is added to the client ID column in Google Sheets. First, click the box.
Select the Money Forward Cloud Accounting Plus icon
The newly registered data in Money Forward Cloud Accounting Plus will be displayed in a list. Select the data that matches the name of the box. In the case of the image, since the box name is "Client ID", "Client ID" was selected from the Money Forward Cloud Accounting Plus data.
Once the data is inserted, it will look like the image.
4. Run Test
Once the data insertion is complete, press the test button. If "Test Successful" is displayed, the setup is complete. Press Save.
5. Turn ON the Trigger
Once the Flowbot creation is complete, the above display will appear. The trigger is initially set to OFF, so turn it ON. This completes the app integration.
Flowbot template used this time When a row is added in Google Sheets, create a client in Money Forward Cloud Accounting Plus
Other Automation Examples Using Google Sheets and Money Forward Cloud Accounting Plus
There are many other examples of automation using Google Sheets and Money Forward Cloud Accounting Plus on Yoom, so here are a few introductions.
1. Delete a Client in Money Forward Cloud Accounting Plus When a Row is Updated in Google Sheets
It is also possible to automate the deletion of clients. By using this template together, you can achieve automation of both registration and deletion.
2. When a row is updated in Google Sheets, update the client in Money Forward Cloud Accounting Plus
It supports not only registration and deletion but also updates. Why not automate the management of client data in Money Forward Cloud Accounting Plus and improve efficiency?
3. When a row is added in Google Sheets, create a journal entry in Money Forward Cloud Accounting Plus
In addition to automating client data, you can also automate the creation of journal entries. Reducing input tasks should lighten your workload.
Summary
Integrating Google Sheets with Money Forward Cloud Accounting Plus should greatly contribute to streamlining your operations. By eliminating the manual data entry that was previously time-consuming, productivity may increase. Additionally, by using it in conjunction with other templates, you can automate registration, deletion, updates, and more. We recommend identifying the workflows you want to automate and trying them out. With Yoom, no programming knowledge is required for app integration. Please take this opportunity to improve your business operations.
The person who wrote this article
a.ohta
After working as a general store manager, I started working from home as an SEO writer. Later, an outsourcing agreement was signed with a marketing startup for about 5 years.
Surrounded by students at the University of Tokyo, I held a computer and spent my days studying various business terms and how to use SaaS tools.
When I was a general store manager, time was taken over and over again by office work such as sales and inventory management, human resource management, and ordering, etc., and I was unable to serve customers and often missed sales times. Even when outsourcing, there are many detailed tasks such as input, etc., and “can't such monotonous tasks be automated?” I thought so, and I really sympathize with Yoom's vision!
Conventional RPA can only automate simple repetitive tasks, and the setup process was very complicated. With “hyperautomation,” which combines various technologies such as AI, API, RPA, and OCR, it is possible to automate many tasks that could not be realized until now more easily than before.
Most tools simply connect one app to another, leaving the complex tasks to you. Yoom goes much further: From document creation and browser automation to OCR and generative AI, Yoom handles it all seamlessly in one platform.
Why settle for basic integrations? Streamline your entire workflow with Yoom’s powerful hyperautomation.


.avif)


