How to create a record in Ninox when a row is added in Google Sheets by integrating Google Sheets with Ninox
How to Integrate Applications
・
2025-02-14
How to create a record in Ninox when a row is added in Google Sheets by integrating Google Sheets with Ninox
s.ougitani
How do you manage lead information? If you are using multiple tools, you may find manual tasks cumbersome. This article introduces how to "Create a record in Ninox when a row is added in Google Sheets" by integrating Google Sheets and Ninox. This automation can reduce input work and is expected to ensure accurate information management. Additionally, we will also explain in detail how to create a flow bot using Yoom, which allows app integration without code. Please take a look.
Recommended for
If you fall into the following categories, consider integrating Ninox with Google Sheets!
Those who use Google Sheets and Ninox and want to automate data entry
Those who want to reduce manual input errors and maintain data consistency
Those who want to quickly share data and improve the speed of information updates
Benefits and Examples of Integrating Google Sheets and Ninox
Benefit 1: Streamlining Operations and Saving Time
By integrating Google Sheets and Ninox, you can automate input tasks. This reduces administrative work and eliminates manual effort. For example, when sales add lead information to Google Sheets, it can be immediately added to Ninox as well. This eliminates the need for manual input, allowing you to focus on other important tasks. Effectively utilizing time can lead to increased productivity at work.
Benefit 2: Preventing Human Errors
It is expected to prevent input errors and omissions that occur during manual entry. For instance, suppose you manage seminar participant information in Google Sheets and other detailed information in Ninox. When handling multiple pieces of information manually, the risk of errors increases. Therefore, integrating Google Sheets and Ninox can help prevent such human errors.
Benefit 3: Centralized Data Management
Adding information to Google Sheets can automatically add it to Ninox, allowing for centralized information management. For example, suppose the sales team and planning team use Google Sheets and Ninox for project progress management. Manually adding information may result in outdated information due to timing discrepancies. Integrating Google Sheets and Ninox can maintain data consistency. This eliminates the need to check different tools, facilitating smooth operations.
Now, let's introduce how to use the no-code tool Yoom to "Create a record in Ninox when a row is added in Google Sheets".
[What is Yoom]
How to Manage Content Added to Google Sheets in Ninox
By utilizing this flow bot, you can automate the task of manually adding information. This reduces the effort and labor of inputting, facilitating smooth operations. We will proceed with the following major processes.
Registering My Apps in Collabflow and Kaonavi
Copying the template
Setting triggers and actions
Turning on the trigger and checking the operation
You can issue a Yoom account from here. If you already have an account, please log in!
Step 1: Integrate Google Sheets and Ninox with My Apps
First, let's integrate Yoom with the app!
1. Register Google Sheets with My Apps
After logging into the Yoom workspace, click on My Apps displayed on the left side. Next, click on New Connection and select Google Sheets.
Click on "Sign in with Google".
Select the account you want to integrate.
Click "Next".
Click "Continue".
You have now registered Google Sheets with My Apps.
2. Register Ninox with My Apps
Next, we will integrate Ninox with Yoom. Similarly, select My Apps, then click New Connection → Ninox.
Enter the account name and API Key while checking the precautions.
You have now registered Ninox with My Apps.
Step 2: Copy the Template
Next, copy the template you will use. The copied template will be saved in My Projects. Click on the banner displayed below.
Clicking will switch the screen to Yoom's template site. Let's click on "Try this template" on that screen.
Clicking will display a message that the template has been copied, so select "OK".
Now the template has been copied.
Step 3: Set Google Sheets Trigger
Next, let's set up the flow bot. Select the template you just copied and click on "When a row is added".
1. Select Linked Account and Action
The title is pre-filled but can be changed. Check the account information linked with Google Sheets. Select the trigger action "When a row is added". Once set, click "Next".
2. API Connection Settings for App Trigger
Set the trigger activation interval. The activation interval can be set to 5, 10, 15, 30, or 60 minutes. The shortest activation interval varies depending on the plan. Select a Spread ID from the options or enter a Spread ID. Enter the Sheet ID, and the start and end of the table range. For unique values, be sure to enter a column with unique values. If values are duplicated, it may not work correctly.
Once entered, click test and save if you can get the output from Google Sheets.
Step 4: Ninox Action Settings
Next, let's proceed with the Ninox settings. Click on "Create Record".
1. Select Linked Account and Action
The title can be changed. Check the account information linked with Ninox. Select the action "Create Record". Once set, click "Next".
2. API Connection
Enter the required fields such as Database ID and Table ID.
Once set, click test and save if you can get the output from Ninox.
Step 5: Set Google Sheets Action
This is the final step. Click on "Update Record" to proceed with the settings.
1. Database Integration
The title can be changed. Check the account information linked with Google Sheets. Select the execution action "Update Record".
Enter the Spreadsheet ID, tab name of the spreadsheet, and table range.
2. Detailed Settings for Database Operations
Set the conditions for the record you want to update as shown in the attached image.
Enter the values for the updated record. In the "Record ID_Ninox" field, enter the output of the Ninox record ID so that the corresponding Ninox record in Google Sheets can be identified.
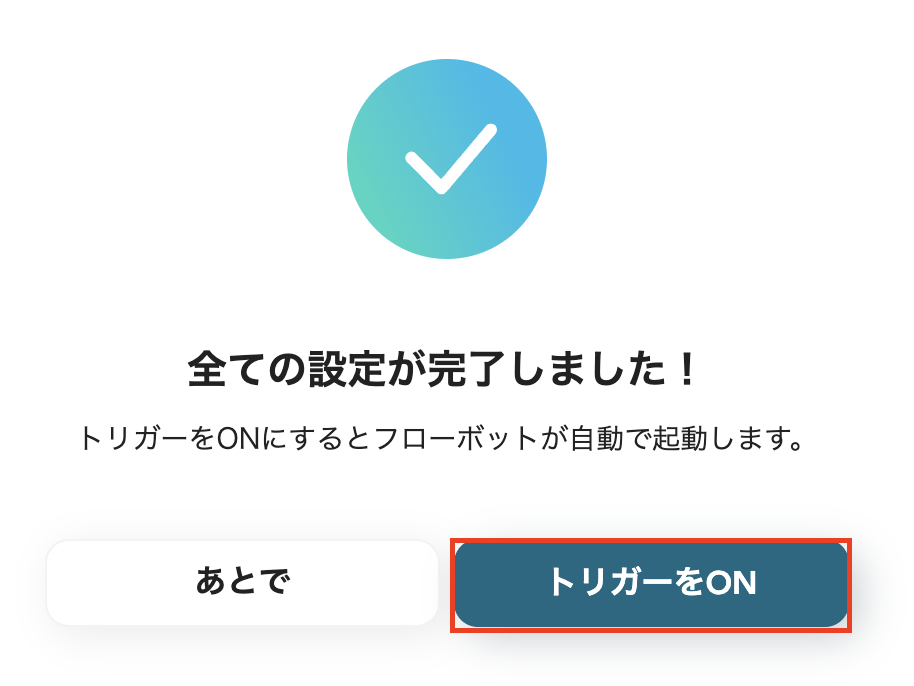
Once done, run the test and save. After saving, a message will appear indicating that all settings are complete, so click "Turn on Trigger".
This completes the flow bot setup!
Other Examples of Automation Using Google Sheets and Ninox
There are many other examples of automation using Google Sheets and Ninox at Yoom, so here are a few introductions.
1. A template that automatically deletes a Ninox record when a row is updated in Google Sheets.
If you perform deletions manually, there might be omissions or mistakes. By automating deletions, you can prevent human errors and reduce the burden of administrative work, allowing for smoother operations.
2. This is a template for automatically updating a Ninox record when a row is updated in Google Sheets.
Manual updates may cause discrepancies in the information between the two tools. By utilizing this template, you can centrally manage information and ensure that you always have the latest updates.
3. This is a template for automatically notifying Slack when a row is added in Google Sheets.
When information is added to Google Sheets, a notification is sent to Slack, reducing the risk of missing important information. This makes it easier to check important information and may improve work productivity.
Summary
By integrating Google Sheets with Ninox, you can reduce data entry tasks and human errors. Additionally, it becomes possible to centrally manage information, which can facilitate smoother operations. Moreover, by utilizing Yoom, you can create app integrations and flow bots without programming knowledge. Using templates like in this example, even beginners can easily set it up. Why not take this opportunity to automate data entry by integrating Google Sheets with Ninox?
The person who wrote this article
s.ougitani
After being in charge of sales and CA at a human resources company for about 5 years, I have been involved in jobs such as creating job advertisements and scouting sentences at companies that hire engineers.
I'm fascinated by Yoom's revolutionary service of “automating office work.”
I would like to write so that I can send out information that can be useful to everyone, even a little bit.
Conventional RPA can only automate simple repetitive tasks, and the setup process was very complicated. With “hyperautomation,” which combines various technologies such as AI, API, RPA, and OCR, it is possible to automate many tasks that could not be realized until now more easily than before.
Most tools simply connect one app to another, leaving the complex tasks to you. Yoom goes much further: From document creation and browser automation to OCR and generative AI, Yoom handles it all seamlessly in one platform.
Why settle for basic integrations? Streamline your entire workflow with Yoom’s powerful hyperautomation.


.avif)


.avif)


