

.avif)

(2) Next, select any project from the list of workspaces.
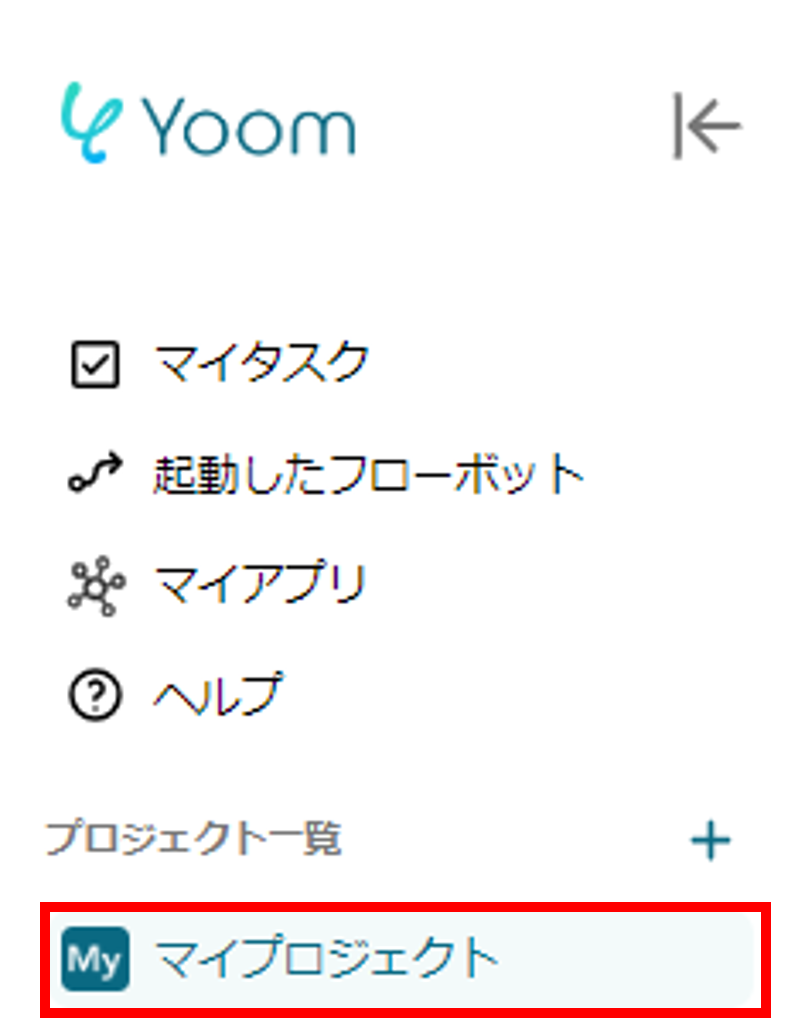
The copied template is stored in "My Projects" in the project list, so please check there.
(3) Once the following screen is displayed, proceed to Step 2.
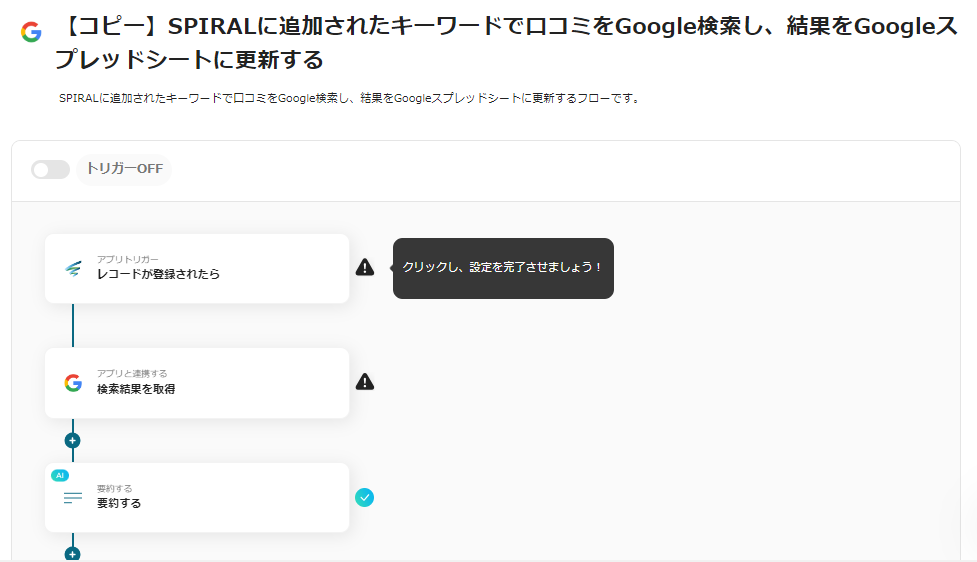
Step 2: SPIRAL Settings
Next, we move on to the settings of SPIRAL.
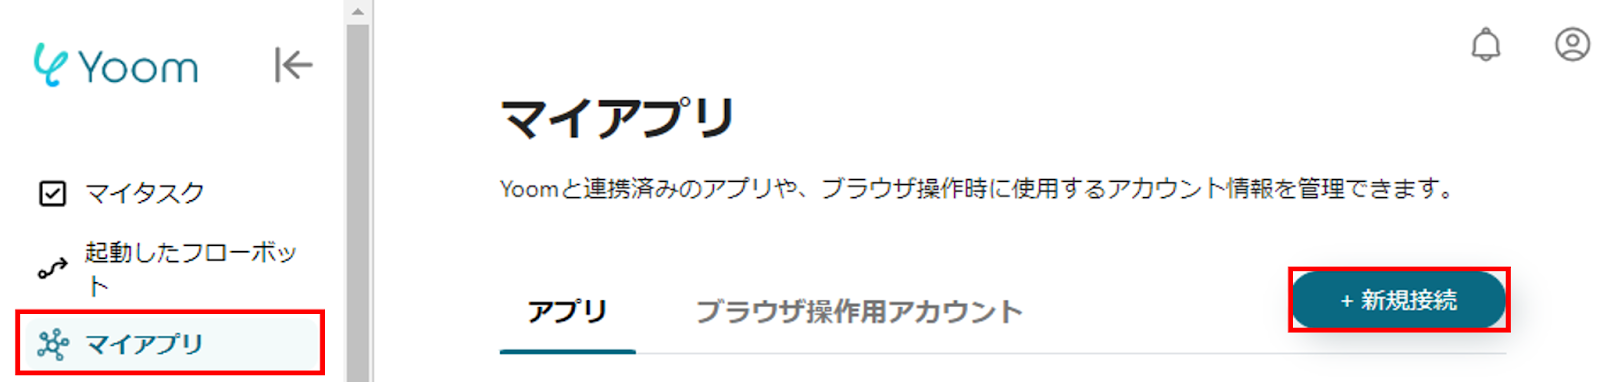
(1) Click "My Apps" on the left side of the screen.
(2) Next, click "+New Connection" displayed on the right side of the screen.
(3) Select SPIRAL(ver.2) from the list of apps.
(4) Follow the instructions on the new registration screen to set the Account Name and Access Token.
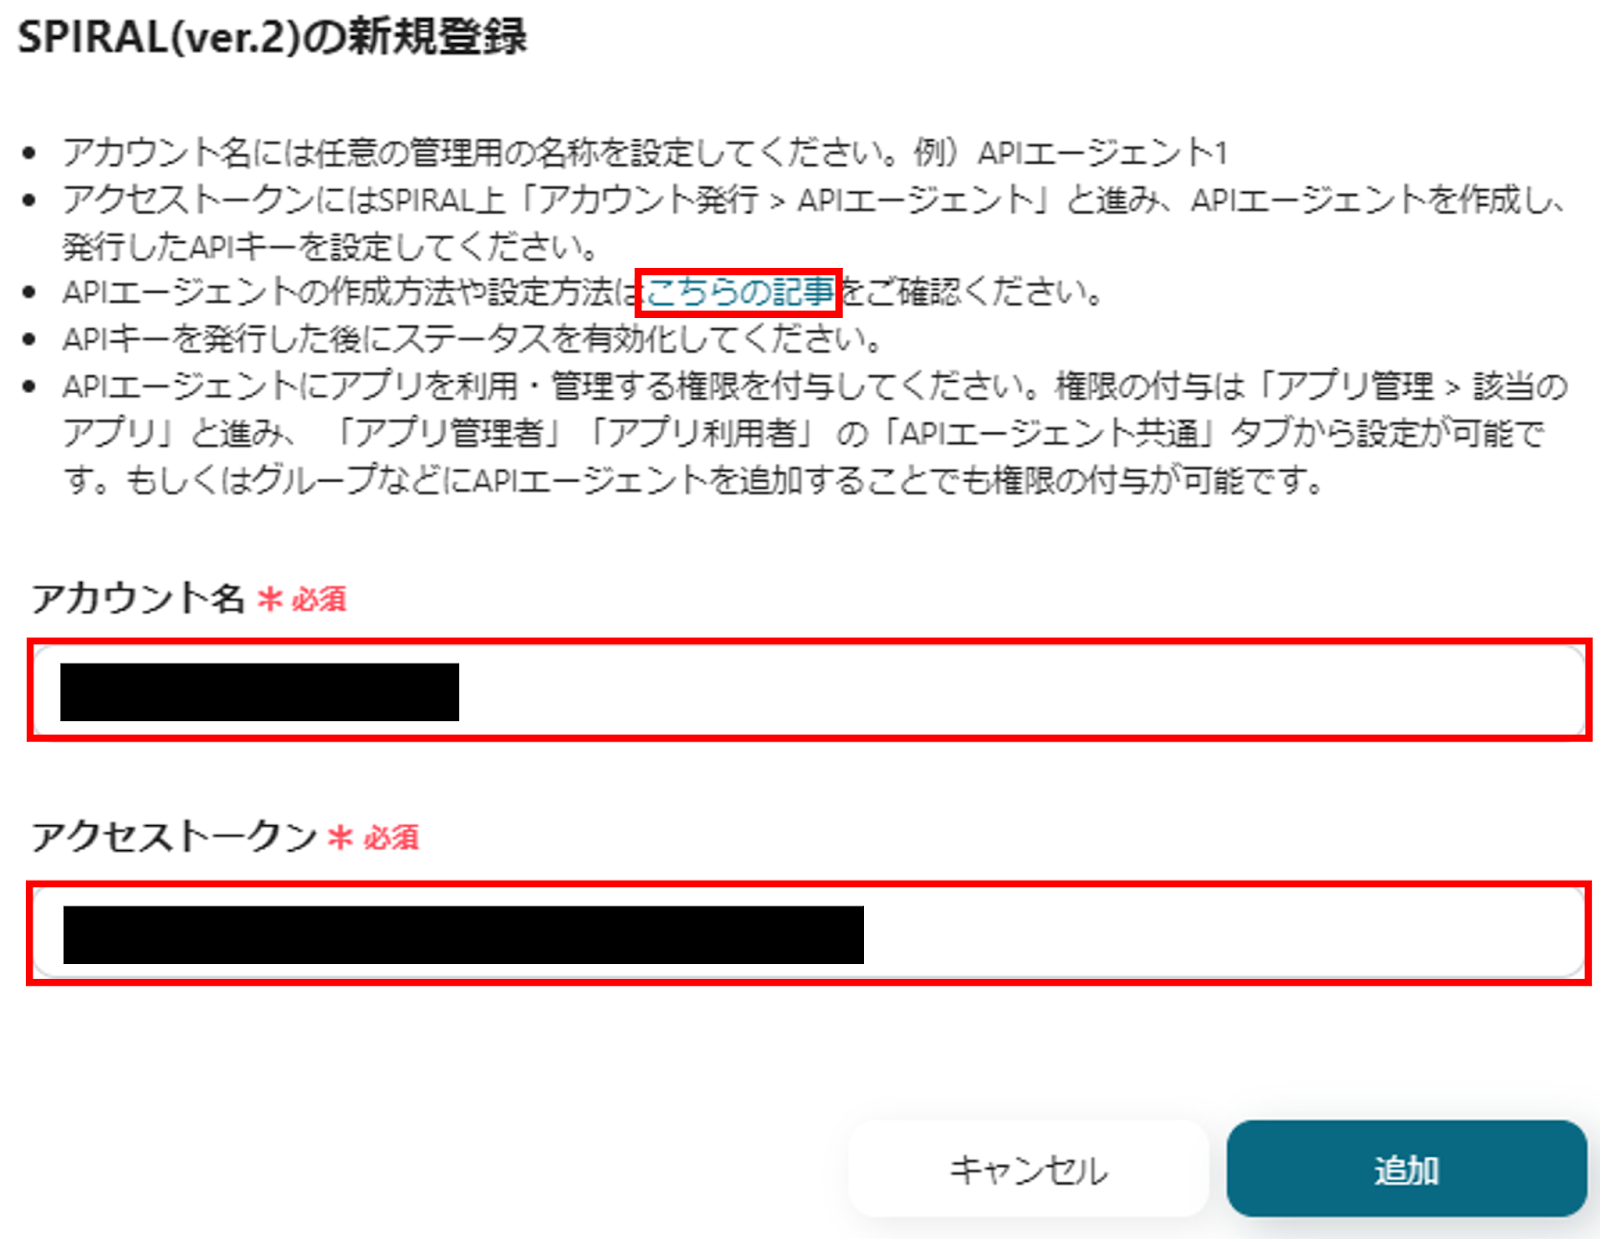
(4) Click "Add" to complete the registration of My Apps.
Step 3: Google Search Settings
Next is the setting of Google Search. Please register this in "My Apps" as well.
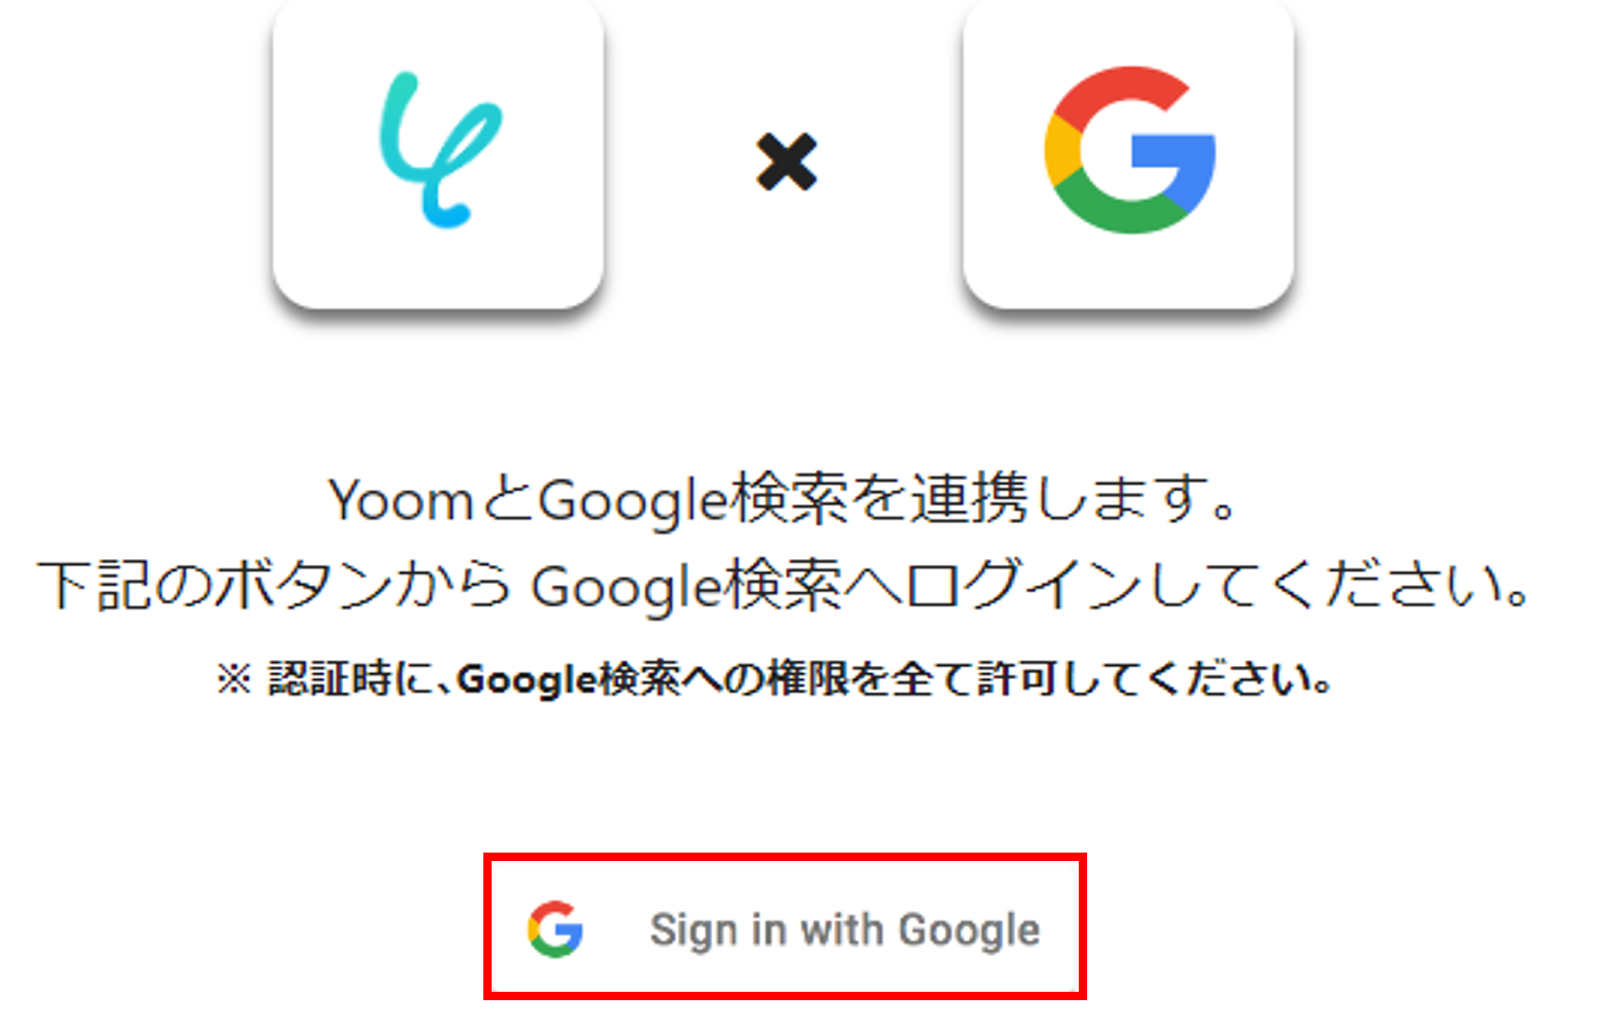
(1) Select Google Search from the list of apps.
(2) Click Sign in with Google.
(3) Follow the instructions on the new registration screen to set the Account Name and Access Token.
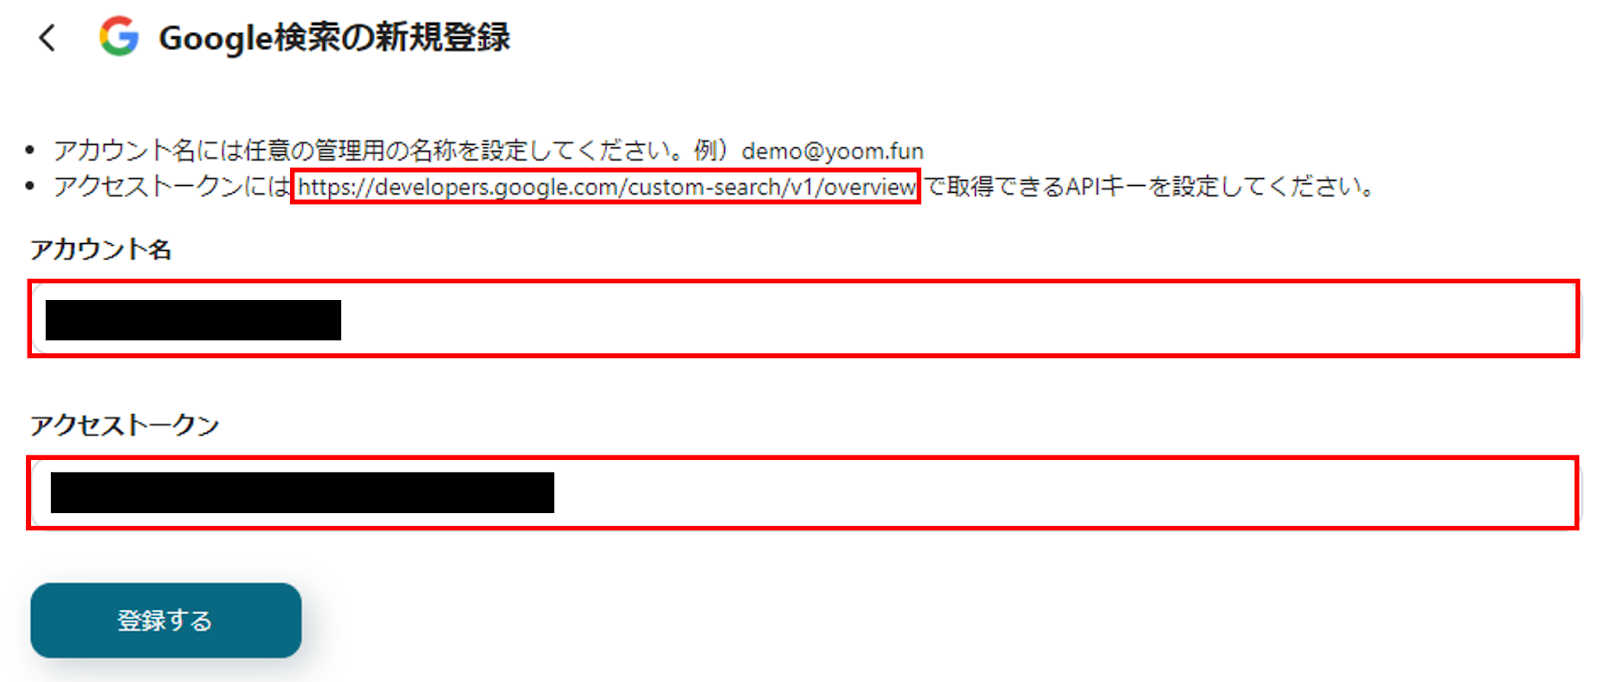
(4) Click "Register" to complete the registration of My Apps.
Step 4: Google Sheets Settings
(1) Select Google Sheets from the list of apps.
(2) Click "Sign in with Google".

(3) Select and click the account you want to link on the account selection screen.
(4) On the Yoom login screen, confirm that the account information to be linked is correct, and click "Next".
(5) Finally, on the "Yoom is requesting additional access to your Google account" screen, click "Continue" to complete the Google Sheets settings.
(6) Click "My Projects" from the project list.
(7) Click the copied template and select "Edit" in the upper right corner. Then proceed to Step 5.
Step 5: Setting Triggers and Actions
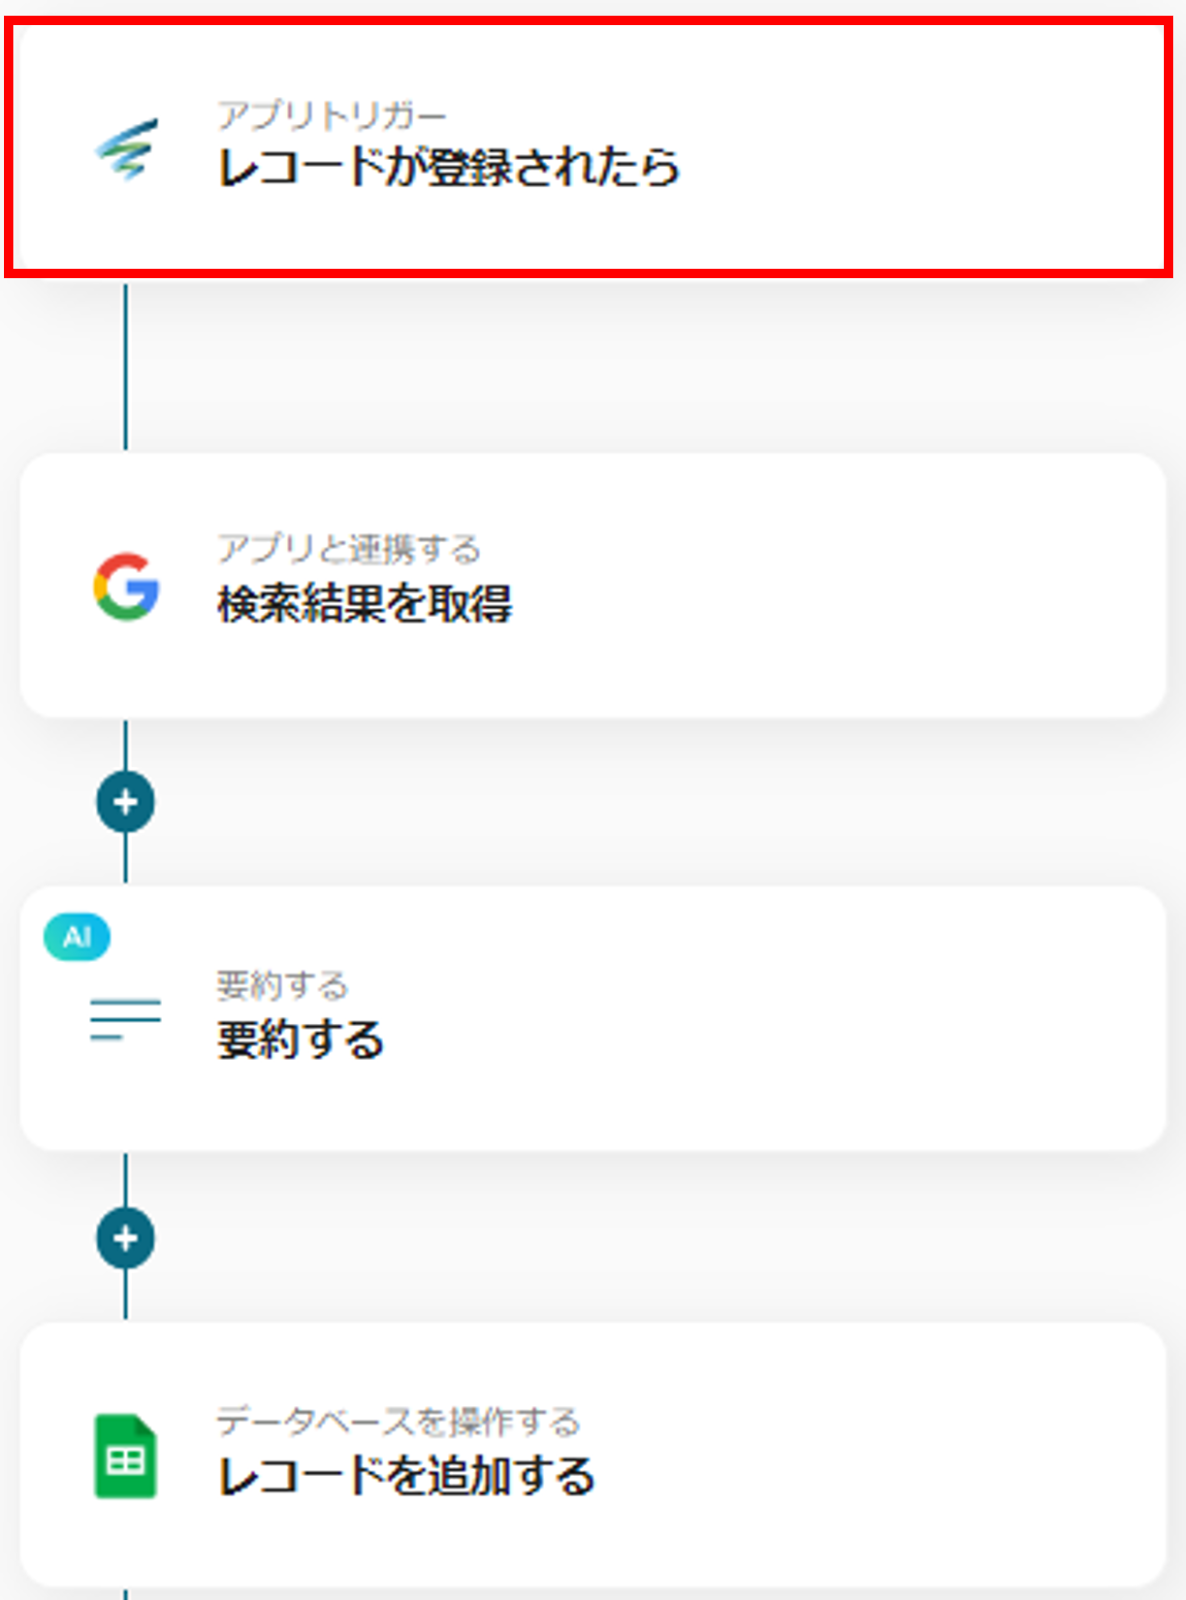
(1) Click "App Trigger" from the list of flows.
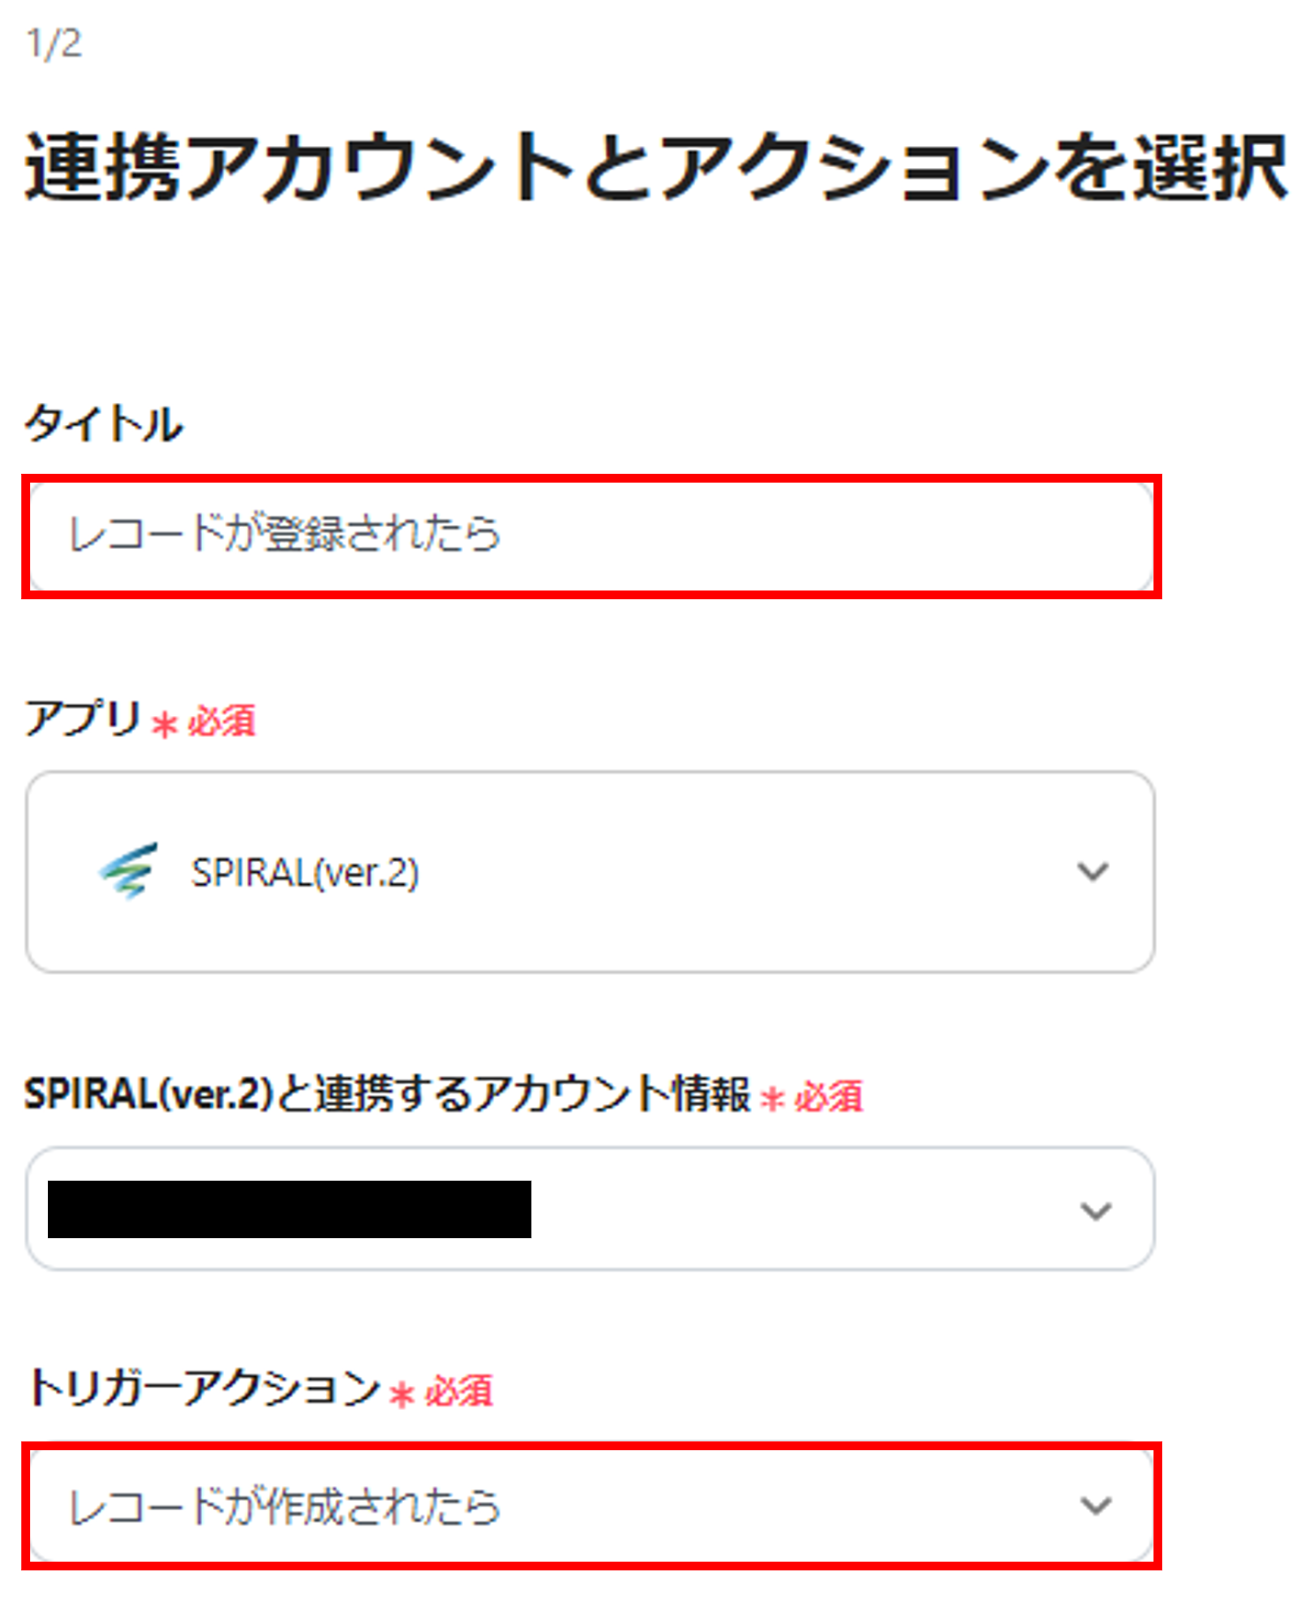
(2) Set the title of the app trigger (you can use the already set title as it is).
(3) Confirm that the trigger action "When a record is created" is selected.
(4) Click "Next" to proceed to the app trigger API connection settings.
■ App Trigger API Connection Settings
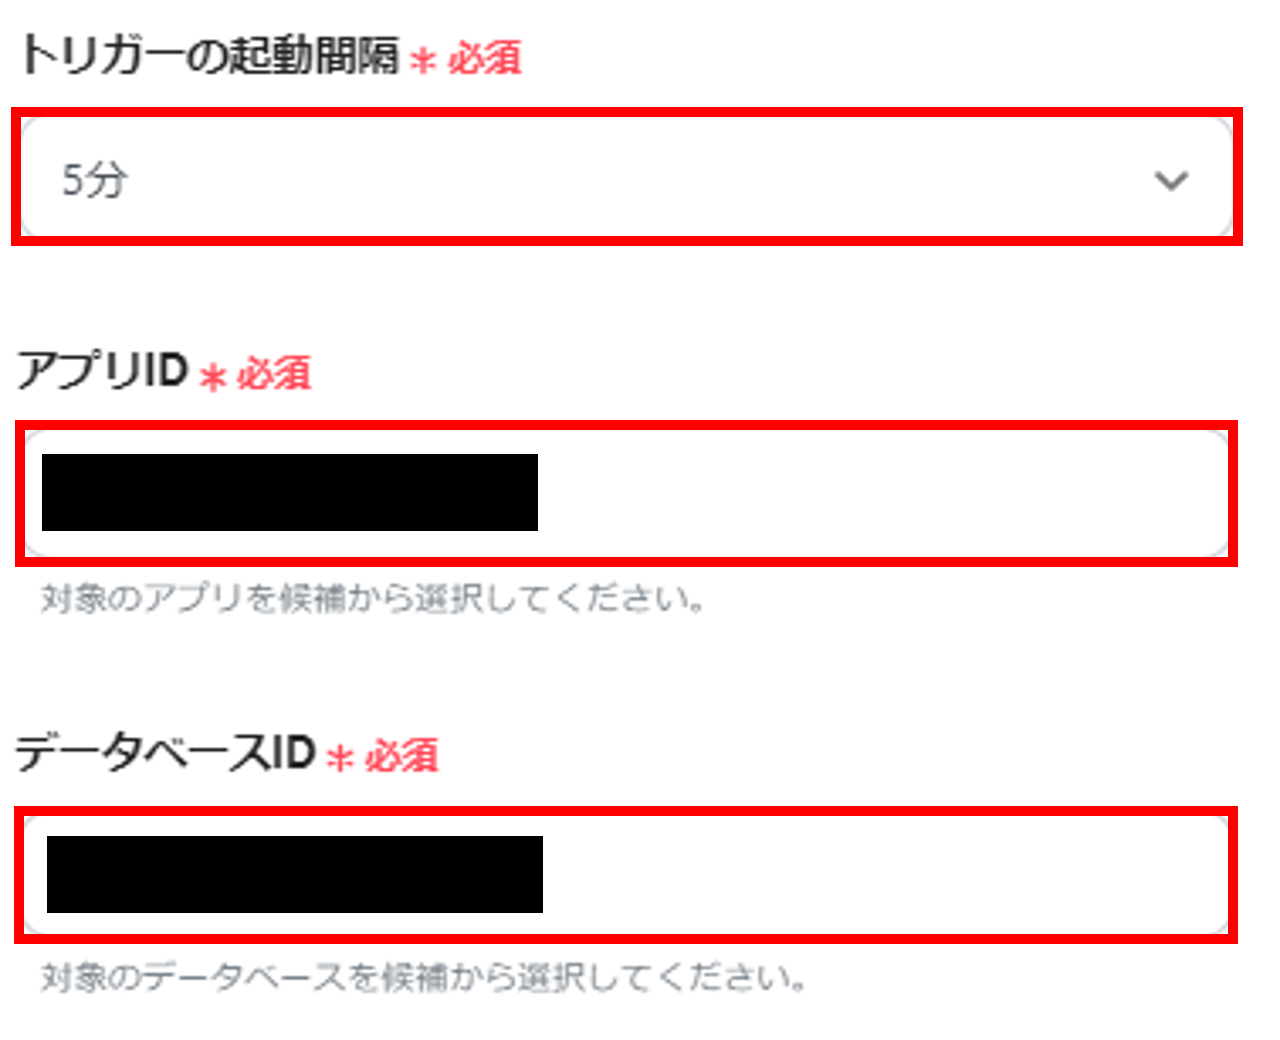
(5) Set the trigger activation interval to 5 minutes. *The activation interval that can be set varies depending on the plan.
(6) When you click the input field for App ID and Database ID, candidates will be displayed. Please select any from them.
(7) If no error occurs in "Test", click "Save".
(8) Then click "Integrate with App".
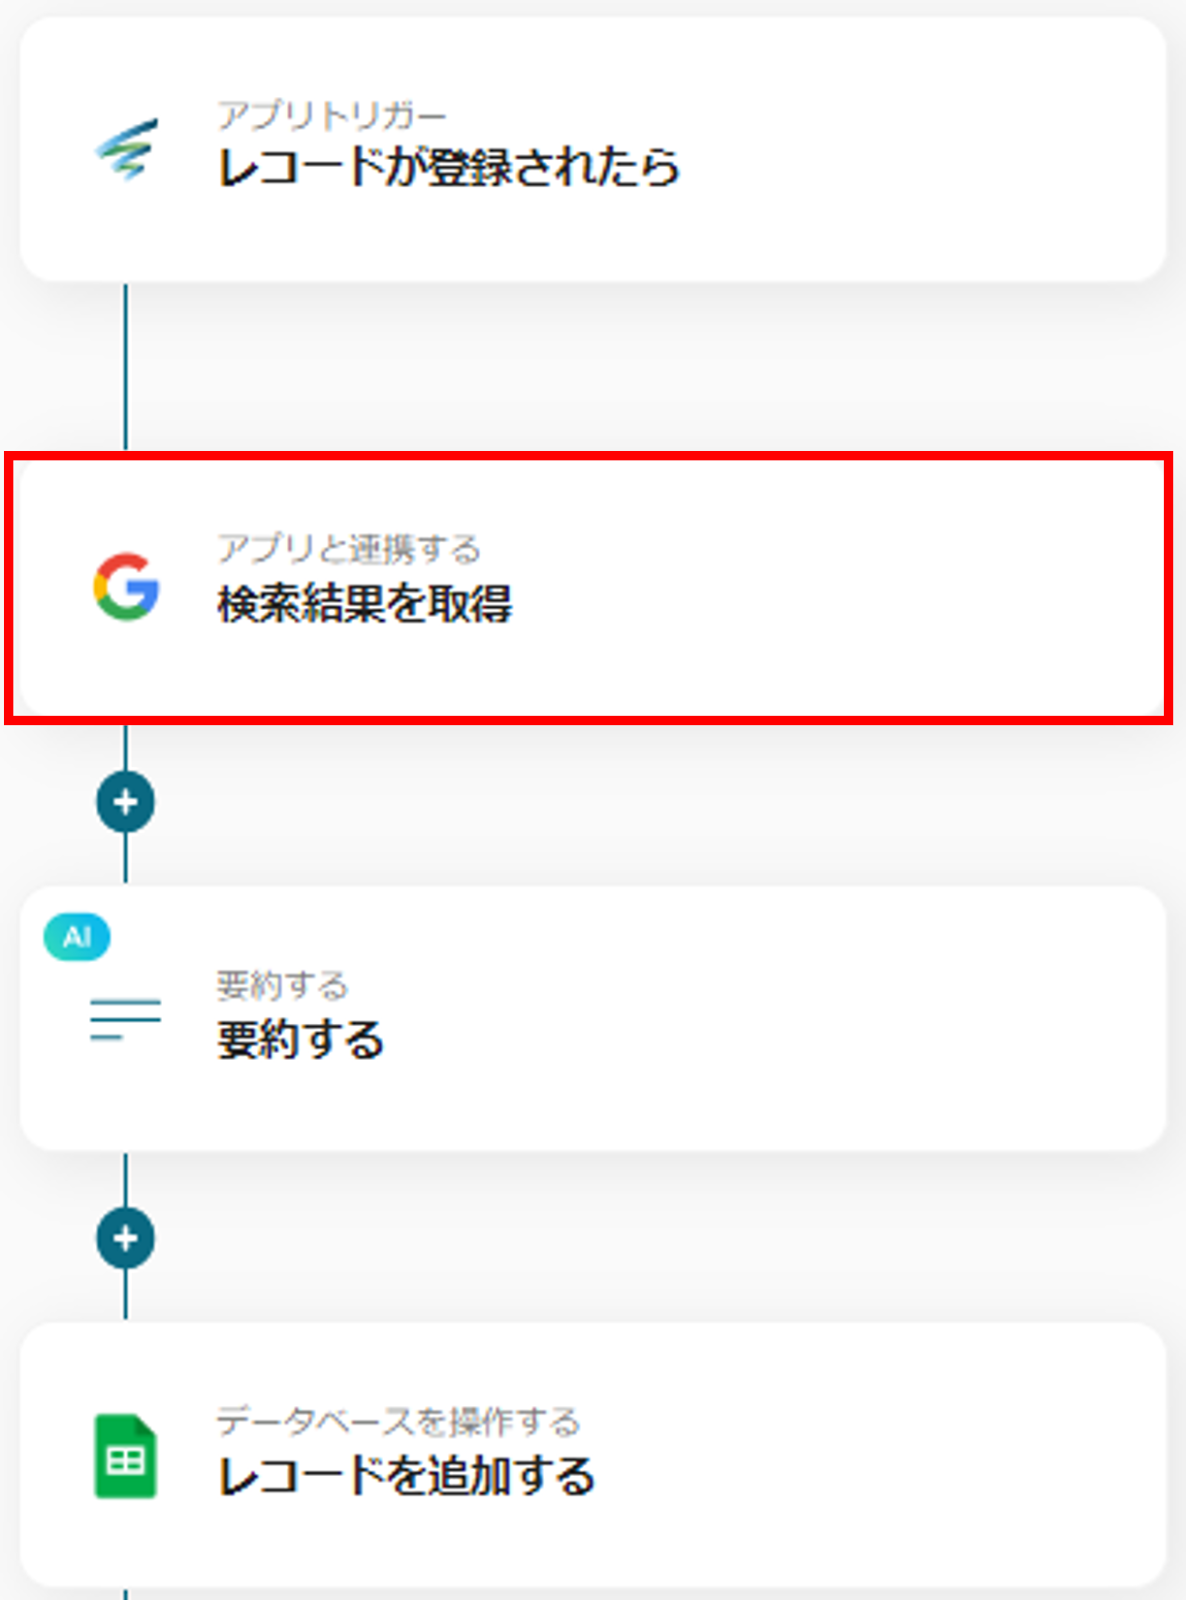
(9) Set the title and confirm that the action "Get Search Results" is selected.

(10) Click "Next".
■ API Connection Settings
(11) Follow the instructions on the screen to set the search engine ID.
(12) The search query is arbitrarily constructed using output and text.

(13) Click "Test" and if no error occurs, click "Save".
(14) Then click "Summarize".
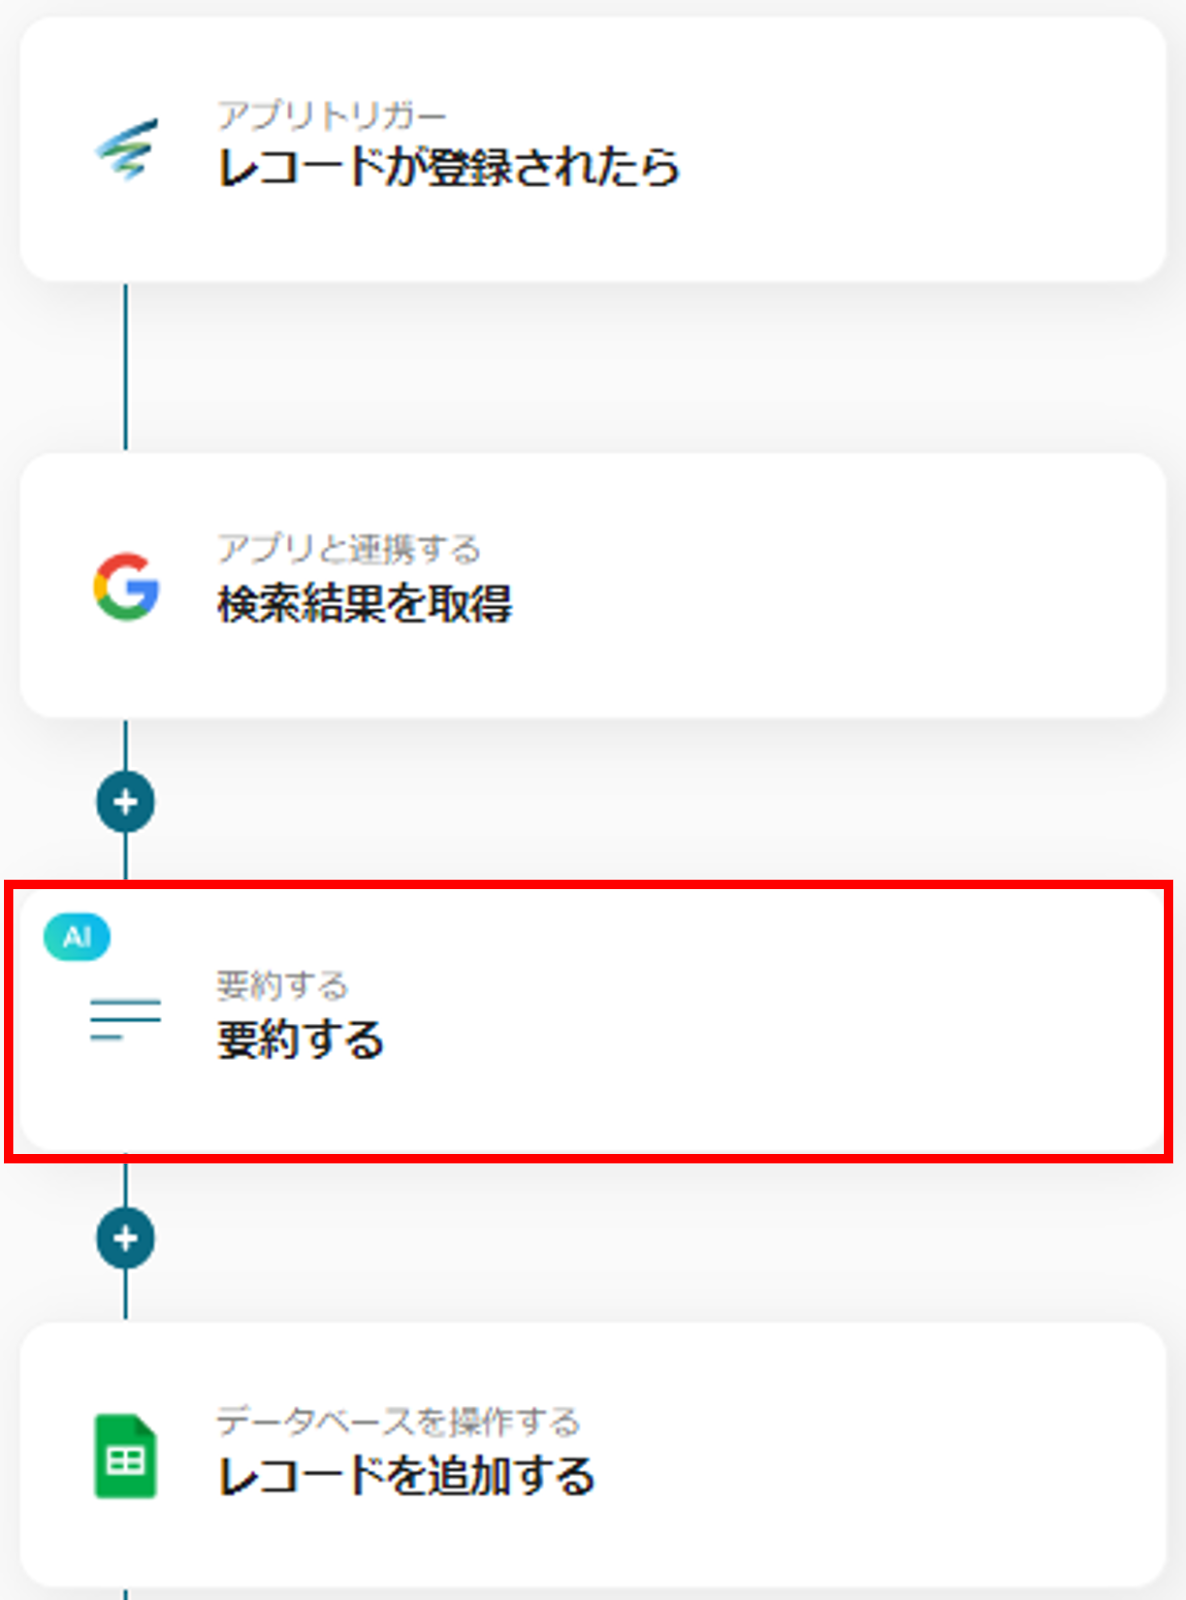
(15) Set the title and confirm that the action "GPT3.5 | Summarize text within 3,500 characters (3 tasks)" is selected.
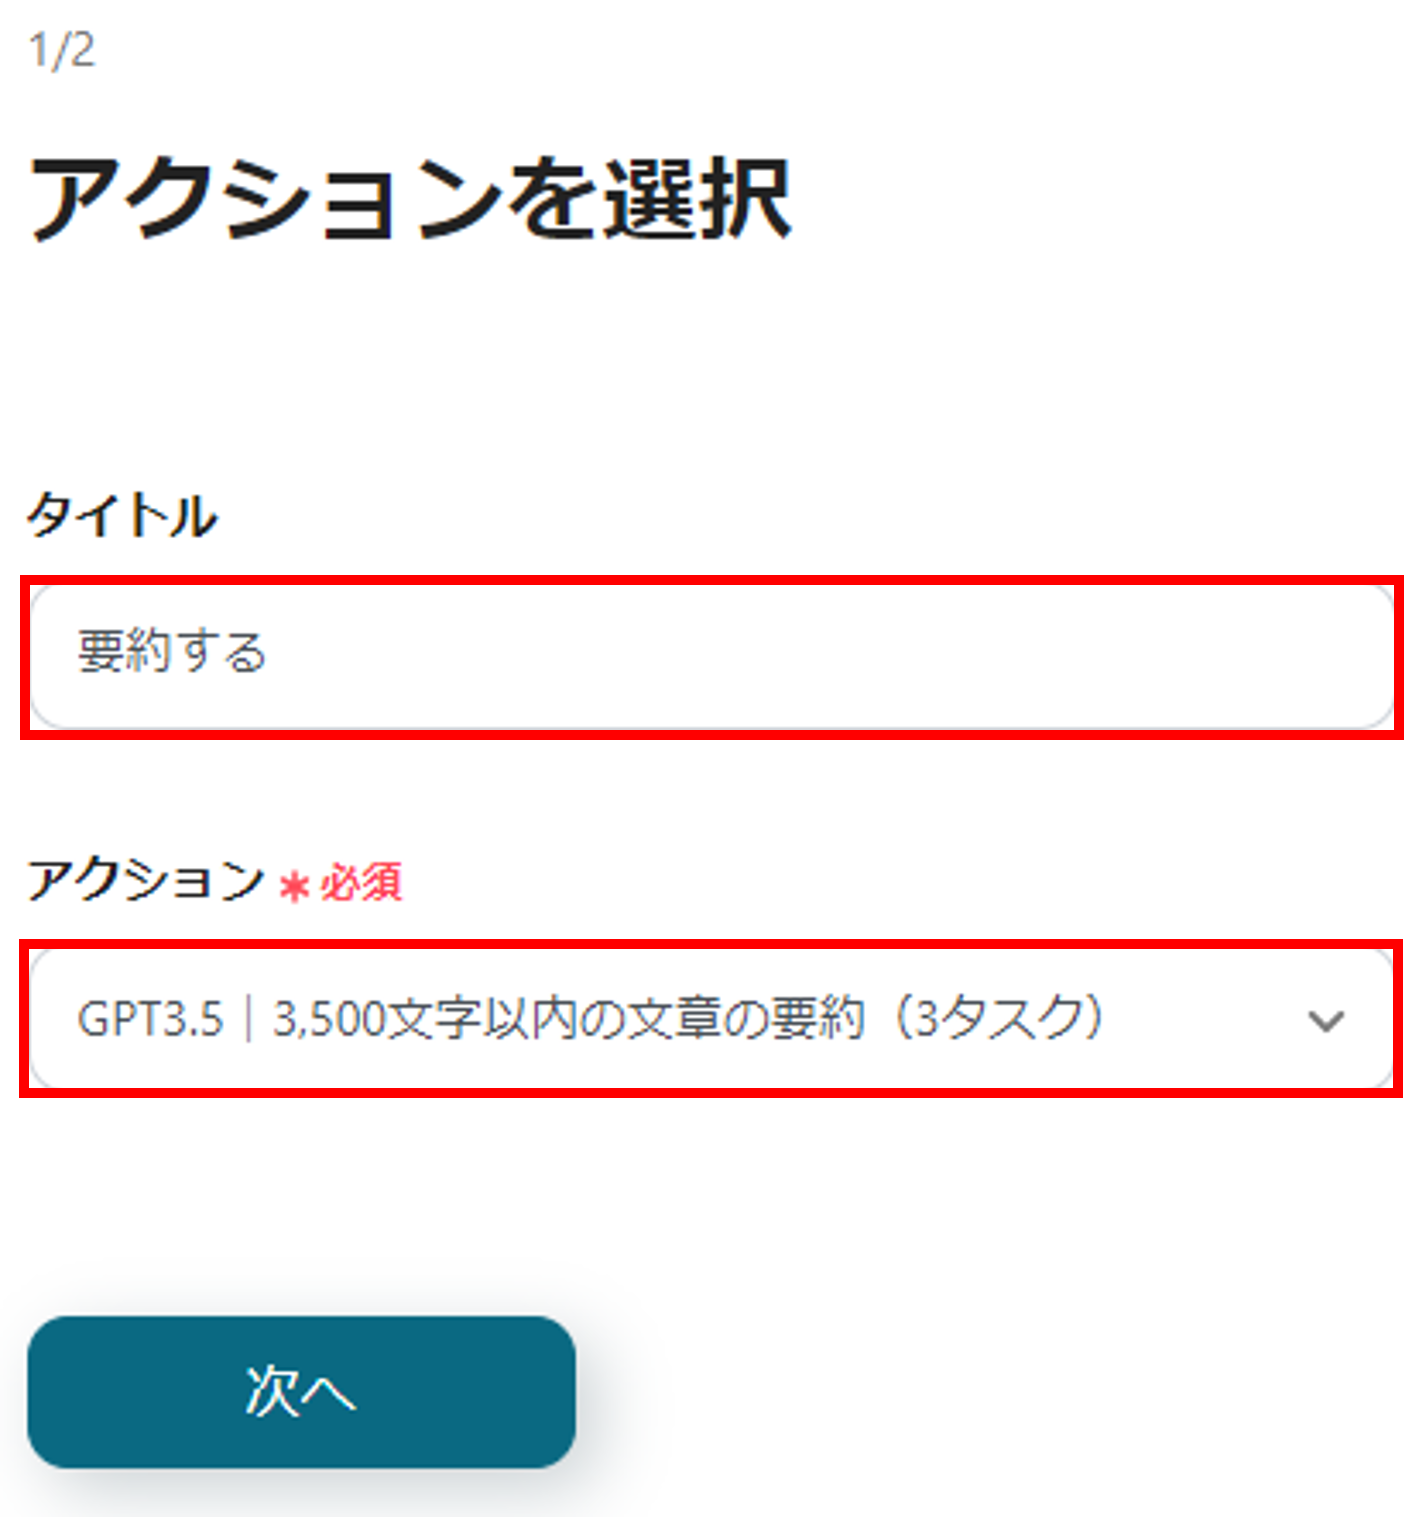
(16) Click "Next".
■ Set Details
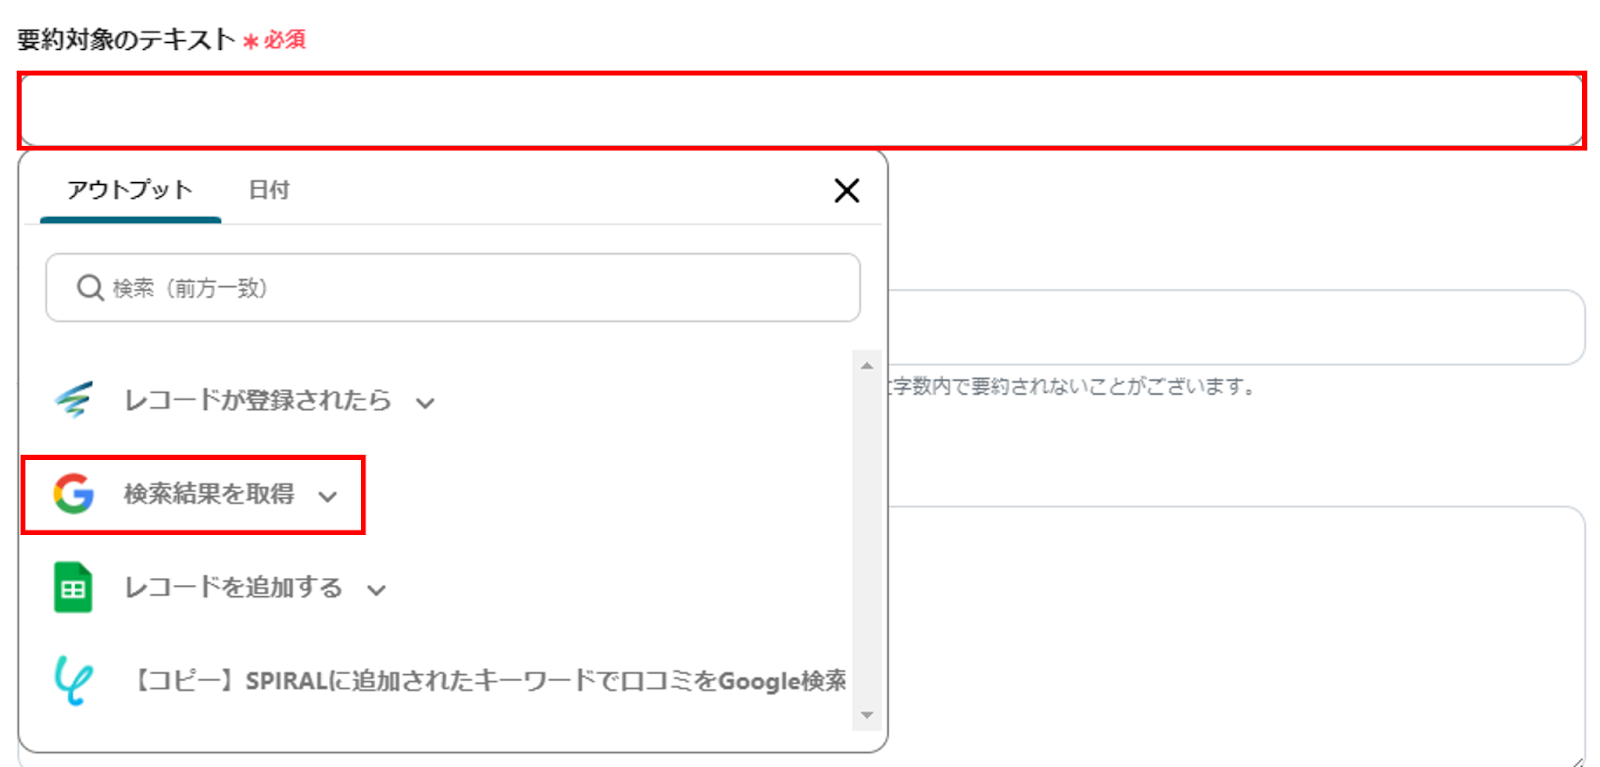
(17) Specify the text to be summarized from the output.
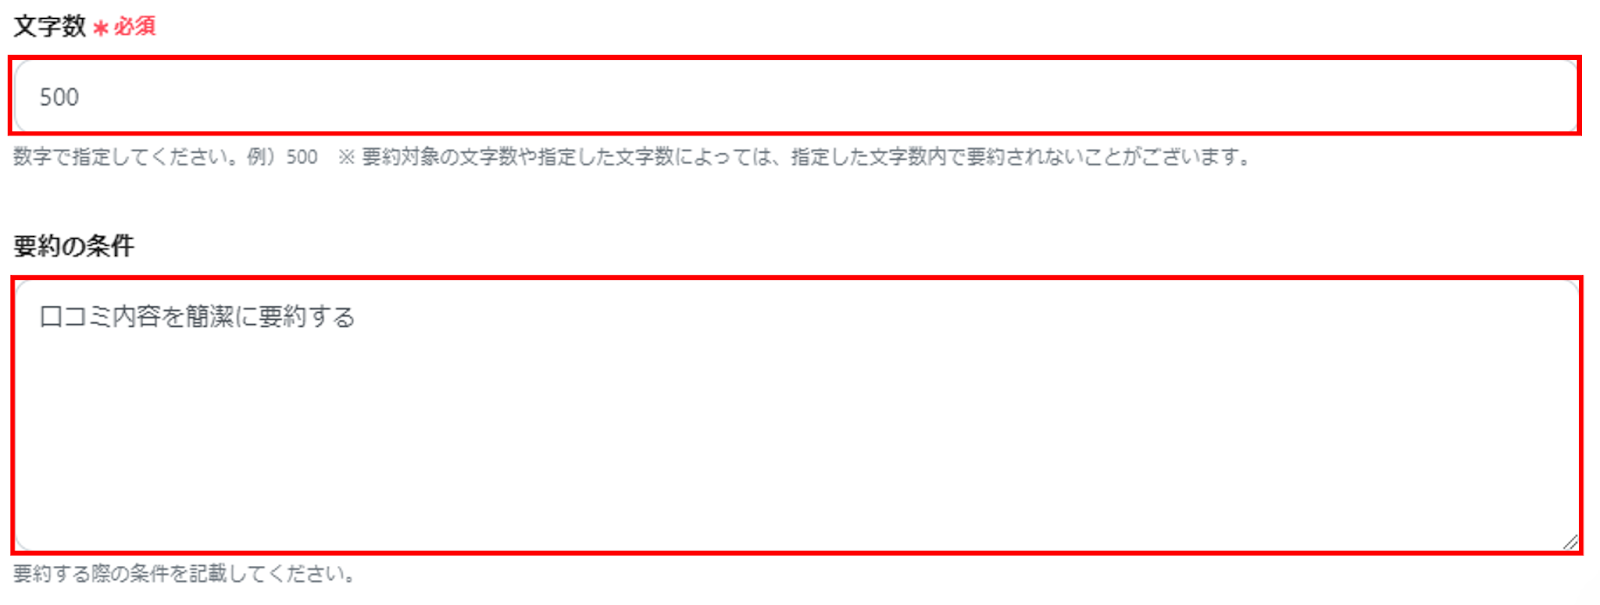
(18) Specify the number of characters and conditions for summarization arbitrarily.
(19) If no error occurs in "Test", click "Save".
(20) Click "Operate Database" at the bottom.
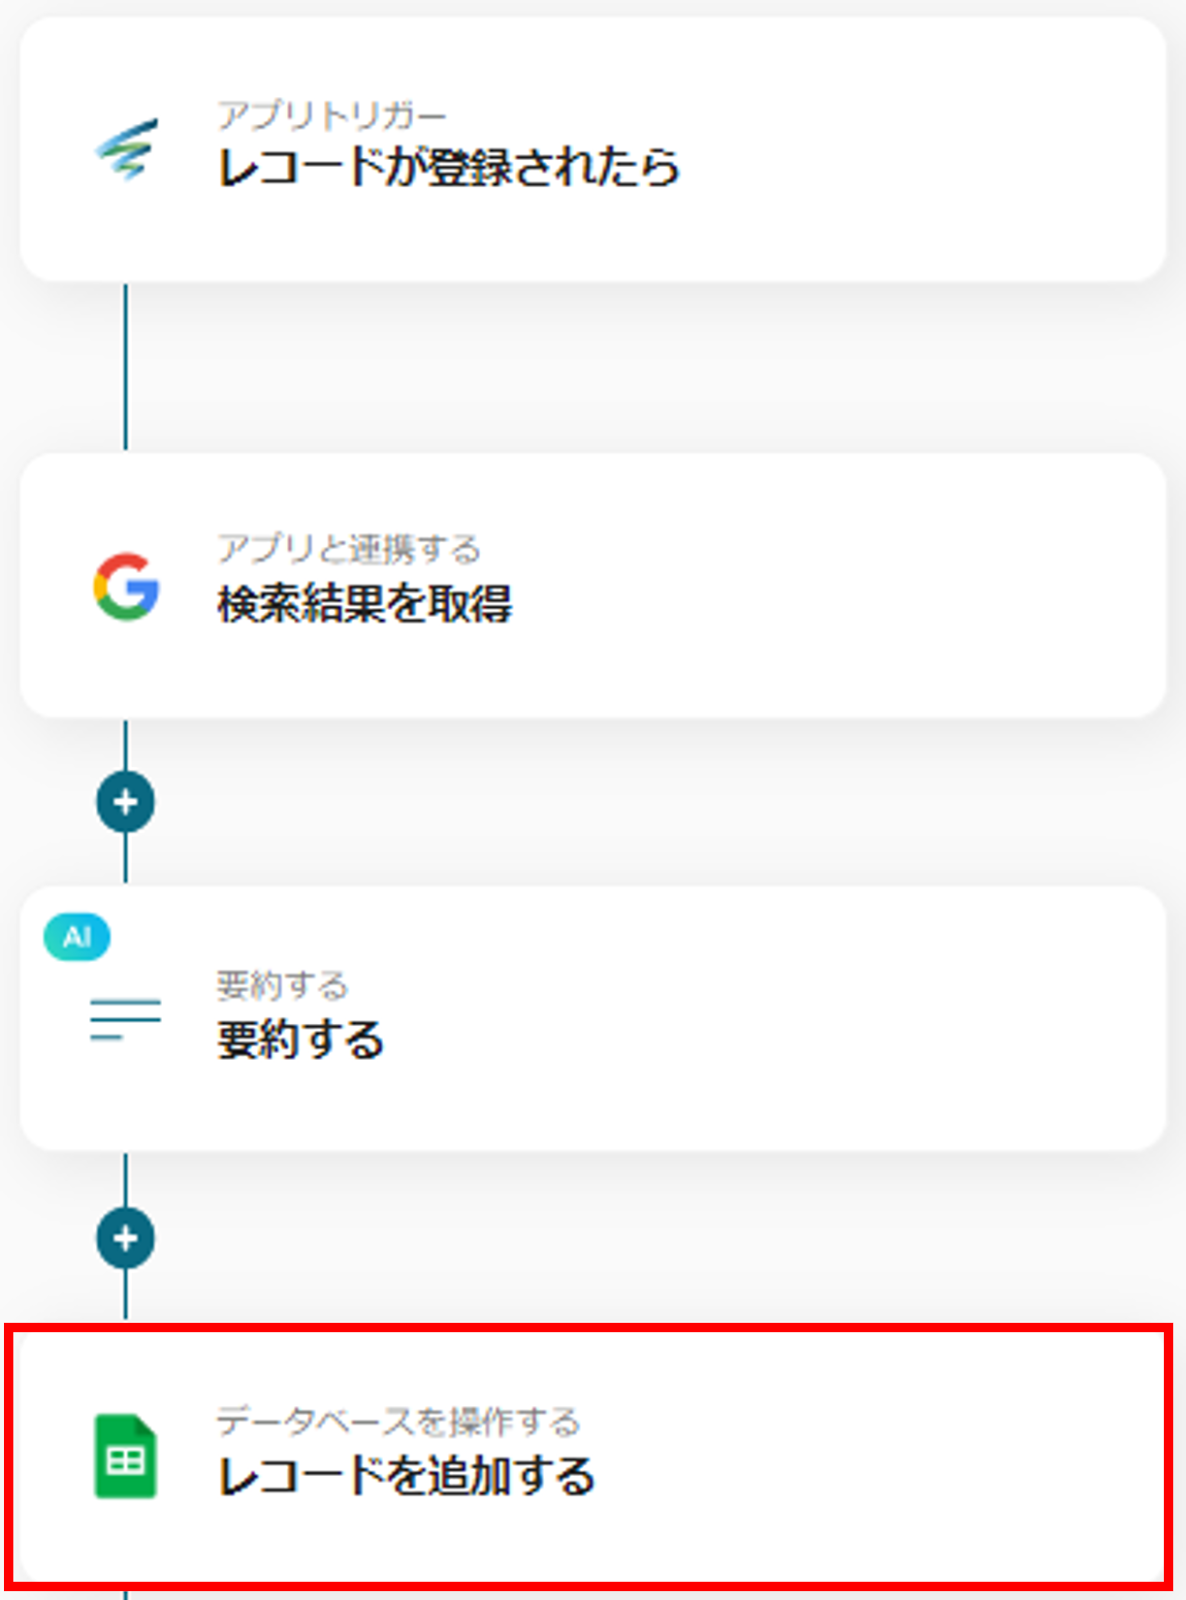
(21) Set the title and confirm that the execution action "Add Record" is selected.
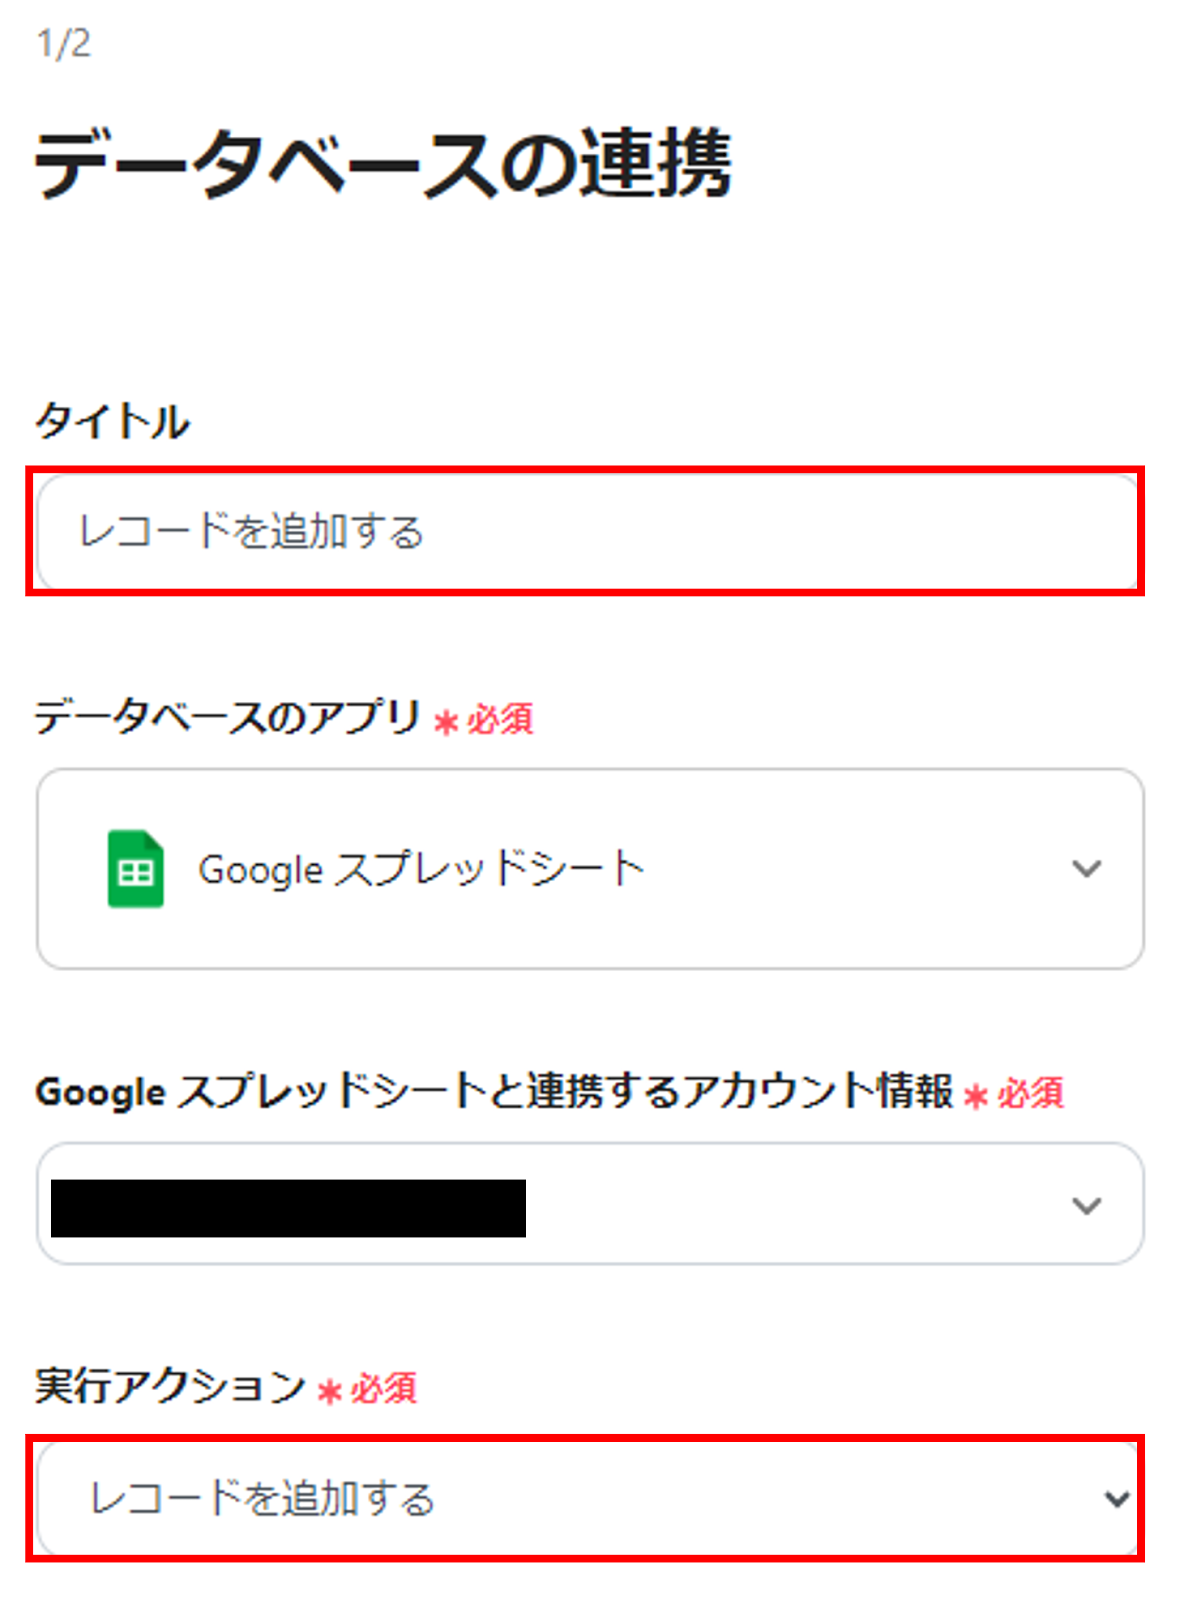
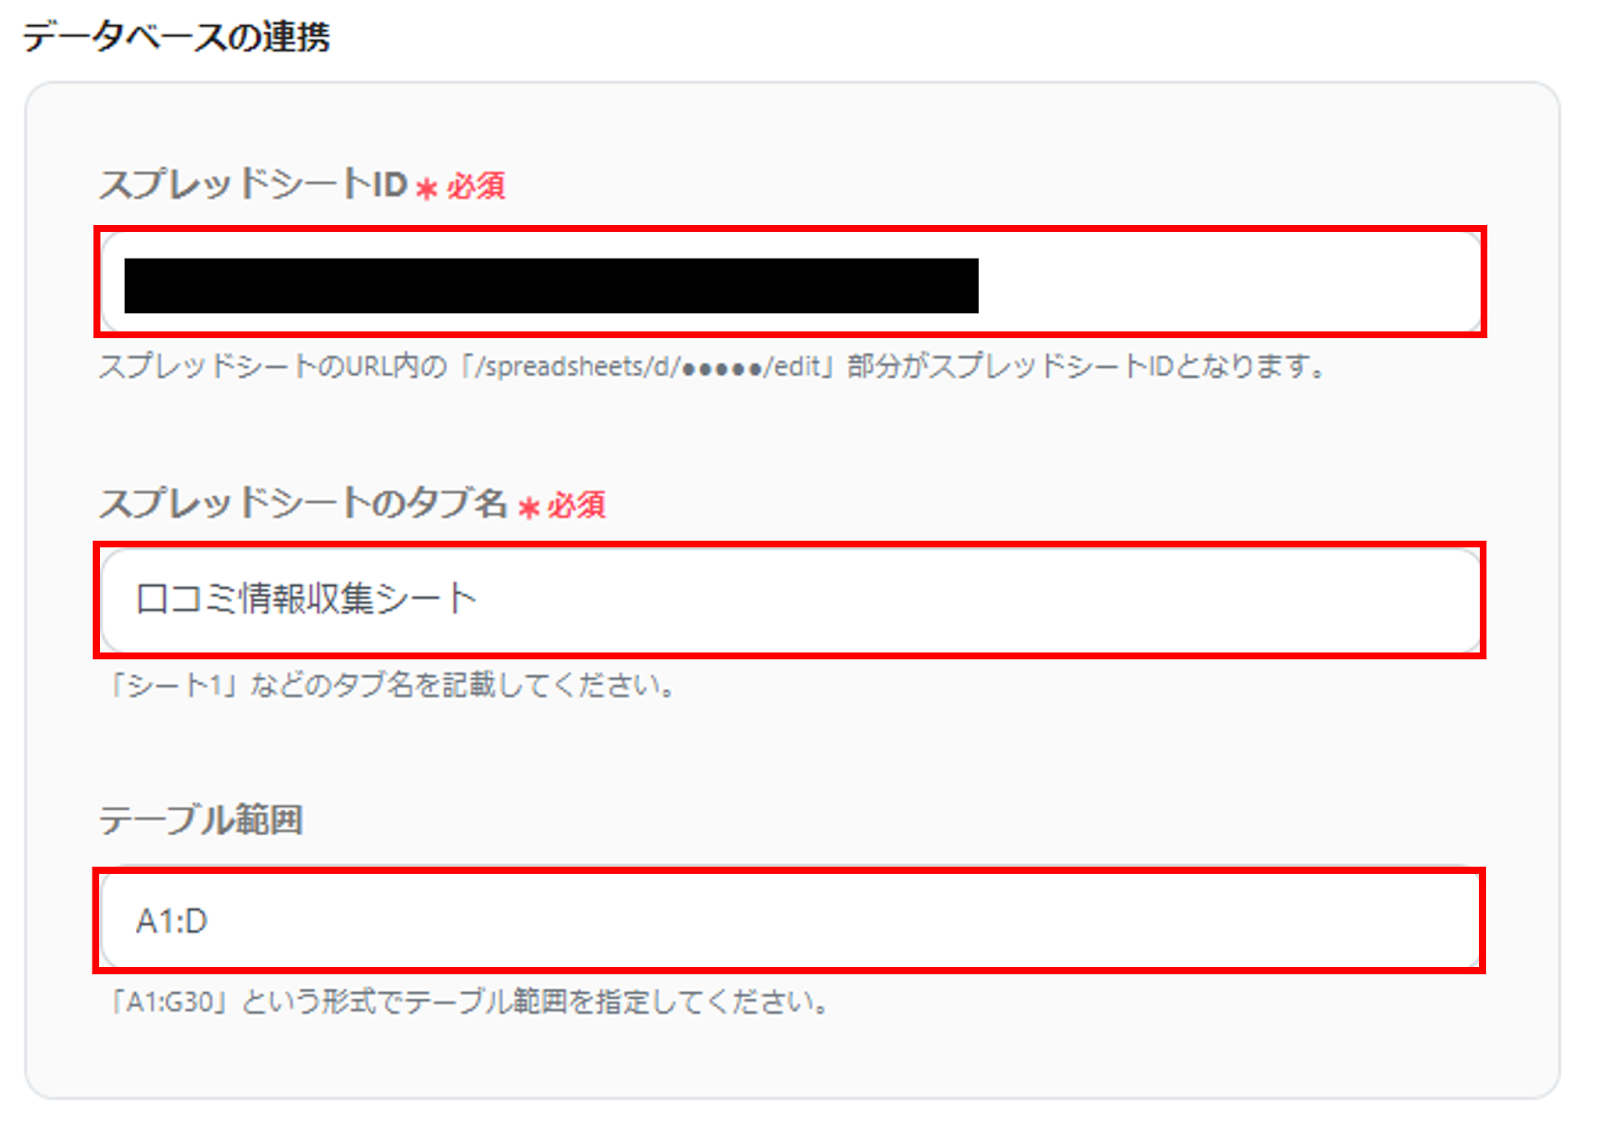
(22) In the database linkage, set each item.
➀ Select the Spreadsheet ID and Tab Name arbitrarily from the candidates.
➁ Specify the table range.
(23) Click "Next".
■ Detailed Settings for Database Operations
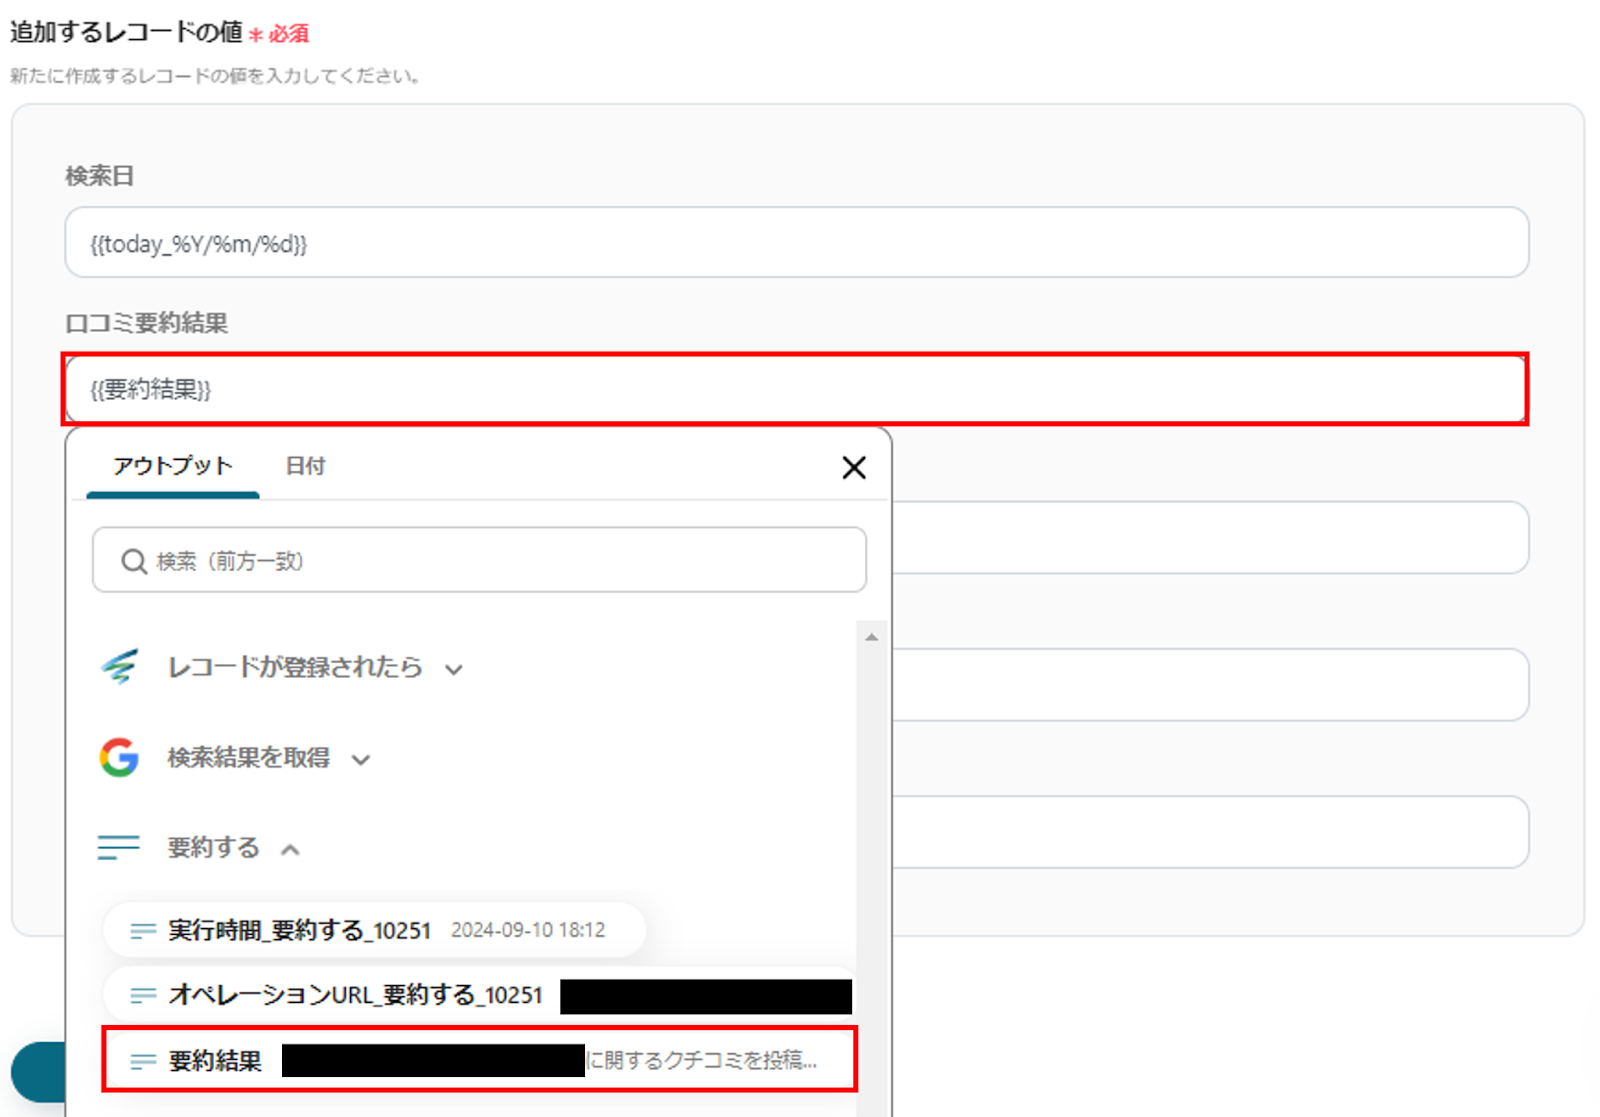
(24) Set the value of the record to be added arbitrarily from the output of "Summarize".
Set according to the items of Google Sheets.
(25) If no error occurs in "Test", click "Save".
(26) When the following screen is displayed, click "Turn on Trigger" to complete the automation settings.

The flowbot template introduced this time can be used by registering with Yoom from the following!


.avif)
.avif)
.avif)


