Integration of My Apps with Webflow and Microsoft Excel
After copying the template, the first step is to register Webflow and Microsoft Excel from Yoom's "My Apps" as a preliminary setup.
※ If you have already registered, please proceed to "Step 1. Setting the App Trigger".
<Procedure>
1. After logging into Yoom, click "+ New Connection" from the "My Apps" menu on the left side.
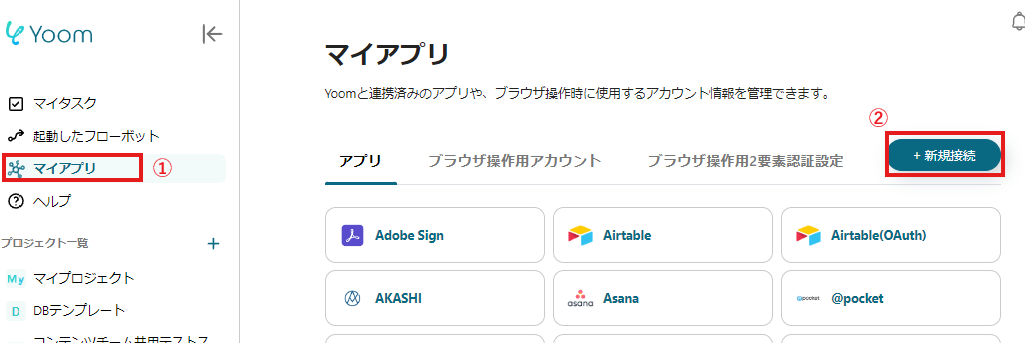
2. Search for the app name, enter the required information, and register the app.

If Webflow and Microsoft Excel are displayed in the My Apps list, the preparation is complete!
Let's proceed to the detailed settings!
※Note
Please be aware that Microsoft365 (formerly Office365) has a home plan and a general business plan (Microsoft365 Business), and if you are not subscribed to the general business plan, authentication may fail.
Step 1. Setting the App Trigger
First, click on the app trigger "When the form is submitted".
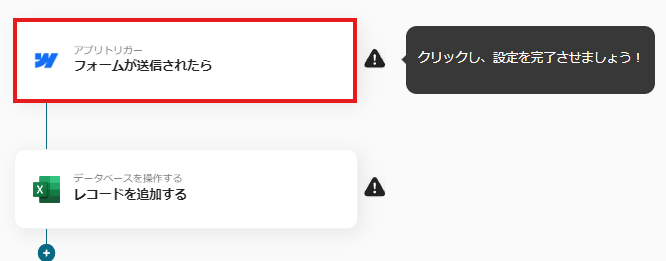
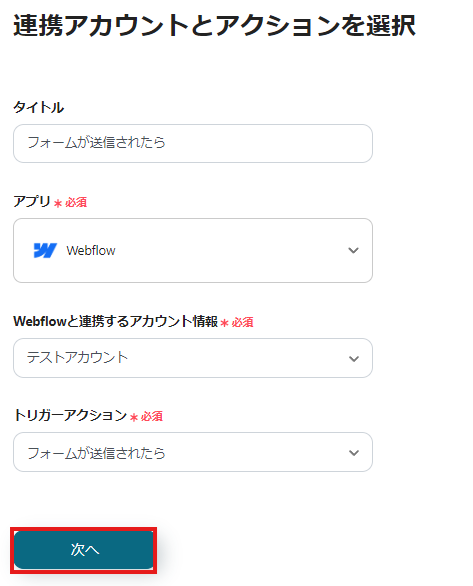
On the first page, the account information linked in advance will be displayed, so please check it.
If there are no issues, click "Next".
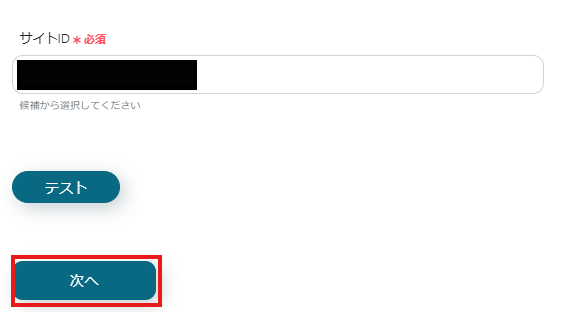
On the next page, set up the API connection with Webflow.
Specify the site ID and if there are no errors in the "Test", click "Next".
On the next page, send a Webhook event or execute the triggering event, and click "Test".

If there are no issues up to this point, click "Save" to complete the trigger settings.
Step 2. Add a Record
Next, click "Add a Record".
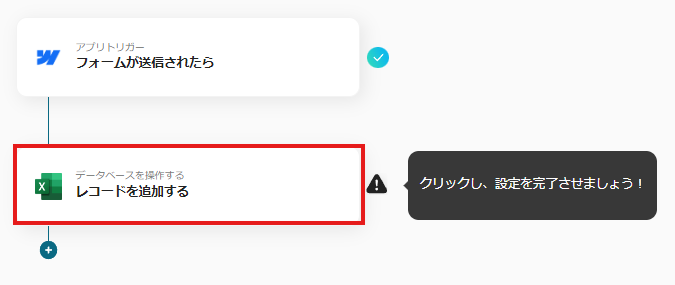
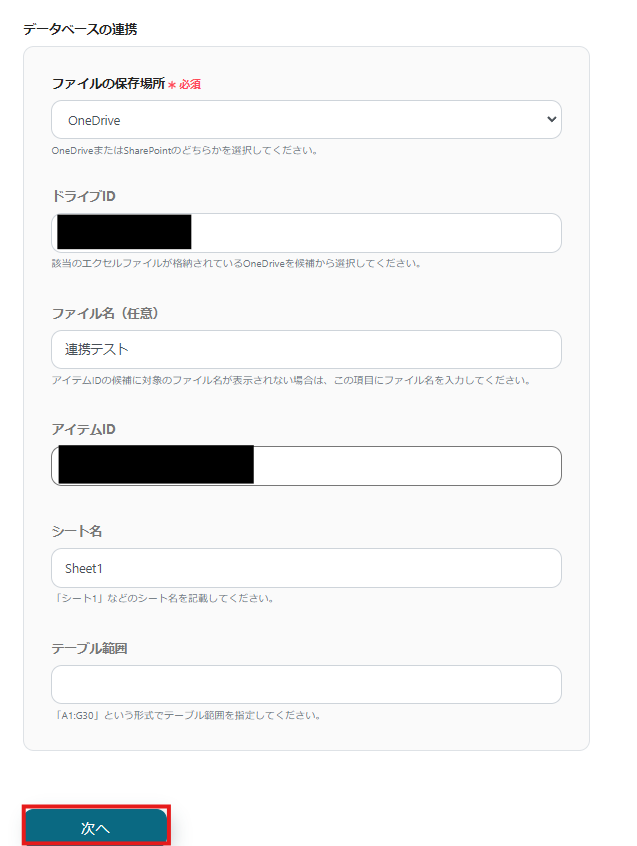
At the beginning of the first page, the account information is displayed as in Step 1.
Below that, there are input fields for linking with the database.
Enter the required fields such as file storage location and drive ID, and proceed to "Next".
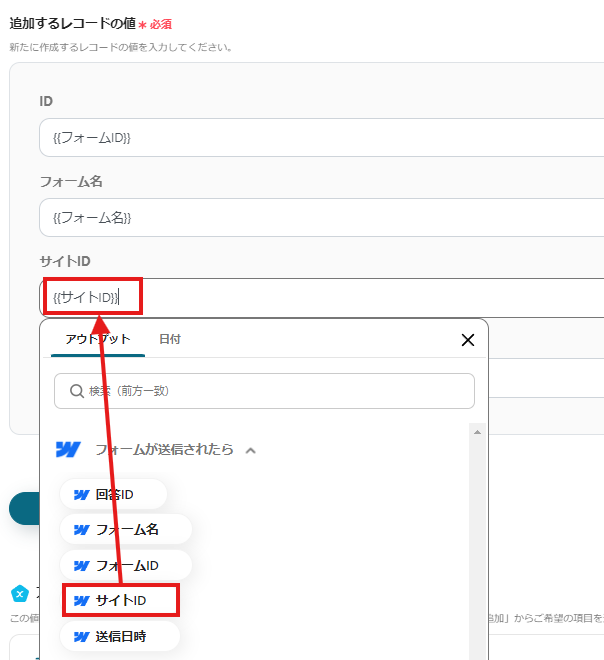
On the second page, set the values for the record to be added.
Use the outputted information to input.
Click "Test" and if no errors appear, click "Save".
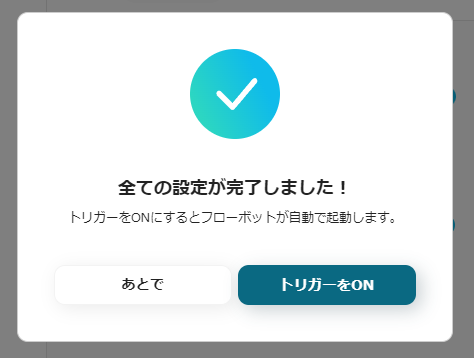
If a popup like the image below appears, all settings are complete.
Other Automation Examples Using Webflow and Microsoft Excel
Yoom offers many automation examples using Webflow and Microsoft Excel.
Here are some representative examples.
1. Add to Sasuke when a Webflow form is submitted
For those managing prospective customer information using Sasuke, the following template is also recommended.


.avif)


