

.avif)


2. When the following display appears, the template copy is successful.

Step 3: Set a trigger to activate when a post is published on WordPress
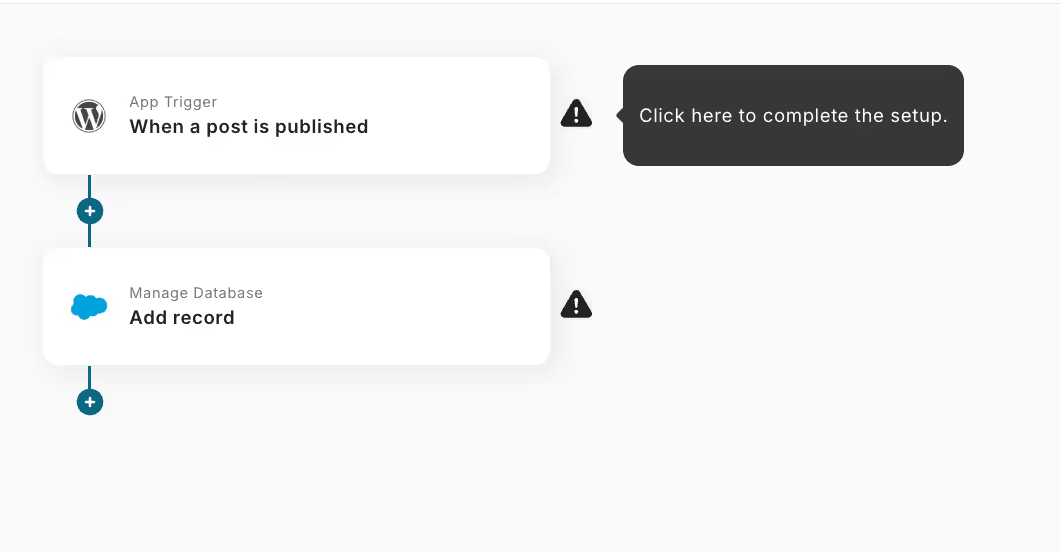
1. Let's set it up by clicking the flow icons in order.
Each icon has an "!" mark, so click them in sequence to proceed.
First, click "When a post is published" at the top.
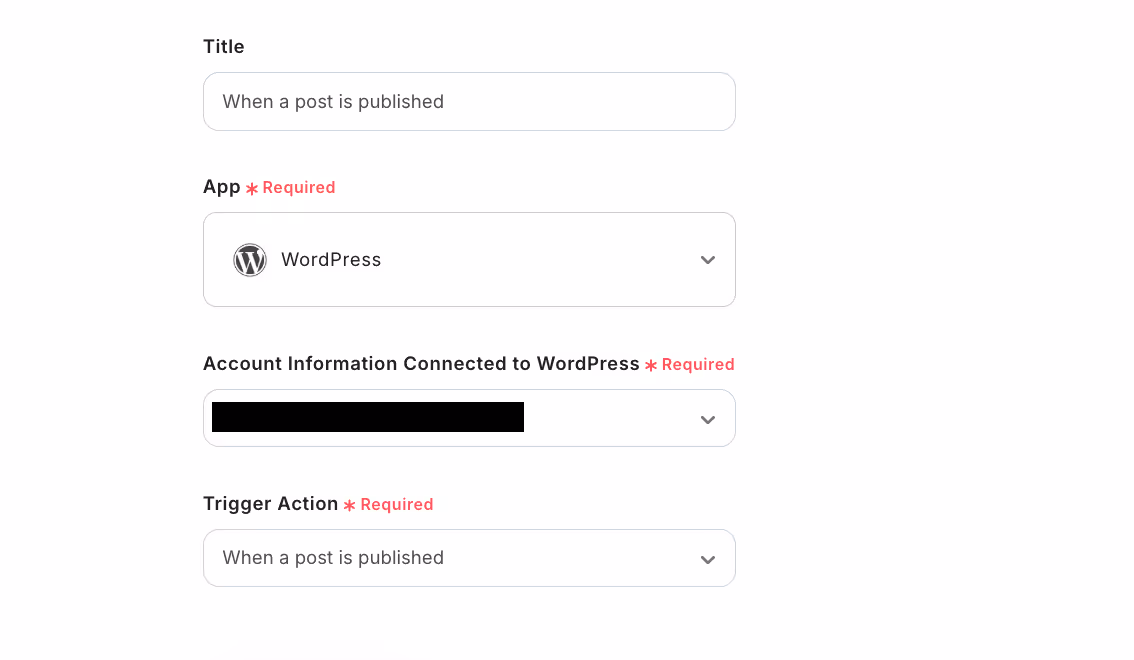
2. You can set the title freely.
Enter the account information to connect with WordPress.
Select "When a post is published" for the trigger action.
After entering, click "Next".
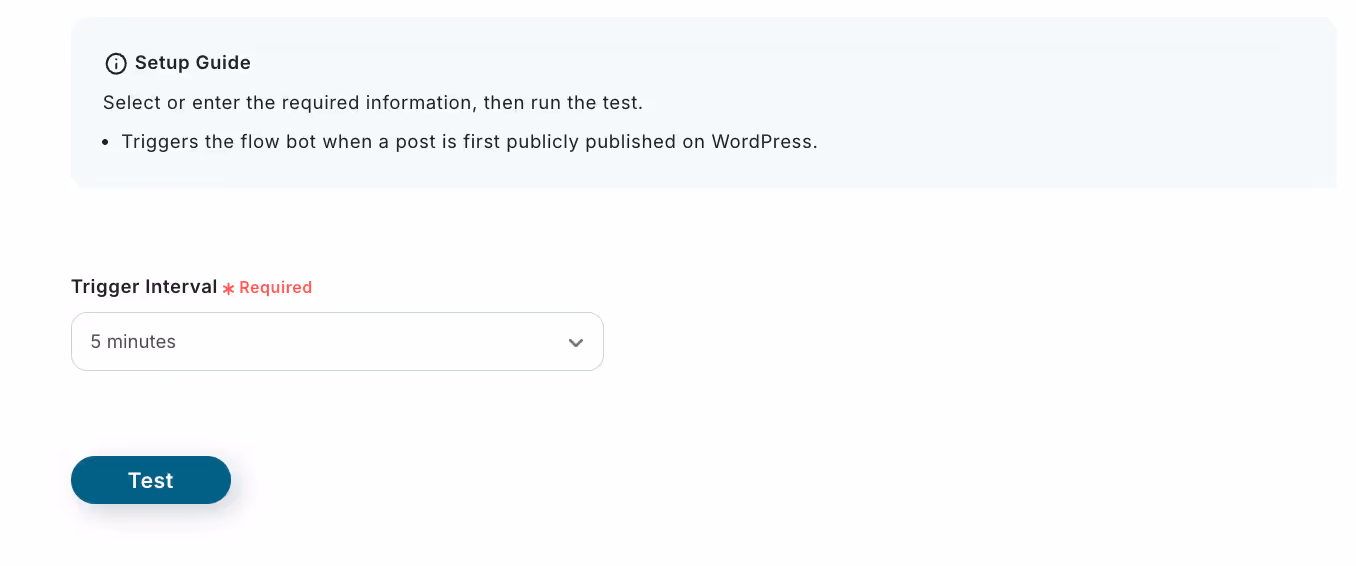
3. Set the trigger activation interval.
You can choose the trigger activation interval from 5 minutes, 10 minutes, 15 minutes, 30 minutes, or 60 minutes.
Generally, a shorter setting is recommended.
After setting, click Test.
If no errors occur, save it.
※ The activation interval varies depending on the plan. For details,check this page.
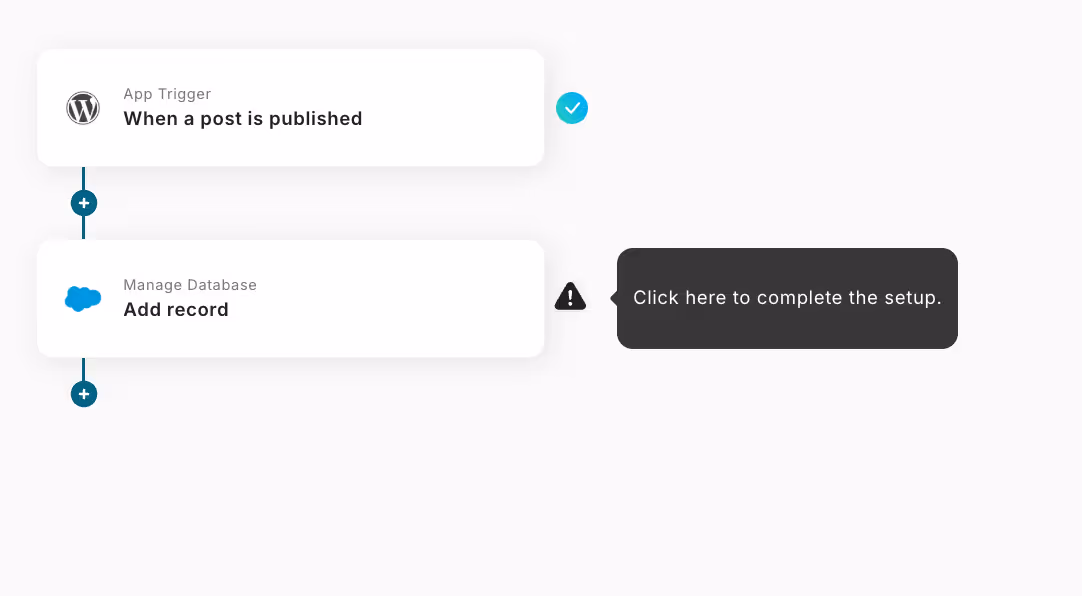
Step 4: Salesforce Settings
1. Return to the flow. Next, click the "Add Record" icon.
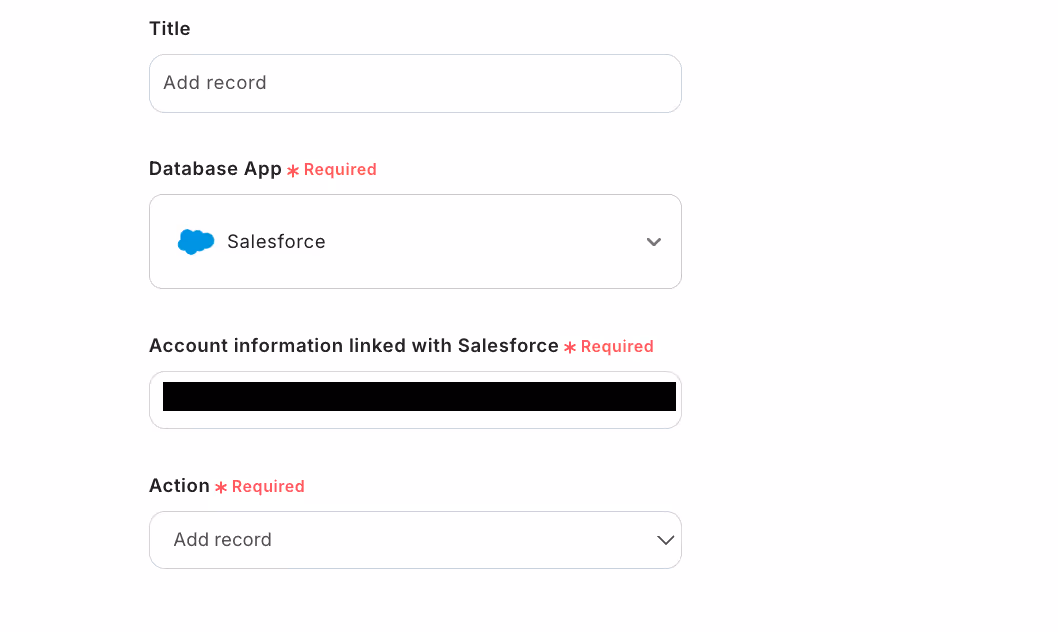
2. Set the title freely.
Enter the account information to connect with Salesforce.
Choose "Add Record" for the action.
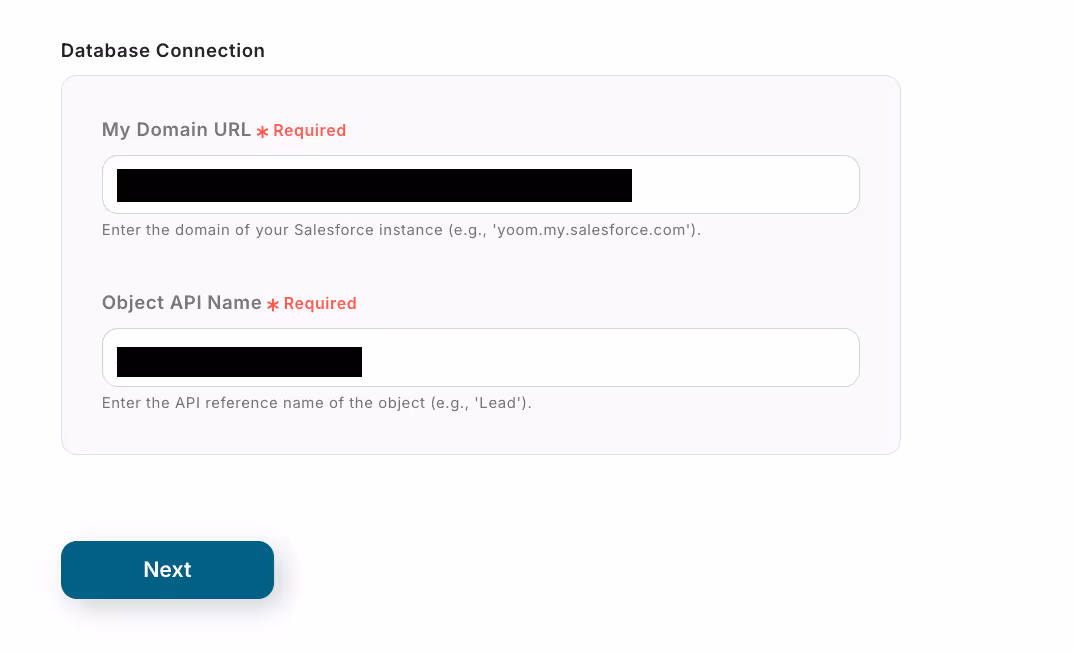
3. Enter the My Domain URL and the API reference name of the object.
If you don't know the API reference name, refer to this page.
After entering, click "Next".
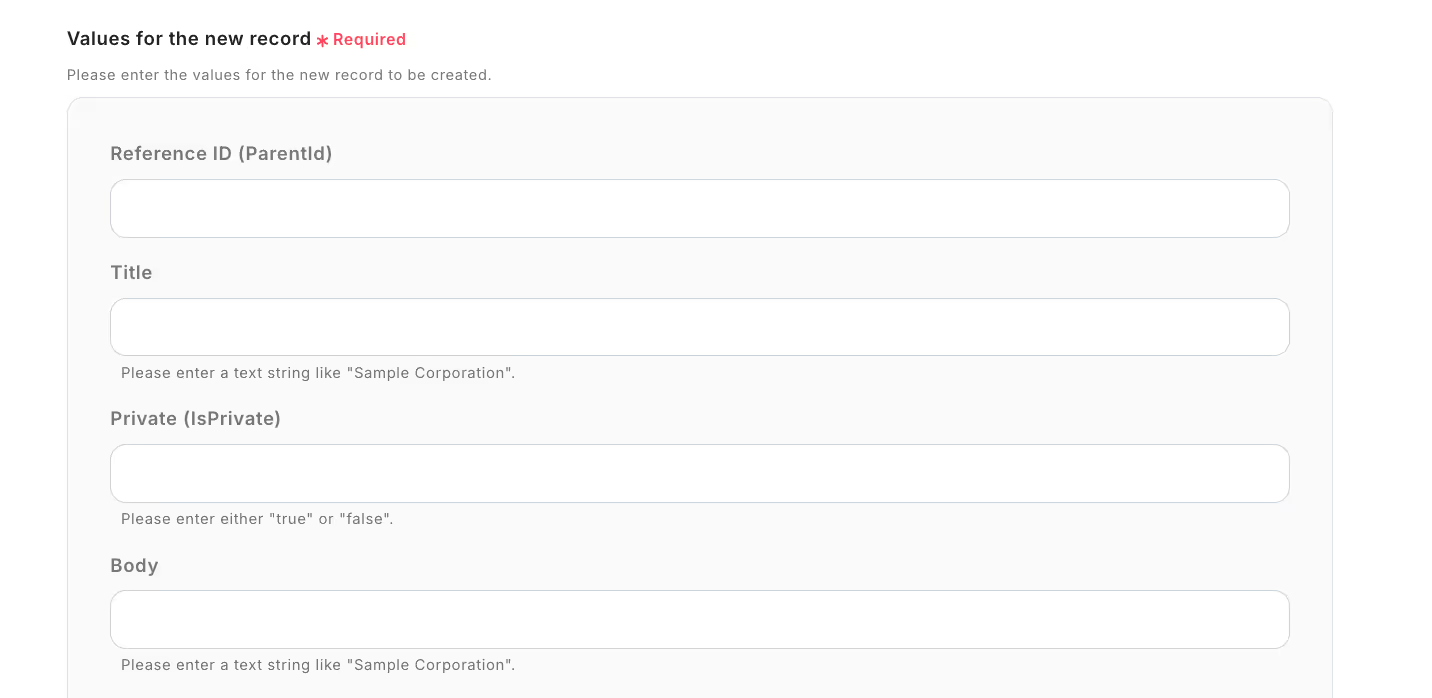
4. Enter the values for the record to be added.
After entering, click Test, and if there are no errors, save it.
※ The values for the record to be added will display a list of database fields.
5. This completes the flow of [Add to Salesforce when a post is published on WordPress].
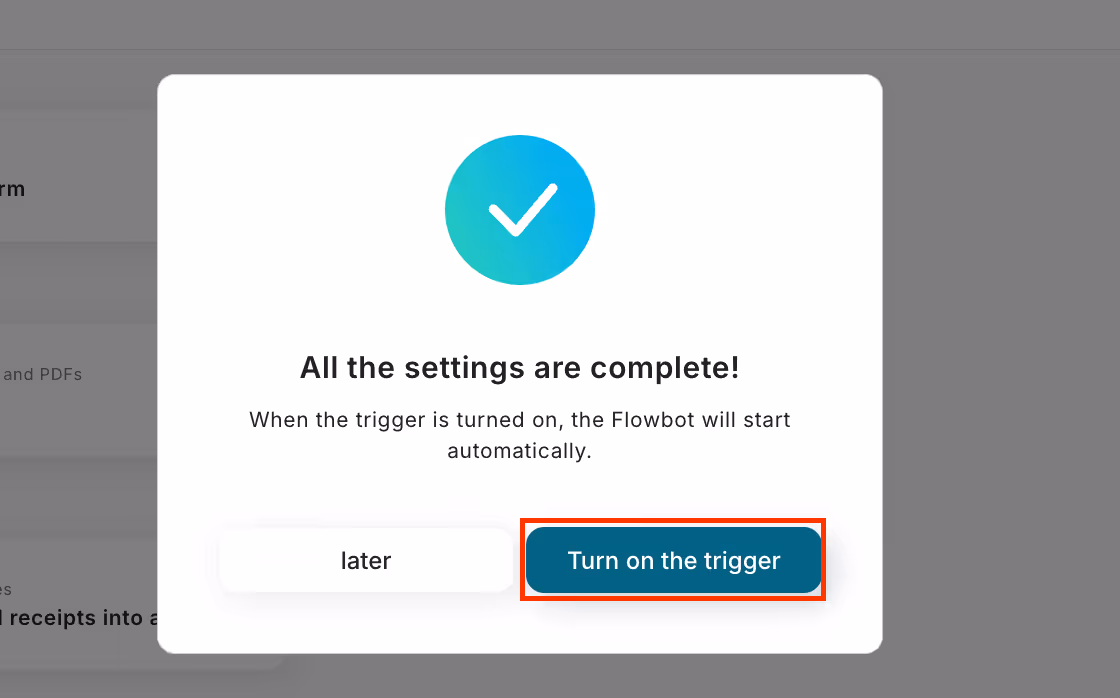
Step 5: Test and Confirmation
Once the setup is complete, a screen like the following will be displayed. Click the "Turn on the trigger" button. This will activate the flow bot.
Even non-engineers can easily set up using Yoom's templates.
Try this convenient flow from the link below.


.avif)
.avif)


