


[About Yoom]
How to Notify Chatwork When a Request is Approved in X-point Cloud
You can receive approved requests from X-point Cloud using the X-point Cloud API and notify Chatwork via the API provided by Chatwork.
By utilizing a no-code tool called Yoom, you can easily automate this process without any programming knowledge.
The steps for this integration flow are broadly as follows:
- Integrate X-point Cloud and Chatwork with My Apps
- Copy the template
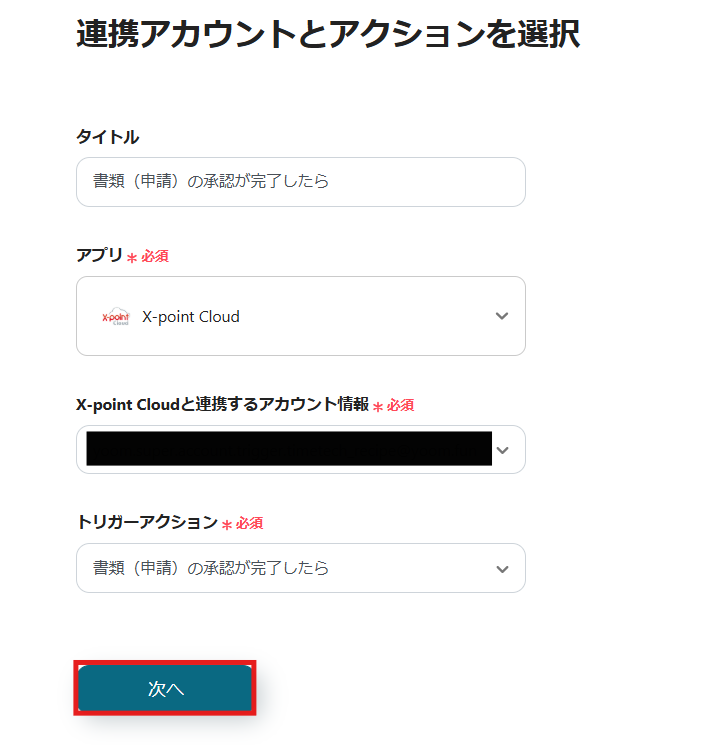
- Set up triggers and actions
- Finally, verify if the trigger is activated
Preparation
1)First, access the official Yoom website and create an account.
Yoom Account Creation Page
If you already have an account, please log in.
2)For registering X-point in My Apps, you will need a subdomain, client ID, and domain code.
Obtain the client ID in advance.
On the X-point management site, go to "Domain Management Screen > Credentials" and issue it on the "OAuth 2.0 Client ID" screen.
Also, if the X-point URL is something like "https://xp014659dp.atledcloud.jp/", "xp014659dp" is the subdomain.
Note that if there is only one domain registered in X-point Cloud, you can omit specifying the domain code.
Step 1: Integrate X-point Cloud and Chatwork with My Apps
1)After logging into your Yoom account, register the apps you will use next.
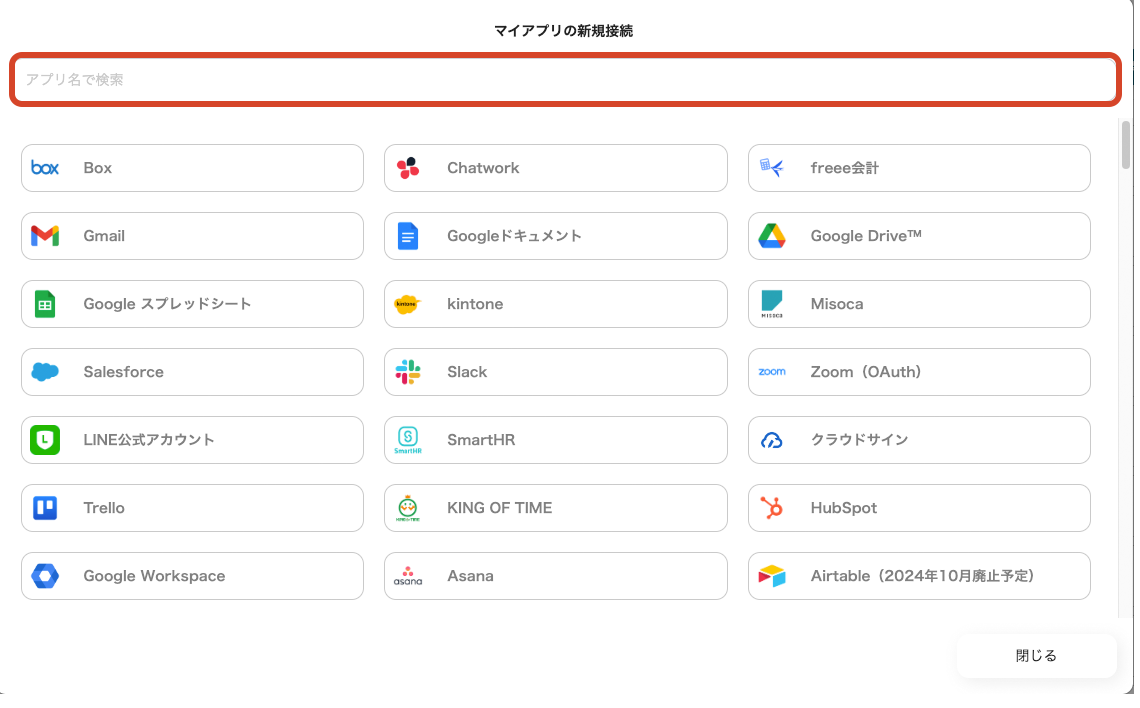
Click "My Apps" and select "New Connection".

2)A list of apps that can be connected with Yoom will be displayed, and search for the two apps you will use this time, "X-point Cloud" and "Chatwork", one by one from the search box at the top.
Once you can select X-point Cloud, enter the subdomain, client ID, and domain code, and click "Add".

Similarly, once you can select Chatwork, set it up with the account you will use.
How to Check Chatwork User Account ID | Yoom Help Center

3)Once registration is complete, an icon will be displayed in My Apps.
Check if the icon of the registered app is displayed.
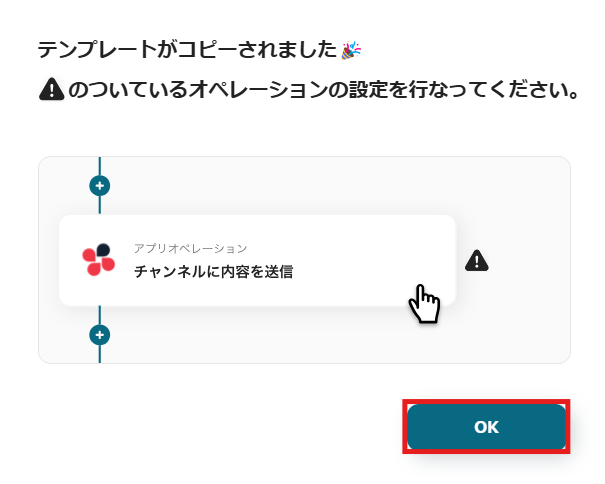
Step 2: Copy the Template
Click this banner.


.avif)

.avif)
.avif)


