Integrate Zendesk with text generation to create a response and send it when a ticket is created in Zendesk.
How to Integrate Applications
・
2025/01/28
Integrate Zendesk with text generation to create a response and send it when a ticket is created in Zendesk.
a.ohta
Isn't there a dilemma where you want to handle each inquiry carefully, but doing so takes time and keeps customers waiting? There are many issues in customer support, such as rushing responses leading to typos in emails or difficulty in crafting messages that clearly convey the requirements. <span class="mark-yellow">This time, we introduce an app integration using generative AI to improve customer support speed with Zendesk.</span> This integration allows you to build a flow where AI automatically creates response messages to inquiries. It might improve operational efficiency and customer satisfaction. Please give it a try.
Recommended for
Companies using Zendesk for customer support
Those who want to reduce the response time per inquiry in Zendesk
Those who spend a lot of time crafting response messages
Companies considering the introduction of automation using generative AI
Now, let's explain how to use the no-code tool Yoom to "create and send response messages when a ticket is created in Zendesk."
[What is Yoom]
How to create and send response messages using text generation when a ticket is created in Zendesk
When a ticket is created in Zendesk, retrieve the data using Zendesk's API. Then, create the response content using Yoom's text generation feature, and after the responsible person reviews and approves it, you can send the response again using Zendesk's API. Generally, programming knowledge is required to achieve such integration, but with the no-code tool Yoom, it can be easily implemented without programming knowledge.
The integration flow is broadly divided into the following processes.
Integrate Zendesk with My Apps
Set up AI-generated responses to inquiries by launching Zendesk
Set up actions for the responsible person to review the generated text and add it to the relevant Zendesk ticket
Turn on the trigger button and verify the integration operation between Zendesk and Yoom
First, register with Yoom. Yoom offers a 2-week trial. You can actually operate it and check the usability.
Step 1: Integrate Zendesk with My Apps
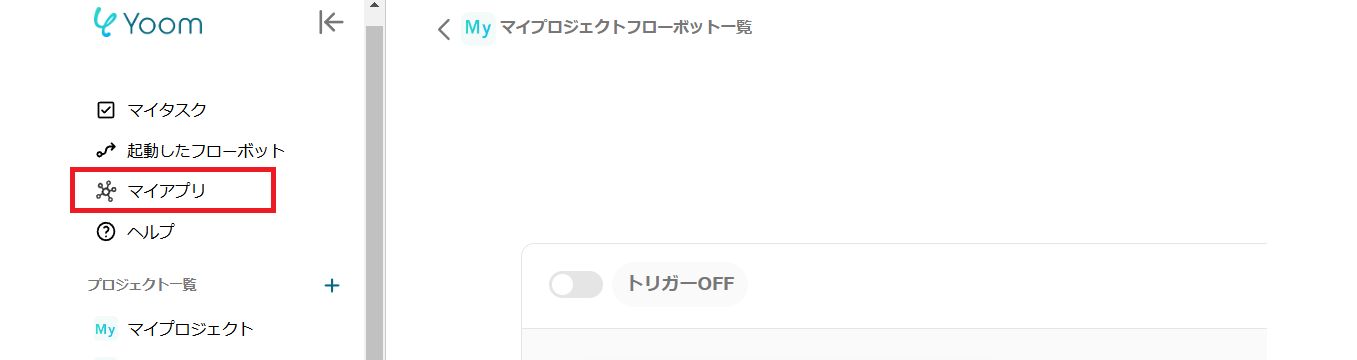
After completing the registration with Yoom, please select "My Apps" from the menu on the left.
Next, click the new connection button at the top right.
3. Add Once the required fields are entered, click Add at the bottom right.
If the above display appears, the integration is complete.
Step 2: Copy the Template
Next, please copy the template to be used this time.
1. Click "View Details" on the top banner 2. Click "Try this template" at the bottom of the transitioned screen 3. If you haven't registered with Yoom yet, please register ※ If you have already registered, the login screen will be displayed, so please log in.
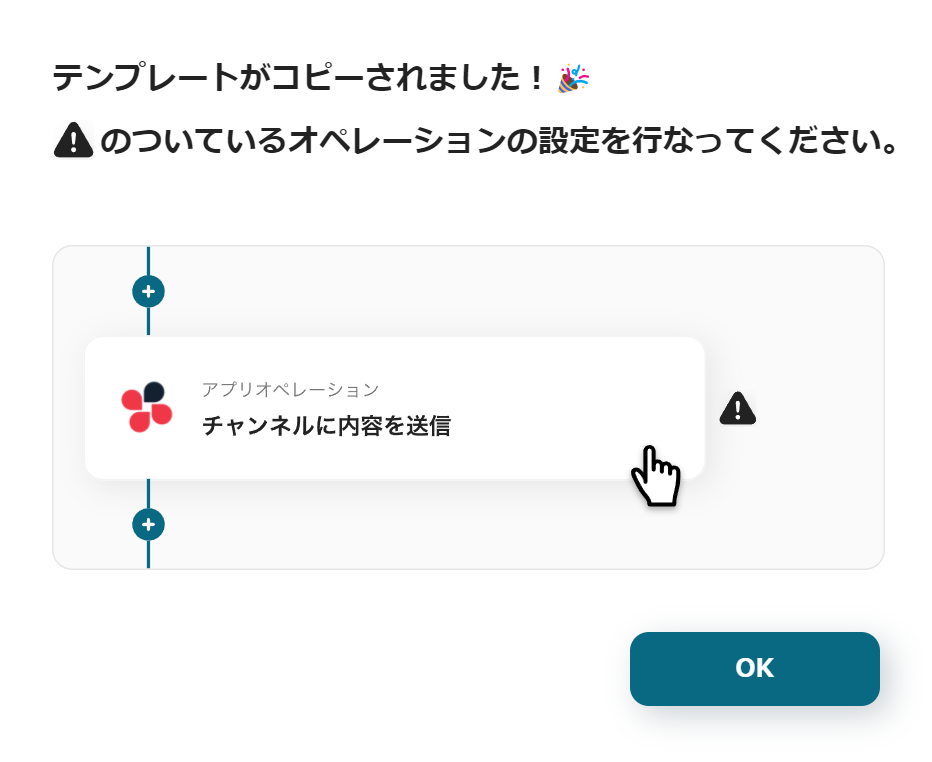
When the Flowbot template is copied to "My Projects", the above display will appear.
You will transition to a page like the image, so let's proceed with detailed settings.
Step 3: Launch Zendesk and Set Up AI-Generated Responses to Inquiries
1. Open My Projects
Open "My Projects" from the menu on the left side of the screen.
2. Open the copied template Click "【Copy】When a ticket is created in Zendesk, create and send a reply."
3. Select App Trigger
Click "When a ticket is created". The title and other settings are complete, so please scroll down.
※ Zendesk is available only on some paid plans. ※ A 2-week free trial is available for paid plans.
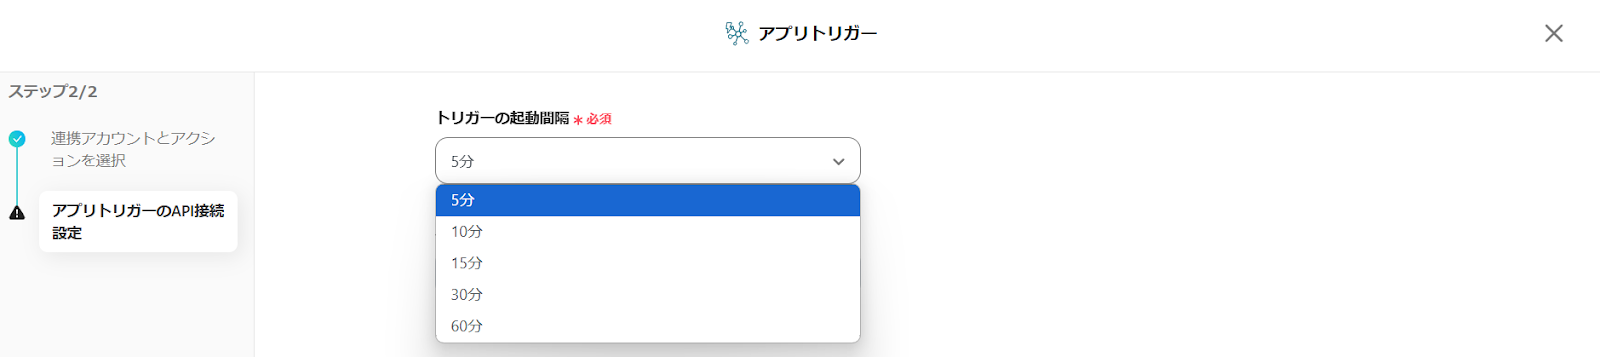
4. Set Trigger Activation Interval
First, set the activation interval in the red frame.
You can select the trigger activation interval from 5 minutes, 10 minutes, 15 minutes, 30 minutes, or 60 minutes. Please note that the shortest activation interval varies depending on the plan.
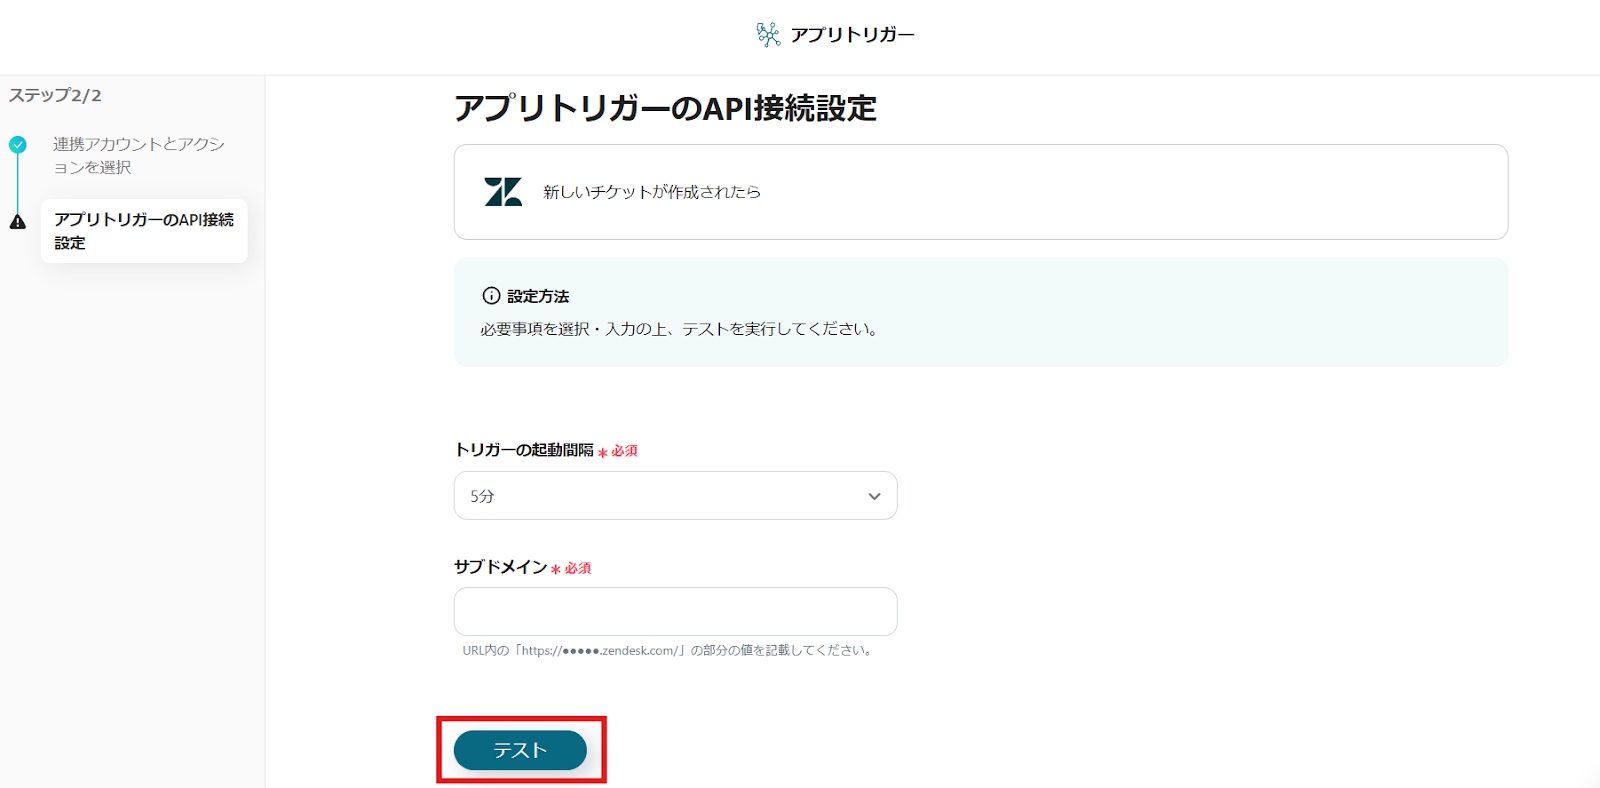
5. Enter Subdomain
Follow the supplement at the bottom of the box and check and set it in Zendesk.
6. Run Test
Once the settings are complete, press the test button. If "Test Successful" is displayed, it is complete. Click Save.
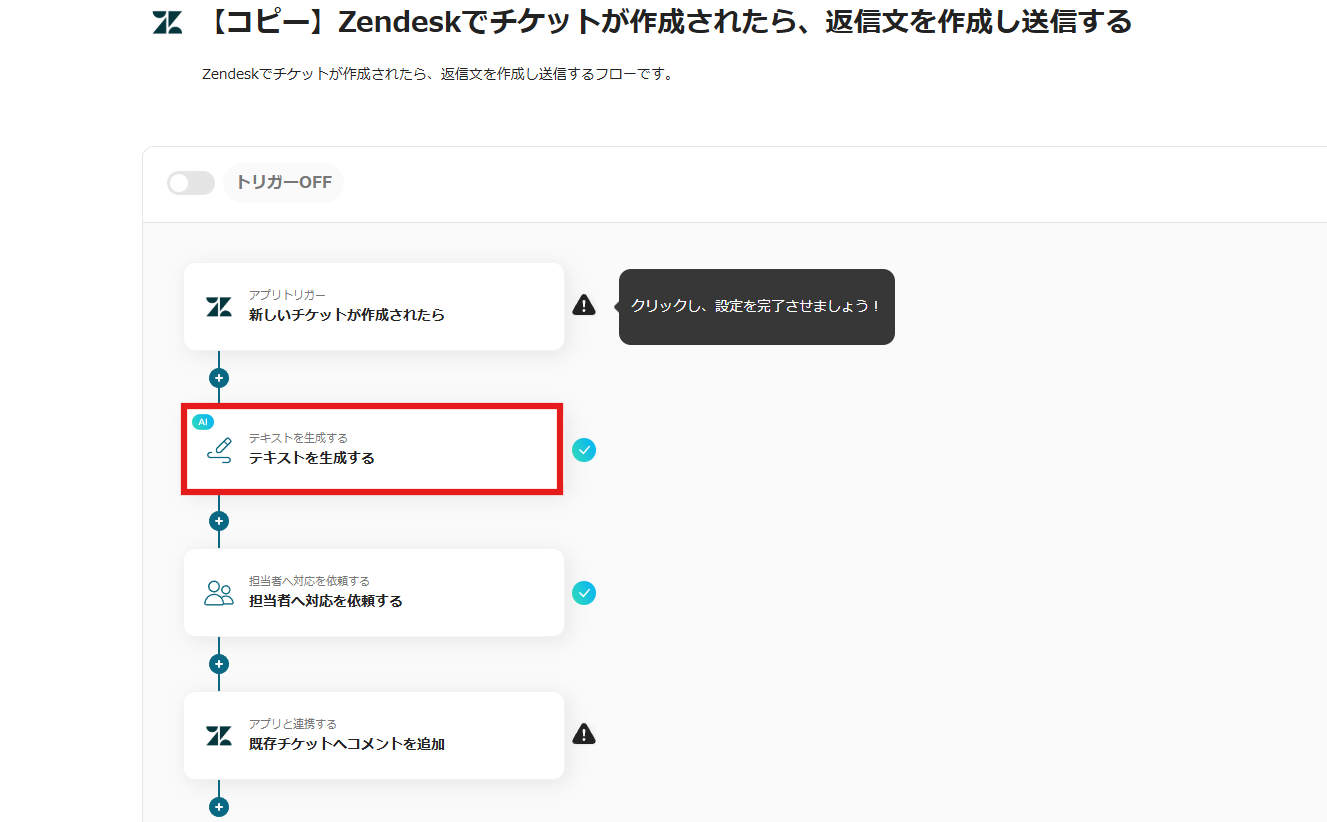
Next, set up to generate text with AI.
1. Generate Text
Click "Generate Text" on the AI icon. Press Next.
※ AI actions are available only on paid plans. A 2-week trial is available for paid plans.
2. Set Prompt
Set the prompt to be used when generating text with AI. This time, let's utilize the data of the ticket created in Zendesk = inquiry content. Click the box.
Select the red frame.
Zendesk ticket data will be displayed. Click and select the subject and details to insert them.
Once inserted, it will look like the image. The part displayed as {{Subject}}{{Details}} is in a state of data replacement. In reality, the subject and details of the inquiry content will be inserted.
This time, we set the prompt as shown in the image.
3. Run Test
Click the test button in the red frame. If "Test Successful" is displayed in blue, it is complete. Press Save.
Step 4: Set Up Actions for the Generated Text to be Reviewed by the Person in Charge and Added to the Corresponding Ticket in Zendesk
1. Request Action from the Person in Charge
Select "Request Action from the Person in Charge".
※ AI operations are available only on the Team Plan and Success Plan. Paid plans such as the Free Plan Team Plan and Success Plan offer a 2-week free trial.
2. Text for Requesting Action
Since we are using a template, the settings are complete. Therefore, please check if it is in the same state as the image. If you want to add any content, please make corrections.
Additionally, it is possible to set who will be the final reviewer. You can change it from the dropdown.
3. Save
Once the settings are complete, press "Next" at the bottom.
You will transition to the above screen. Once you confirm that it is in the same state, press Save.
Finally, set up to add the response content to Zendesk.
1. Integrate with App
Select "Add Comment to Existing Ticket" from the Zendesk icon. Press Next.
2. Enter Subdomain
Follow the supplement at the bottom of the box and enter the subdomain.
3. Enter Required Fields
Set each required field. Since we are using a template, the settings are complete. Therefore, check if it is in the same state as the image.
4. Run Test
Once the settings are complete, press the test button. If "Test Successful" is displayed, it is complete. Click Save.
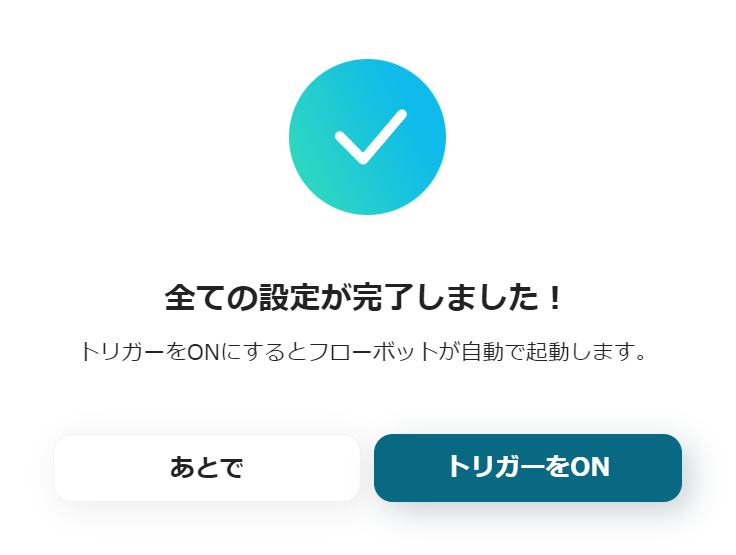
5. Turn ON Trigger
When the creation of the Flowbot is complete, the above display will appear. The trigger is initially set to OFF, so turn it ON.
Flowbot template used this time When a ticket is created in Zendesk, create and send a reply
To Further Automate
Yoom is packed with features and innovations not only for automation but also for streamlining operations. For example, it is possible to customize the automation introduced this time to better suit your needs.
Arrangement 1: Send Notifications
It is possible to send notifications to communication tools. This allows notifications about new tickets added to Zendesk and the content of generated texts, making it easier for the person in charge to respond quickly. In the case of image arrangements, members of the same Slack channel can check the content, making it easier to respond even if the person in charge is absent.
Arrangement 1: Add to Database Tool and Notify
How about automatically storing ticket contents and AI-generated responses? This allows for automatic creation of customer support history, enabling you to check past inquiries and responses. Additionally, AI-generated responses can be viewed in a list, making them useful as data when making detailed changes to prompts.
Other Automation Examples Using Zendesk
Here are some other examples of automation using Zendesk.
1. When a ticket is created in Zendesk, create a response in Dify and notify Discord
This is also a flow utilizing generative AI. If you regularly use Dify, this is also recommended.
2. Add a task to Trello when a ticket is registered in Zendesk
By integrating with Trello, inquiries can be converted into tasks. It may become easier to decide who will handle which ticket.
3. Create a ticket in Zendesk when a specific email is received in Outlook
Since only specific emails can be converted into tickets, it may become easier to manage inquiries about specific cases or inquiries from top customers separately.
Benefits and Examples of Integrating Zendesk with Text Generation
Benefit 1: Time Savings through Automated Response Creation
By utilizing generative AI to create response texts, it is expected that the time spent on writing can be reduced. For example, typically, you would need to check the inquiry content and then create a response from scratch. Even if you have a response template, it may still take time to craft the message depending on the content. By introducing AI-powered text generation, a substantial portion of the text can be quickly created, allowing the response to be completed with only minor adjustments. Additionally, there may be instances where inquiries can be resolved through a simple search. For such straightforward matters, it might be possible to respond using only the text generated by AI, without any need for adjustments. As a result, the time spent on writing can be shortened, leading to savings in work hours.
Benefit 2: Improved Customer Satisfaction through Faster Response Times
When handling numerous inquiries daily, it can sometimes take up to three days to respond. In such cases, integrating Zendesk with AI text generation is recommended. For instance, when negative feedback is received, quick and accurate responses are required to avoid double complaints. However, if it takes too long to respond, the sincerity may not be conveyed, potentially increasing customer dissatisfaction. By leveraging text generation, the time spent on each inquiry can be reduced, potentially improving the speed of customer support. This allows for quicker attention to inquiries that require immediate action, potentially enhancing customer satisfaction.
Benefit 3: Maintaining Response Quality through AI Utilization
Even if the response speed is fast, if the content is off-target, overly simplistic, or riddled with typos, it can be said that the quality of customer support is not being maintained. One of the causes of this issue is the problem of writing skills. For example, the choice of words and the time taken to create a response can vary greatly depending on one's writing skills. As a result, inquiries handled by representatives with strong writing skills are resolved smoothly, while those handled by representatives who struggle with writing may not only take longer but also risk leaving customers dissatisfied with the response, prompting them to contact again. To avoid such risks, AI text generation can be utilized. By using AI-generated text, it becomes easier to maintain a consistent quality of responses, thereby helping to maintain the quality of inquiry handling.
Conclusion
The speed of response to inquiries can sometimes directly impact customer satisfaction. Therefore, you would ideally want to respond as quickly as possible. However, if there are many inquiries or if it takes time to create response texts, it may take a considerable amount of time to resolve each case. In such situations, it is recommended to utilize the integration of Zendesk with text generation, as introduced in this article, to improve response speed. Additionally, integrating Zendesk with text generation not only promises to enhance response speed but also makes it easier to maintain a consistent quality of responses. Yoom allows for app integration without the need for programming, making it accessible even without engineering knowledge. Why not take this opportunity to introduce automation and improve your operations?
The person who wrote this article
a.ohta
After working as a general store manager, I started working from home as an SEO writer. Later, an outsourcing agreement was signed with a marketing startup for about 5 years.
Surrounded by students at the University of Tokyo, I held a computer and spent my days studying various business terms and how to use SaaS tools.
When I was a general store manager, time was taken over and over again by office work such as sales and inventory management, human resource management, and ordering, etc., and I was unable to serve customers and often missed sales times. Even when outsourcing, there are many detailed tasks such as input, etc., and “can't such monotonous tasks be automated?” I thought so, and I really sympathize with Yoom's vision!
Conventional RPA can only automate simple repetitive tasks, and the setup process was very complicated. With “hyperautomation,” which combines various technologies such as AI, API, RPA, and OCR, it is possible to automate many tasks that could not be realized until now more easily than before.
Most tools simply connect one app to another, leaving the complex tasks to you. Yoom goes much further: From document creation and browser automation to OCR and generative AI, Yoom handles it all seamlessly in one platform.
Why settle for basic integrations? Streamline your entire workflow with Yoom’s powerful hyperautomation.


.avif)
.avif)
.avif)


