・
TypeformとPipedriveを連携して、Typeformが送信されたらPipedriveにリードとして自動登録する方法

リード情報に対して素早くアクションを起こすことは、営業活動において重要な課題の一つです。
例えば、リード情報を他のデータベースで管理していると、都度入力する時間が発生し、作業が逼迫して本来の業務に時間を割けないこともあるのではないでしょうか。
そこで、TypeformとPipedriveを連携して、Typeformに届いたリード情報をPipedriveに自動的に登録する方法を試してみませんか?
リード情報の登録を自動化することで、入力作業を軽減し、スピーディな顧客対応が可能になり、営業の機会損失を防ぐことが期待されます。
さらにYoomを活用すれば、ノーコードでアプリ連携やフローボット作成ができます。
ぜひ、ご覧ください。
TypeformとPipedriveを連携するメリット
メリット1: 入力作業を削減できる
TypeformとPipedriveを連携しリード登録を自動化できるので、入力作業やヒューマンエラーの軽減が期待できます。
例えば、Typeformに届いた情報を手作業で入力すると、労力と時間がかかると思います。
また登録するリード数が多かったり、一日に何度もTypeformが届く場合には、入力ミスや漏れなどの、人的ミスの発生も懸念されるでしょう。
入力作業を自動化することで、入力作業を時間や負担を減らし、商談などのより重要な業務に時間を費やすことができるかもしれません。
メリット2: 最新のデータを共有できる
TypeformとPipedrive連携すれば、リードの情報を統一して管理できるようになります。
手作業でリード登録を行なっている場合、すぐに情報を追加できないこともあると思います。
そのような入力するタイミングのズレをなくし、いつでも正確で最新の情報を共有することが可能になります。
その結果、チームで最新情報を取得でき、的確なタイミングで顧客へアクションをとれるかもしれません。
[Yoomとは]
TypeformとPipedriveの連携フローの作り方
ここからは「Typeformが送信されたらPipedriveにリードを登録する」というフローボットの作成方法をご紹介します。
簡単操作で設定できるので、画面を見ながら一緒にチャレンジしてみてください!
まずは、下に表示されているバナーをクリックしましょう!
■概要
Typeformが送信されたらPipedriveにリードを登録するフローです。
■このテンプレートをおすすめする方
1.Typeformを利用してリード情報を収集している方
・WebサイトやランディングページなどでTypeformを使ってリード情報を収集している方
・収集したリード情報をPipedriveに手動で入力する手間を省きたい方
・リード情報の入力ミスを減らしてデータの精度を高めたい方
2.Pipedriveを利用している営業・マーケティング担当者
・リード情報をPipedriveで一元管理して効率的な顧客管理や営業活動を行いたい方
・Typeformから収集したリード情報をPipedriveに自動で取り込みたい方
・リード情報に基づいたセグメント分けやターゲティングメールの配信などを自動化したい方
■このテンプレートを使うメリット
Typeformはフォーム作成ができるツールですが、送信された情報を手作業でPipedriveにリードとして登録するのは、時間と労力の無駄遣いになりかねません。
このフローを導入することで、Typeformが送信されたら自動的にPipedriveにリード情報が登録され、担当者はリード登録作業を行う必要がなくなり、貴重な時間を他の業務に充てることができます。また、迅速な自動登録は、リードへの対応時間を短縮して顧客満足度向上にも繋がります。
■注意事項
・Typeform、PipedriveのそれぞれとYoomを連携してください。
バナークリックしたら、Yoomのテンプレートサイトに移行します。
画面を下にスクロールして「このテンプレートを試してみる」をクリックします!
テンプレートがコピーされました、と表示されたらコピー完了です。
ステップ1:マイアプリ登録
はじめに
フローボットを作成する前に、マイアプリ登録をしましょう!
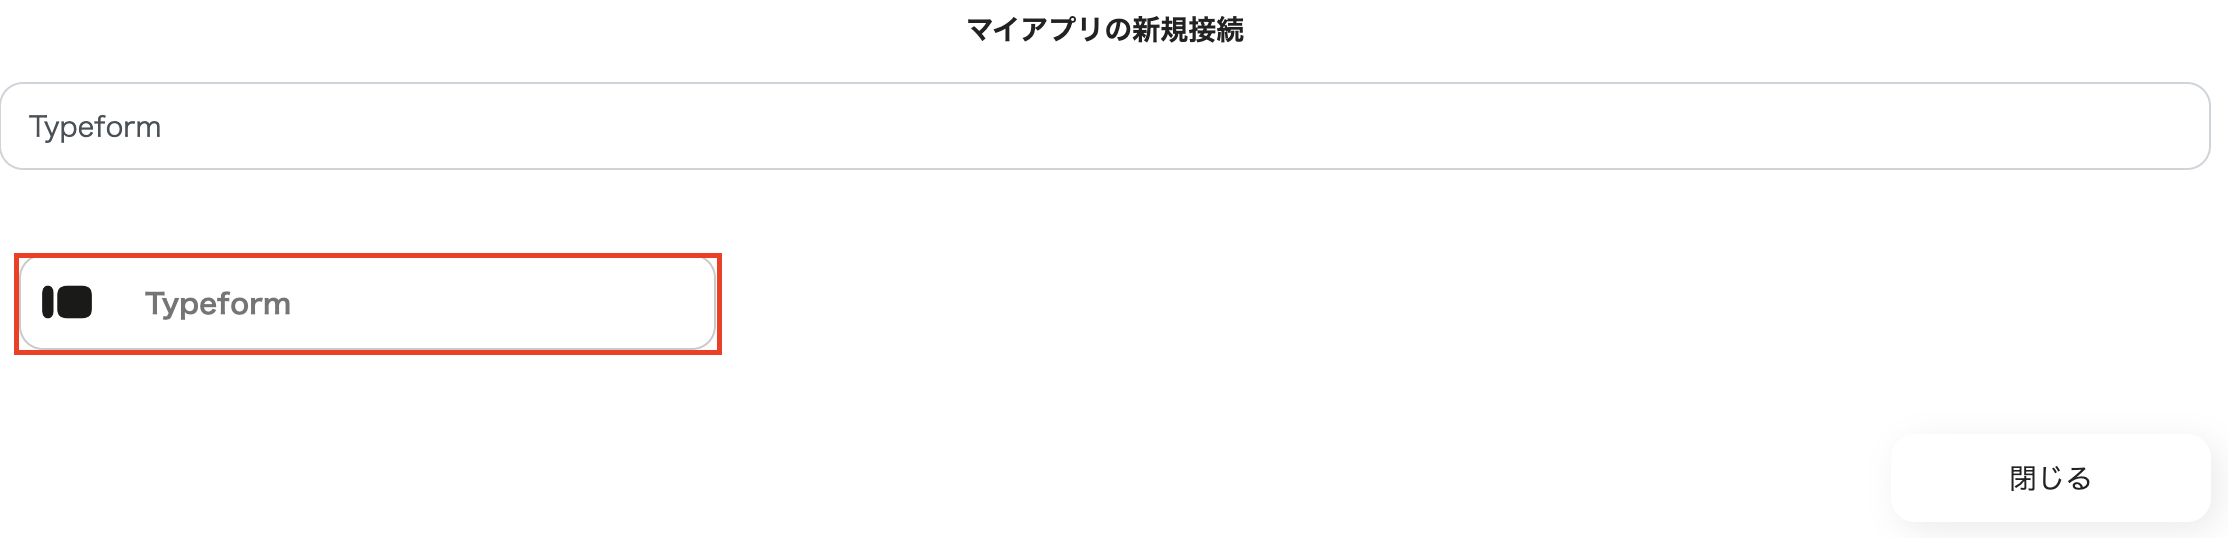
Yoomのワークスペースにログインできたら、画面左上に表示されている「マイアプリ」→「新規接続」→「連携したアプリ名」の順番でクリックします。

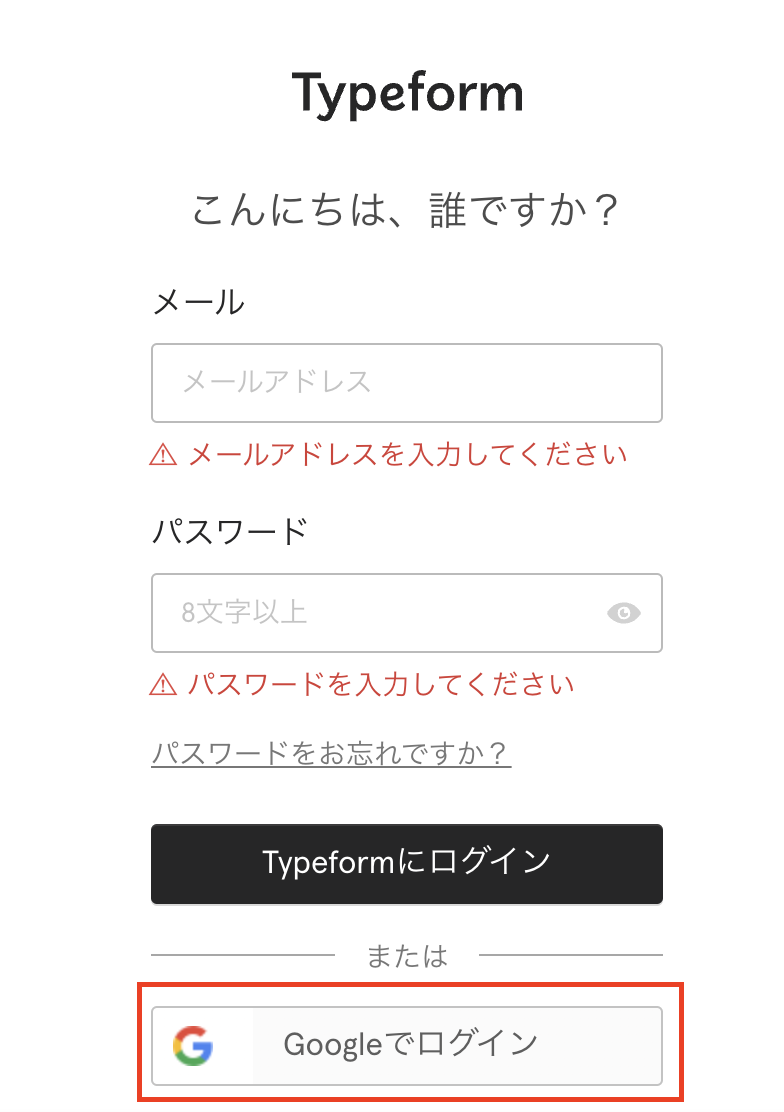
まずは、Typeformの連携をしましょう!
Typeformにログインします。ここではGoogleアカウントログインする方法で連携します。
連携したいアカウントを選択します。
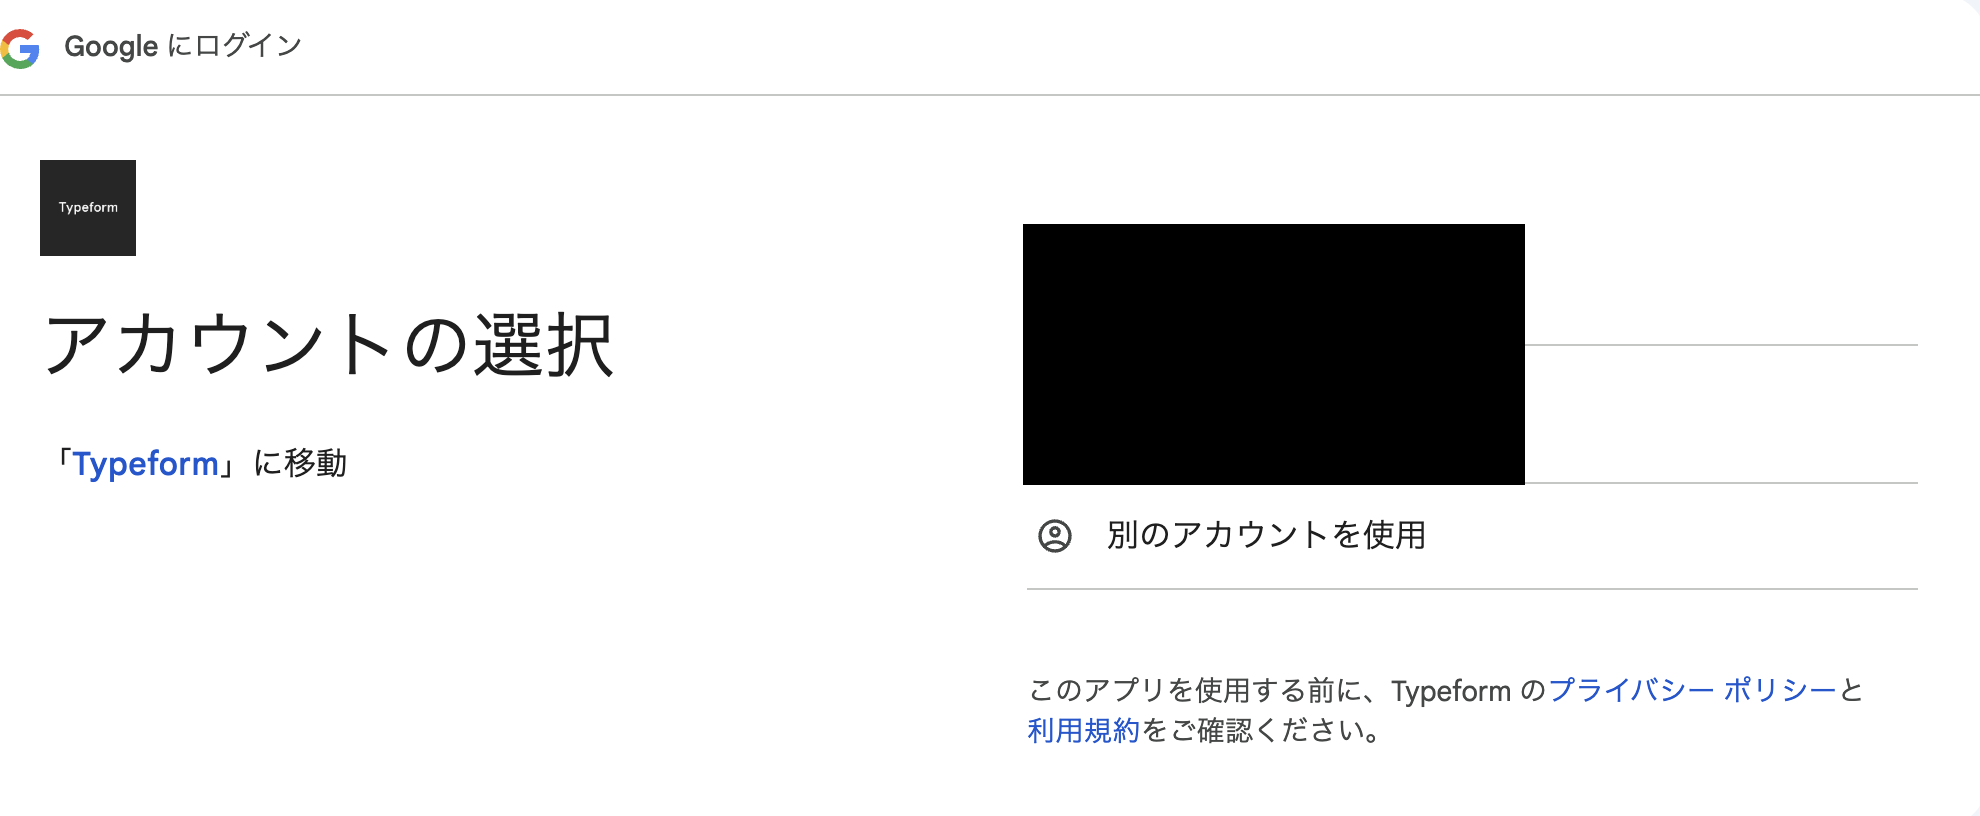
画面をスクロールし、「受け入れる」をクリックします。
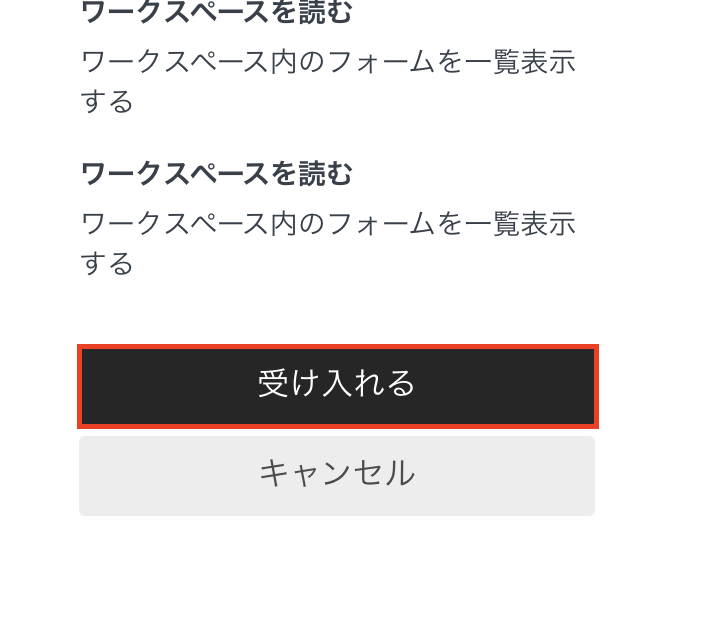
TypeformとYoomの連携が完了しました。
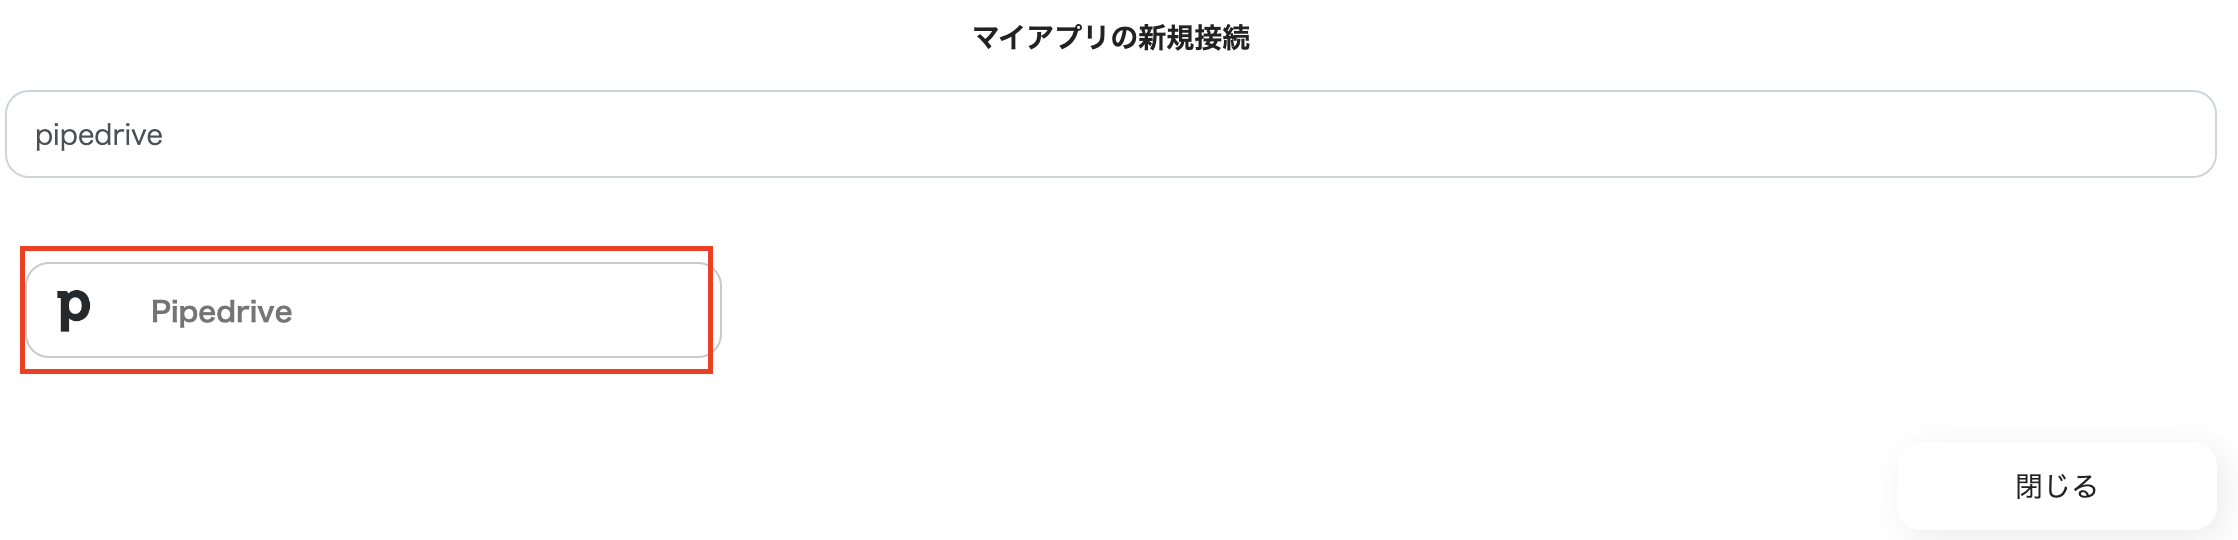
次に、Pipedriveを連携しましょう!
先程と同様に、画面左上に表示されている「マイアプリ」→「新規接続」の順番でクリックします。

Pipedriveを選択します。
「Continue to the App」をクリックしましょう
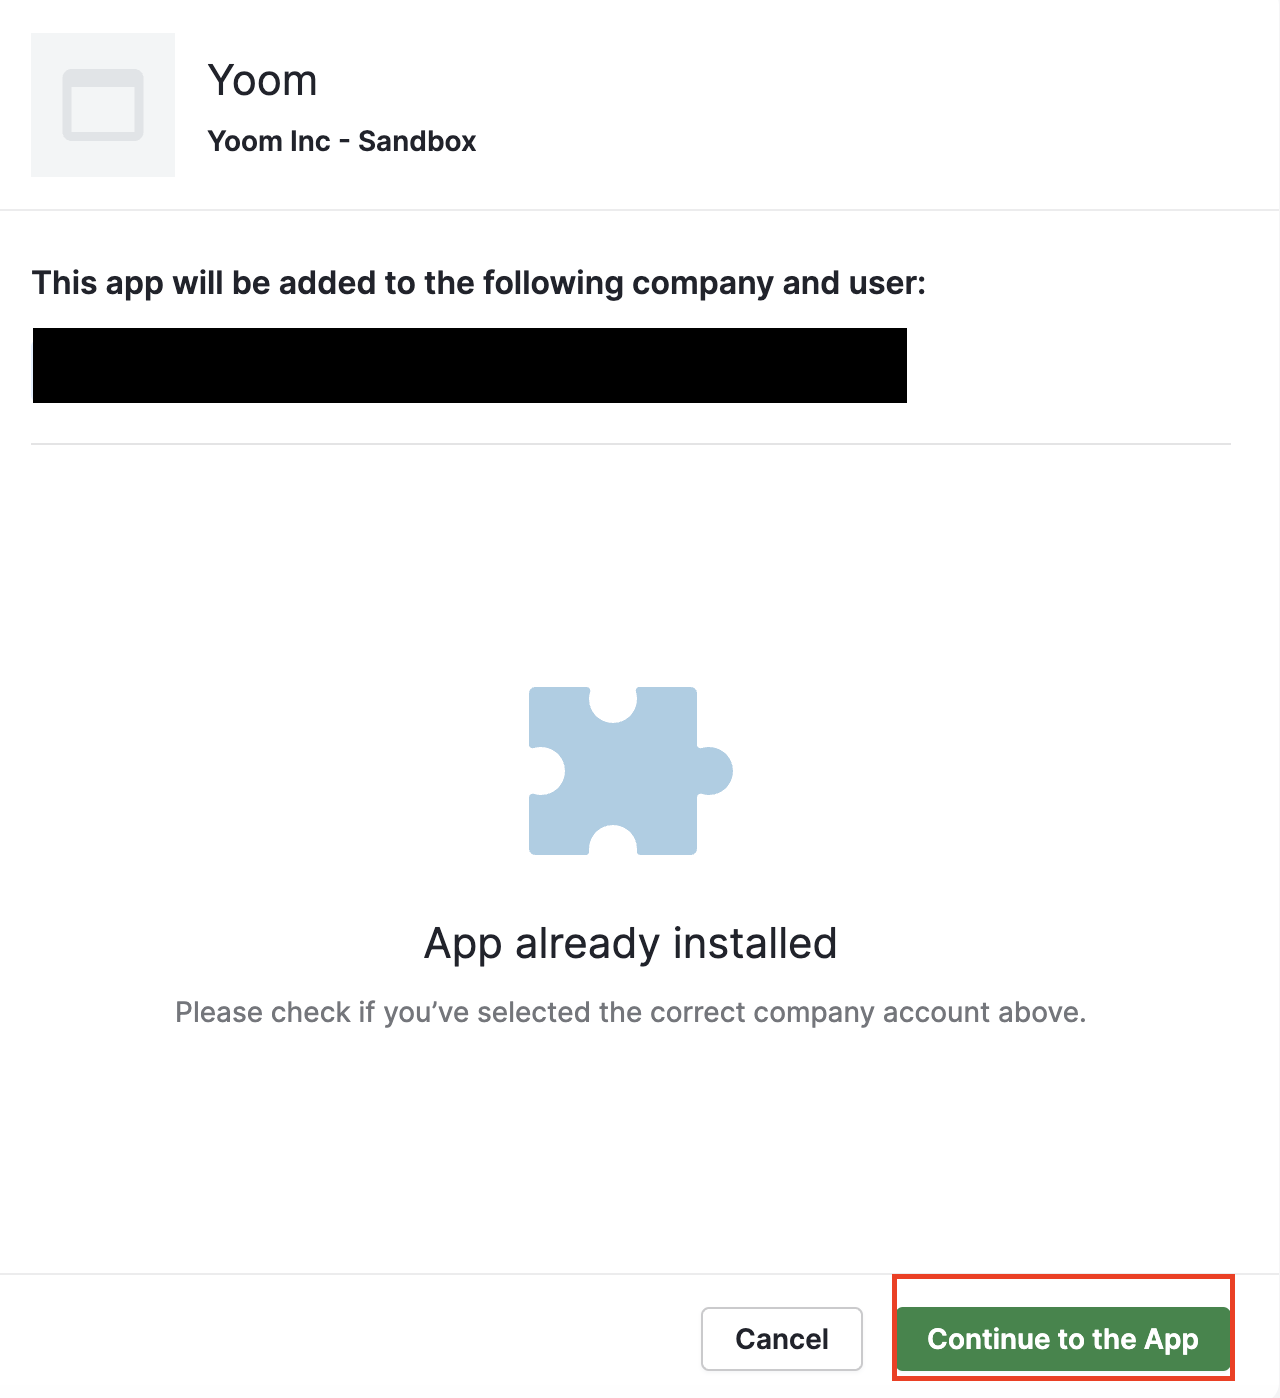
これでPipedriveとYoomの連携が完了しました。
以上ですべてのマイアプリ登録が完了したので、フローボットの設定を行いましょう。
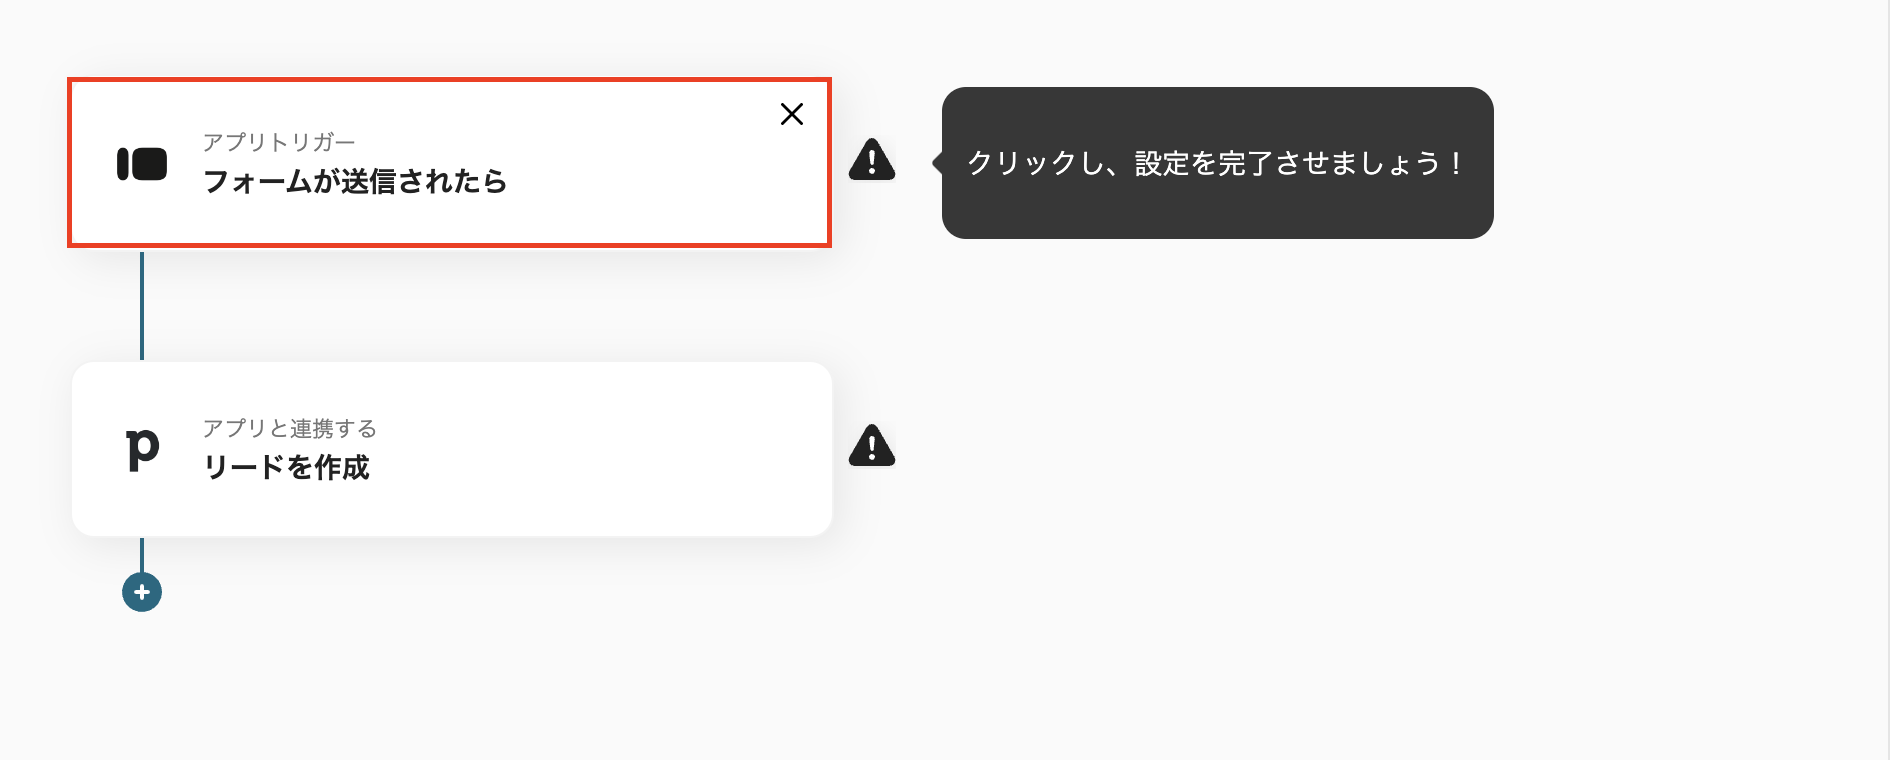
ステップ2:アプリトリガー設定
では早速、「フォームが送信されたら」をクリックして設定を進めていきます。
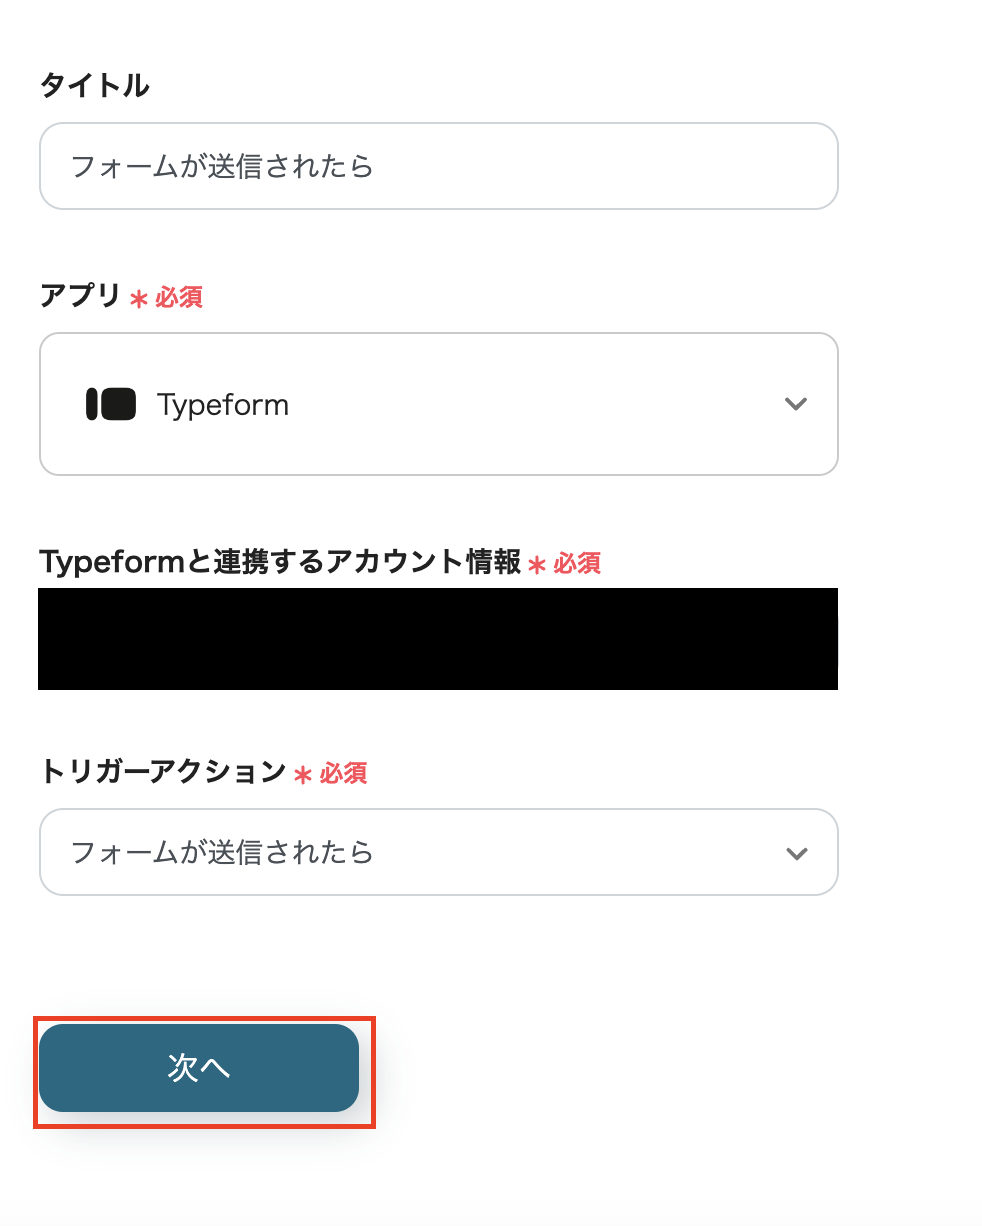
1.連携アカウントとアクションを選択
連携するアカウント情報に間違いがないか確認して、次へをクリックしましょう。
タイトルは任意に変更できます。
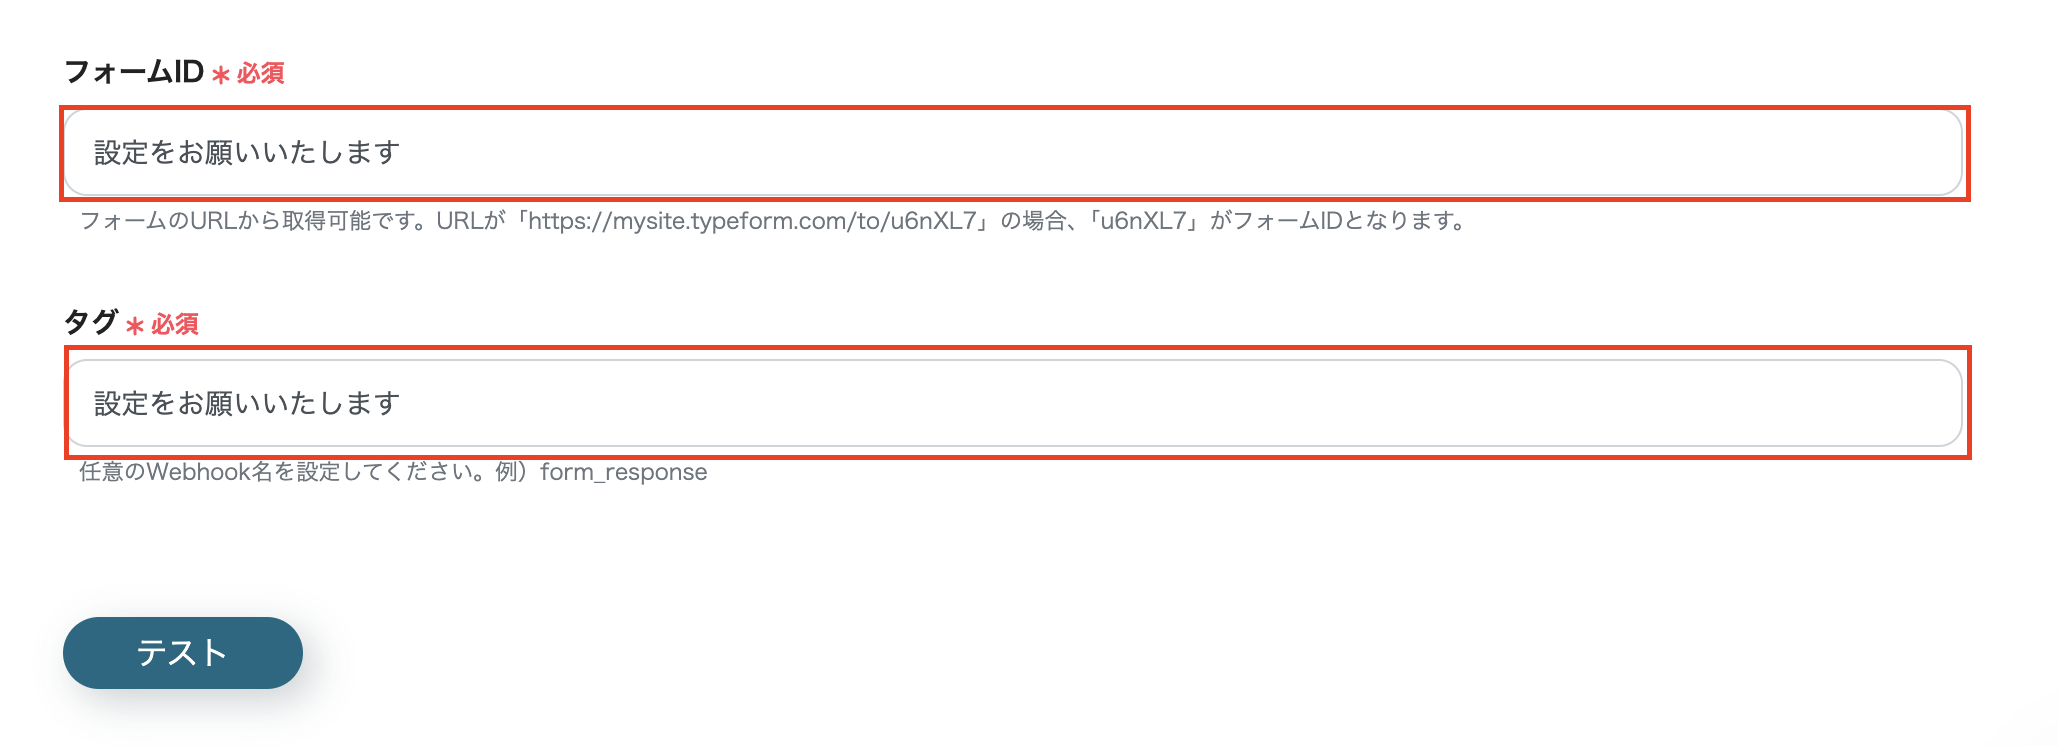
2.アプリトリガーのAPI接続設定①
フォームIDとタグを設定し、完了したらテストを実行し、次へをクリックします。
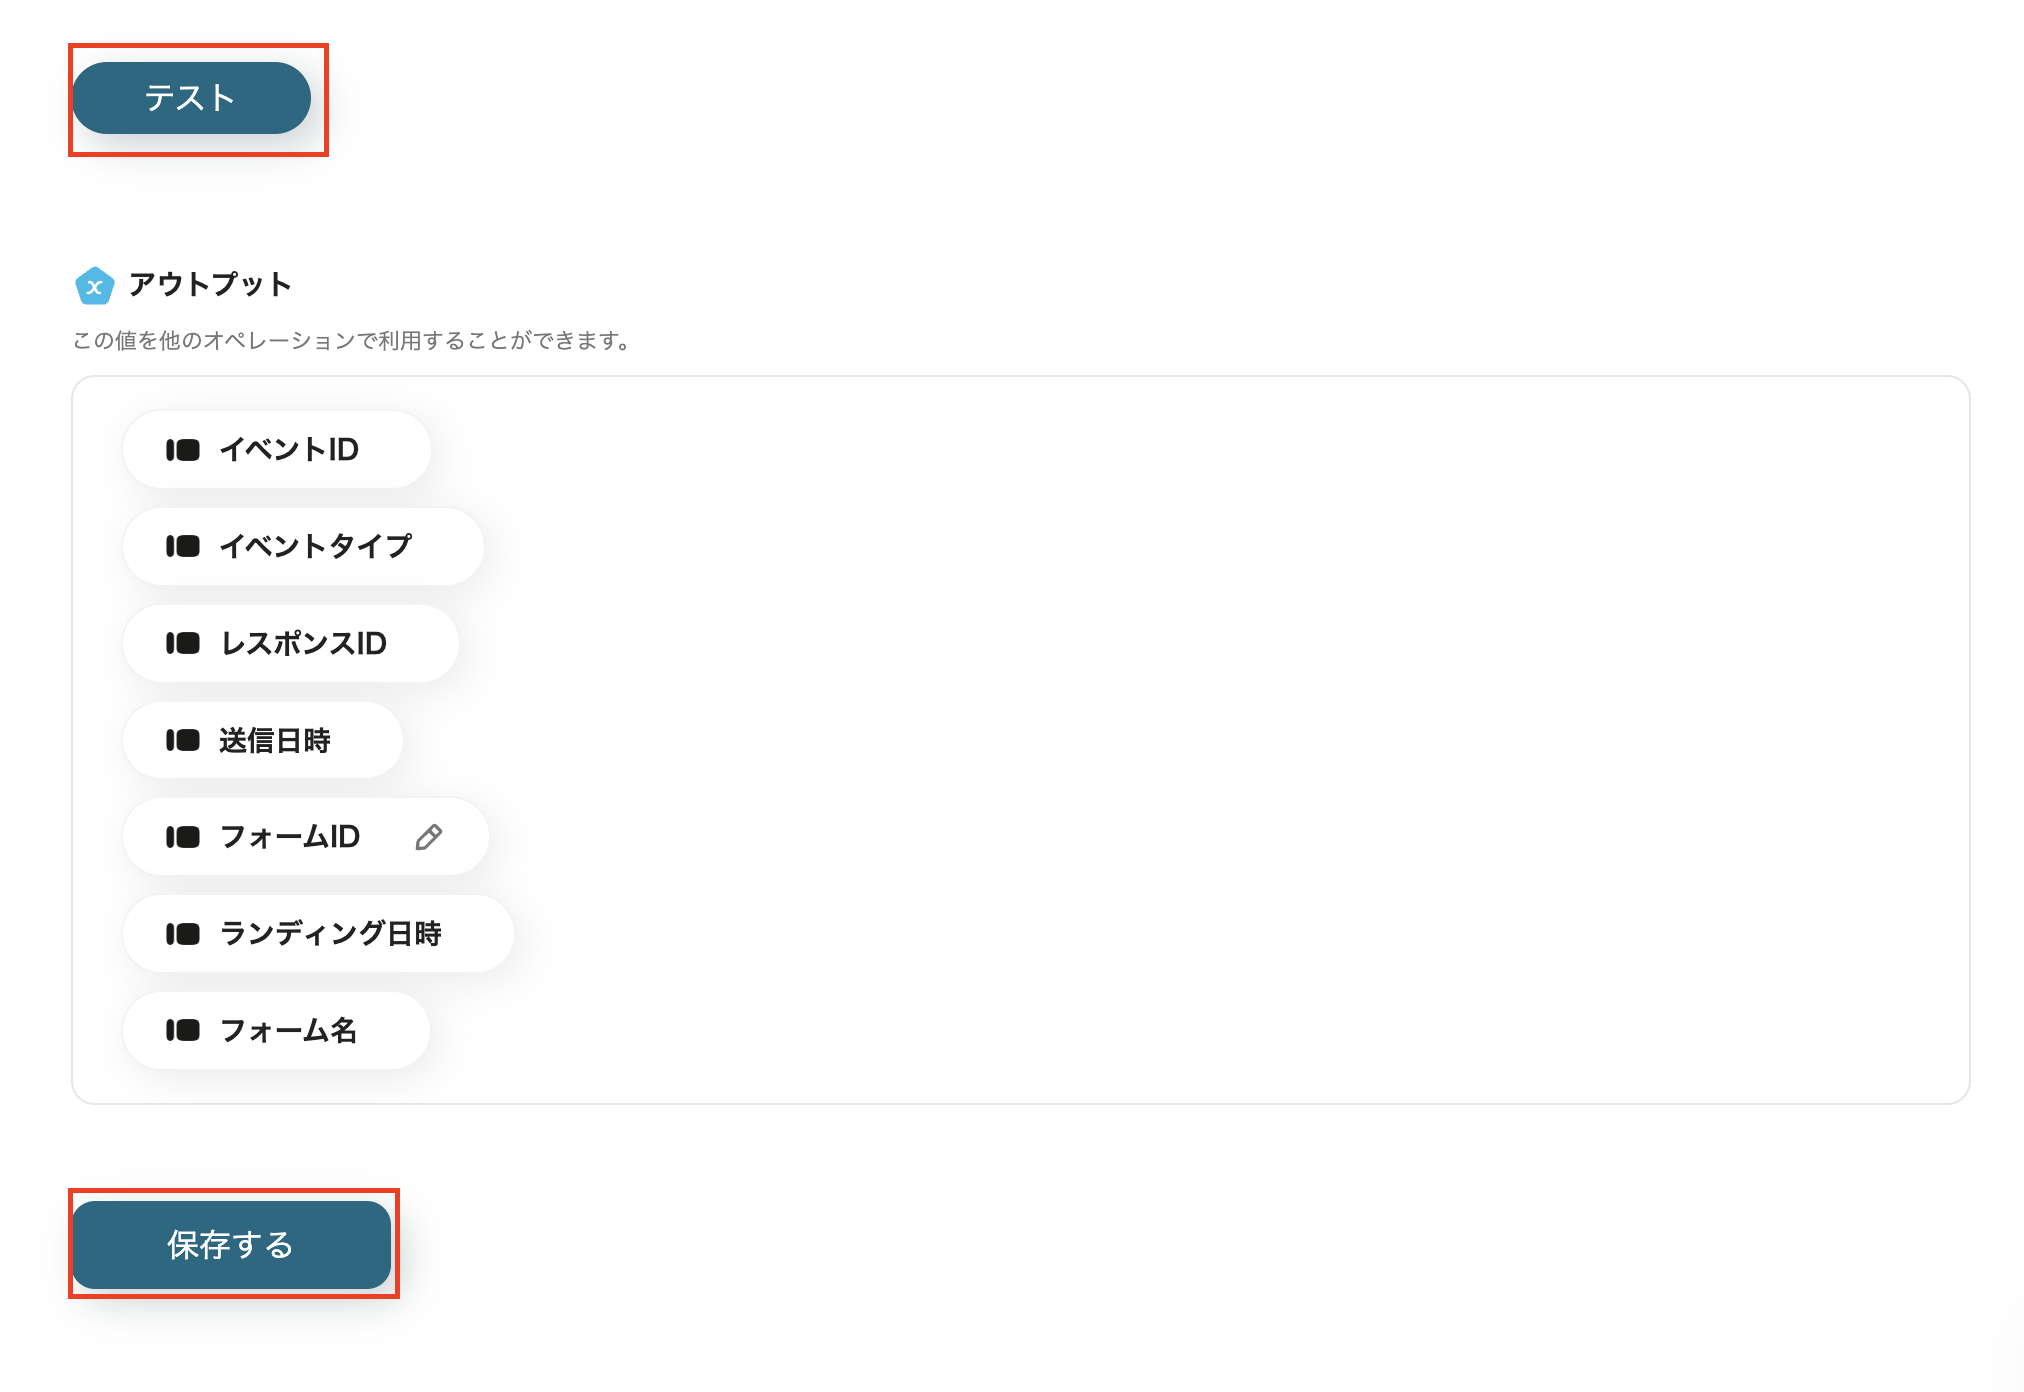
3.アプリトリガーのAPI接続設定②
テストをクリックして、アウトプットが取得できたら保存しましょう。
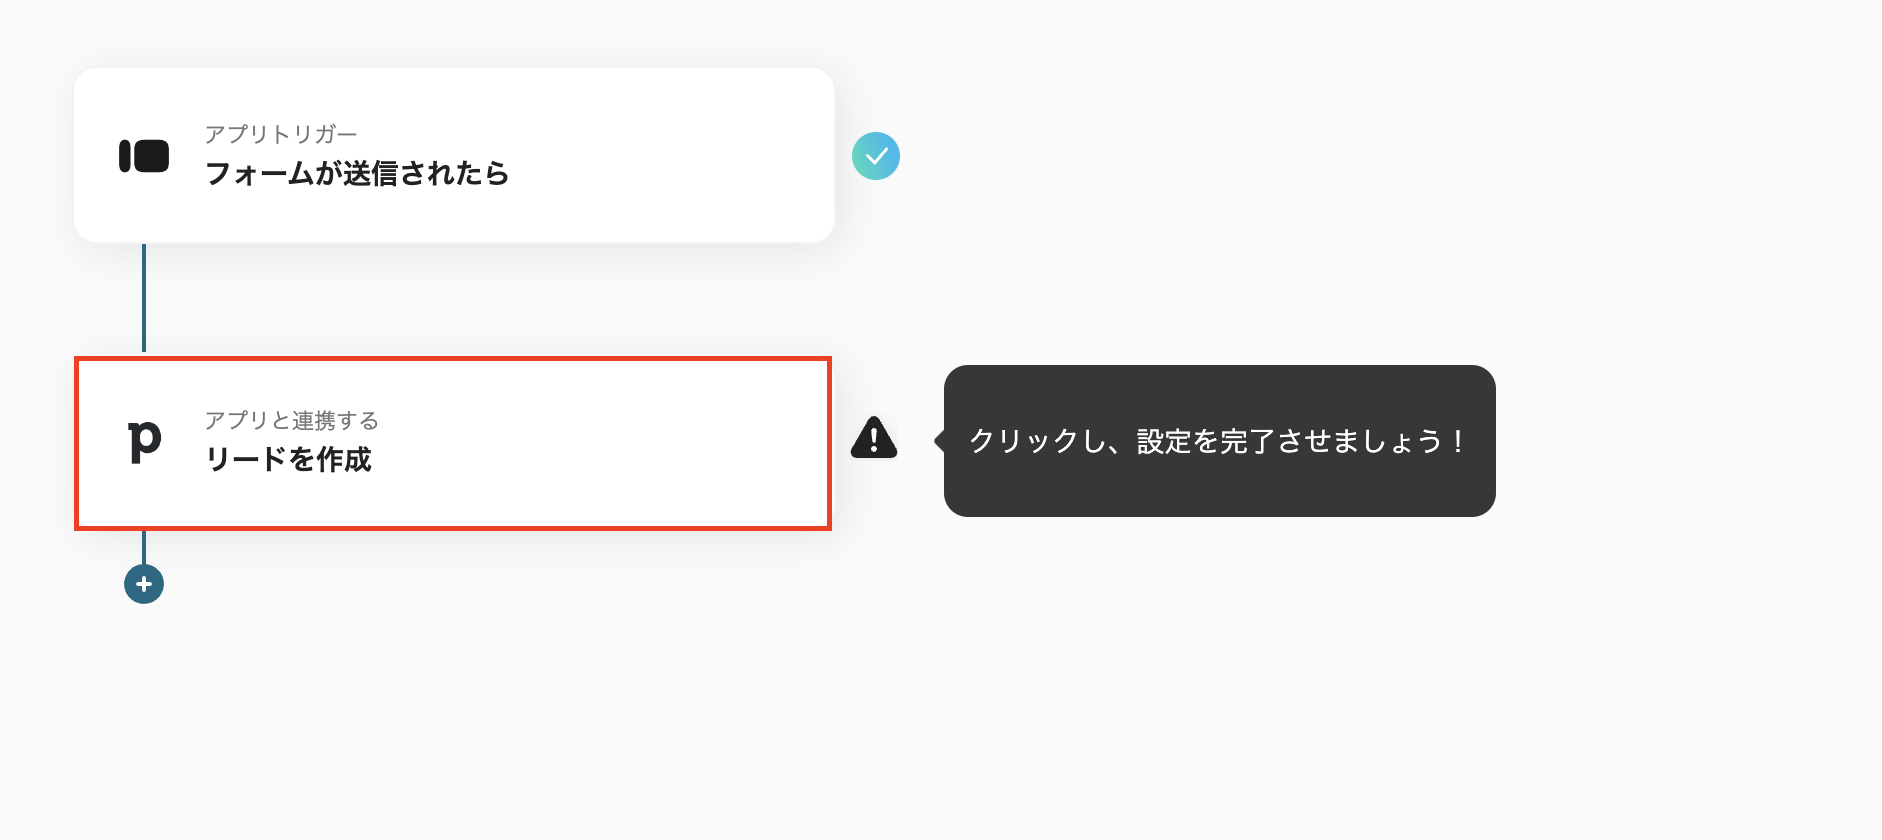
ステップ3:Pipedriveのアクション設定
「リードを作成」の項目をクリックしてみましょう。
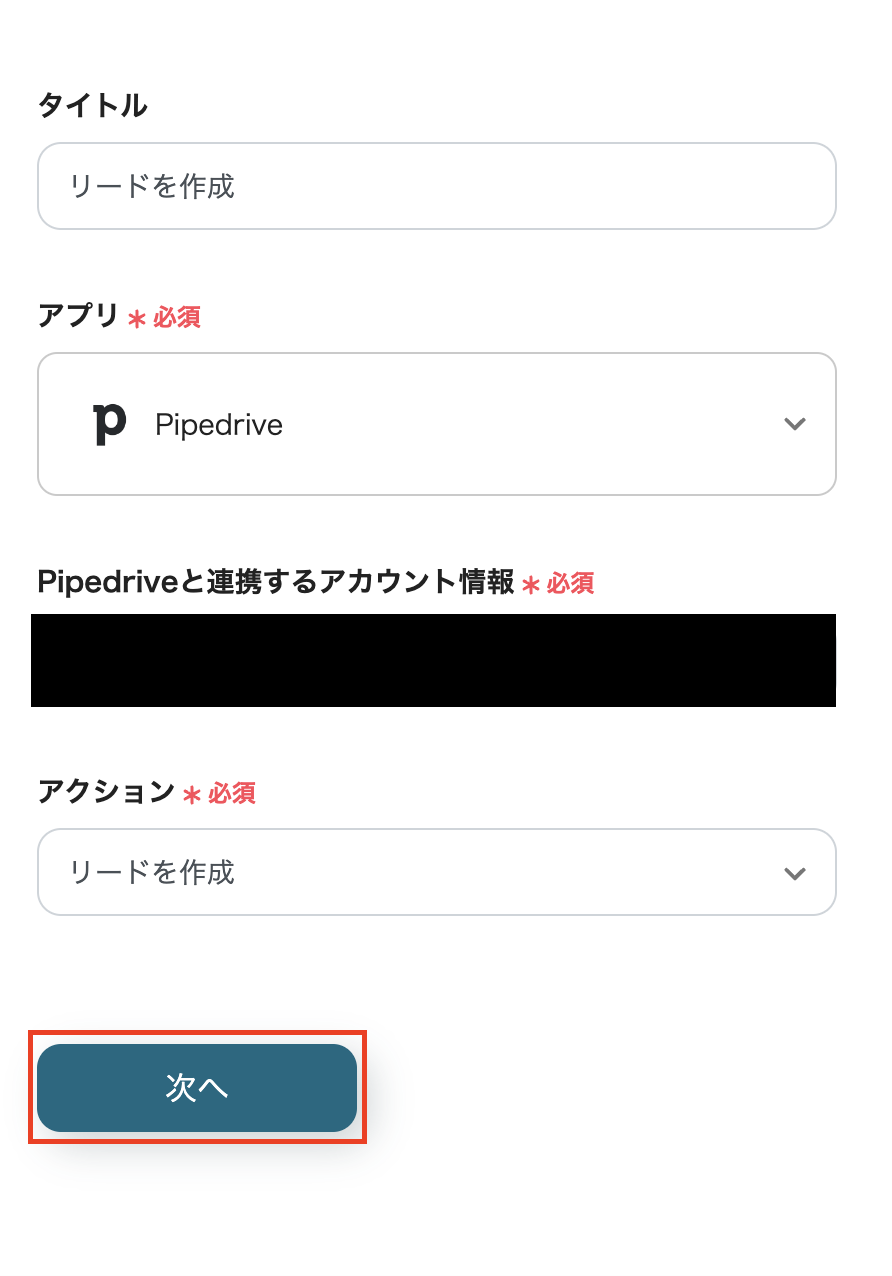
1.連携アカウントとアクションを選択
連携するアカウント情報に間違いがないか確認して、次へをクリックしましょう。
タイトルは任意に変更できます。
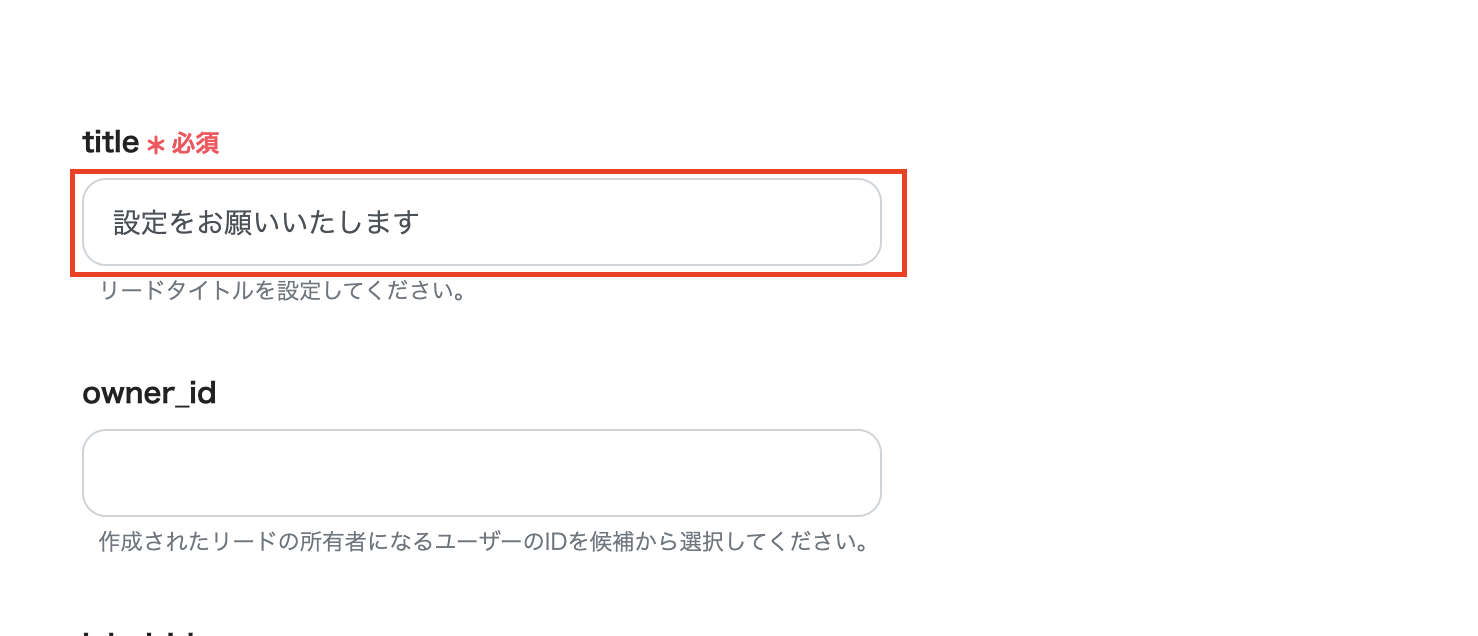
2.API接続設定
必須項目を入力して、保存しましょう。
全ての設定が完了しました!という表示とされたら、「トリガーON」をクリックしましょう!
これでフローボットが完成しました!
■概要
Typeformが送信されたらPipedriveにリードを登録するフローです。
■このテンプレートをおすすめする方
1.Typeformを利用してリード情報を収集している方
・WebサイトやランディングページなどでTypeformを使ってリード情報を収集している方
・収集したリード情報をPipedriveに手動で入力する手間を省きたい方
・リード情報の入力ミスを減らしてデータの精度を高めたい方
2.Pipedriveを利用している営業・マーケティング担当者
・リード情報をPipedriveで一元管理して効率的な顧客管理や営業活動を行いたい方
・Typeformから収集したリード情報をPipedriveに自動で取り込みたい方
・リード情報に基づいたセグメント分けやターゲティングメールの配信などを自動化したい方
■このテンプレートを使うメリット
Typeformはフォーム作成ができるツールですが、送信された情報を手作業でPipedriveにリードとして登録するのは、時間と労力の無駄遣いになりかねません。
このフローを導入することで、Typeformが送信されたら自動的にPipedriveにリード情報が登録され、担当者はリード登録作業を行う必要がなくなり、貴重な時間を他の業務に充てることができます。また、迅速な自動登録は、リードへの対応時間を短縮して顧客満足度向上にも繋がります。
■注意事項
・Typeform、PipedriveのそれぞれとYoomを連携してください。
その他のTypeformとPipedriveを使った自動化の例
Yoomには、TypeformとPipedriveを使った自動化の例がたくさんあるので、いくつか紹介します。
1.TypeformをGoogleフォームやJotformに変更して、Pipedriveにリードを登録するテンプレートです。
リード登録が自動化できれば、入力作業を軽減できるので、事務作業を効率よく行うことができそうです。
また、リード情報を一元管理することも可能になり、仕事の生産性向上を図れるかもしれません。
■概要
Googleフォームが送信されたらPipedriveにリードを登録するフローです。
■このテンプレートをおすすめする方
1.Googleフォームを利用してリード情報を収集している方
・WebサイトやランディングページなどでGoogleフォームを使ってリード情報を収集している方
・収集したリード情報をPipedriveに手動で入力する手間を省きたい方
・リード情報の入力ミスを減らしてデータの精度を高めたい方
2.Pipedriveを利用している営業・マーケティング担当者
・リード情報をPipedriveで一元管理して効率的な顧客管理や営業活動を行いたい方
・Googleフォームから収集したリード情報をPipedriveに自動で取り込みたい方
・リード情報に基づいたセグメント分けやターゲティングメールの配信などを自動化したい方
■このテンプレートを使うメリット
Googleフォームは顧客情報やアンケート結果などを効率的に収集できる便利なツールですが、収集したデータを手作業でPipedriveに転記するのは、時間と手間がかかり、入力ミスや情報漏れの原因にもなります。
このフローを導入することで、Googleフォームが送信されると自動的にPipedriveにリード情報が登録されます。これによって、営業担当者は手作業での入力作業を行う必要がなくなりリードへのアプローチや商談などの、より重要な業務に集中できます。また、データ入力ミスや情報漏れの心配がなくなり正確かつ効率的なリード管理が可能となります。
■注意事項
・Googleフォーム、PipedriveのそれぞれとYoomを連携してください。
・Googleフォームをトリガーとして使用した際の回答内容を取得する方法は下記を参照ください。
■概要
Jotformで集めたお問い合わせやイベント申し込みなどの情報を、手作業でPipedriveに入力していませんか?この作業は時間がかかるだけでなく、情報の転記ミスや対応漏れの原因にもなり得ます。このワークフローを活用すれば、Jotformでフォームが送信された際に、Pipedriveへリード情報が自動で登録されるため、こうした課題をスムーズに解消し、迅速な営業活動へと繋げることが可能です。
■このテンプレートをおすすめする方
- Jotformで獲得したリード情報をPipedriveに手入力しているマーケティング担当者の方
- Pipedriveへのリード登録漏れや遅れをなくし、迅速な顧客対応を目指す営業担当者の方
- SaaS間のデータ連携を自動化し、チーム全体の生産性を向上させたいと考えている方
■このテンプレートを使うメリット
- Jotformの回答内容が自動でPipedriveに登録されるため、データ転記作業にかかる時間を削減できます。
- 手作業による情報の入力ミスや転記漏れを防ぎ、常に正確なリード情報をPipedriveで管理できます。
■フローボットの流れ
- はじめに、JotformとPipedriveをYoomと連携します。
- 次に、トリガーでJotformを選択し、「フォームが送信されたら」アクションを設定します。
- 続いて、オペレーションでJotformの「最新の回答を取得する」アクションを設定し、送信されたフォームの情報を取得します。
- 最後に、オペレーションでPipedriveの「人物を追加」「組織を追加」「リードを作成」を順に設定し、取得した情報をもとにデータを登録します。
※「トリガー」:フロー起動のきっかけとなるアクション、「オペレーション」:トリガー起動後、フロー内で処理を行うアクション
■このワークフローのカスタムポイント
- Jotformのトリガー設定では、連携の対象としたいフォームを任意で設定してください。
- Pipedriveの各登録アクションでは、名前やメールアドレスといった項目に、Jotformで取得した回答内容を変数として設定します。
■注意事項
- Jotform、PipedriveのそれぞれとYoomを連携してください。
- JotformのWebhook設定方法はこちらをご参照ください。
■概要
Googleフォームが送信されたらPipedriveにリードを登録するフローです。
■このテンプレートをおすすめする方
1.Googleフォームを利用してリード情報を収集している方
・WebサイトやランディングページなどでGoogleフォームを使ってリード情報を収集している方
・収集したリード情報をPipedriveに手動で入力する手間を省きたい方
・リード情報の入力ミスを減らしてデータの精度を高めたい方
2.Pipedriveを利用している営業・マーケティング担当者
・リード情報をPipedriveで一元管理して効率的な顧客管理や営業活動を行いたい方
・Googleフォームから収集したリード情報をPipedriveに自動で取り込みたい方
・リード情報に基づいたセグメント分けやターゲティングメールの配信などを自動化したい方
■このテンプレートを使うメリット
Googleフォームは顧客情報やアンケート結果などを効率的に収集できる便利なツールですが、収集したデータを手作業でPipedriveに転記するのは、時間と手間がかかり、入力ミスや情報漏れの原因にもなります。
このフローを導入することで、Googleフォームが送信されると自動的にPipedriveにリード情報が登録されます。これによって、営業担当者は手作業での入力作業を行う必要がなくなりリードへのアプローチや商談などの、より重要な業務に集中できます。また、データ入力ミスや情報漏れの心配がなくなり正確かつ効率的なリード管理が可能となります。
■注意事項
・Googleフォーム、PipedriveのそれぞれとYoomを連携してください。
・Googleフォームをトリガーとして使用した際の回答内容を取得する方法は下記を参照ください。
■概要
Jotformで集めたお問い合わせやイベント申し込みなどの情報を、手作業でPipedriveに入力していませんか?この作業は時間がかかるだけでなく、情報の転記ミスや対応漏れの原因にもなり得ます。このワークフローを活用すれば、Jotformでフォームが送信された際に、Pipedriveへリード情報が自動で登録されるため、こうした課題をスムーズに解消し、迅速な営業活動へと繋げることが可能です。
■このテンプレートをおすすめする方
- Jotformで獲得したリード情報をPipedriveに手入力しているマーケティング担当者の方
- Pipedriveへのリード登録漏れや遅れをなくし、迅速な顧客対応を目指す営業担当者の方
- SaaS間のデータ連携を自動化し、チーム全体の生産性を向上させたいと考えている方
■このテンプレートを使うメリット
- Jotformの回答内容が自動でPipedriveに登録されるため、データ転記作業にかかる時間を削減できます。
- 手作業による情報の入力ミスや転記漏れを防ぎ、常に正確なリード情報をPipedriveで管理できます。
■フローボットの流れ
- はじめに、JotformとPipedriveをYoomと連携します。
- 次に、トリガーでJotformを選択し、「フォームが送信されたら」アクションを設定します。
- 続いて、オペレーションでJotformの「最新の回答を取得する」アクションを設定し、送信されたフォームの情報を取得します。
- 最後に、オペレーションでPipedriveの「人物を追加」「組織を追加」「リードを作成」を順に設定し、取得した情報をもとにデータを登録します。
※「トリガー」:フロー起動のきっかけとなるアクション、「オペレーション」:トリガー起動後、フロー内で処理を行うアクション
■このワークフローのカスタムポイント
- Jotformのトリガー設定では、連携の対象としたいフォームを任意で設定してください。
- Pipedriveの各登録アクションでは、名前やメールアドレスといった項目に、Jotformで取得した回答内容を変数として設定します。
■注意事項
- Jotform、PipedriveのそれぞれとYoomを連携してください。
- JotformのWebhook設定方法はこちらをご参照ください。
2.Pipedriveにリードが登録されたら、Slackに通知するテンプレートです。
リードが登録されたらすぐにSlackへ通知がくるので、リード情報を見落とすリスクを軽減できそうです。
また使用しているチャットツールに通知がくることで、チーム間でのコミュニケーションも取りやすくなります。
■概要
Pipedriveに新しいリードが登録されたら、Slackのチャンネルに通知するフローです。
■このテンプレートをおすすめする方
1.営業チーム
・顧客からの問い合わせをPipedriveで管理しており、Slackでチーム内の情報共有を行っているチーム
・新しいリード情報を自動で直ぐにチームメンバーに通知して迅速な対応を促したいチーム
・外出先でもスマートフォンでリード情報を確認して対応したい営業担当者
2.営業マネージャー
・チーム全体のリード獲得状況をリアルタイムで把握して営業戦略に活かしたいマネージャー
・リード発生時の対応状況を把握してチームのパフォーマンス向上に繋げたいマネージャー
・重要なリードの発生をいち早く把握して優先的に対応を指示したいマネージャー
3.マーケティングチーム
・Pipedriveで獲得したリード情報を元にSlackでマーケティング施策の検討や情報共有を行っているチーム
・新しいリードの属性や流入経路を把握してマーケティング戦略の改善に繋げたいチーム
・リードナーチャリング施策の効果測定を行い改善策を検討したいチーム
■このテンプレートを使うメリット
・リード情報が登録されたことをSlackのチャンネルで直ぐに受け取ることができ、営業担当者はリード獲得を逃すことなく迅速に対応することができます。
・Pipedriveから獲得したリード情報をSlackに集約することで、リード管理ツールを別途利用する必要がなくなり効率的に管理することができます。
・Slackのチャンネルへの通知内容や通知先などを自由にカスタマイズでき、自社の運用に合わせて柔軟に対応することができます。
・Slackへのリアルタイムな情報共有とリートに対しての迅速な対応により顧客満足度の向上に繋がります。
■注意事項
・Pipedrive、SlackのそれぞれとYoomを連携させてください。
4.Typeformで回答された内容を、Notionのデータベースに自動で追加できるテンプレートです。
自動的に情報を追加されれば、Notionでのタスク管理や進捗管理が容易になります。
■概要Typeformで収集したアンケートやお問い合わせの回答を、一件ずつ手作業でNotionのデータベースに転記する作業は、時間と手間がかかるのではないでしょうか。また、手作業によるコピー&ペーストは、入力ミスや転記漏れといったヒューマンエラーの原因にもなり得ます。このワークフローを活用すれば、Typeformでフォームが送信されると、その回答内容が自動でNotionのデータベースへ追加されるため、こうした課題を円滑に解消できます。
■このテンプレートをおすすめする方- TypeformとNotion間のデータ転記作業を効率化したいと考えている方
- アンケートや問い合わせの回答をNotionで一元管理し、チームの情報共有を円滑にしたい方
- 手作業による入力ミスや対応漏れを防ぎ、業務の正確性を高めたいと考えている方
■このテンプレートを使うメリット- Typeformのフォーム送信をトリガーに、自動でNotionへデータが追加されるため、これまで手作業に費やしていた転記作業の時間を短縮できます。
- 人の手によるコピー&ペースト作業が不要になるため、入力間違いや転記漏れといったヒューマンエラーのリスク軽減に繋がります。
■フローボットの流れ- はじめに、TypeformとNotionをYoomと連携します。
- 次に、トリガーでTypeformを選択し、「フォームが送信されたら」というアクションを設定します。
- 最後に、オペレーションでNotionの「レコードを追加する」アクションを設定し、Typeformの回答内容をNotionの各項目に紐付けます。
※「トリガー」:フロー起動のきっかけとなるアクション、「オペレーション」:トリガー起動後、フロー内で処理を行うアクション
■このワークフローのカスタムポイント- Notionの「レコードを追加する」アクションにて、データを追加したいデータベースを任意で設定してください。
- Notionデータベースの各プロパティ(項目)に対して、Typeformから取得したどの回答情報を割り当てるかを柔軟に設定可能です。また、固定のテキストなどを設定することもできます。
■注意事項- Typeform、NotionのそれぞれとYoomを連携してください。
- TypeformのアウトプットはJSONPathから取得可能です。
■このテンプレートをおすすめする方
- TypeformとNotion間のデータ転記作業を効率化したいと考えている方
- アンケートや問い合わせの回答をNotionで一元管理し、チームの情報共有を円滑にしたい方
- 手作業による入力ミスや対応漏れを防ぎ、業務の正確性を高めたいと考えている方
■このテンプレートを使うメリット
- Typeformのフォーム送信をトリガーに、自動でNotionへデータが追加されるため、これまで手作業に費やしていた転記作業の時間を短縮できます。
- 人の手によるコピー&ペースト作業が不要になるため、入力間違いや転記漏れといったヒューマンエラーのリスク軽減に繋がります。
■フローボットの流れ
- はじめに、TypeformとNotionをYoomと連携します。
- 次に、トリガーでTypeformを選択し、「フォームが送信されたら」というアクションを設定します。
- 最後に、オペレーションでNotionの「レコードを追加する」アクションを設定し、Typeformの回答内容をNotionの各項目に紐付けます。
■このワークフローのカスタムポイント
- Notionの「レコードを追加する」アクションにて、データを追加したいデータベースを任意で設定してください。
- Notionデータベースの各プロパティ(項目)に対して、Typeformから取得したどの回答情報を割り当てるかを柔軟に設定可能です。また、固定のテキストなどを設定することもできます。
■注意事項
- Typeform、NotionのそれぞれとYoomを連携してください。
- TypeformのアウトプットはJSONPathから取得可能です。
まとめ
TypeformとPipedriveを連携すると、入力作業を軽減し、事務作業の負担自体を減らすことが期待できます。
また、リード情報を統一して管理することが可能になります。
Yoomを活用することで、ノーコードでアプリの連携ができ、業務を自動化することができます。
難しい知識が不要なので、誰でもチャレンジできると思います。
この機会にぜひ、TypeformとPipedriveを連携し、入力作業を自動化しましょう!
プログラミング知識なしで手軽に構築できます。