


1. Click on "View Details" on the top banner
2. Click on "Try This Template" at the bottom of the transitioned screen
3. Register with Yoom
* If you have already completed registration, the login screen will be displayed, so please log in.
How to Create a Workflow for Integrating Airtable and NP Deferred Payment
Step 1: Integrate Airtable and NP Deferred Payment with My Apps
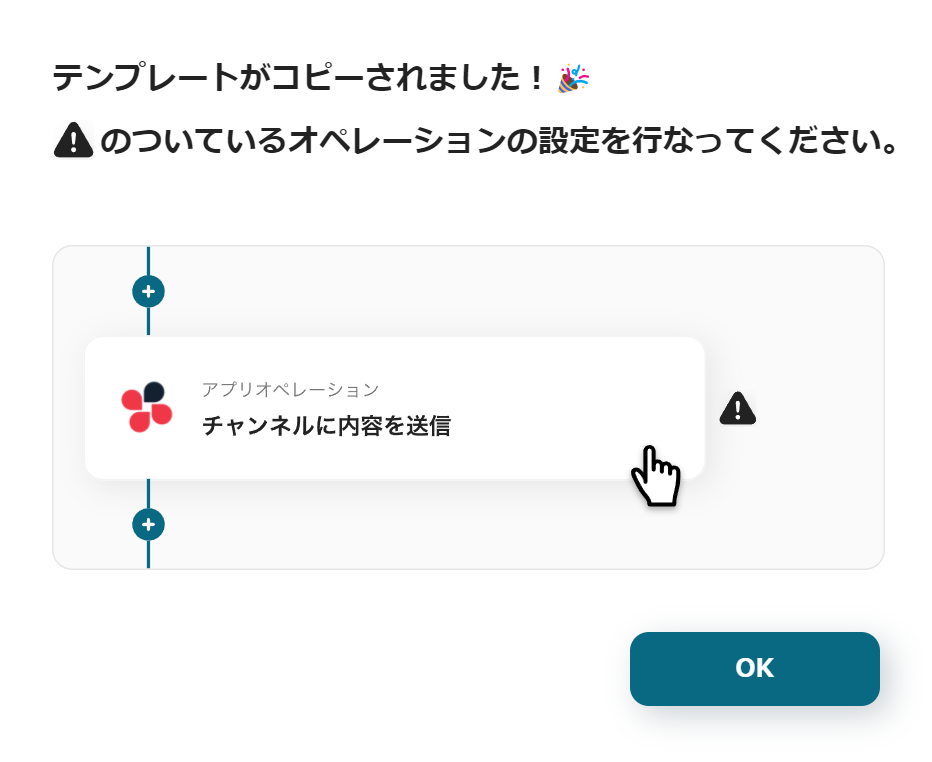
The template will be copied, and the screen will look like the above.
Since you have transitioned to the Yoom page called "My Projects", please select "My Apps" from the menu on the left side of the screen.
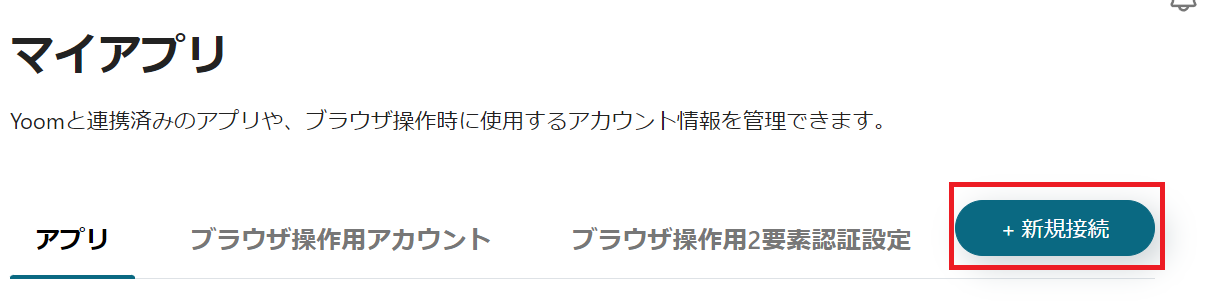
First, integrate Yoom with each tool. Click on "New Connection" at the top right.
Integration of Airtable and Yoom
1. Prepare Airtable
Prepare the Airtable you will use at this stage.

<span class="mark-yellow"></span>The following 12 items need to be set in the fields.<span class="mark-yellow"></span>
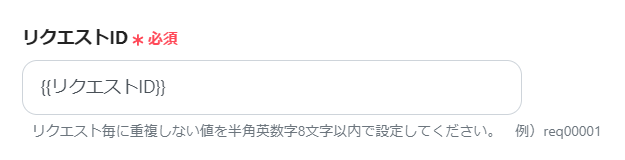
・Request ID
・Purchasing Company Name
・Postal Code
・Address
・Phone Number
・Company ID for NP Deferred Payment
・Merchant Transaction ID
・Merchant Transaction Order Date
・Transaction Amount
・Item
<span class="mark-yellow">・Tag</span>
<span class="mark-yellow">・Invoice Issuance Reference Date</span>
For the tag, set it to display as "Approved" as shown below.

For the invoice issuance reference date, create a field with "Last Modified Time".

2. Search
Once Airtable is ready, enter Airtable in the search box and click on the Airtable icon.
3. Sign In
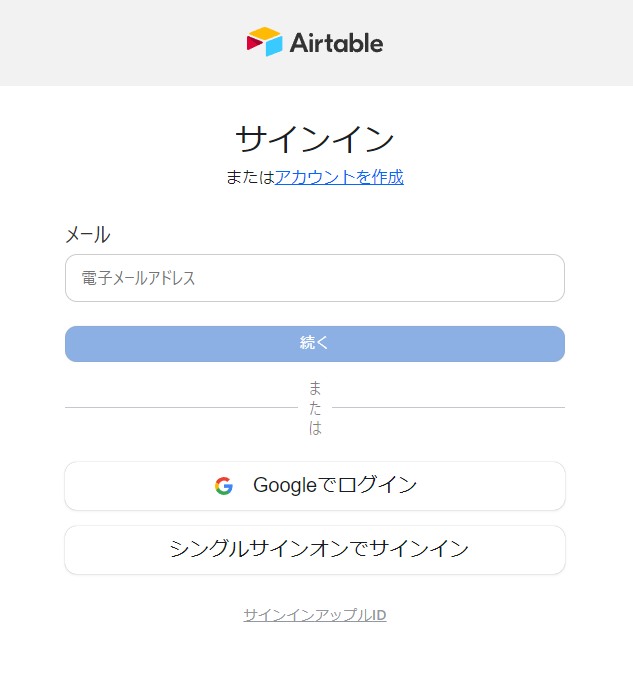
The Airtable sign-in screen will be displayed. Sign in with the account you want to integrate with Cloud Sign.
4. Add Base
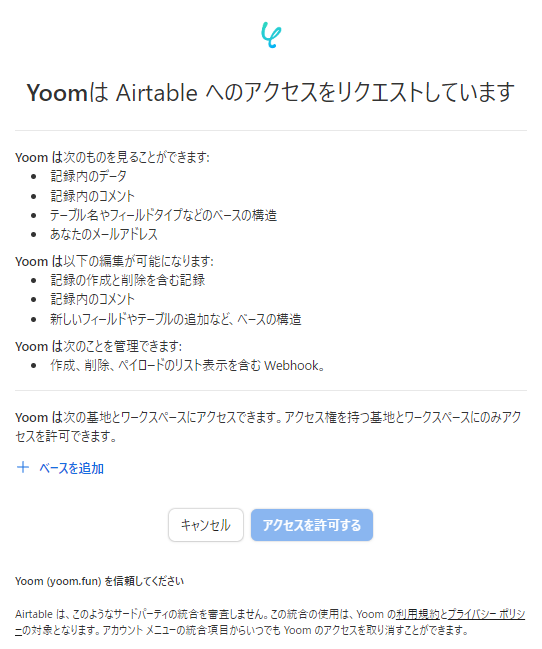
After signing in, you will transition to the above screen.

Click on "Add Base" in the red frame and select the base you want to add Cloud Sign data to.
5. Grant Access

Once the base is added, press "Grant Access".

Return to the Yoom screen, and if the above display appears, the integration is complete.
Integration of NP Deferred Payment and Yoom
1. Search
Click on the NP Deferred Payment icon.
2. Enter Required Fields

Use Base64 encoding to enter the required fields.
For more details, please check here regarding Base64 encoding.
The account name can be anything you like. It is recommended to set something easy to understand, such as the company name or the name of the person in charge.
3. Add
Once the required fields are set, press Add at the bottom right.
If the above display appears, the integration is complete.
Next, copy the template to My Projects and create a flow bot.
If you haven't copied it yet, please copy the flow bot template from below.


.avif)

.avif)
.avif)


