AirtableとSendGridの連携イメージ
How to Integrate Applications

2024/12/06

How to integrate Airtable with SendGrid to automatically add contacts to SendGrid after lead registration in Airtable

k.ueno

The email approach to acquired leads is more effective the quicker it is executed. By incorporating the app integration of Airtable and SendGrid using Yoom, which we introduce this time, you can automate the process from lead registration to email distribution, thereby improving operational efficiency. In this article, we will explain how to set up a flow that automatically adds contacts to SendGrid when a lead is registered in Airtable, and the benefits of implementing it. It can be easily set up with no code, making it ideal for those who want to reduce the burden of manual work. Recommended for: - Those who find manual information input cumbersome - Leaders of sales teams aiming for a quick approach - Those responsible for utilizing multiple tools to advance centralized management and automation of lead information - Those who are experiencing an increase in the number of leads and are seeking to improve the efficiency of data entry and email distribution - Those who use Airtable and SendGrid on a daily basis and want to improve efficiency by linking them Benefits and Examples of Airtable and SendGrid Integration 1. Reduction of Workload Every time a lead is added to Airtable, the information is automatically reflected in SendGrid, eliminating the need for manual data entry updates. For example, in scenarios where multiple teams such as sales and marketing collaborate, there was a lot of data to register, which required a lot of time and effort for input work. By automating the contact addition work, you will be freed from the burden of traditional manual work and will be able to proceed with your work more efficiently. Especially for companies with an increasing number of leads, this automation can improve team productivity. 2. Maintaining Data Accuracy By integrating Airtable and SendGrid, incorrect information input and duplicate registrations are prevented, and the registered lead information is accurately reflected in SendGrid. For example, when manually entering information during contact addition, there were times when minor transcription errors occurred. By automating the work, the accuracy of contact information used in marketing activities can be maintained, which may result in improved email distribution accuracy and more effective approaches to goals. 3. Enabling Quick Response to Leads Every time lead information is registered in Airtable, it is automatically added to SendGrid, saving the time and effort of crossing apps and adding contacts. For example, by reducing the time required for input, sales and marketing team members will be able to quickly launch important campaigns. By quickly sending emails to new leads with SendGrid, you may be able to increase brand awareness and maximize the effectiveness of campaigns. [About Yoom] Now, let's create a flowbot using the template "Add as a contact to SendGrid when a lead is registered in Airtable."
How to Create an Integration Flow between Airtable and SendGrid The process to complete the flow will proceed as follows: - Integrate Airtable and SendGrid with My Apps - Copy the template - Set up Airtable triggers and configure SendGrid - Turn on the trigger and verify actual activation Now, let's establish a new connection for the apps to be integrated. Integrate Airtable and SendGrid with My Apps (1) First, connect Airtable to My Apps. After logging into your Yoom account, click "My Apps" on the left panel and search for Airtable from "New Connection." (2) When the Airtable app icon appears, click it, then select the relevant workspace from "Add Space" and click "Allow Access." This completes the connection to Airtable. (3) Next, let's connect SendGrid. Search for the app just like the new connection for Airtable. (4) Enter the "Account Name" and "Access Token," then click [Add]. After clicking, you will be taken to the My Apps screen of your Yoom account with the two apps added. This completes the connection of the two apps to your Yoom account. Copy the Template After confirming that the new connection of the target app to your Yoom account is complete, click the icon for "Try this template" below.

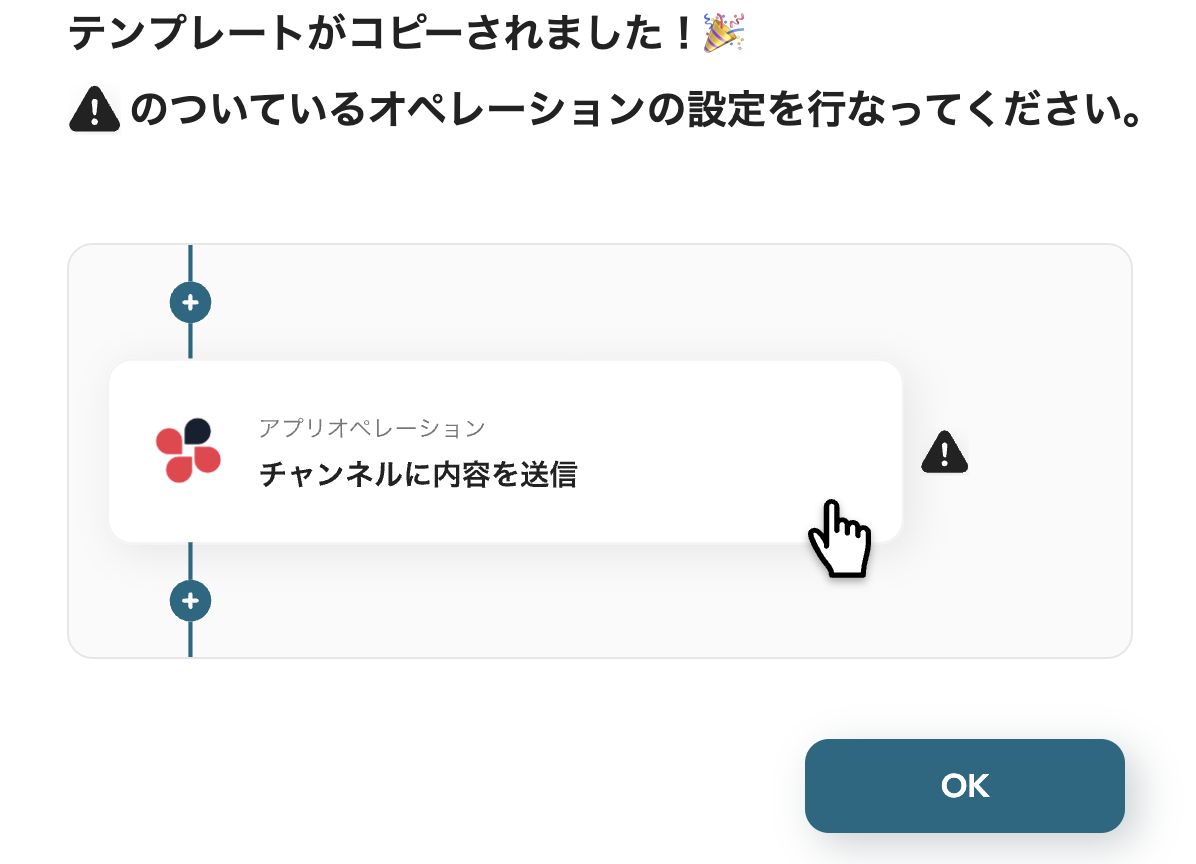
The template will be copied, so click the "OK" button.

Move to the "My Projects" screen of your Yoom account and check the template content.

There are two configuration flows.

・Airtable Trigger Configuration

(1) First, set up the Airtable app trigger.

From the My Projects on the left side of your Yoom account screen, click "【Copy】Add as a contact in SendGrid when a lead is registered in Airtable".

After clicking, the template content will be displayed as shown in the screen below.

(2) Click on "When a record is registered" as the trigger.

(3) Enter the information of the Airtable account you want to link and click [Next].

(4) On the next screen, select the "Trigger Activation Interval" from 5 minutes, 10 minutes, 15 minutes, 30 minutes, or 60 minutes.
※ The trigger activation interval varies depending on the plan, so please be careful.


(5) Next, check the annotation section to set the "Base ID", "Table ID", and "Field Name of Created Time".
For how to retrieve field information of records, please refer to this article.

(6) After entering the information, click [Test] and if there are no issues, click [Save].
In this step, you can obtain the following information as output.
The output information can be quoted and utilized in the subsequent steps, as noted in the annotation "This value can be used in other operations."

If you want to increase the output you can obtain, such as detailed record information, you need to obtain other values using 'JSONPath'.

・For how to write JSONPath, please check here.
・For how to obtain output using JSONPath, please check this page.

・SendGrid Configuration

(1) Finally, click the second action "Add new contact to contact list".

(2) Enter the account information to link with SendGrid and click [Next].

(3) On the next screen, set up the process of adding new contacts to the specified contact list.
As shown in the screen below, clicking the input bar will expand the content obtained in the previous step, allowing you to quote the information.
(Below is an example quoting the "Email Address", "Last Name", and "First Name" obtained in the previous step.)

(4) For the 'List ID' of "List to Add", clicking the input bar will expand the information based on the linked account content as "candidates".
Select the information you want to set.

(5) After entering the information, click [Test] and if there are no issues, click [Save].
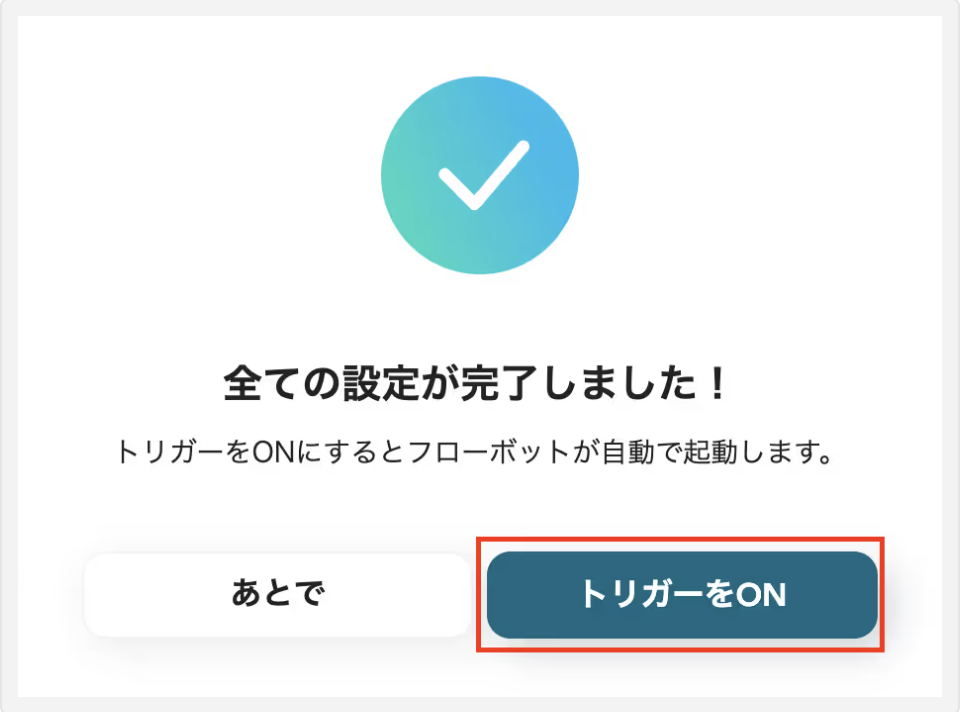
This completes the setup.

・Turn on the Trigger

By clicking the red frame part "Turn on the Trigger" on the screen below, the flow bot will start automatically.

Here is the template used this time

Other Automation Examples Using SendGrid

There are other examples of automation using SendGrid in Yoom, so here are a few introductions.

Add User Information Registered with TimeRex as a Contact in SendGrid

This flow is recommended for those who frequently hold briefings or seminars and want to follow up with participants via email.
You can automatically add participant information registered with TimeRex to a specific contact list in SendGrid, helping to prevent input errors and registration omissions.

Add User Information Submitted via HubSpot Form to SendGrid Contact List

By utilizing this flow, centralization of customer information is achieved, enhancing the efficiency of email marketing.
Additionally, manual data entry tasks are reduced, which can improve the speed and accuracy of operations.
This may enable higher quality customer service, potentially leading to increased sales.

Add leads created in Salesforce to the SendGrid contact list

By automating the process, you can save the time and effort of manually adding to SendGrid, leading to reduced working hours and improved work efficiency.
Quickly reflecting updates to lead information makes it a useful tool for identifying areas for project improvement and conducting more strategic activities.

Summary

By integrating Airtable and SendGrid, you can automate lead management and email distribution processes, which is expected to improve operational efficiency.
This allows for quick responses while maintaining data accuracy, maximizing the effectiveness of sales and marketing activities.
Additionally, reducing the burden on staff through manual tasks can also improve the work environment.

Since it can be easily set up with no code, take this opportunity to utilize Yoom and experience automation through app integration.

The person who wrote this article
k.ueno
Until now, as customer support, we have made efforts to resolve users' questions and concerns. I was moved to learn that by using Yoom, tasks that are becoming increasingly complicated on a daily basis will progress quickly! From now on, we will continue to distribute content with easy-to-understand content so that people who aim to improve work efficiency can use the service smoothly.
Tags
Airtable
SendGrid
Automation
Integration
Automatic
Notification
Related Apps
App integration
No items found.
What is Yoom hyperautomation?
Conventional RPA can only automate simple repetitive tasks, and the setup process was very complicated.
With “hyperautomation,” which combines various technologies such as AI, API, RPA, and OCR, it is possible to automate many tasks that could not be realized until now more easily than before.
Don't Just Connect Apps—Automate Everything
Most tools simply connect one app to another, leaving the complex tasks to you. Yoom goes much further: From document creation and browser automation to OCR and generative AI, Yoom handles it all seamlessly in one platform.

Why settle for basic integrations? Streamline your entire workflow with Yoom’s powerful hyperautomation.
Learn more about Yoom
Helpful Materials
I understand Yoom! 3-piece set of materials
Download materials
Understand in 3 minutes! Yoom service introduction materials
Download materials
Find out by Before After! Yoom Case Study Collection
Download materials
See a list of useful materials