

.avif)
The general flow of the setup is as follows:
- Integrate Gmail and Airtable with Yoom and My Apps
- Copy the template
- Configure flow details
- Turn on the trigger to start the flow
This flow uses AI operations (extracting data from text).
AI operations are available only with some paid plans. If your plan is not eligible, the operations of the flow bot you set will result in an error.
Paid plans offer a two-week free trial, during which you can use restricted apps and AI features.
Let's start with the preparations right away.
[What is Yoom]
Step 1: Integrate Gmail and Airtable with My Apps
First, let's integrate the apps we will use this time with Yoom.
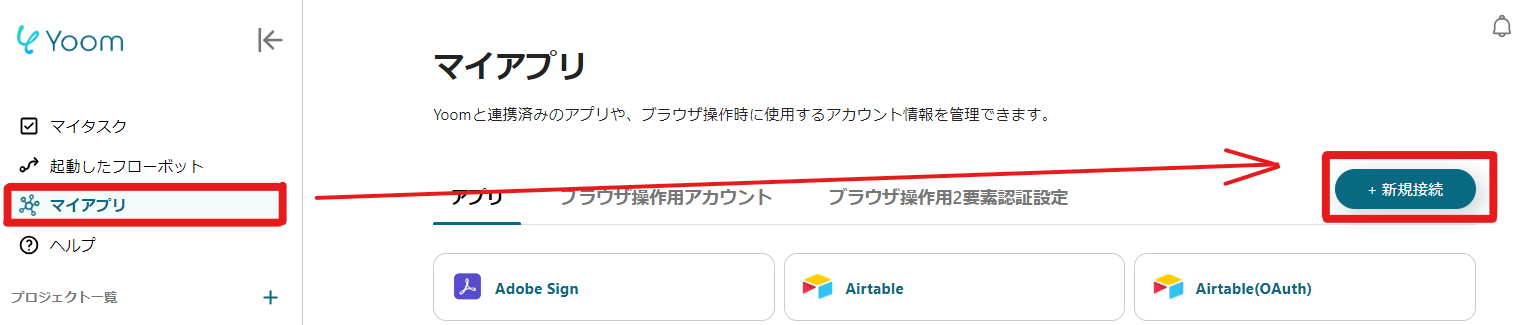
After logging into Yoom, click "+ New Connection" from "My Apps" in the left menu.
When the app search window appears, search for Gmail and Airtable.
We will explain each integration in detail.
Gmail My App Integration and Label Preparation
Gmail requires integration with a Google account.

Click "Sign in with Google" and select the Google account to integrate.
When the "Log in to Yoom" screen appears, proceed to the next step and allow access to the account.

Click "Continue" to complete the Gmail My App integration.
When reflecting what you received in Gmail to Airtable, the email needs to be sorted into a specific label.
Prepare a label with specified conditions in advance.
Refer to the official website for how to create it.
You can automatically sort emails that contain specific words like "inquiry" in the title.
Airtable (OAuth) My App Integration
To integrate Airtable (OAuth) with My Apps, you need to specify the Workspace.

After selecting the workspace to add with "+ Add a base," click "Grant access."
If there are no particular issues, select all workspaces.
If Airtable and Gmail appear in the My Apps list, the integration is complete.

Next, proceed to the detailed flow settings.
Click "Try it" from the banner below to copy the template.


.avif)
.avif)


