

.avif)
Preparation
First, let's integrate Trello and Garoon with My Apps on Yoom.
Log in to Yoom and click "My Apps" → "+ New Connection" from the left-side menu.
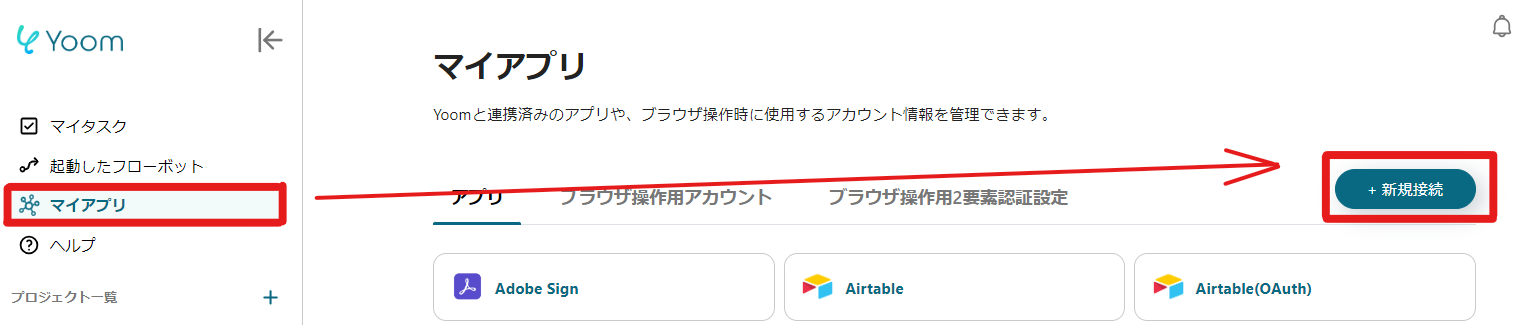
Search for each app name and enter the required information.
Refer to the link below to register your My Apps.
Once registration is complete, it will appear in the My Apps list, so please check it.

If Garoon is also displayed similarly, the preparation is complete.
1. App Trigger Settings
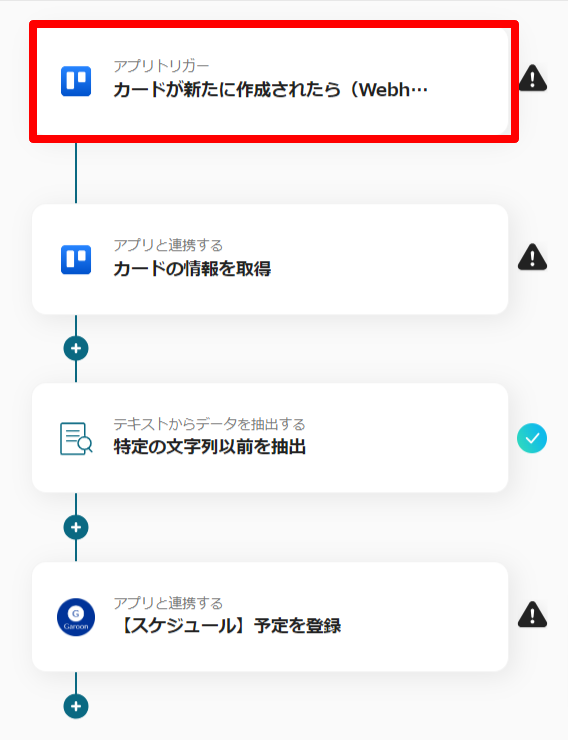
First, set "When a card is newly created".
On the first page, check the Trello account information that is already linked.
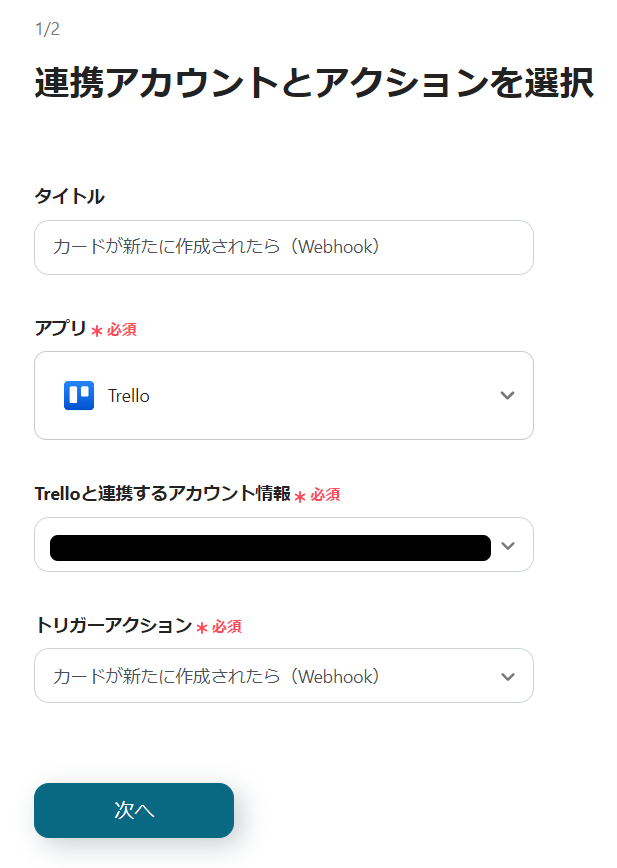
If there are no issues with the account information, click "Next".
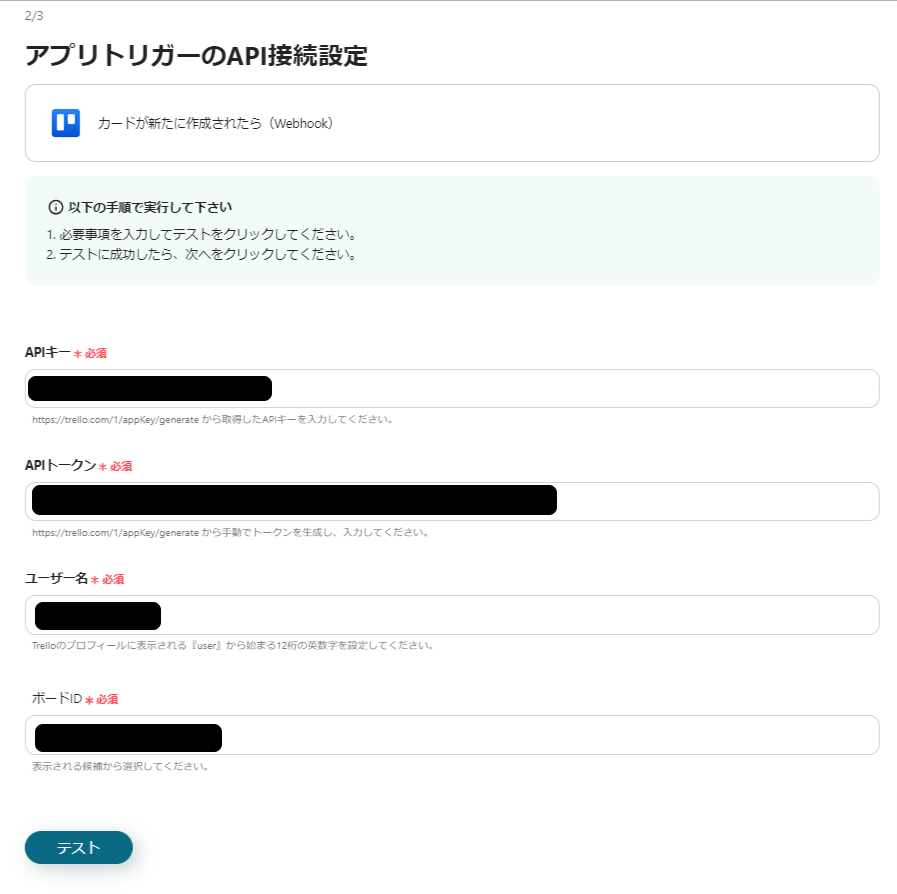
Next, set up the Trello board that will be targeted.
Enter the necessary information according to the annotations.
Once everything is entered, click "Test" and if no errors appear, click "Next".
On the next page, set a new task in Trello as a test, then click "Test" to obtain the output.
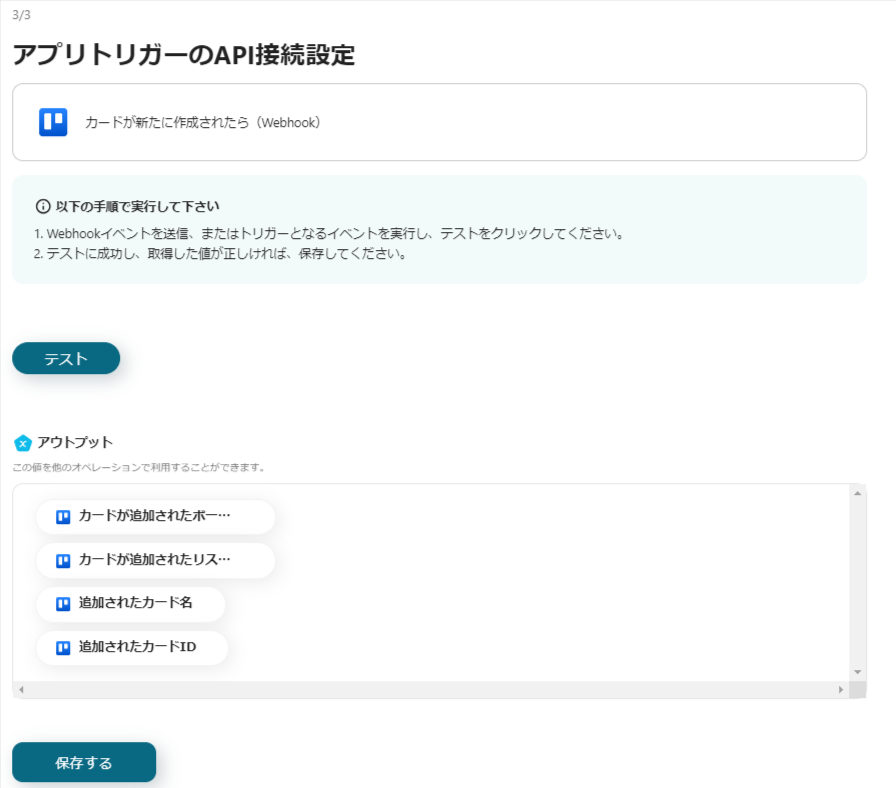
Check if the necessary information is reflected in the output obtained here, as it will be used in another setting later.
Once completed, the trigger setting is done.
Click "Save".
2. Card Information Retrieval Settings

Next, proceed to the "Retrieve Card Information" setting.
As before, check the Trello account information on the first page and click "Next".
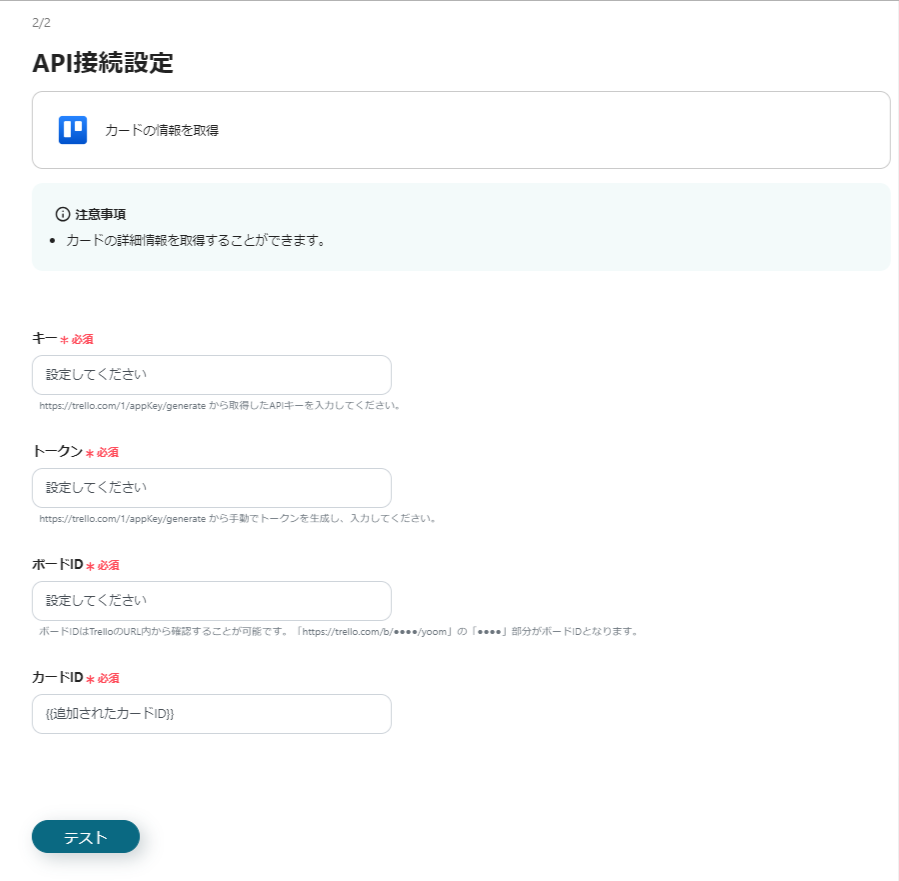
Next, enter the necessary information to retrieve card information.
The card ID is already reflected in the output, so no changes are needed.
Click "Test" to see if the output is reflected, and check it here as well.
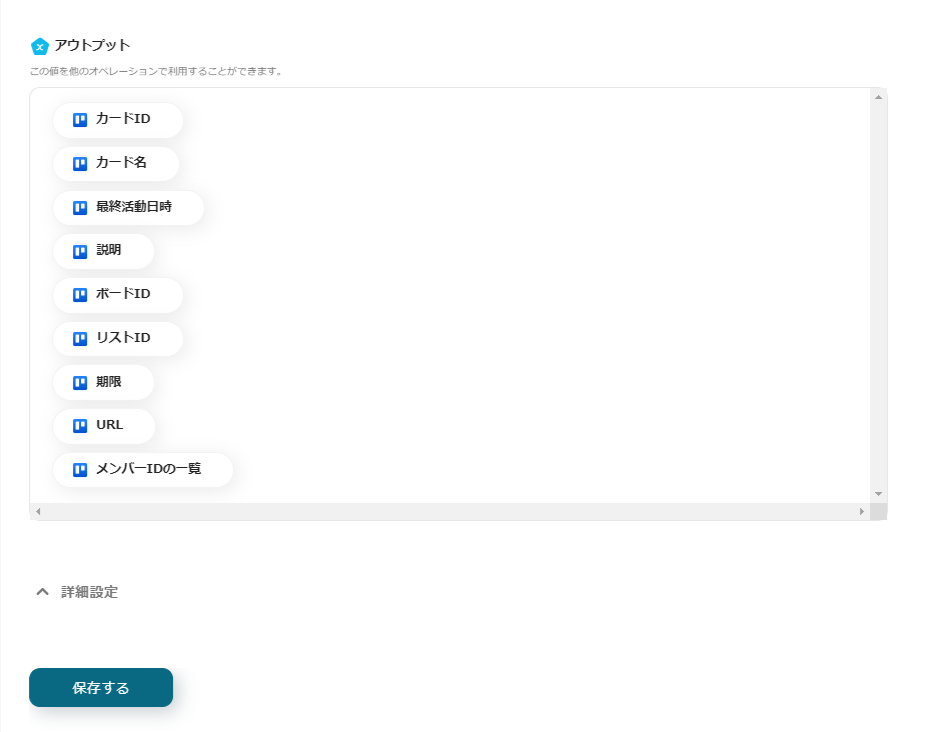
If the necessary information is reflected in the output, click "Save" to complete the Trello settings.
3. Text Data Extraction Settings
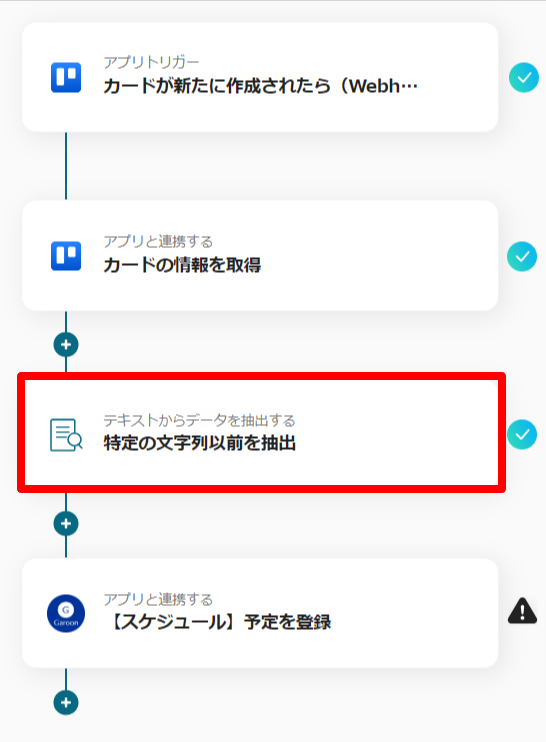
Third, click "Extract Before Specific String".
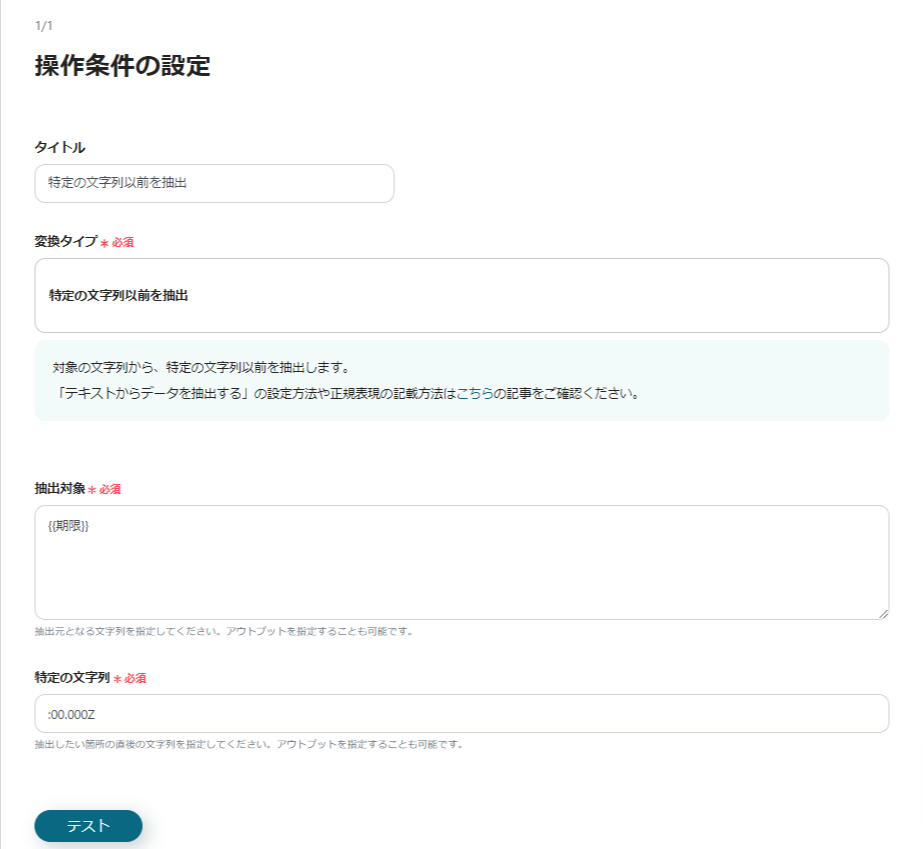
Here, set which text to extract.
For detailed instructions on how to set it up, refer to the "Extract Before Specific String" section on the help page below.
How to Set Up "Extract Data from Text"
Once the settings are complete, click "Test" to check if the desired information is extracted.
Then click "Save" to complete the settings up to this point.
4. Garoon Settings
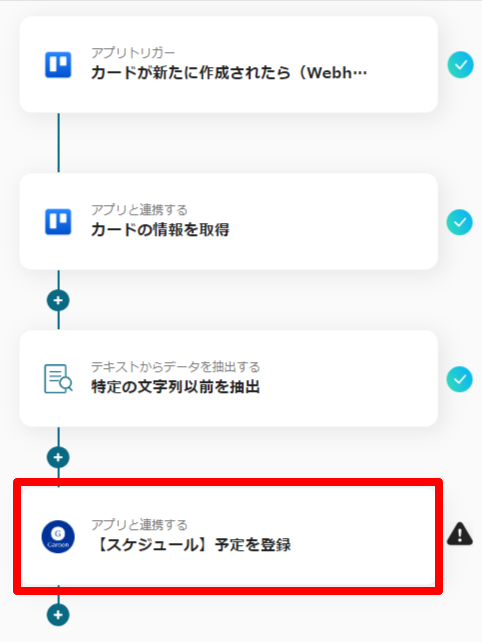
Finally, click "Register Schedule" under "Schedule".
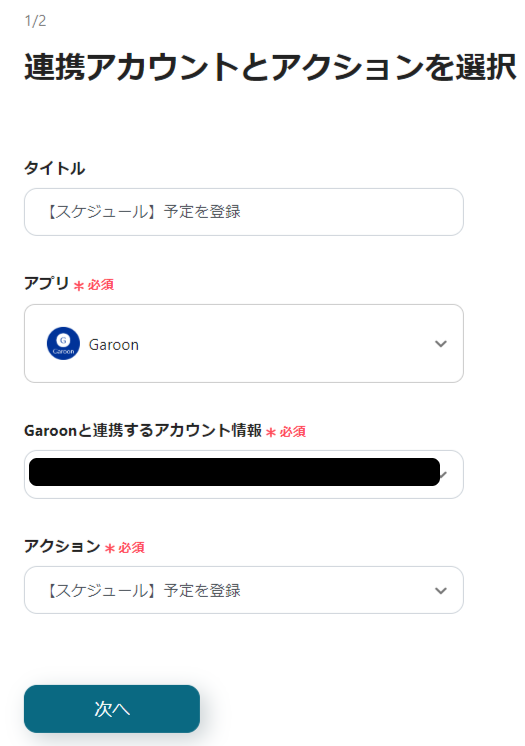
First, as before, check the account information and click "Next".
On the next page, set the content to be entered in the schedule.

Enter the subdomain and select the necessary fields from the output.
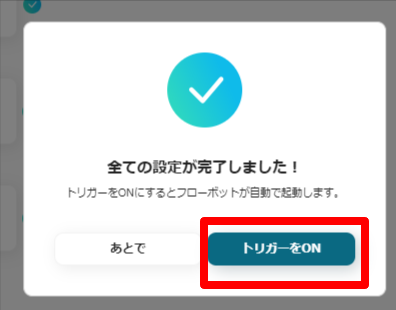
Finally, perform a "Test" and if no errors occur, click "Save" to complete all settings.
To activate the flow, turn on the trigger and the configured flow will start running.
Other Automation Examples Using Trello and Garoon
There are many other automation examples using Trello and Garoon available on Yoom.
1. For those managing tasks with Trello, we recommend the integration "Receive notifications when a new card is added". Integrate with apps you use regularly, such as Google Chat or Microsoft Teams, to streamline task management.


.avif)
.avif)
.avif)
.avif)


