


This will take you to the page called "My Project".
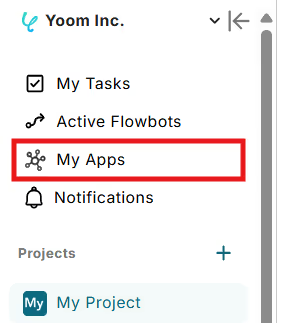
From the menu on the left side of the screen, select "My Apps".
↓
Click on Add at the top right!

↓
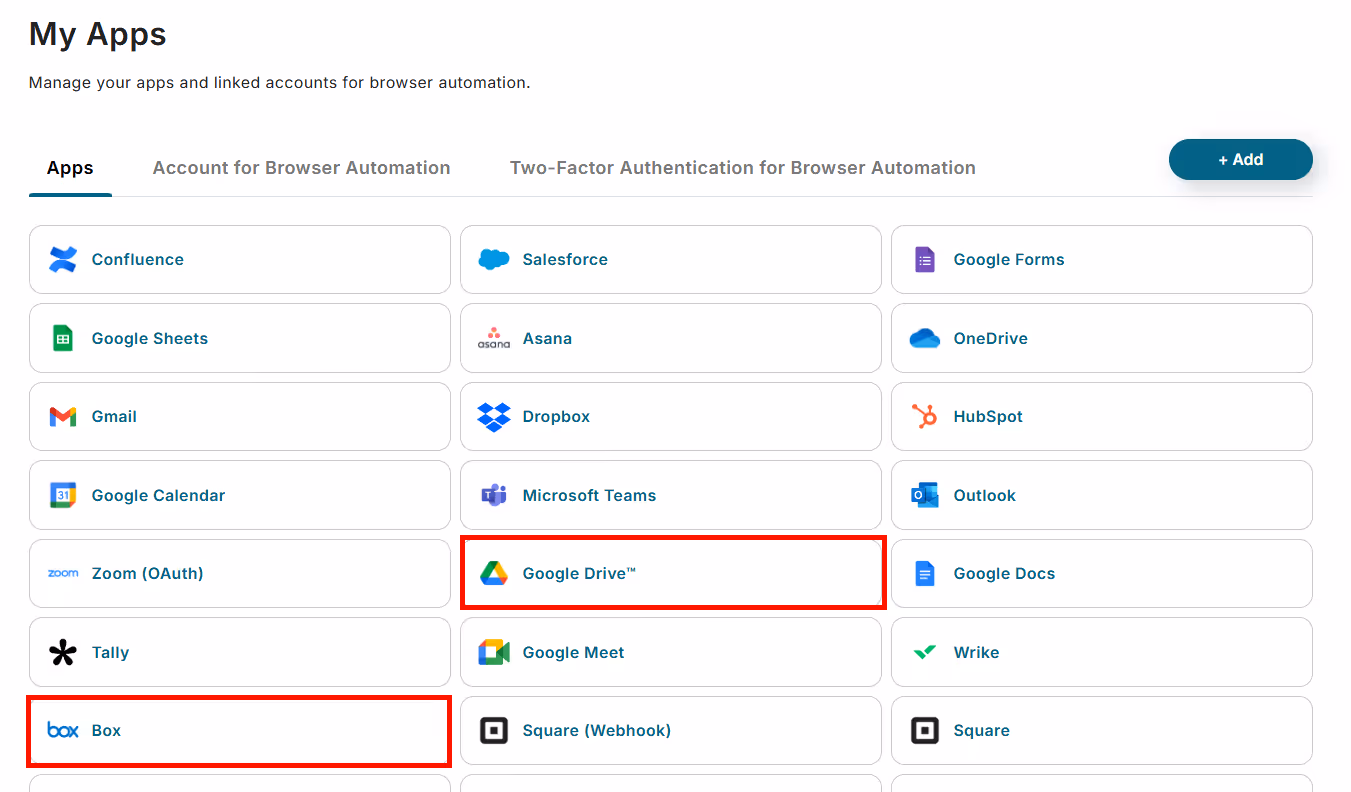
Enter "Box" in the search window, and the Box icon will appear. Click on it.
A screen like the one below will appear, so please press Allow Access to Box.

Then you will return to the My Apps screen in Yoom. The integration with Box is now complete. That was quick!!
Let's keep up the momentum and integrate Google Drive with My Apps too!
Similarly, click on Add at the top right! Enter Google Drive and press the Google Drive icon.

When the above screen appears, press "Sign in with Google".
Next, you will move to the authentication screen, so make sure to allow all permissions.
Once authenticated, the integration with Google Drive's My Apps is also complete.
This was quick too!! It's great that the integration finishes quickly...!
It is registered like this! Now you are ready.
Next, we will start creating the Flowbot.
How to Set Up a Flowbot
First, you will need to perform a test send while creating the Flowbot.
Therefore, create a folder to test in Google Drive and upload one or two PDF or image files in it.
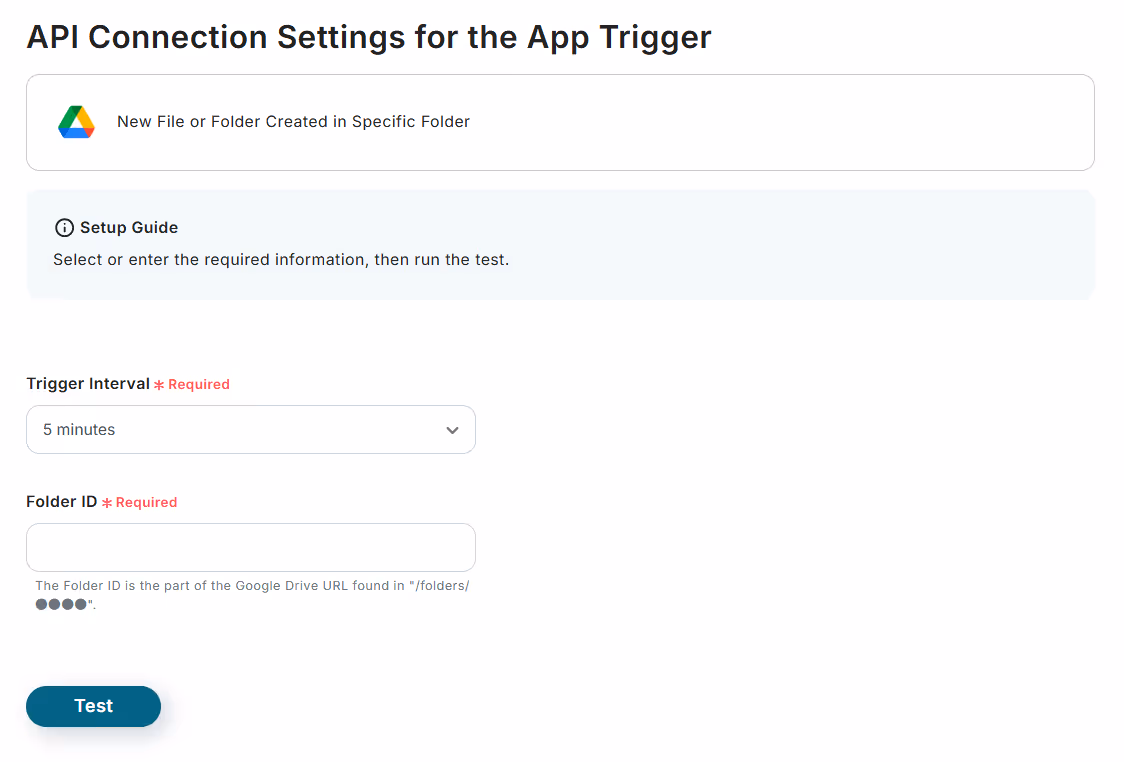
[Google Drive Trigger Settings]
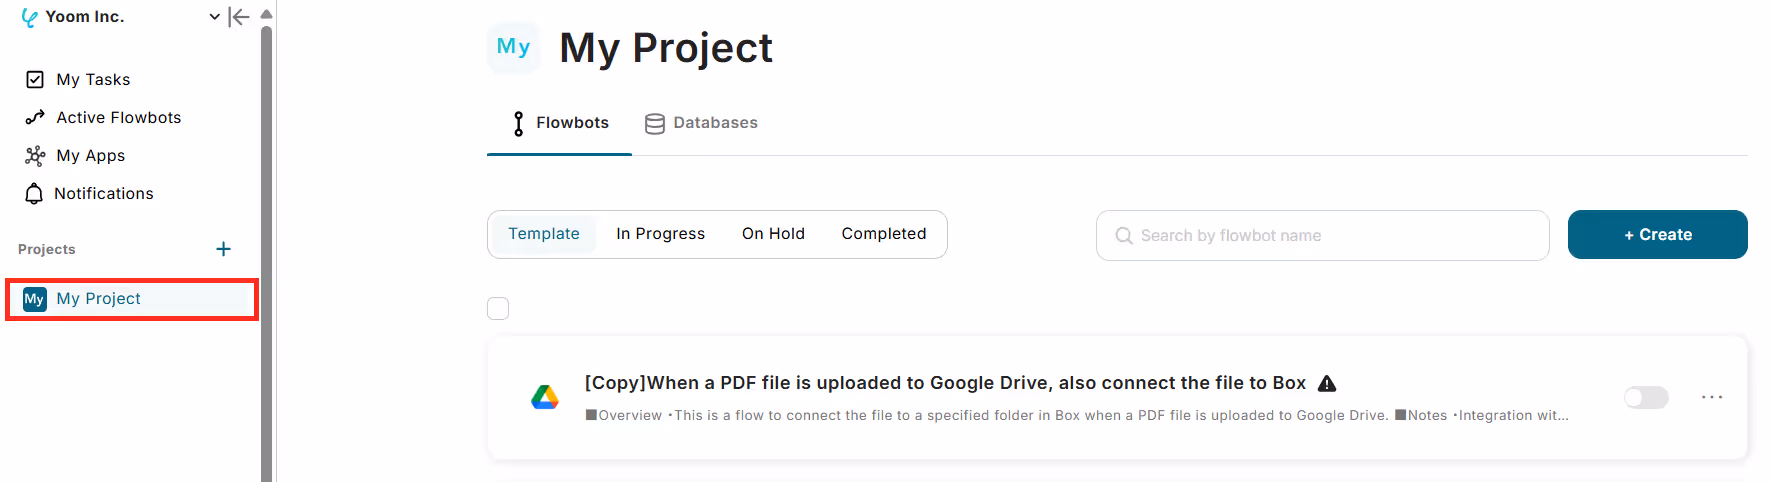
Once the My Apps registration is complete, click "My Project" on the left side of the screen.
↓
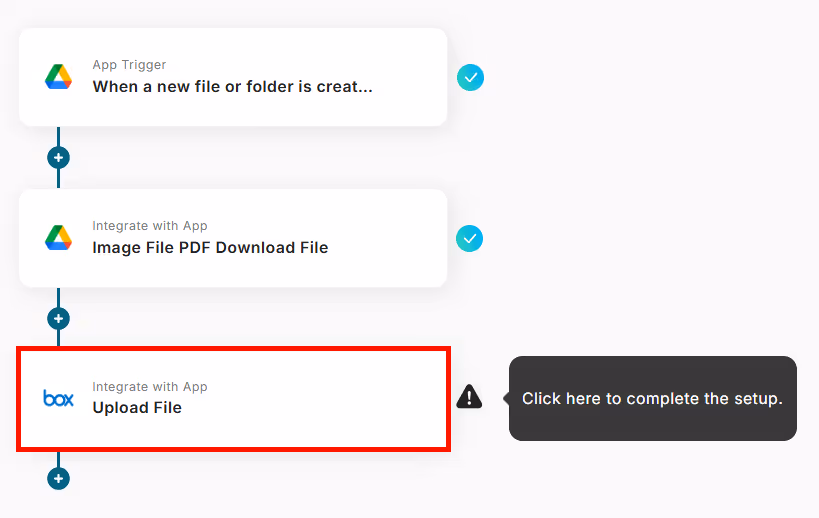
Click "[Copy]When a PDF file is uploaded to Google Drive, also connect the file to Box" in My project.
↓
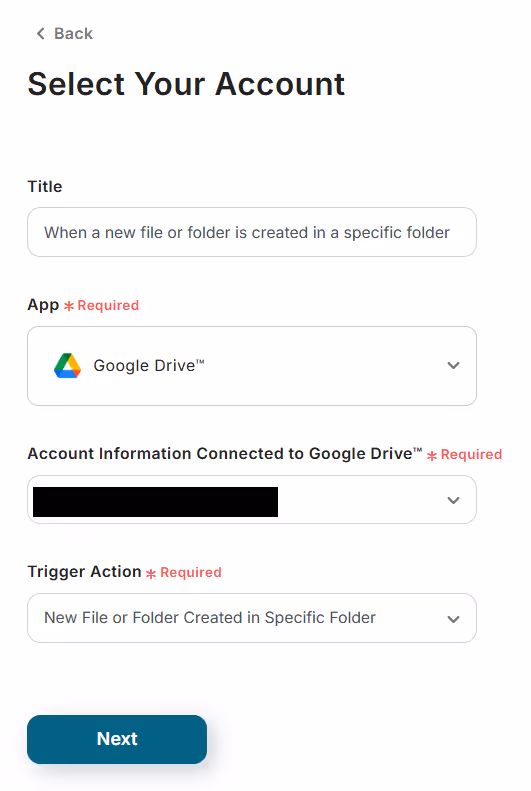
Press "When a new file or folder is created in a specific folder" with the Google Drive logo.

↓
Select the account information to be linked.
Then, change the "Trigger Action" at the very bottom to anything you like!
This time, I set it to "new file or folder created in specific folder".
↓
Press Next and set the trigger interval and folder ID.
Once you have finished entering, click Test just below!
* You can select the trigger interval from 5 minutes, 10 minutes, 15 minutes, 30 minutes, or 60 minutes. The shortest trigger interval varies depending on the plan. A shorter setting is generally recommended.
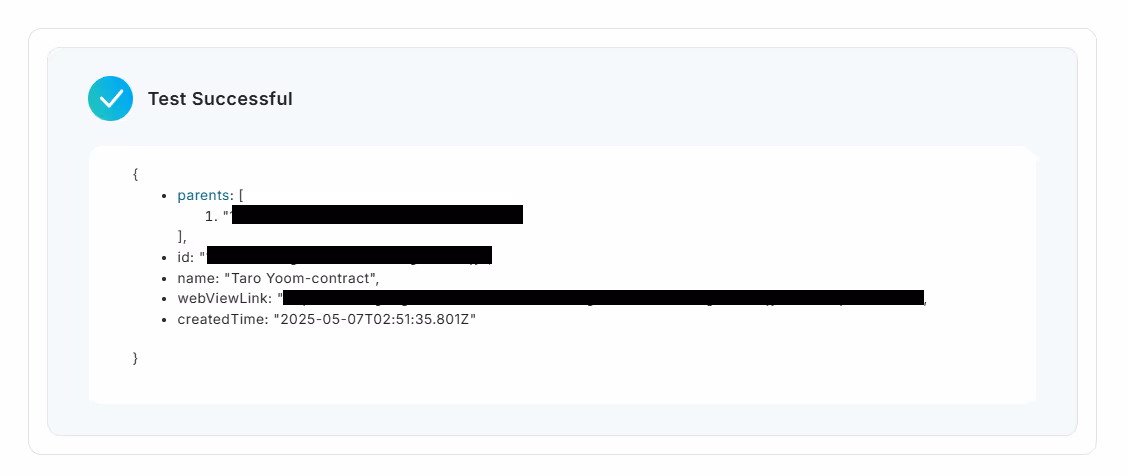
If it shows Test Successful in blue like the image, press Save.
The trigger settings are now complete. Let's move on quickly!!
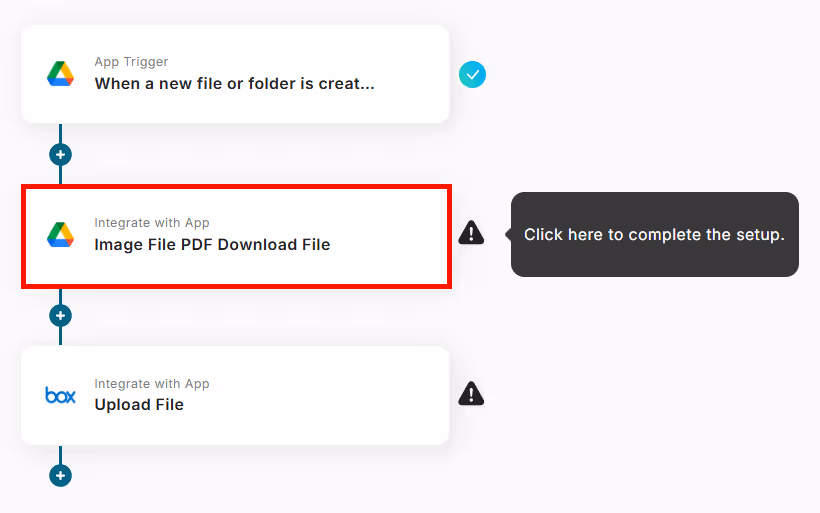
[Google Drive Settings]
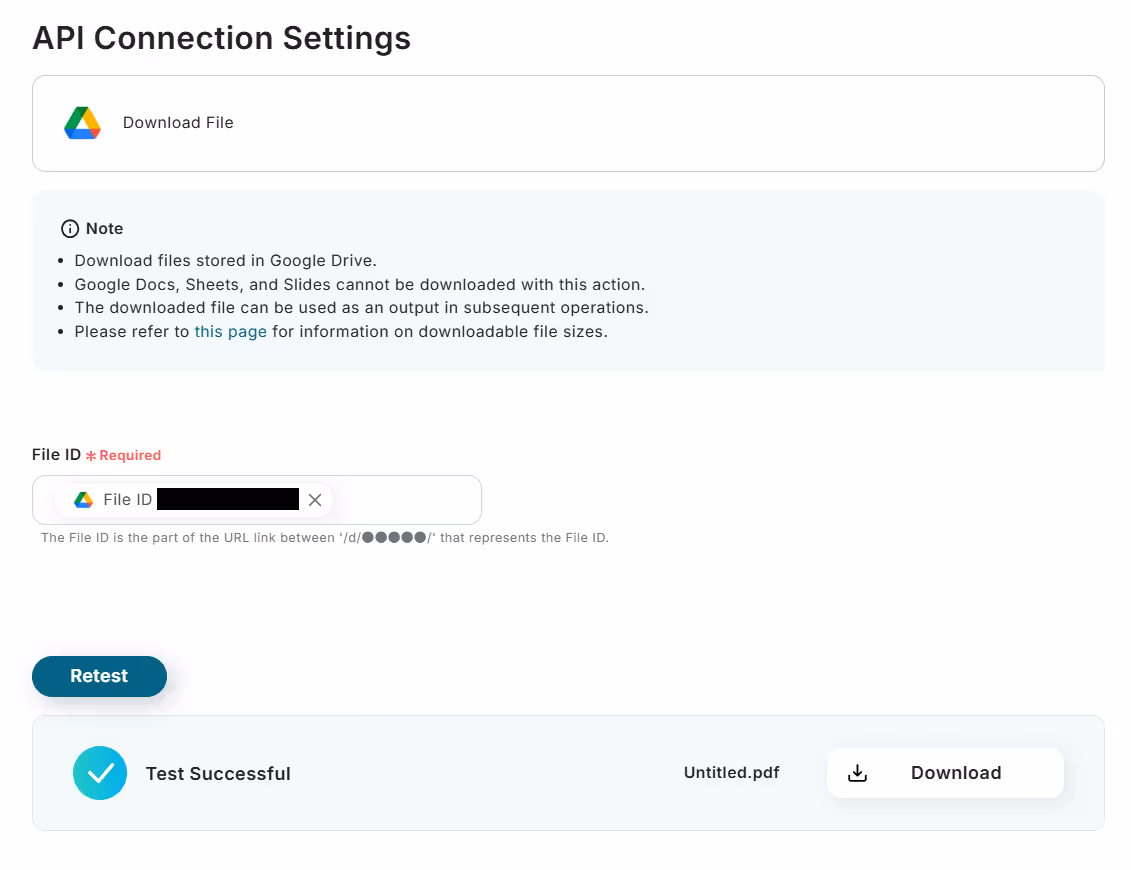
Click ”Image File PDF Download File" with the Google Drive logo!
↓
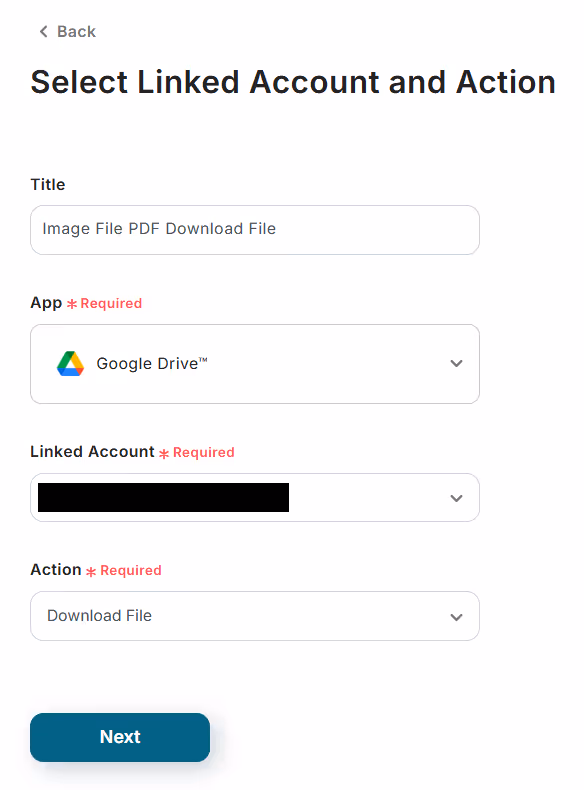
Select the account information to be linked.
Change the "Action" at the very bottom to anything you like.
Here, I left it as "Download File"!
↓
Press Next, and you will see "File ID" entered in the File ID section, so just press Test as it is.
If it shows Test Successful in blue like the image, press Save.
Next is the last setting. Fast...! It's fast!!
[Box Settings]
Finally, let's set up Box.
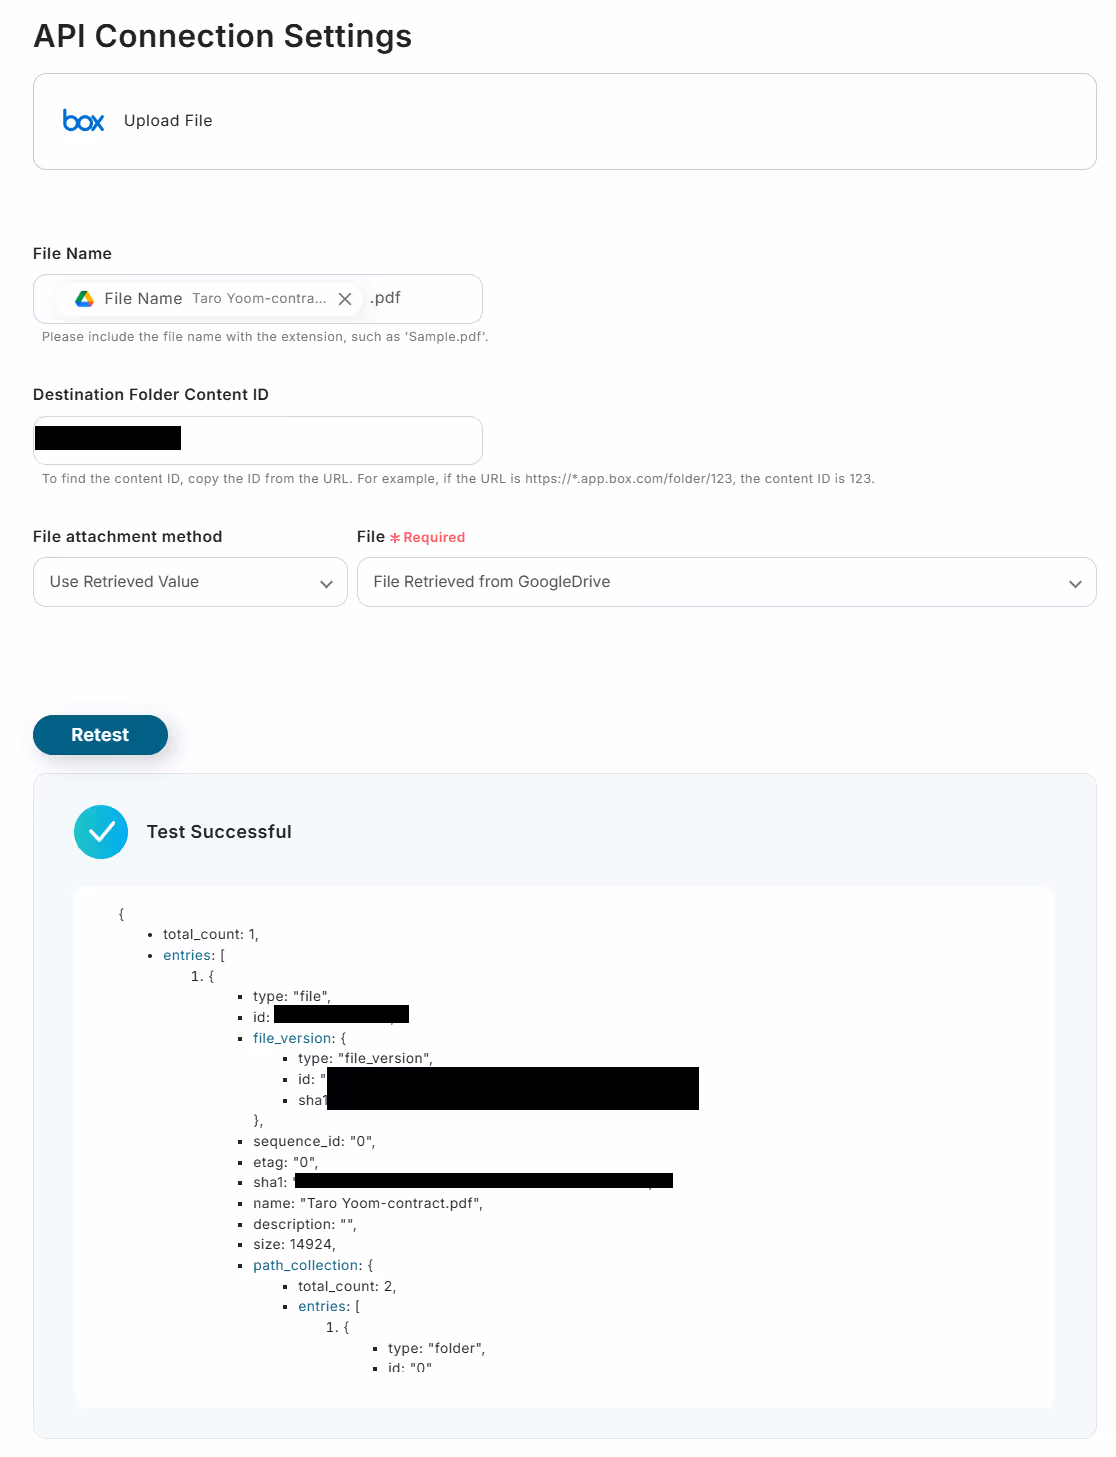
Click "Upload File" with the Box logo.
↓
Select the account information to be linked. Set the "Action" at the very bottom to "Upload File."
↓

Press Next, and you will see a screen to enter the file name, destination folder content ID, file attachment method, etc., but you only need to change the destination folder content ID.
Create a folder to upload files to Box, and copy & paste the content ID of that folder.
Click Test just below, and if it shows Test Successful in blue like the image, press Save!
[Automatically Uploaded to Box!]
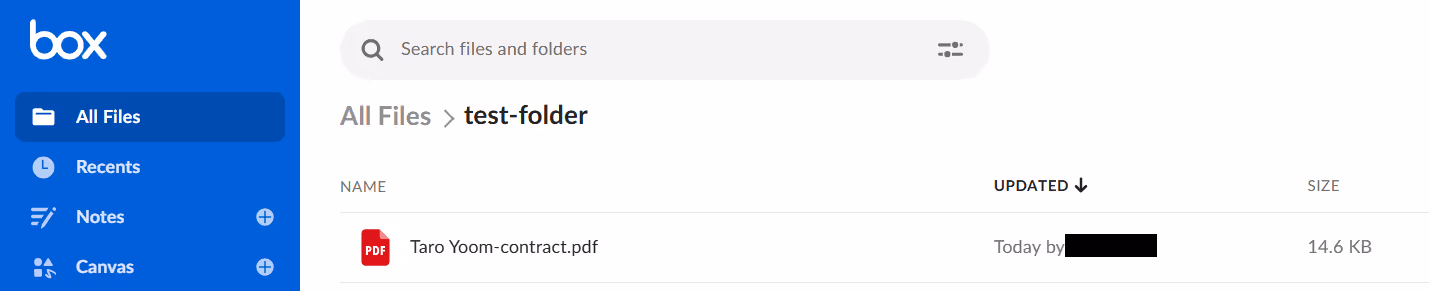
This concludes the creation of the Flowbot. Thank you for your hard work!


.avif)
.avif)


