


You can set up this automation in the following 3 steps.
- Connect your Calendly and Gmail accounts with Yoom
- Set up a trigger to activate when an appointment is scheduled
- Set up an action to send an email
By integrating Calendly and Gmail in this way, sending materials becomes easier.
Don't worry if you think, "But automation settings are complex and difficult, so it seems out of reach for me..."
With Yoom, you can easily set up automation without any coding.
Even if you're not good with machines, Yoom provides templates, so you can feel at ease.
If you haven't used Yoom before, please register for free here.
If you are already using Yoom, make sure to log in.
Step 1: How to connect Calendly and Gmail accounts with Yoom
Register your Calendly and Gmail with Yoom as My Apps.
By registering as My Apps, setting up automation becomes easier.
First, let's register Calendly as a My App.
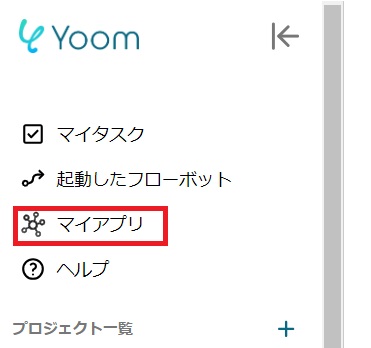
On the left side of the screen, go to "My Apps" → "New Connection".
Find Calendly from the list of apps or search for it using "Search by App Name".
When the following screen appears, please log in to Calendly.

Next, register Gmail as a My App, and select Gmail in the same way as before.
When the following screen appears, please log in to Gmail.

Once the My App registration is complete, Calendly and Gmail will appear in your My Apps section.
Step 2: Setting up a trigger to activate when an appointment is scheduled in Calendly
Move on to setting up automation, and click "Try it" in the banner below.


.avif)
.avif)


