When you click the banner, you will be redirected to the Yoom template site.
Scroll down the screen and click "Try this template".

Then, the attached image will be displayed, so please click OK.
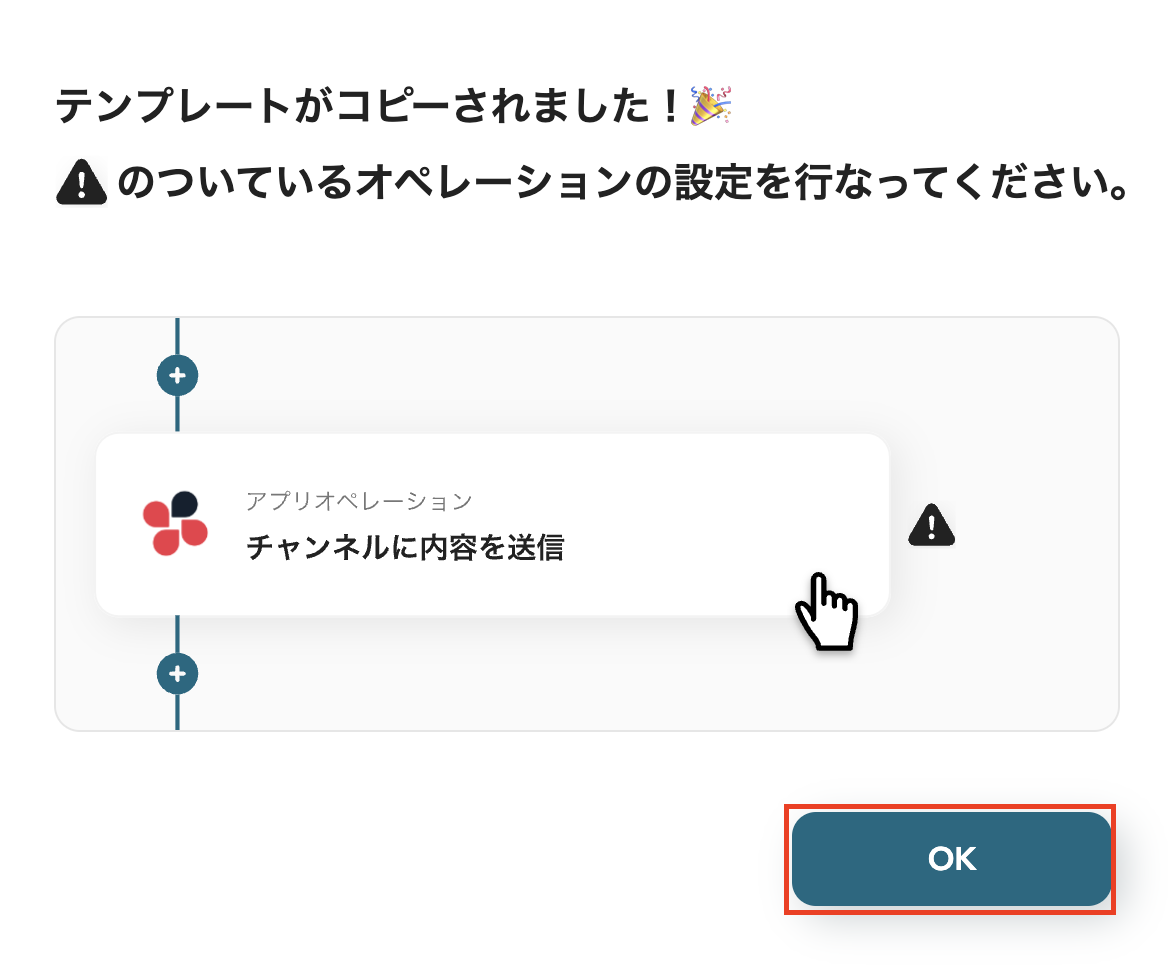
This completes the copy of the template.
The copied template is saved in My Projects on Yoom.
Step 1: Integrate CollaboFlow and Backlog with My Apps
Next, register CollaboFlow and Backlog as My Apps and integrate both apps.
1. Integrate CollaboFlow with Yoom
First, integrate CollaboFlow.
Click My Apps at the top left of the Yoom workspace and select New Connection.

Search for CollaboFlow in the new connection of My Apps and click it.

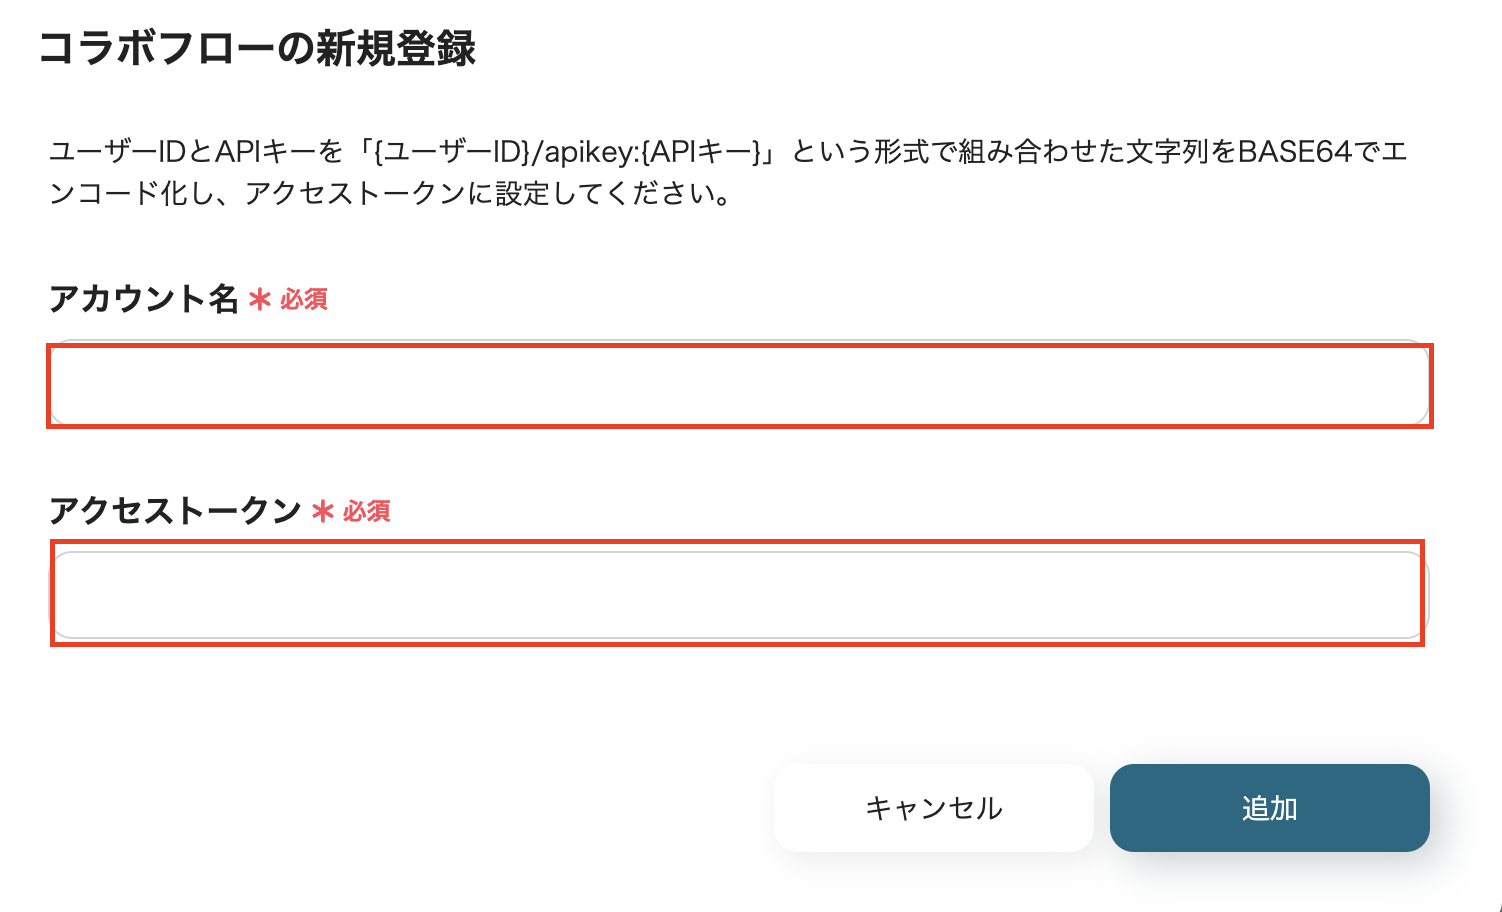
Enter the account name and access token.
For BASE64 encoding, search for "Base64 encode" and use a tool that can handle it.
For more information on BASE64 encoding, please check here.
2. Integrate Backlog with Yoom
Similarly, click My Apps at the top left of the Yoom workspace and select New Connection.

Search for Backlog in the new connection of My Apps and click it.

Enter the domain.
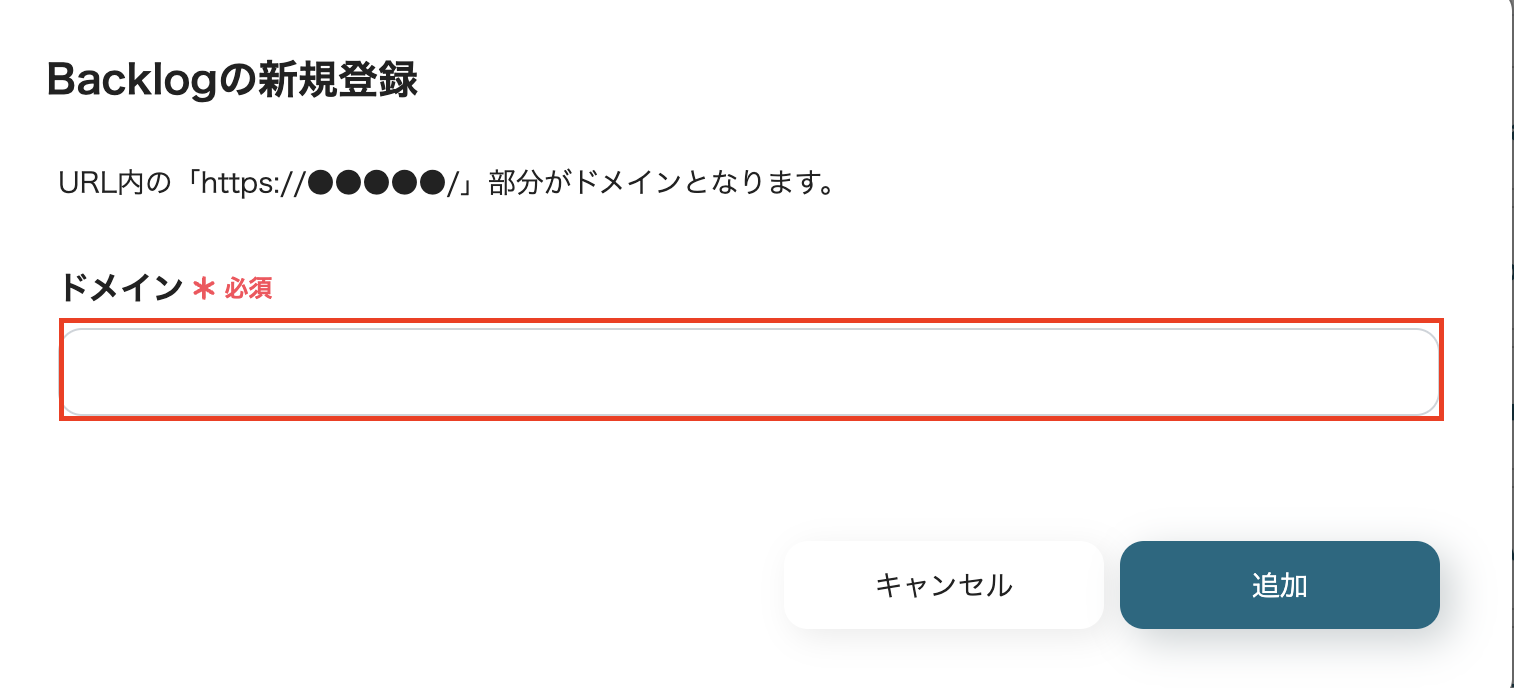
If you fail to integrate the Backlog app, please check here.
Step 2: Set CollaboFlow Triggers
Let's proceed to the Flowbot settings!
First, click on the item "When a Webhook is received from the route"!
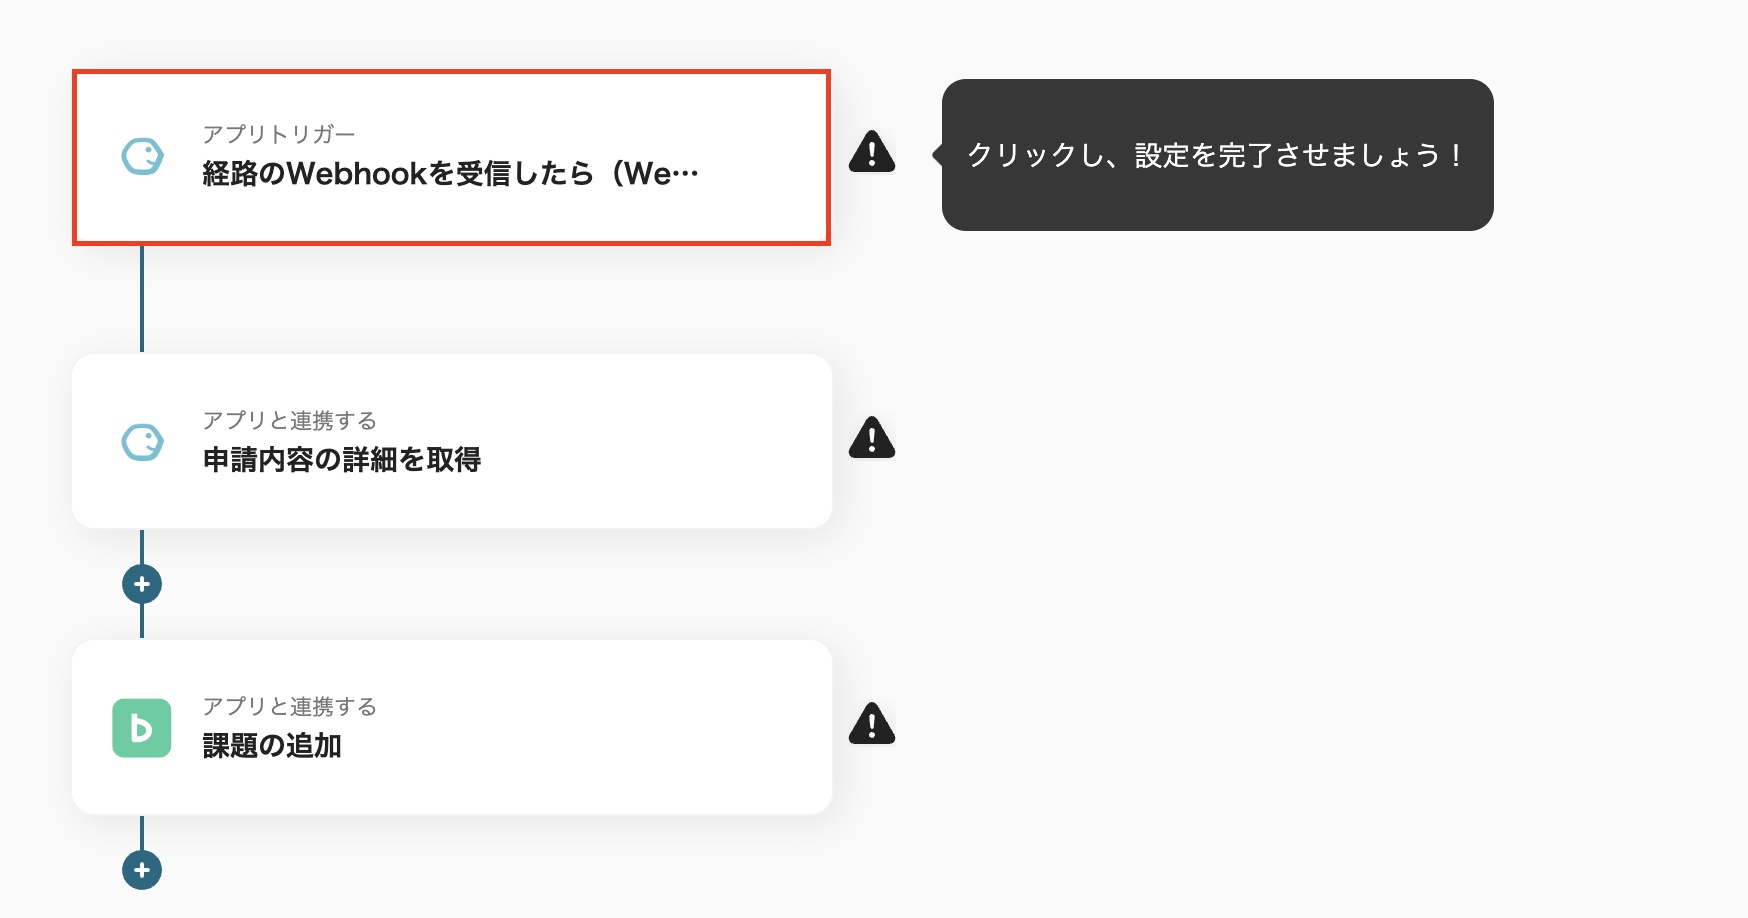
1. Select the Integrated Account and Action
・You can change the title.
・Check the account information to be integrated with CollaboFlow and click "Next".
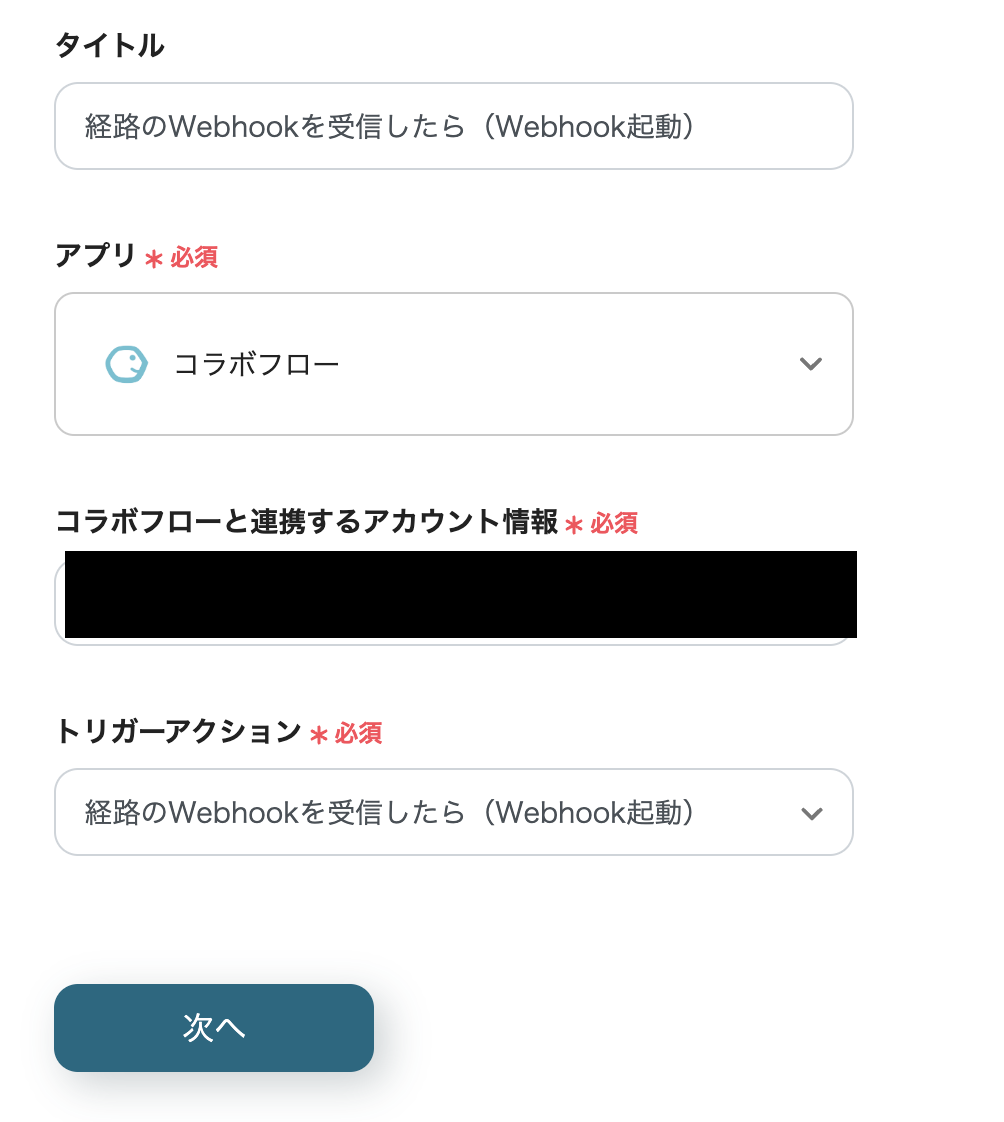
2. Set Webhook Event Reception for App Trigger
・Copy the Webhook URL and set it in the CollaboFlow management screen.
・Execute the Webhook event and click Test.
・For instructions on setting up Webhooks in CollaboFlow, please check here.

・If the test is successful, the information from CollaboFlow has been obtained as output.
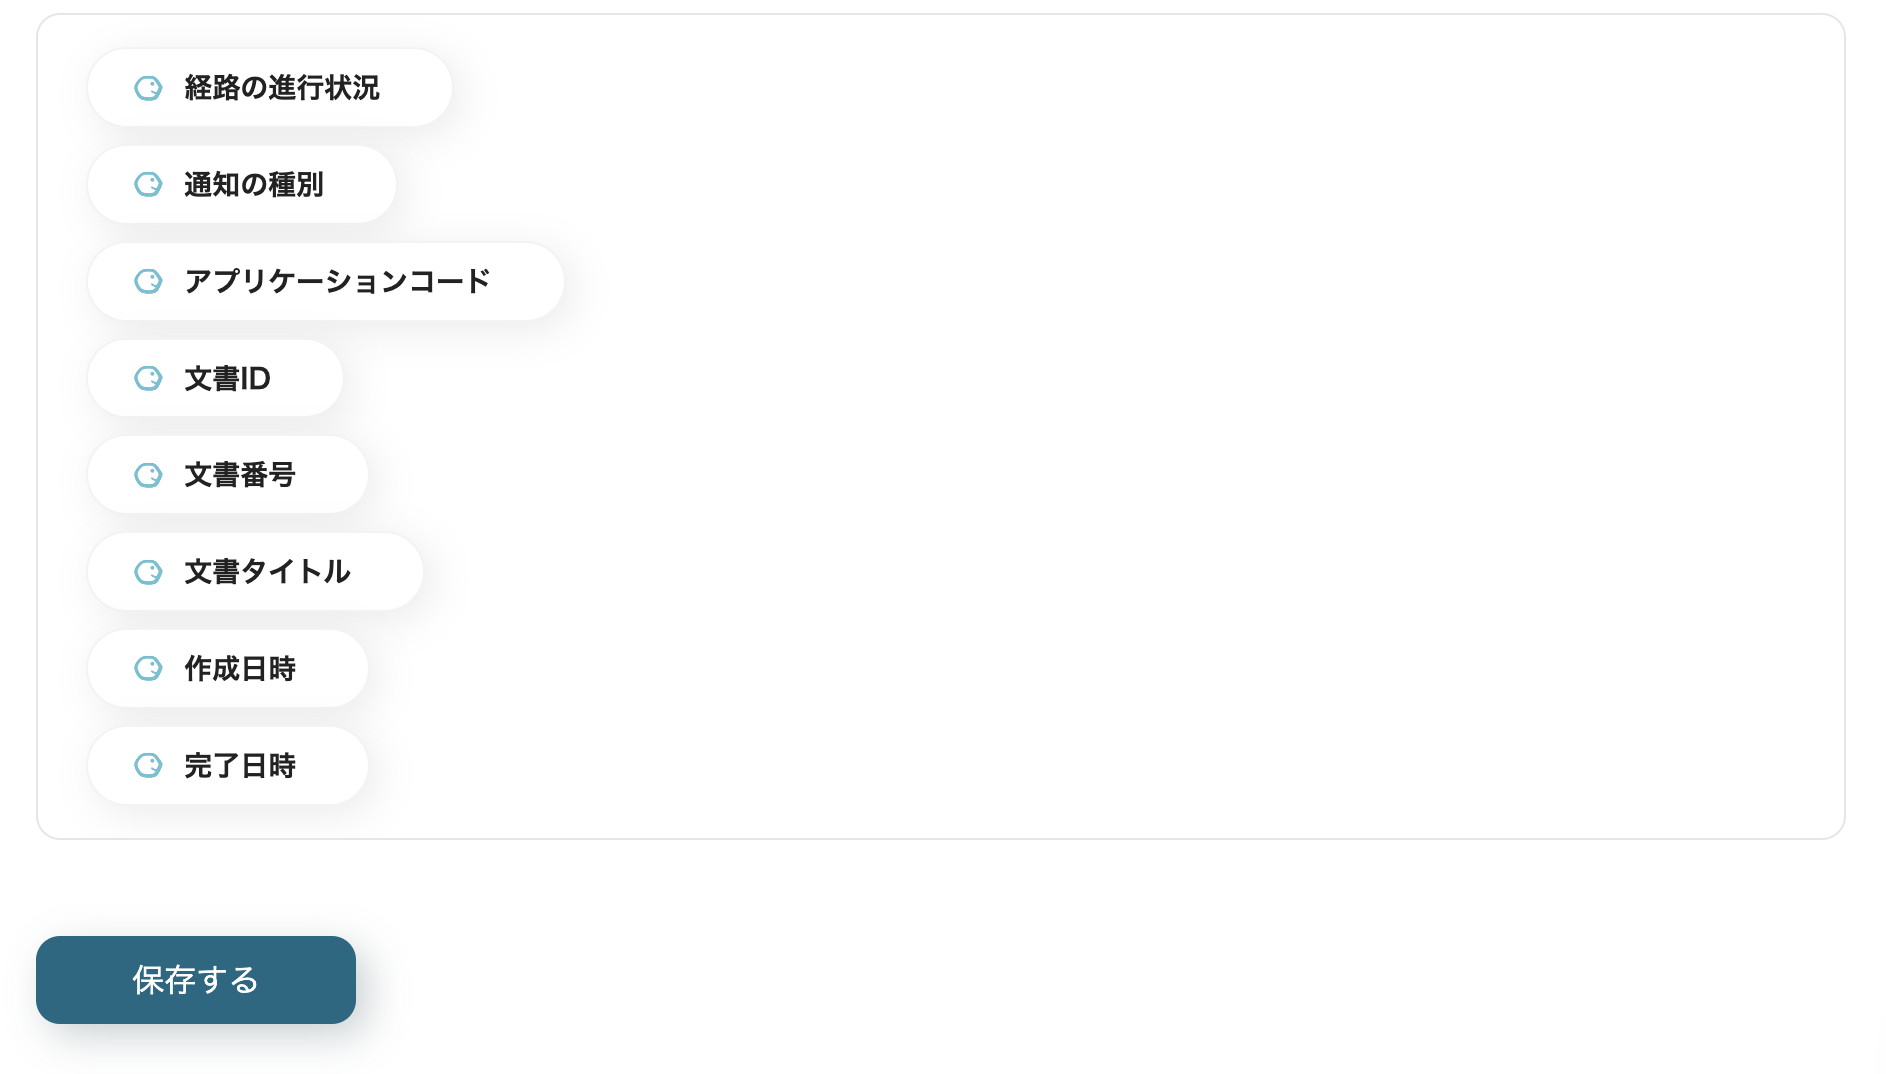
Once you have done this, save it.
Step 3: Set CollaboFlow Actions
Next, let's set up "Get Application Details".
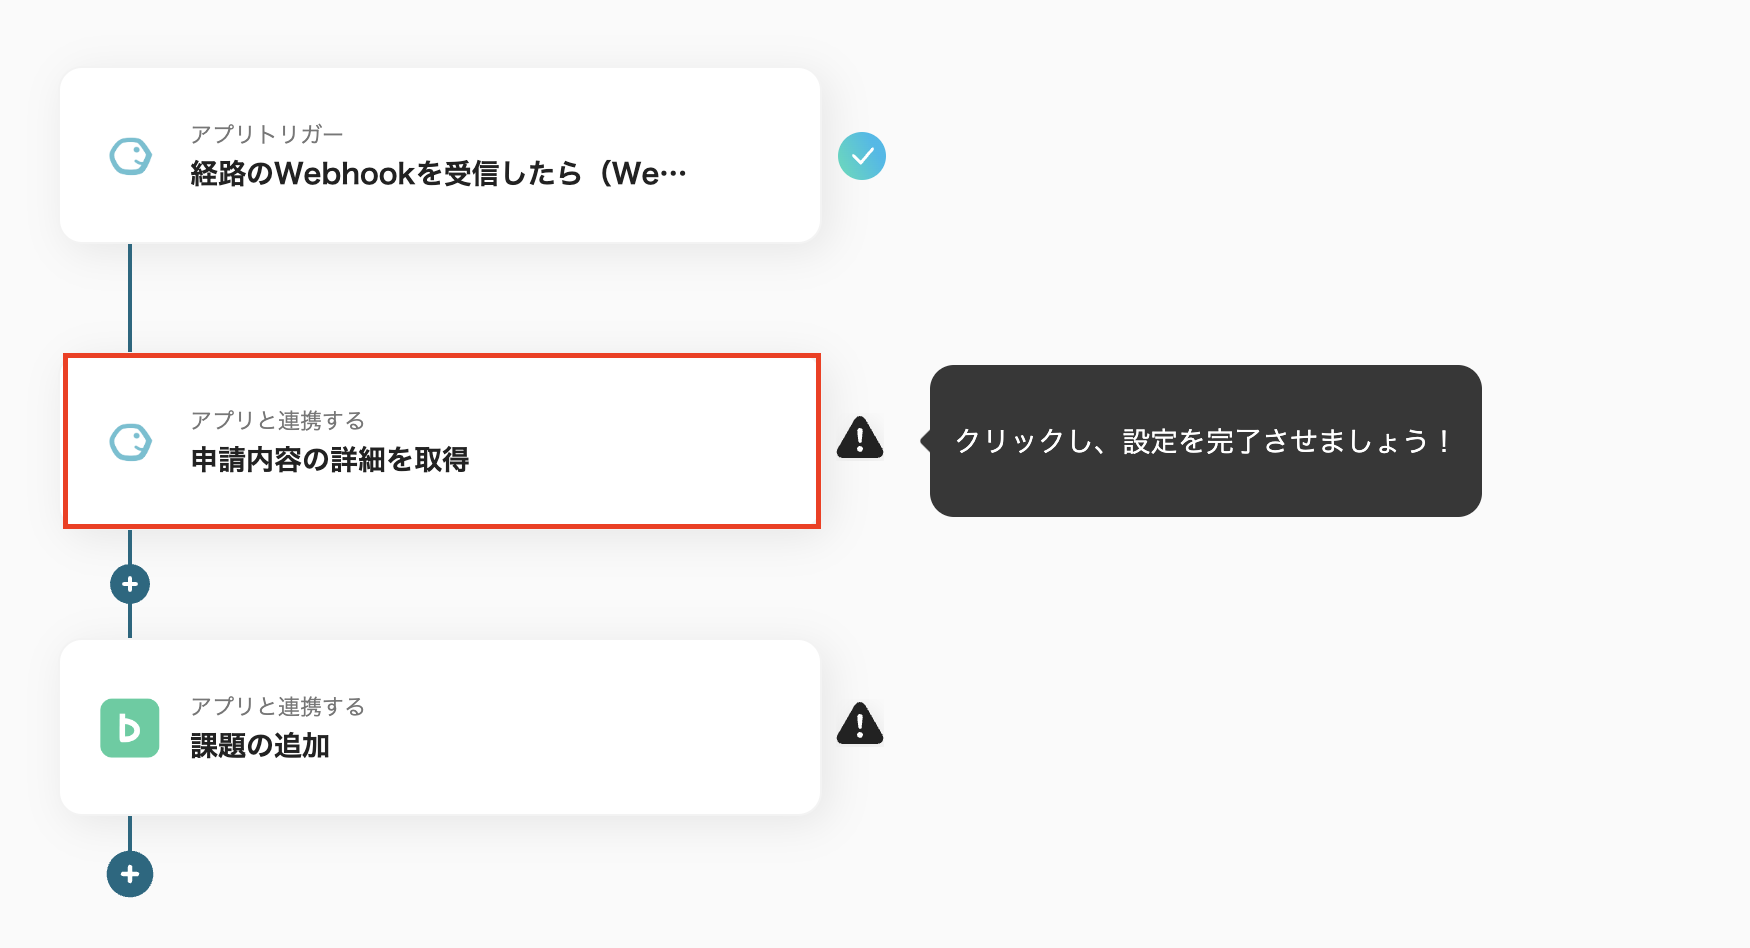
1. Select the Integrated Account and Action
・You can change the title.
・Check the account information to be integrated with CollaboFlow and click "Next".
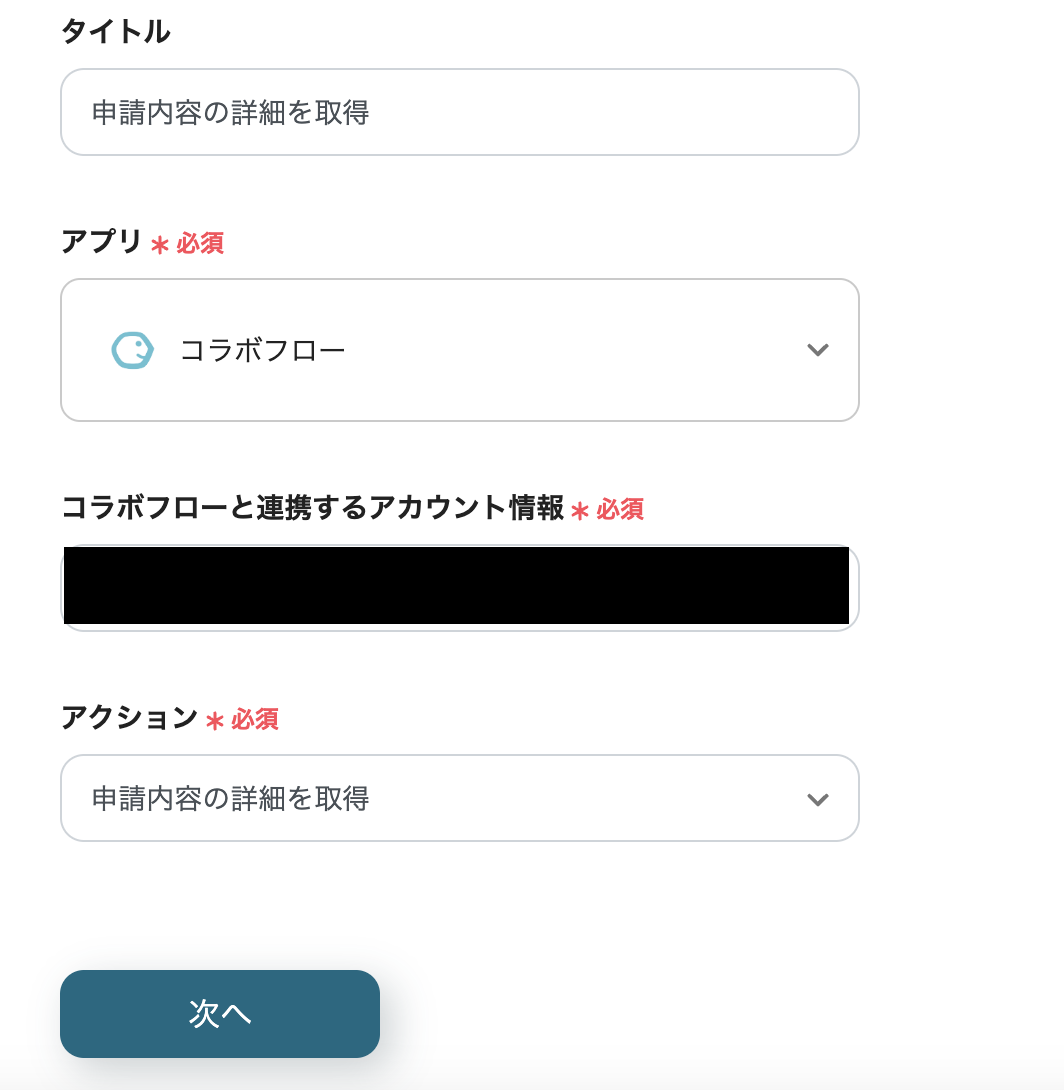
2. API Connection Settings
・Set the instance name, application code, and document ID.
・Select the document ID obtained in "When a Webhook is received from the route" from the output.
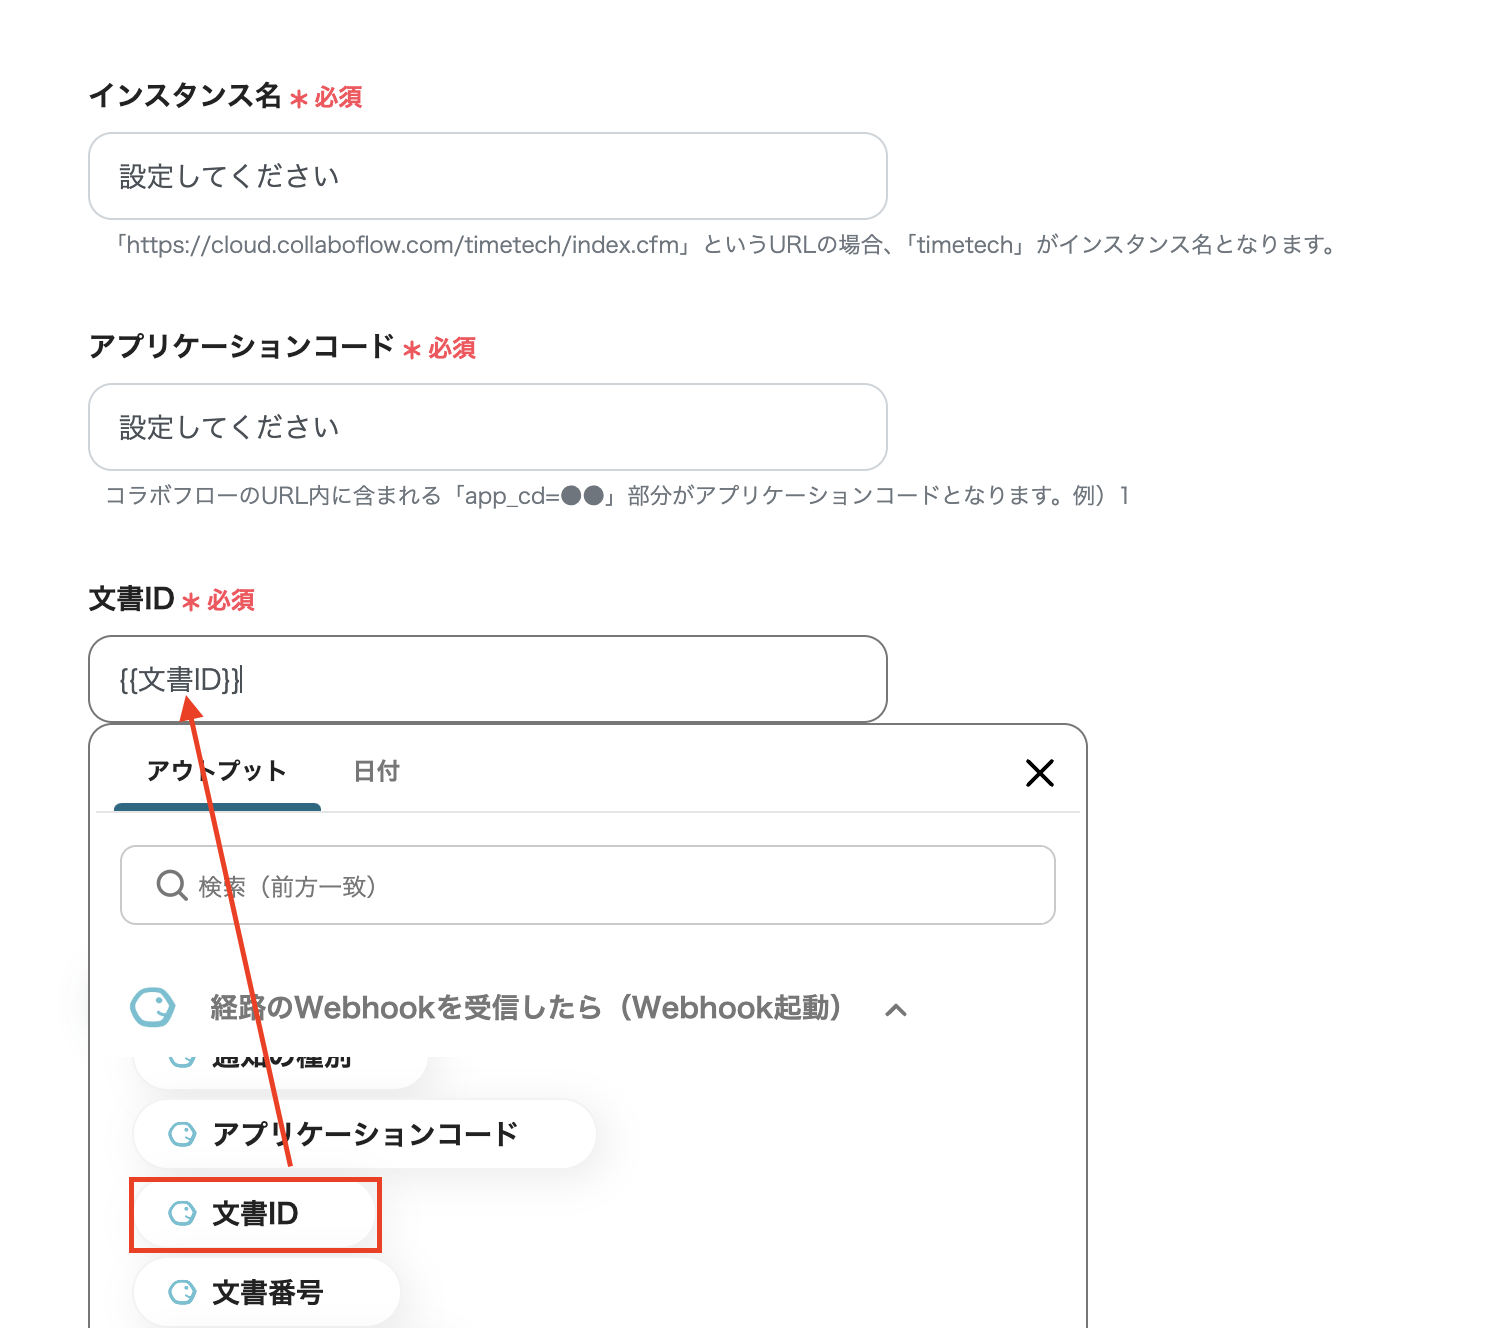
・Once you have entered the information, click Test and save it if the output is obtained.
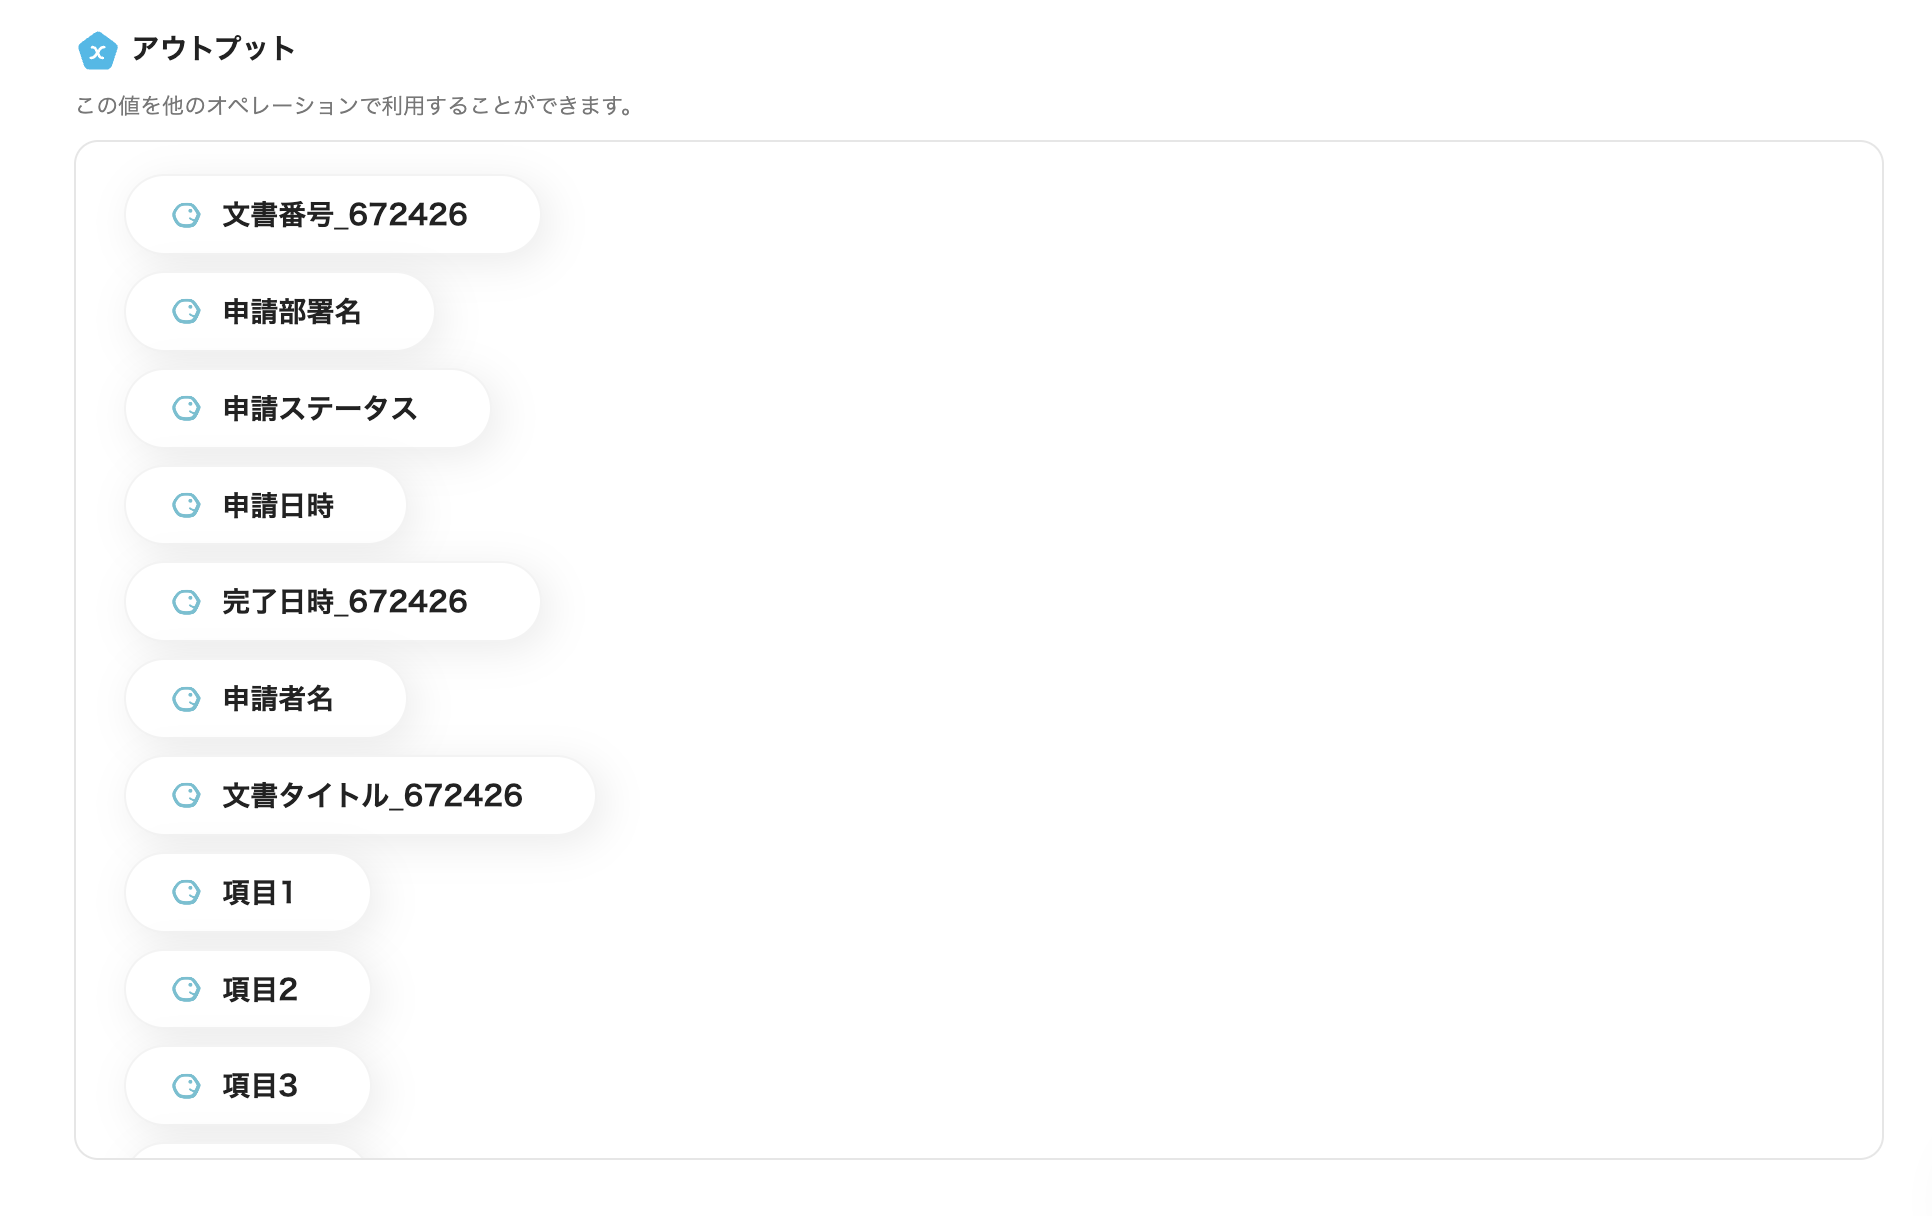
Step 4: Set Backlog Actions
This is the last item!
Click "Add Issue" to set it up.
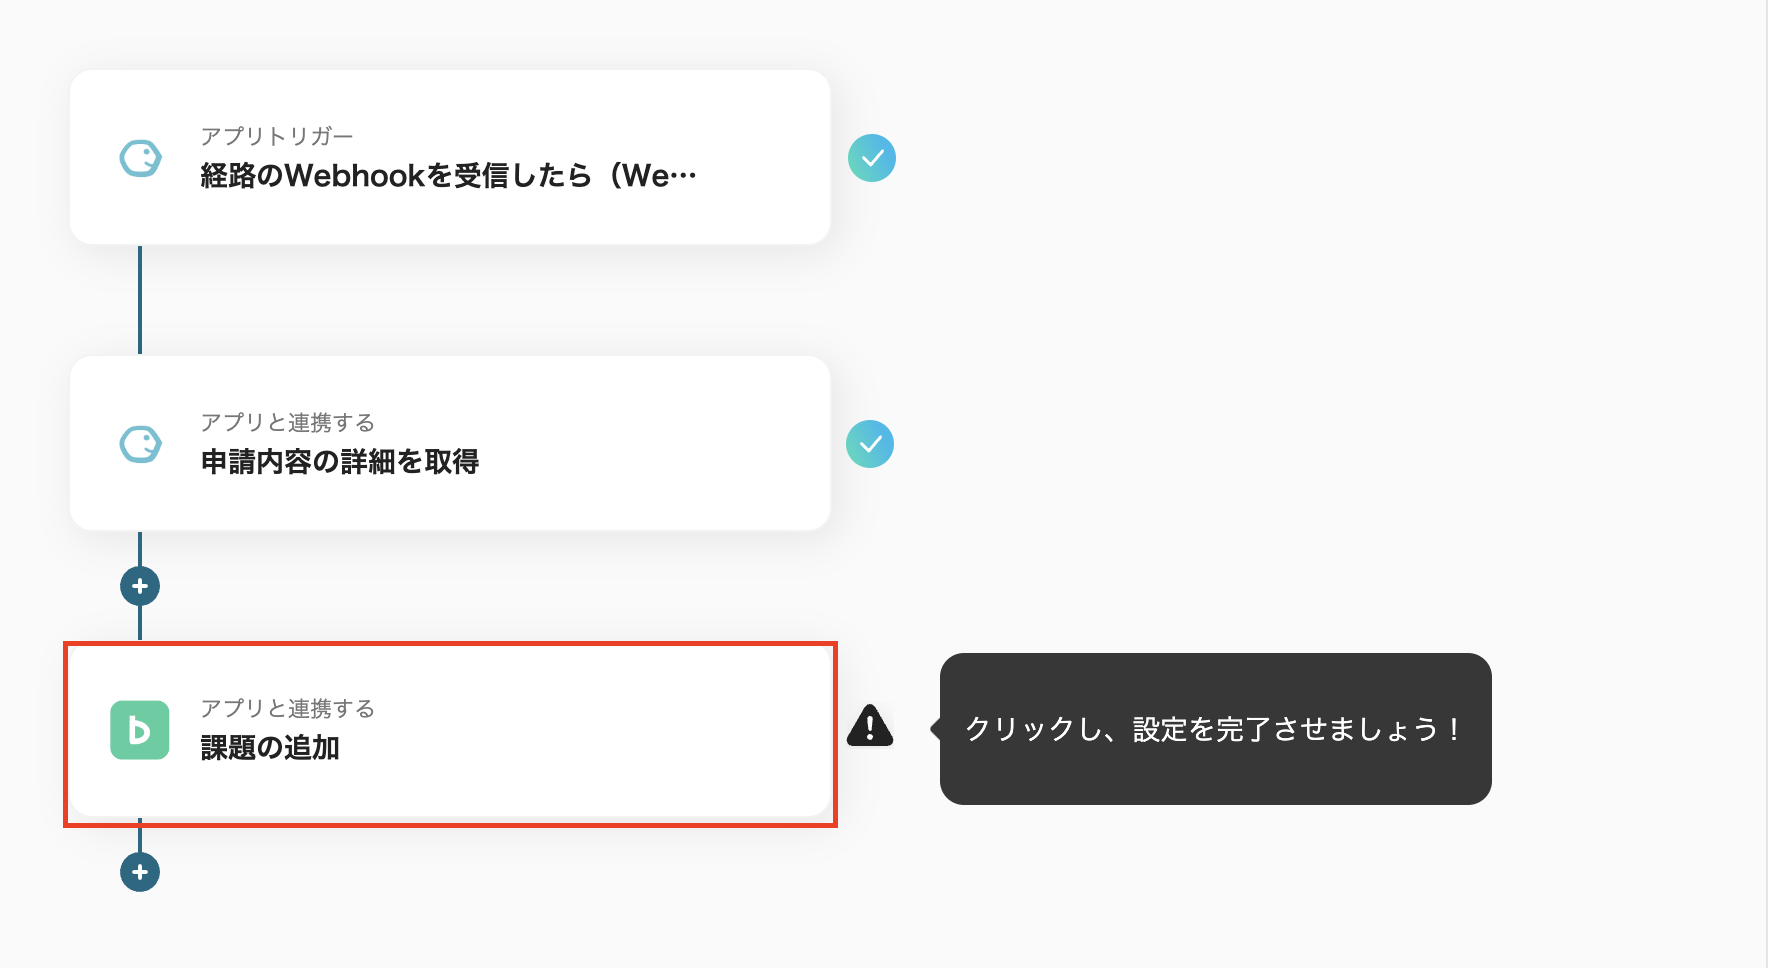
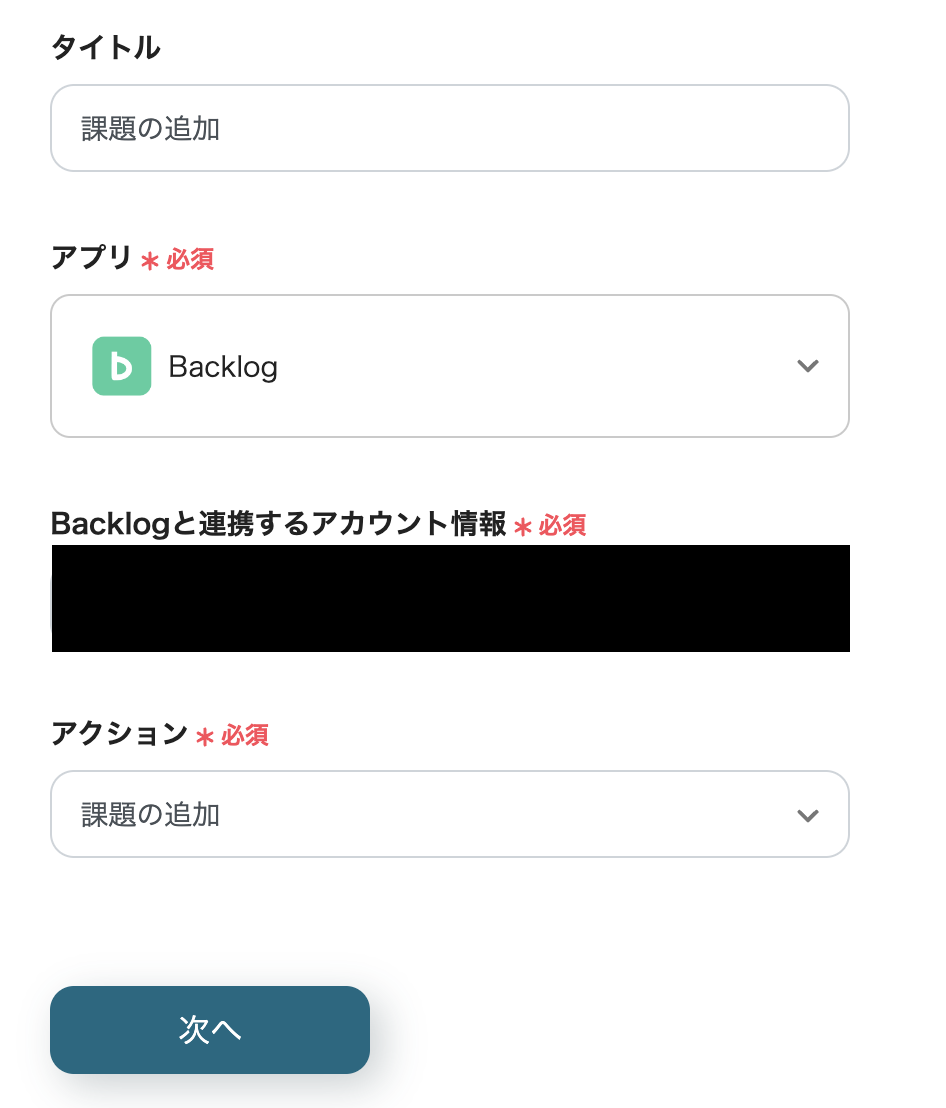
1. Select the Integrated Account and Action
・You can change the title.
・Check the account information to be integrated with Backlog and click "Next".
2. API Connection Settings
・Enter the domain, project ID to register the issue, and issue type ID.
・Select the output for the issue subject as shown in the attached image.
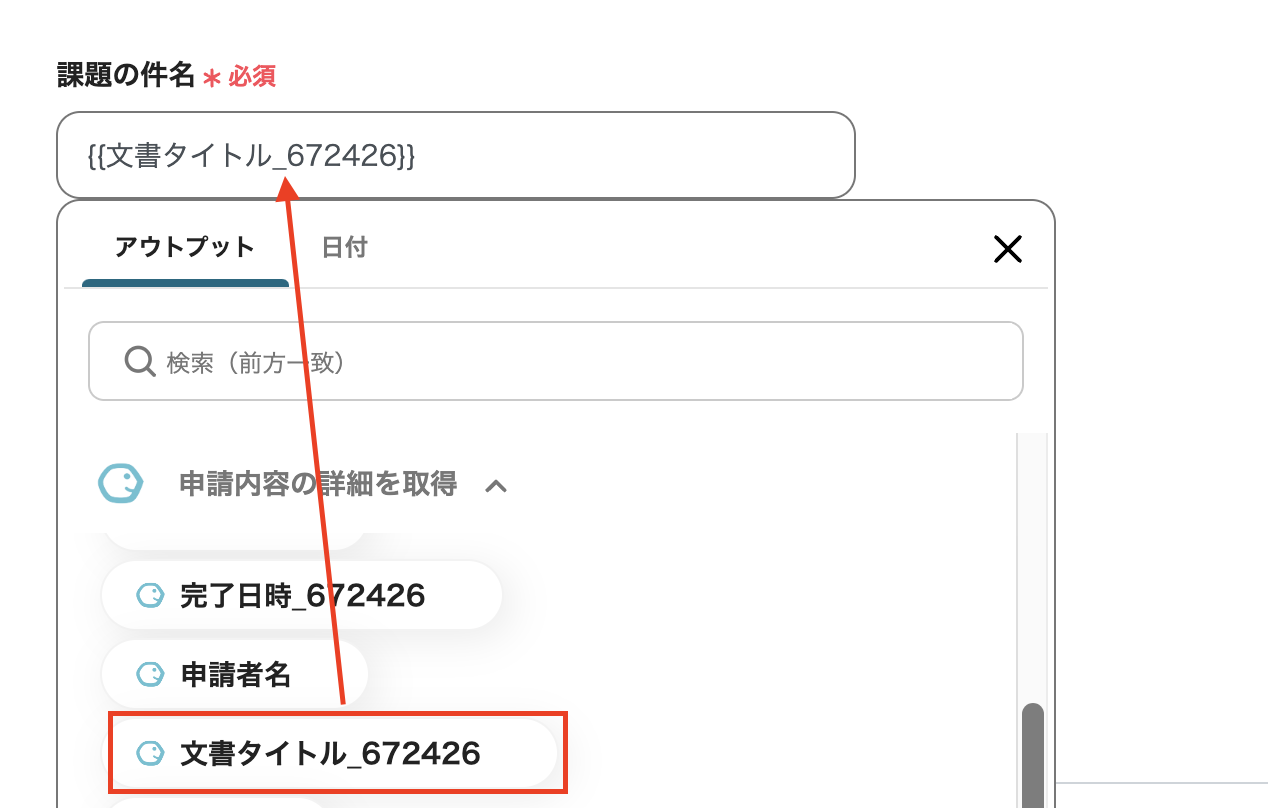
・Select the priority of the issue from the dropdown menu.

Once you have set this up, run the test and save it.
Then, a message saying "All settings are complete!" will appear, so select Trigger ON.
This completes the Flowbot.


.avif)

.avif)
.avif)


