[Simple Setup] How to Automatically Link Gemini Data to Gmail
How to Integrate Applications
・
2025-05-20
[Simple Setup] How to Automatically Link Gemini Data to Gmail
s.kinjo-
Have you ever thought about integrating Gemini with Gmail to make your work smoother? For example, if you could automate the creation of reply messages and the sending of summarized documents, it would reduce the burden of creating messages, which can be surprisingly time-consuming. Especially when you need to organize a lot of information before sending an email, creating a message from scratch with all the necessary data can sometimes be time-consuming.
In such cases, we recommend integrating Gemini with Gmail! By integrating the data, you can automatically utilize Gemini and even automate the email sending process.
In this article, we will introduce various automation methods, focusing on a convenient flow where the content answered in a form is summarized in Gemini and notified to Gmail. We will explain in detail how to set it up easily, so please use it as a reference!
For those who want to try it quickly, you can easily integrate Gemini and Gmail without any code by using Yoom.
Yoom provides templates for integrating Gemini and Gmail in advance, so you can achieve integration immediately by simply registering, even without knowledge of APIs.
What You Can Do by Integrating Gemini with Gmail
By integrating the APIs of Gemini and Gmail, you can automatically link Gemini's data with Gmail! For example, you can automatically perform data integration like the following without human intervention.
Summarize Form Responses in Gemini and Notify via Gmail
Automatically summarize the form responses in Gemini and notify the summary results via Gmail. This will help eliminate the manual effort of organizing information and sending emails, significantly improving work efficiency.
Automatically Generate Responses with Gemini and Reply via Gmail Based on Google Form Information
By utilizing Gemini to create response content and send emails, you can quickly handle initial inquiries and other communications, potentially improving customer satisfaction.
Analyze images uploaded to Google Drive with Gemini and notify the content via Gmail
This flow automates the analysis of images uploaded to Google Drive using Gemini and the notification of analysis results via Gmail. Additionally, by promptly analyzing and notifying after the image upload, information sharing and response become smoother.
Let's Create a Flow to Integrate Gemini and Gmail
Let's get started by creating a flow that integrates Gemini and Gmail! This time, we'll use Yoom to proceed with the integration of Gemini and Gmail without any coding. If you don't have a Yoom account yet, please create one using this registration form.
[What is Yoom]
This time, we will create a flow bot that "summarizes the content answered in a form with Gemini and notifies it via Gmail"! The creation process is broadly divided into the following steps.
Integrate Gemini and Gmail with My Apps
Copy the template
Set up the form trigger and configure Gmail actions
Turn on the trigger and prepare for flow operation
Step 1: Register Gemini and Gmail as My Apps
1. Please register Gemini and Gmail as My Apps to connect them to Yoom. By completing the My App registration in advance, you can smoothly proceed with the automation settings.
First, let's register Gemini as a My App. Click "My Apps" → "+ Add" on the left side of the Yoom screen.
Search for Gemini from the list of apps or use the search function to find it.
2. Let's register Gemini as a My App.
Enter any name for the account name.
Obtain the access token from Gemini's API key here and enter it.
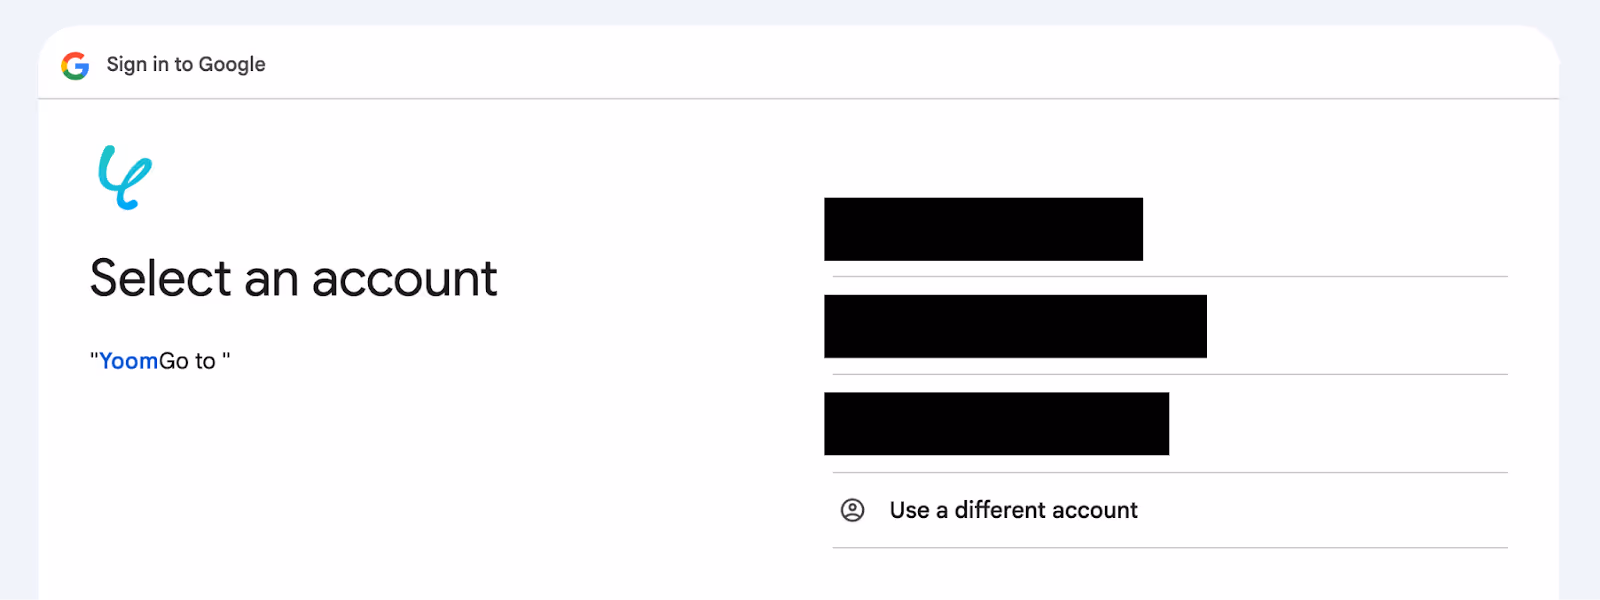
3. Next, register Gmail as a My App. Click Gmail from the new connection list in Yoom and sign in, just like in (1).
Select your Google account and click "Next".
When the following screen appears, click "Continue".
Once each is registered as a My App in Yoom, the integration is complete!
Step 2: Copy the Template
1. To set up automation, click "Try it" on the banner below.
2. Read the screen display below and click "OK".
Step 3: Set Form Trigger Action
1. Let's finally start setting up the flow! First, click "Form".
After setting according to your needs, click Next.
4. Confirm form display and detailed settings
Set the answer sample for the input form to the obtained value. This will be used later as an output, so check the data.
Once confirmed, click "Save".
Step 4: Set Gemini Action
1. Next, click "Generate Content".
2. The following screen will be displayed, so check the settings and press "Next".
"Title" → Can be freely changed
"App" → Gemini
"Account information linked with Gemini" → Check for discrepancies in the account
"Action" → Generate Content
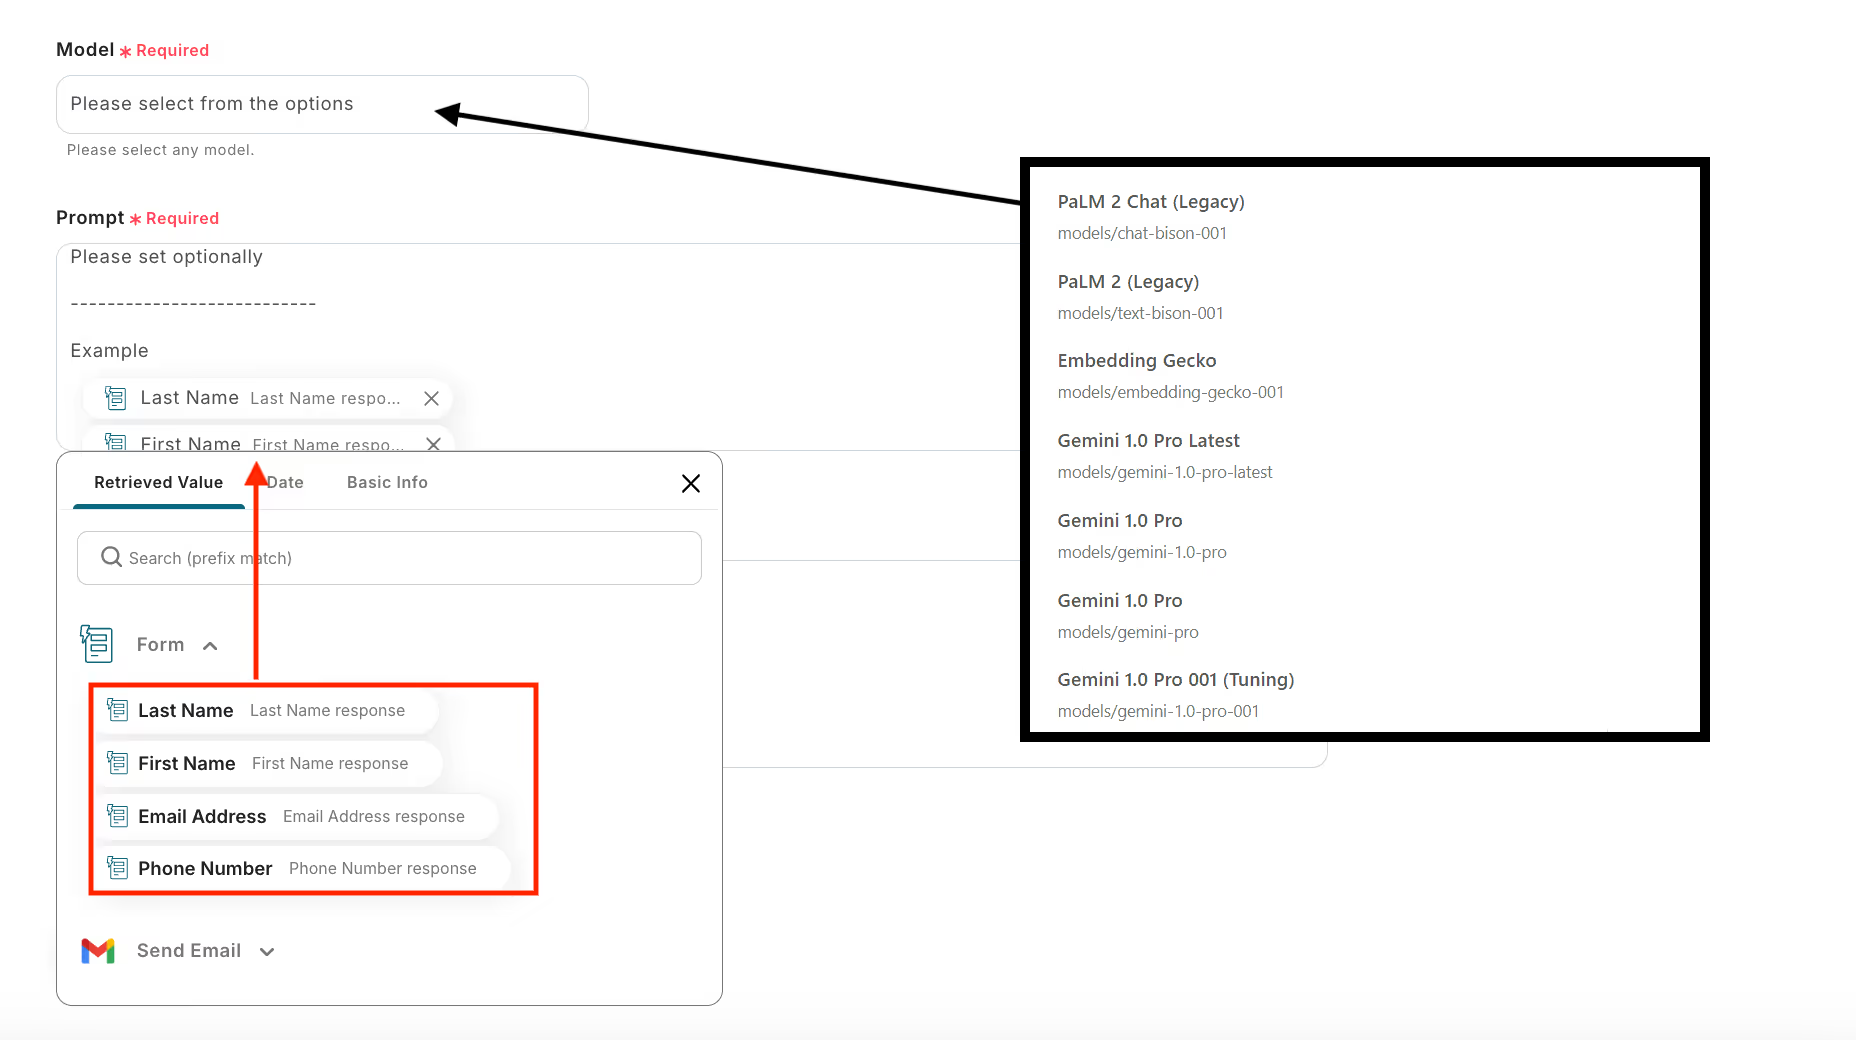
3. Select any "model" from the candidates.
4. For the prompt, we want to set the text to be summarized, so select "Questions" obtained from the form trigger from the output.
If you enter text without using the output, the same content will be summarized repeatedly, so be careful! ※ For details on the summarization operation, please check the help page here.
5. Set any "systemInstruction" as follows.
6. After setting, execute "Test"!
Scroll down to see the output. This will also be used to configure Gmail, so verify the data. Click Save when you're done.
Step 5: Set Notification to Gmail
1. There are only a few settings left!
2. The following screen will be displayed, so check the settings and press "Next".
"Title" → Can be freely changed
"App" → Gmail
"Account information linked with Gmail" → Check for discrepancies in the account
3. Scroll and enter the following items.
"From" → If not set, emails will be sent from the main address of the account linked with Gmail. ※ If no candidates are displayed, please re-link My Apps.
"To" → Enter the recipient's email address.
Please enter other items according to your needs!
"Subject" → Enter any subject
"Body" → Can be selected from any content and output.
4. After entering, proceed to "Next"!
5. On the following screen, click "Test" → "Test Successful" → "Save"!
Check if the email has actually arrived at the Gmail account you sent it from.
Step 6: Set Trigger to ON and Complete Flow Operation Preparation
Finally, click "Turn on the trigger" to complete the automation settings. Check if the flow bot is starting correctly.
Thank you for your hard work on the settings!
If you want to request a task from Gemini when an email is received in Gmail
This time, we introduced how to link data from Gemini to Gmail, but if you want to link data from Gmail to Gemini, please also use the template below!
When an email is received in Gmail, sort by importance in Gemini and request a task to the person in charge
By automatically analyzing and sorting emails received in Gmail, manual sorting work is no longer necessary. Automatic assignment to the person in charge according to the importance level should enable timely responses.
Create a Sticky Note in Miro When a Database is Updated in Notion
When new data is added or existing data is modified in Notion, a sticky note is automatically created in Miro. This should allow you to easily share information within your team and get an overview of project progress at a glance!
Other Automation Examples Using Gemini and Gmail APIs
By leveraging the APIs of Gemini and Gmail, various automations can be achieved! How about the following automations, for example?
Automation Examples Using Gemini
You can analyze the content posted in chat tools or summarize meeting information registered in databases.
Example of Automation Using Gmail
You can automatically create invoices and contracts and send them via Gmail, or automatically reply to inquiries.
Conclusion
We introduced how to automatically integrate data by linking Gemini with Gmail! By implementing automation using Gemini, you may be able to utilize AI more smoothly. This reduces the hassle of switching between tools, making it easier to rely on AI more than ever, and also saves the effort of creating email drafts one by one.
Additionally, this app integration can be easily achieved by utilizing Yoom, which requires no programming! Since you can smoothly implement automation without specialized knowledge like that of an engineer, it might be beneficial for beginners in app integration.
If you want to implement such automation, register with Yoom now! You can create a free account, allowing you to immediately check the actual usability! Please give it a try!
The person who wrote this article
s.kinjo-
I've worked in the internet media and customer support industry.
I work on a daily basis based on rational ideas such as improving efficiency.
We will deliver articles on how to smoothly proceed with a wide range of tasks using Yoom.
Conventional RPA can only automate simple repetitive tasks, and the setup process was very complicated. With “hyperautomation,” which combines various technologies such as AI, API, RPA, and OCR, it is possible to automate many tasks that could not be realized until now more easily than before.
Most tools simply connect one app to another, leaving the complex tasks to you. Yoom goes much further: From document creation and browser automation to OCR and generative AI, Yoom handles it all seamlessly in one platform.
Why settle for basic integrations? Streamline your entire workflow with Yoom’s powerful hyperautomation.


.avif)
.avif)
.avif)
.avif)


