GmailとGoogleカレンダーの連携イメージ
How to Integrate Applications

2024/07/19

How to Add Information to Google Sheets and Schedule an Event in Google Calendar When an Interview is Scheduled in Gmail

t.nakaya

そんなときにおすすめなのが、GmailとGoogleカレンダー、そしてGoogle スプレッドシートの連携です。
これにより、Gmailで受信した面談情報が自動でGoogleカレンダーとGoogle スプレッドシートに追加されます。
ここでは、3つのアプリをノーコードで簡単に連携する方法を解説するので、ぜひ試してみてくださいね!

こんな方におすすめ

  • GmailとGoogleカレンダー、Google スプレッドシートでの業務効率化を考えている方。
  • Gmailで受信した内容をGoogleカレンダーとGoogle スプレッドシートに記録している方。
  • GmailとGoogleカレンダー、Google スプレッドシートを連携して、予定の登録漏れを防ぎたい方。

今すぐに試したい方へ

本記事ではノーコードツール「Yoom」を使用した連携方法をご紹介します。
難しい設定や操作は必要なく、非エンジニアの方でも簡単に実現できます。
下記のテンプレートから今すぐに始めることもできるので、ぜひお試しください!

[What is Yoom]

How to Create a Flow Integrating Gmail and Google Calendar

Step 1: My App Integration

Register your Google Drive and LINE WORKS as My Apps.
(1) To integrate, log in to Yoom and click on My Apps on the left side of the screen.
(2) A +New Connection button will appear on the right side of the screen, click on it.

How to Register Gmail as My App
(1) Select Gmail from the list of apps
(2) Click Sign in with Google

__wf_reserved_inherit

(3) On the "Sign in to Yoom" screen, select the account you want to integrate and click Next

__wf_reserved_inherit

(4) On the "Yoom is requesting additional access to your Google Account" screen, click Continue to complete the My App registration!

__wf_reserved_inherit

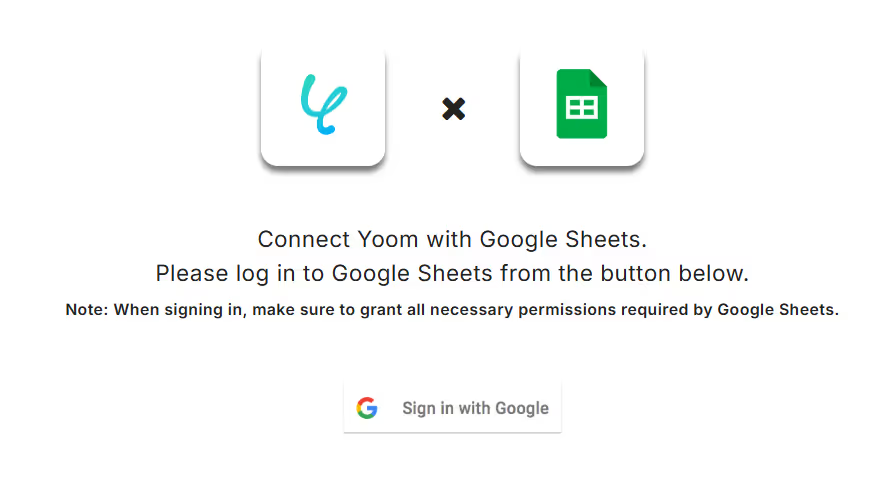
How to Register Google Sheets as My App
(1) Select Google Sheets from the list of apps
(2) Click Sign in with Google

__wf_reserved_inherit

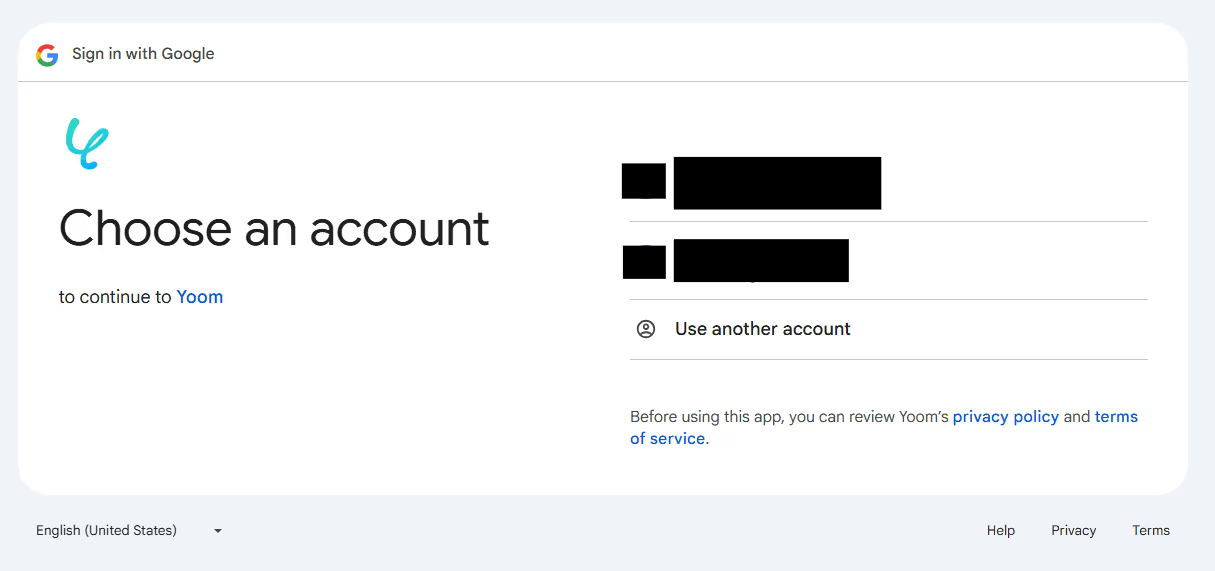
(3) Select the account you want to integrate, click Next, and proceed as you did with Gmail to complete the My App registration!

__wf_reserved_inherit

How to Register Google Calendar as My App
(1) Select Google Calendar from the list of apps
(2) Click on the account you want to integrate

__wf_reserved_inherit

(3) Select the information Yoom will access and click Continue to complete the My App registration!

__wf_reserved_inherit

After Completing Registration with Yoom
(1) Click on the banner below and click "Try this template!"

(2) Select a project from the workspace list at your discretion.
※ The copied template will be stored in "My Projects" within the project selected in (2).
(3) Click "Edit" at the top right of the flow list screen.

Step 2: Set the Trigger

First, check out how to forward emails from Gmail and activate the email trigger!
(1) Click "Email Trigger" from the flow list screen.
(2) Set the title.
※ You can use the originally set title as it is!
(3) Enter the receiving address optionally.
(4) Set each item of the trigger conditions.

  • Search location: Select from the dropdown menu at your discretion.
  • Search condition: Select from the dropdown menu at your discretion.
  • String: This time, set it to "Interview Appointment".

(5) Click Next.

■ Test the Email Trigger
(6) If there is no error in the test, click Save.

Step 3: Extract Data from Text

(1) Click "Extract Data from Text".
(2) Set the title.
※ You can use the originally set title as it is!
(3) Set the conversion type to Data Extraction (2 Tasks).
(4) Click Next.

■ Set Details
(5) Set each item.

  • Target text: Set {{Body}} from the output.
  • Items to extract: Specify the items you want to extract from the target text, separated by commas (e.g., Name, Contact, Interview Date, Interview Time).

(6) If there is no error in the test, click Save.

Step 4: Operate the Database

(1) Click "Operate the Database".
(2) Set the title.
※ You can use the originally set title as it is!
(3) Check if the account information to be linked is correct.
※ If the account information is not displayed, click +Add Linked Account to register.
(4) Select "Add Record" as the execution action.
(5) Set each item for database linkage.

  • Spreadsheet ID: Select from the candidates at your discretion.
  • Spreadsheet tab name: Select from the candidates at your discretion.
  • Table range: Specify in text.

(6) Click Next.

■ Detailed Settings for Database Operation
(7) Set each item of the values for the record to be added.

  • Name: Specify in text this time.
  • Contact: Specify in text this time.
  • Interview Date: Specify in text this time.
  • Interview Time: Specify in text this time.

(8) Click Test and check Google Sheets!

(9) If there is no error, click Save.

Step 5: Integrate with Google Sheets

(1) Click "Integrate with Apps".
(2) Set the title.
※ You can use the originally set title as it is!
(3) Check if the account information to be linked is correct.
※ If the account information is not displayed, click +Add Linked Account to register.
(4) Select "Retrieve Values" as the action.
(5) Click Next.

■ API Connection Settings
(6) Set each item.

  • Spreadsheet ID: Select from the candidates at your discretion.
  • Sheet name: Select from the candidates at your discretion.
  • Range: Specify in text.
  • Direction: Select from the dropdown menu at your discretion.

(7) If there is no error in the test, click Save.

Step 6: Integrate with Google Calendar

(1) Click "Integrate with Apps".
(2) Set the title.
※ You can use the originally set title as it is!
(3) Check if the account information to be linked is correct.
※ If the account information is not displayed, click +Add Linked Account to register.
(4) Select "Create Event" as the action.
(5) Click Next.

■ API Connection Settings
(6) Set each item.

  • Calendar ID: Select from the candidates at your discretion.
  • Event title: Set {{Subject}} from the output.
  • Event start date: Set {{Interview Date}} from the output.
  • Event start time: Set {{Interview Time}} from the output.
  • Event end date: Set {{Interview Date}} from the output.
  • Event end time: Set {{Retrieved Value}} from the output.
  • Event description: Set text this time (e.g., An interview appointment has been made!).

(7) Click Test and check Google Calendar!

(8) If there is no error, click Save.
(9) Return to the flow list screen and change the app trigger to ON to complete the flow settings!

Other Automation Examples Using Gmail, Google Calendar, and Google Sheets

In addition to the integrations introduced today, various automations can be achieved by utilizing the APIs of Gmail, Google Calendar, and Google Sheets.

If you find something interesting, please give it a try!

Automation Examples Integrating Gmail and Google Calendar

You can register events in Google Calendar when you receive an email in Gmail or automatically add ICS files received in Gmail to Google Calendar.
Additionally, it is possible to send a summary of the day's Google Calendar events via Gmail every day.

Example of Automation Using Gmail

Send a Template Email from the Lead Details Page via Gmail

Send a template email from customer management pages like Salesforce or HubSpot.

Save Files Received in Gmail to Cloud Storage

Automatically save files received in Gmail to Google Drive, DropBox, etc.

Automation Example Using Google Calendar

Add Events to Google Calendar Based on Form Submissions

Automatically add events to Google Calendar based on submissions from Google Forms, HubSpot forms, and similar platforms.

Add an event to Google Calendar when a task is registered in the task management app

Automatically add an event to Google Calendar when a task is registered in Asana, Trello, etc.

Automation Example Using Google Sheets

Notify Chat Tools When a Row is Added in Google Sheets

Automatically notify Slack, Discord, etc., when a row is added in Google Sheets.

Transcribe Audio and Add to Google Sheets After Web Meeting

Once a web meeting on Google Meet or Zoom ends, the audio will be transcribed and automatically added to Google Sheets.

Besides the templates we introduced, you might find flows that can be integrated into your workflow.
Be sure to check out the list of templates as well.

Benefits of Integrating Gmail and Google Calendar

1. Automation of Interview Scheduling
For example, when an interview is scheduled via Gmail, it can be automatically recorded in a Google Spreadsheet and reflected in Google Calendar.
This can make schedule management much easier.
Since the received content is automatically reflected in Google Calendar, errors are reduced, and checking reservation history and obtaining statistical data should become easier.
Moreover, by using Google Calendar's notification feature, you will automatically receive reminders for scheduled events, ensuring you don't forget them.

2. Flexibility and Convenience of Devices
The integration of Gmail and Google Calendar is free with a Google account and accessible from any device, such as a computer, tablet, or smartphone.
You can conveniently check and modify your schedule on the go with your smartphone or grasp detailed schedules with your tablet.
Additionally, since the latest schedule is automatically reflected, consistency of information is maintained, allowing for flexible and efficient schedule management.

3. Efficient Time Saving
Since information received via email is automatically reflected in Google Calendar, manual input is no longer necessary, saving time.
This leads to swift schedule management.
Furthermore, by creating a shared calendar in Google Calendar that the entire team can easily access, everyone's schedule can be grasped at a glance, and schedule adjustments can proceed efficiently.

Conclusion

How was it?
With the integration of Gmail and Google Calendar, schedule management should become significantly easier.
Manual input is no longer necessary, errors are reduced, and reminders for events are delivered automatically, making management more efficient.
Additionally, by using Yoom, you can easily set up the integration without any coding, lowering the technical barrier and allowing anyone to start easily.

Take this opportunity to try integrating Gmail and Google Calendar!

The person who wrote this article
t.nakaya
I changed my job from a dental hygienist to the IT industry, and in my previous job, I worked on web page replacement etc. as director support at a web company. Taking advantage of this experience, I am now putting all my energy into telling everyone about the appeal of Yoom. With an approach that combines technology and user perspectives, we sincerely want to help you improve your work efficiency through Yoom.
Tags
Automation
Integration
Gmail
Google Calendar
Notification
App integration
No items found.
What is Yoom hyperautomation?
Conventional RPA can only automate simple repetitive tasks, and the setup process was very complicated.
With “hyperautomation,” which combines various technologies such as AI, API, RPA, and OCR, it is possible to automate many tasks that could not be realized until now more easily than before.
Don't Just Connect Apps—Automate Everything
Most tools simply connect one app to another, leaving the complex tasks to you. Yoom goes much further: From document creation and browser automation to OCR and generative AI, Yoom handles it all seamlessly in one platform.

Why settle for basic integrations? Streamline your entire workflow with Yoom’s powerful hyperautomation.
Learn more about Yoom
Helpful Materials
I understand Yoom! 3-piece set of materials
Download materials
Understand in 3 minutes! Yoom service introduction materials
Download materials
Find out by Before After! Yoom Case Study Collection
Download materials
See a list of useful materials