

.avif)


Google Drive Trigger Settings
Once your app registration is complete, click on "My Projects" on the left side of the screen!
Enter the screen with the Google Drive icon labeled "Receive approval and send files via Gmail when files are stored in Google Drive", and press edit in the top right corner.
↓
Click on "When a new file/folder is created" under the Google Drive logo, and you'll be taken to a page to select the linked account and action.
Since you are using a template created with Yoom, the necessary information is already entered, so click Next.
↓
↓
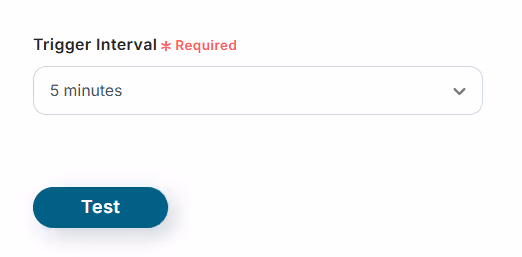
After setting the trigger activation interval, click Test just below! If it displays "Test Successful" in blue, press Save.
The Google Drive trigger setup is now complete. Let's move on to the next step!
* You can select the trigger activation interval from 5 minutes, 10 minutes, 15 minutes, 30 minutes, or 60 minutes, and the shortest activation interval varies depending on the plan.
File Download
Click on "Download image files/PDF files" under the Google Drive logo!
As before, the necessary fields are already filled in, so press Next.
↓
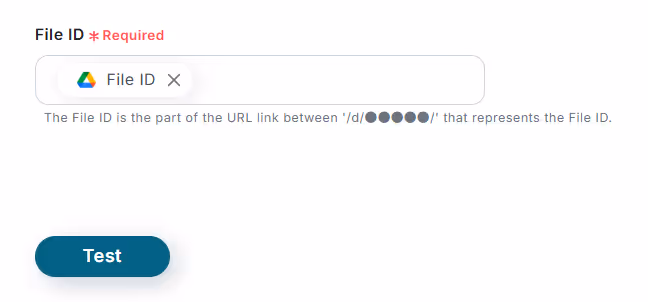
The necessary content for the next page is also already entered. Using a template makes it so easy to create a flowbot, it's really convenient...!
Press Test here as well, and if it displays "Test Successful" in blue, save it and you're good to go.
Request Approval
Next, click on the icon with a thumbs-up mark labeled "Request Approval".
Surprisingly... the settings for this are already entered as well...!
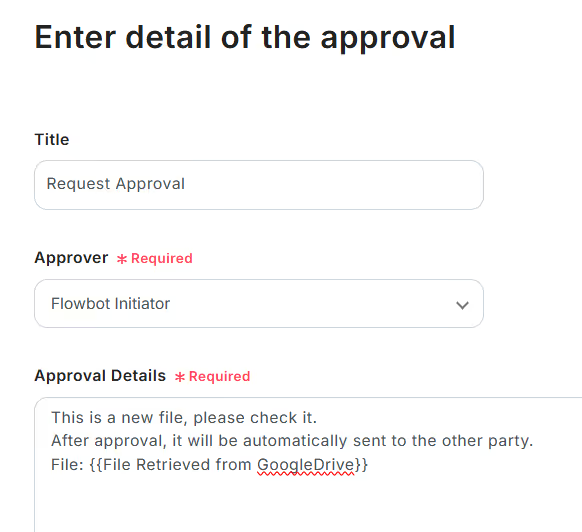
If you want to change the text written in the details of the authentication content, feel free to change it to whatever you like. Also, if you want to change the approver, go ahead and change it.
If there are no issues, save it as is! It's progressing smoothly!
Gmail Settings
Finally, let's set up Gmail. Click on "Send Email" under the Gmail icon.
Once you transition to the email settings page, fill in the required fields.
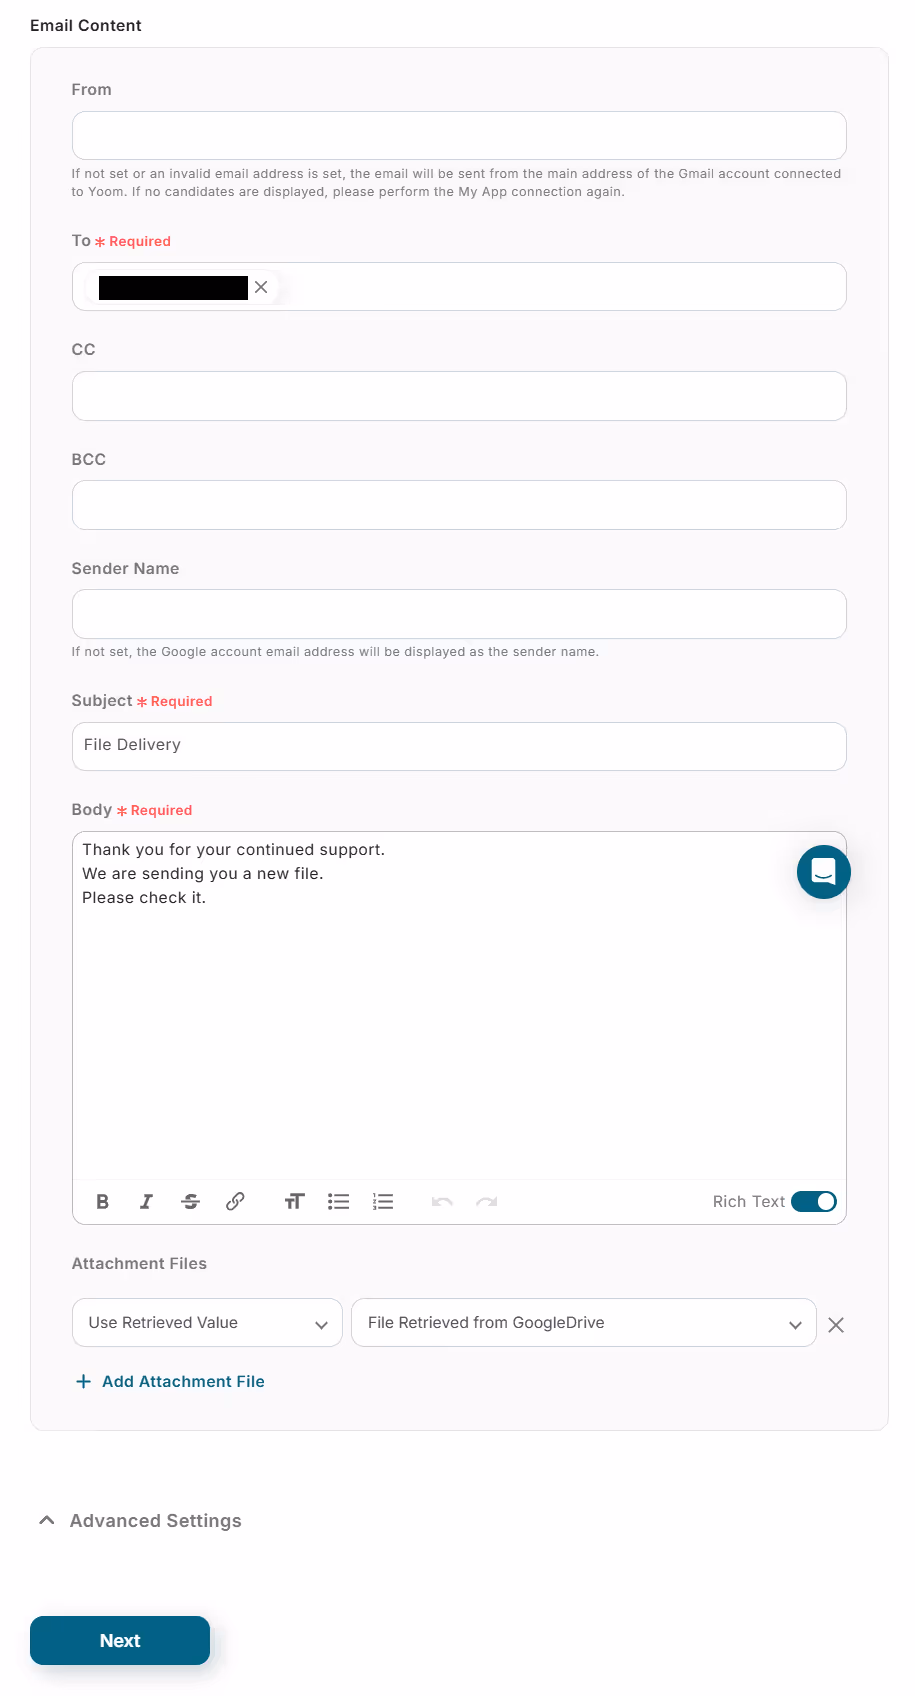
The body text is already filled in, but as before, feel free to change it to any content you like!
Once you've completed the input, press Next.
↓
A test email screen will be displayed, so if there are no issues, press Test.
Once successful, the creation of the flowbot is complete. Well done!


.avif)
.avif)
.avif)


