

.avif)


1. Click "View Details" on the top banner
2. Click "Try this template" at the bottom of the transitioned screen
3. If you haven't registered with Yoom yet, please register
※ If you have already registered, the login screen will be displayed, so please log in.
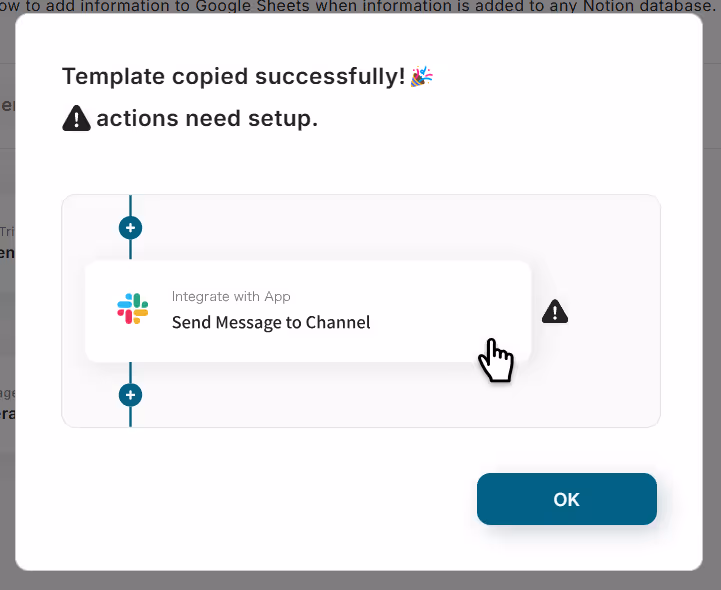
When the Flowbot template is copied to "My Projects", the above display will appear.

You will transition to a page like the image, so let's proceed with detailed settings.
Step 3: Setting to Launch Google Drive
1. Open My Projects

Open "My Projects" from the menu on the left side of the screen.
2. Open the copied template
Click "【Copy】Analyze with Gemini when an image is uploaded to Google Drive and notify the content to Discord".
3. App Trigger

Select "When a new file/folder is created" from the Google Drive icon.
Proceed to the next step.
4. Specify Trigger

Set the trigger activation interval.

You can set the activation interval from the dropdown as shown in the image.
The trigger can be set to activate at intervals of 5 minutes, 10 minutes, 15 minutes, 30 minutes, or 60 minutes.
Please note that the shortest activation interval varies depending on the plan.
5. Specify Folder

Specify which folder to analyze with Gemini when a file is uploaded.
By clicking the box, files will be listed, so select and set them.
6. Execute Test

Press the test button, and if "Test Successful" is displayed in blue, press save.
※ It is recommended to create a test folder in advance and upload files.
Continue to set up retrieving file information uploaded to the folder.
7. Integrate with App

Select "Download File" from the Google Drive icon.
Proceed to the next step.
8. Execute Test

Since the template is being utilized, the setup is complete.
Therefore, press the test button, confirm that "Test Successful" is displayed in blue, and press save.
If the test is not successful, try re-uploading the file.
Step 4: Analyze with Gemini and Send to Discord
1. Integrate with App

Next, set up to upload files to Gemini.
Select "Upload File" from the Gemini icon.
Press next.
2. Execute Test

This is also complete because the template is being utilized.
Therefore, press the test button, confirm that "Test Successful" is displayed in blue, and press save.
3. Integrate with App

Continue to set up analysis with Gemini.
Select "Generate Content (Use File)" from the Gemini icon.
Press next.
4. Model Setting

First, input the Gemini model type to be used.
You can check the model by clicking the top left of the Gemini page.

In the case of images, use 1.5 flash, so set the same as the model.

Return to the Yoom screen.
Click the box to display a list of Gemini models.

Scroll and click to insert the same model you confirmed.
5. Set Prompt and Role

Set the prompt and file.
Both are pre-set, so you can change the prompt if desired.
6. Execute Test

Once set, press the test button at the bottom.
If "Test Successful" is displayed in blue, the setup is complete. Press save.
7. Integrate with App

Finally, set up the message to be sent to Discord.
Select "Send Message" from the Discord icon. Press next.
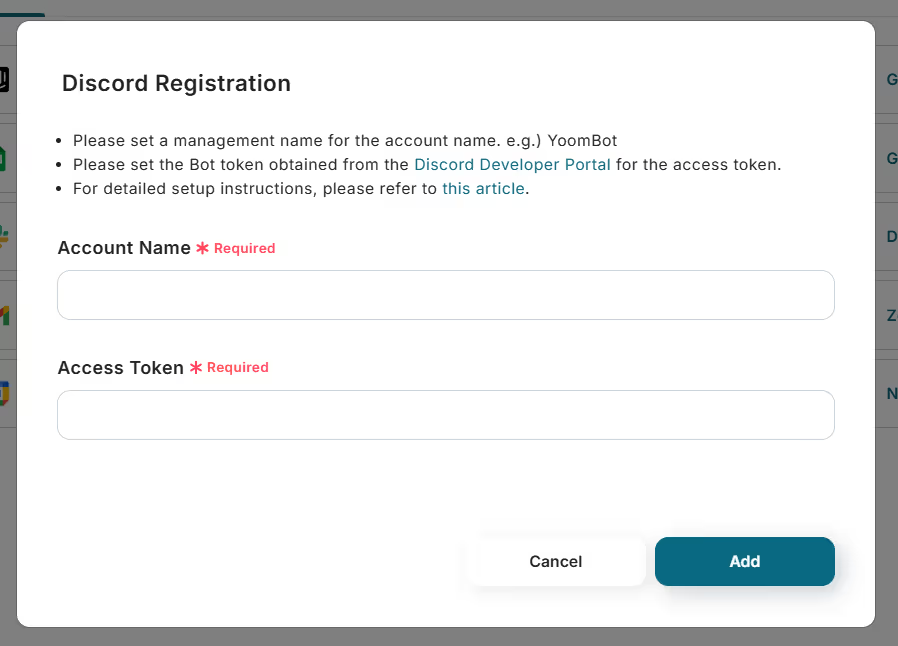
8. Enter Channel ID

First, set the channel ID where you want to notify the analyzed file information.
Enter it as per the note below the box.
9. Confirm Message

Set the content of the message you want to notify to Discord.

This time, as shown in the image, the data insertion is already set, so if there are no changes, it is fine as is. If you want to change it, only modify the text.
10. Execute Test

Once the message setting is done, press the test button at the bottom.
If "Test Successful" is displayed in blue, the setup is complete. Press save.
11. Turn ON Trigger

When the creation of the Flowbot is complete, the above display will appear. The trigger is initially set to OFF, so turn it ON.
Flowbot template used this time
Analyze with Gemini when an image is uploaded to Google Drive and notify the content to Discord


.avif)


.avif)


