


Before Getting Started
The integration flow is broadly divided into the following processes.
・Register Google Drive and Rakuraku Meisai as My Apps
・Set up the schedule and download Google Sheets by integrating with Google Drive
・Import form data by integrating with Rakuraku Meisai
If you do not have a Yoom account, please issue an account from the "Yoom Account Issuance Page" below.
For basic operations of Yoom, please check "Getting Started with Yoom".
Now, let's get started together!
Step 1: Integrate Google Drive and Rakuraku Meisai as My Apps
(1) After logging into Yoom, select "My Apps" from the left column and click "+New Connection".

(2) From the list of new connections in My Apps, click on Google Drive.
(3) A screen like the one below will appear, click "Sign in with Google".
Log in with your account.

(4) Next, integrate with Rakuraku Meisai. Similarly, click on Rakuraku Meisai from the list of new connections in Yoom.
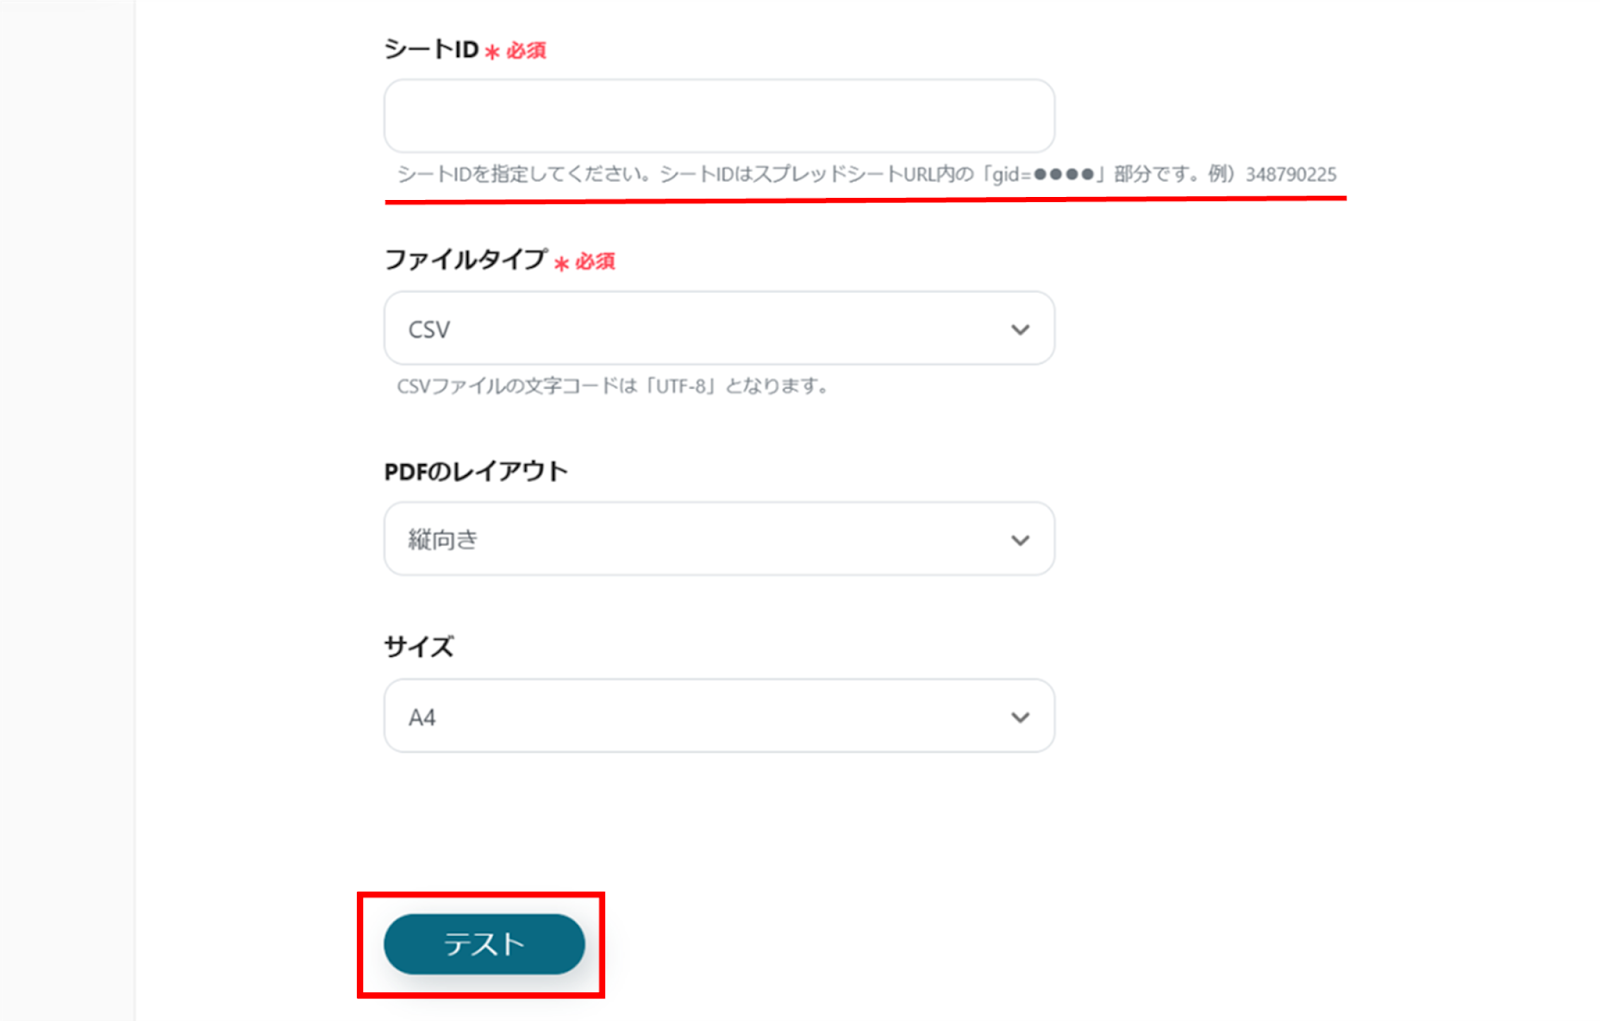
(5) On the "New Registration for Rakuraku Meisai" screen, check the red line and enter the required fields.
Once completed, click "Add".

Once the integration is complete, Google Drive and Rakuraku Meisai will be registered in Yoom's My Apps.
This completes the My Apps registration.
Next, let's set up triggers using templates!
Step 2: Set Up the Schedule
(1) We will use the template introduced earlier. Click "Try it" on the banner below to copy it.


.avif)

.avif)
.avif)


