How to automate monthly file deletion in Google Drive by integrating Google Drive with Yoom's scheduled launch feature
How to Integrate Applications
・
2024/12/27
How to automate monthly file deletion in Google Drive by integrating Google Drive with Yoom's scheduled launch feature
n.watanabe
Are you struggling with the hassle of regular deletion tasks and the often-forgotten manual operations in managing business files using Google Drive? As a solution, there is a Google Drive integration flow utilizing the no-code tool Yoom.
With Yoom, you can easily set up automatic deletion of files in specific folders within Google Drive at the beginning of each month. This not only improves work efficiency but also aids in managing storage capacity and enhancing information security. This article will detail how to integrate Yoom with Google Drive to achieve automation.
Recommended for those who:
- Manage business files using Google Drive but find regular deletion tasks cumbersome.
- Handle many intermediate and temporary files in projects or teams, making organization a challenge.
- Are troubled by insufficient Google Drive storage capacity and are seeking efficient operation methods.
- Want to thoroughly manage information and reduce security risks by deleting unnecessary data.
- Wish to automate routine tasks to reduce the burden on staff and allow them to focus on more important work.
Benefits and specific use cases of integrating Google Drive with Yoom:
Automating regular file deletion for improved work efficiency:
By automating regular file deletion tasks through the integration of Google Drive and Yoom, you can significantly reduce the time and effort required for manual deletions. This system is particularly useful for managing intermediate and temporary files that occur during monthly report creation or ongoing projects.
For example, if the sales team temporarily accumulates proposal materials or report templates created monthly, automatically deleting them at the beginning of the month can save work effort and keep folders organized. This allows staff to reduce the time spent on deletion tasks and focus on more valuable tasks.
Thorough information management and reduction of security risks:
Regular file deletion prevents the accumulation of unnecessary data, enabling thorough information management. Particularly, preventing the retention of temporary files or old data can also help reduce the risk of information leaks.
For instance, if a project manager accumulates a large amount of prototype data in a managed folder, the automatic deletion flow at the beginning of the month ensures that only necessary data is retained, keeping the folder organized. This prevents confusion from past data and allows for appropriate operation from an information security perspective.
Efficient use of storage capacity:
Considering Google Drive's storage limitations, regularly deleting unnecessary files is crucial. This flow allows for efficient storage capacity management, ensuring sufficient space for storing necessary files. Automating deletion tasks is particularly effective for teams facing storage constraints.
For example, if the design department continues to accumulate past prototype design files, setting up a deletion flow allows for regular organization of unnecessary data, accommodating the storage of large files for new projects. This prevents work interruptions due to storage shortages.
Now, let's explain how to use the no-code tool Yoom to "delete all files in a specific folder on Google Drive at the beginning of each month."
[What is Yoom]
How to automate monthly file deletion on Google Drive:
For a flow that automatically deletes files in a specific folder on Google Drive at the beginning of each month, it is possible by using the Google Drive API to delete files in the specified folder. Generally, programming knowledge is required to achieve this, but with the no-code tool Yoom, it can be easily accomplished without programming knowledge.
The general flow is as follows:
- Connect Yoom and Google Drive as a My App integration
- Copy the template
- Detailed flow settings (4 steps)
- Turn on the trigger
If you are not using Yoom, please register for free from here. If you are already using Yoom, please log in.
Step 1: Connect Yoom and Google Drive to My Apps
First, let's connect the apps used in this flow with Yoom. After logging into Yoom, click "+ New Connection" from "My Apps" in the left menu.
When the app search window appears, enter Google Drive.
Click "Sign in with Google" to log in to your Google account or select an account.
After selecting an account, proceed as follows:
Log in to Yoom → "Next"
Yoom is requesting access → "Continue"
Clicking continue will return you to the Yoom screen, completing the My Apps connection.
Make sure it has been added to the My Apps list.
Next, proceed to the specific flow settings. Click "Try it" from the banner below to copy the template.
Step 2: Set the Schedule Trigger
The initial setting is "On the 1st of every month". Let's set up the trigger using Yoom's scheduling feature.
The trigger is set to activate at the specified time on the 1st of every month. You can also specify using settings like Cron settings. In that case, make sure to adjust the title accordingly.
Once the settings are complete, click "Save" to finish setting up the trigger.
Step 3: Set Up to Retrieve Specific Folder Information
The next setting is "Retrieve a list of files and folders within a specific folder". On the first page, check the account information of the Google Drive linked with My Apps.
Check the account information and make any necessary title adjustments before proceeding.
Once you select the folder ID, click "Test" to retrieve the information within the folder.
If the test is successful, you will obtain a list of file IDs and file names. Once confirmed, click "Save" to complete the folder information retrieval setup.
Step 4: Set Up to Repeat the Process
Next is the setting for "Repeat the same process". Here, we will use branching settings.
<span class="mark-yellow">Branching is available for Mini Plan and above, and repetitive processing is available for Team Plan and above.</span> If your plan is not eligible, the operation of the flow bot you are setting will result in an error, so please be careful. Paid plans offer a 2-week free trial. During the free trial, you can use restricted apps and features (operations).
The above settings are default. This setting repeats the flow (repeats deletion) according to the "list of file IDs" obtained in the previous setting.
If you want to add conditions, add them with "Add Output". If no changes are needed, click "Save" to complete the branching setup.
Step 5: Set Up to Delete Files
The final setting is "Delete Files". On the first page, as before, check the account information and make any necessary title adjustments.
The deletion conditions are set as shown above. The loop variable is necessary to repeatedly delete data within the file.
※No modifications are needed, so click "Test" as is.
If successful, click "Save" to complete all settings. Finally, turn on the trigger to activate the flow.
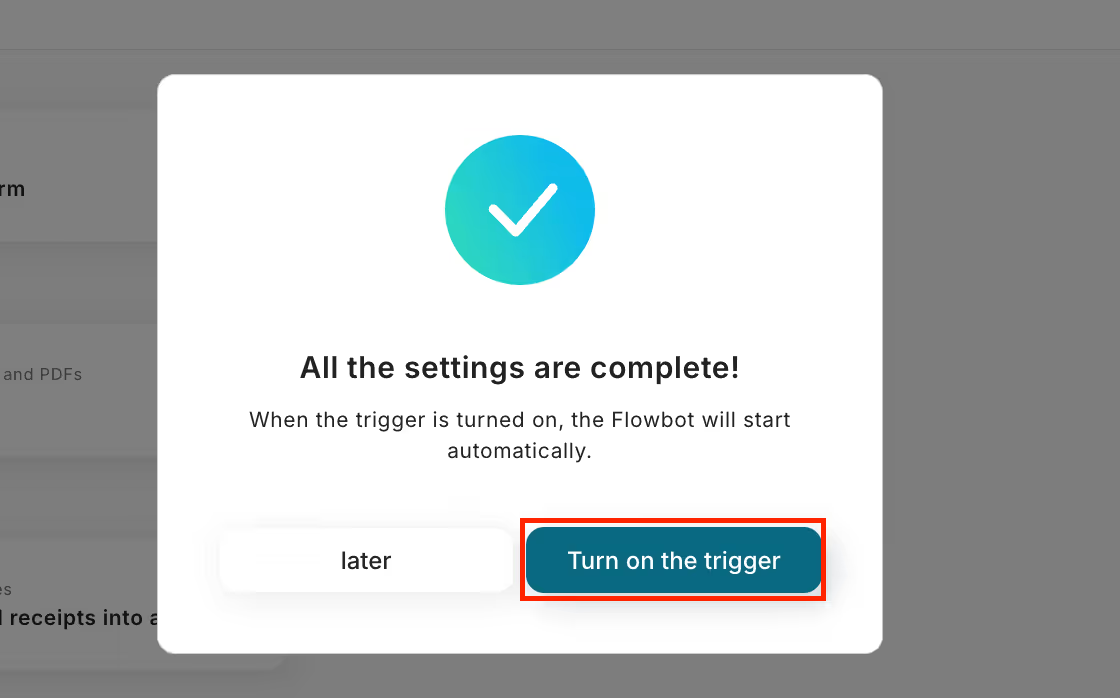
Now, files in Google Drive will be automatically deleted on the 1st of every month.
The flow you set up is as follows.
Other Automation Examples Using Google Drive
Create a Folder in Google Drive at the Beginning of Each Month This flow automatically creates a folder in Google Drive at the beginning of each month. It allows you to prepare necessary folders for monthly tasks effortlessly, improving work efficiency. This is particularly beneficial for those who manually create folders for monthly reports or project management, as it simplifies the process.
Create a folder in Google Drive when a row is added in Google Sheets This flow automatically creates a corresponding folder in Google Drive each time a new row is added in Google Sheets. By automating the folder structure simultaneously with data registration, it reduces the effort of file management and can lead to more efficient work. It is particularly effective in situations where information is shared within a team.
Rename Google Drive file when a row is updated in Google Sheets This is a flow that automatically renames a Google Drive file when a row in Google Sheets is updated. It helps maintain accurate file names according to the updates, improving management efficiency and preventing errors. This is particularly useful in scenarios where multiple files are managed collectively.
Summary
By utilizing Yoom, you can integrate with Google Drive without the need for programming, thereby improving work efficiency. Automating the regular deletion of specific folders will reduce the workload, allowing you to focus on important tasks. Additionally, deleting unnecessary data can also help mitigate security risks.
By registering for Yoom for free, anyone can easily achieve work efficiency. Why not take this opportunity to try Yoom and enhance your work efficiency?
The person who wrote this article
n.watanabe
I have been an SEO writer for 5 years and have continued to write under the motto “easy to read” and “easy to convey.”
I want to bring the convenience of Yoom, which can be linked to apps without programming knowledge, to many people!
Conventional RPA can only automate simple repetitive tasks, and the setup process was very complicated. With “hyperautomation,” which combines various technologies such as AI, API, RPA, and OCR, it is possible to automate many tasks that could not be realized until now more easily than before.
Most tools simply connect one app to another, leaving the complex tasks to you. Yoom goes much further: From document creation and browser automation to OCR and generative AI, Yoom handles it all seamlessly in one platform.
Why settle for basic integrations? Streamline your entire workflow with Yoom’s powerful hyperautomation.