

.avif)

This completes the template copy. A popup will appear, so click OK.
From here, proceed with the settings mainly on the "!" part on the screen as instructed.

③ Set the Trigger
First, select "When an Inquiry is Received" and check the settings.

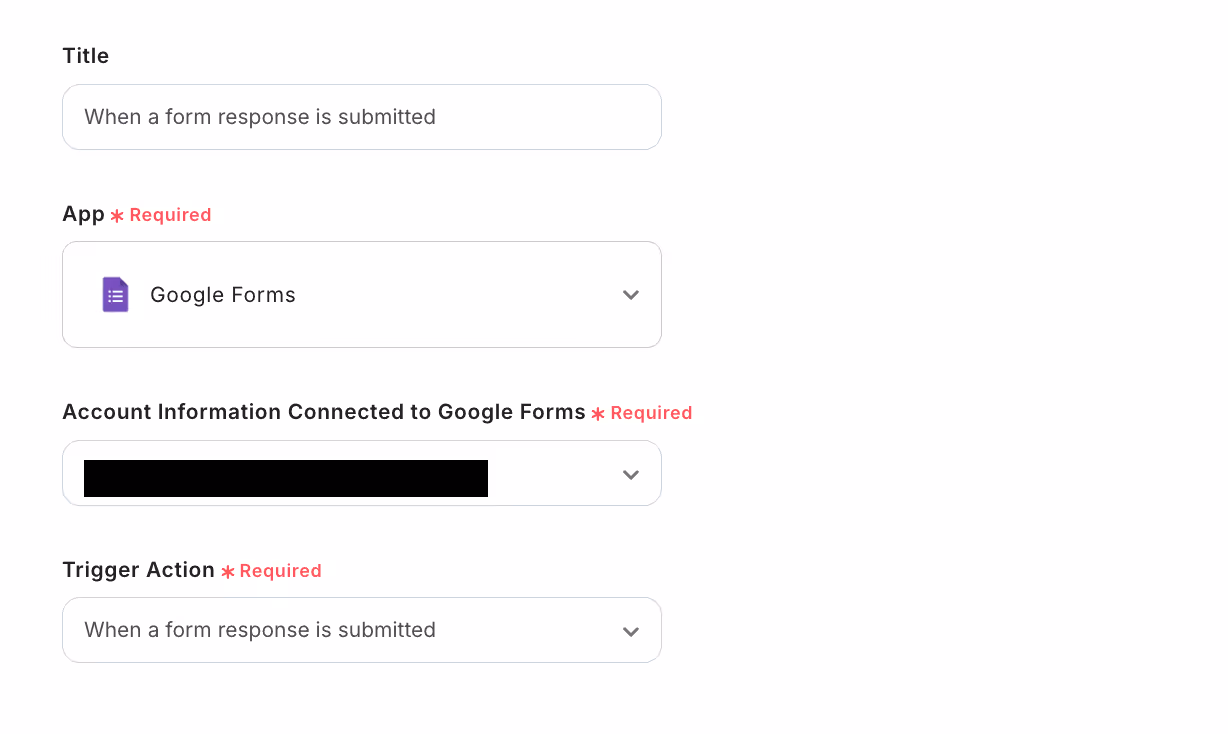
Enter the account information to be integrated and click "Next".
Then, you will transition to the following screen, so please read the precautions carefully and proceed with the settings.
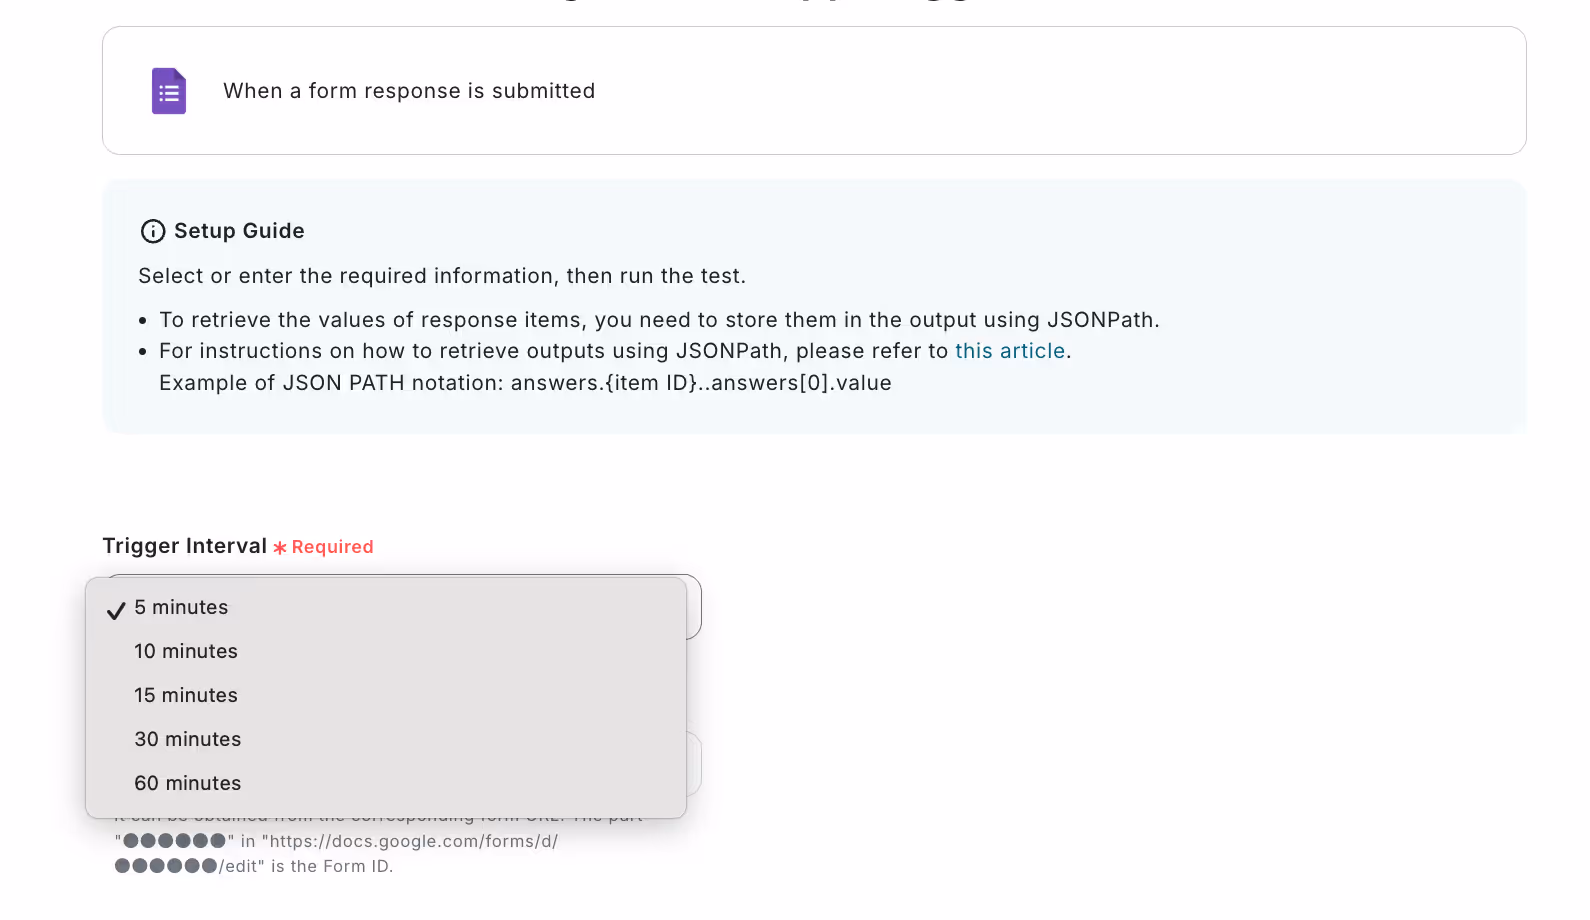
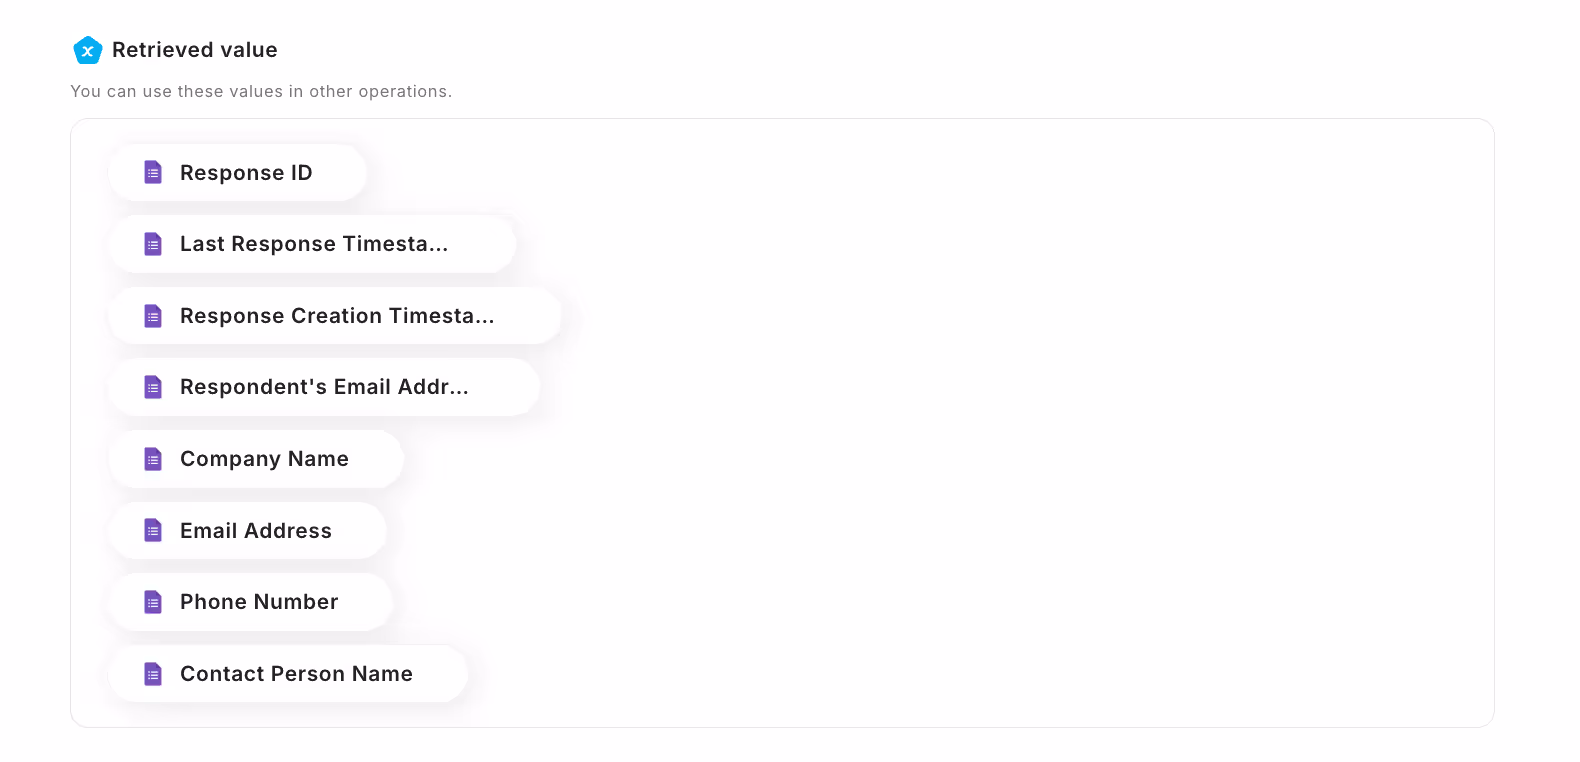
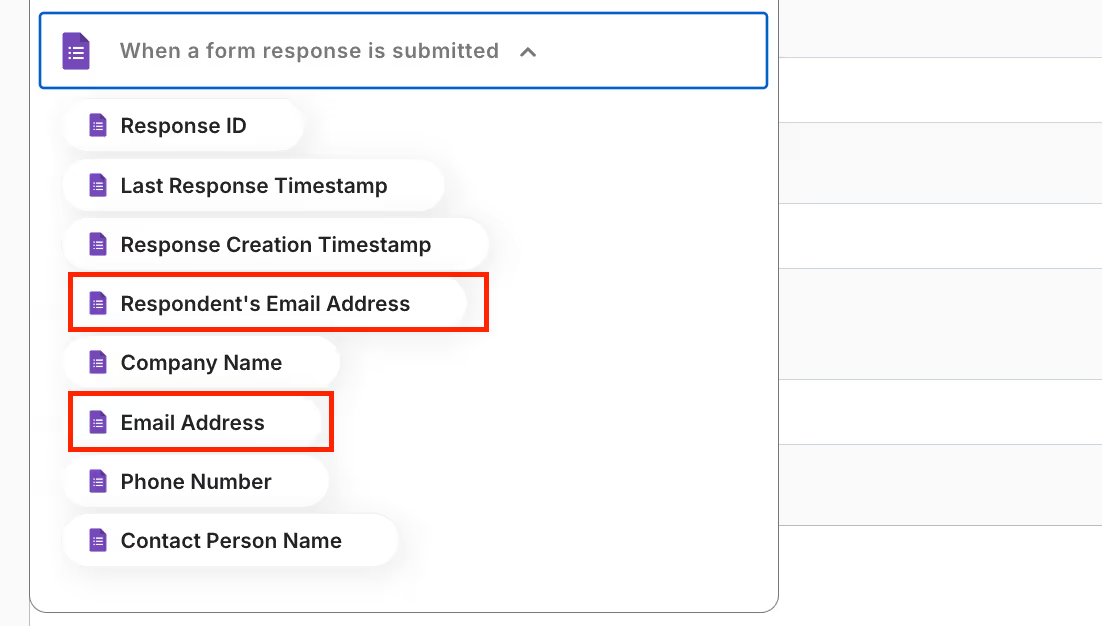
Scroll down to find the output section.
The output can be used in the Gmail settings described later.
Since it will not be used here, click "Save" to return to the initial screen.
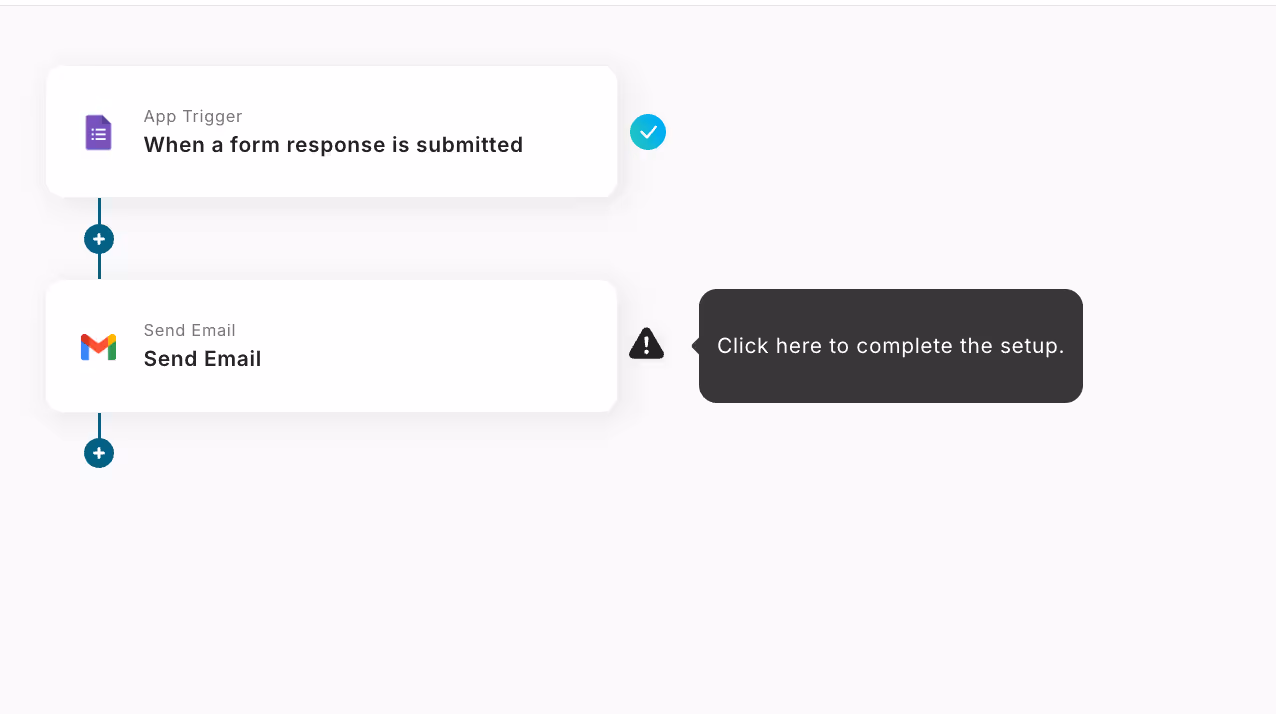
④ Set the Integrated App
Next, select "Reply with Gmail" and enter the account information to be integrated.

Scroll down to set the email content.
First, set the Recipient (To) as desired.
*For operation verification, a test button is provided, so it is recommended to set your own email address initially.
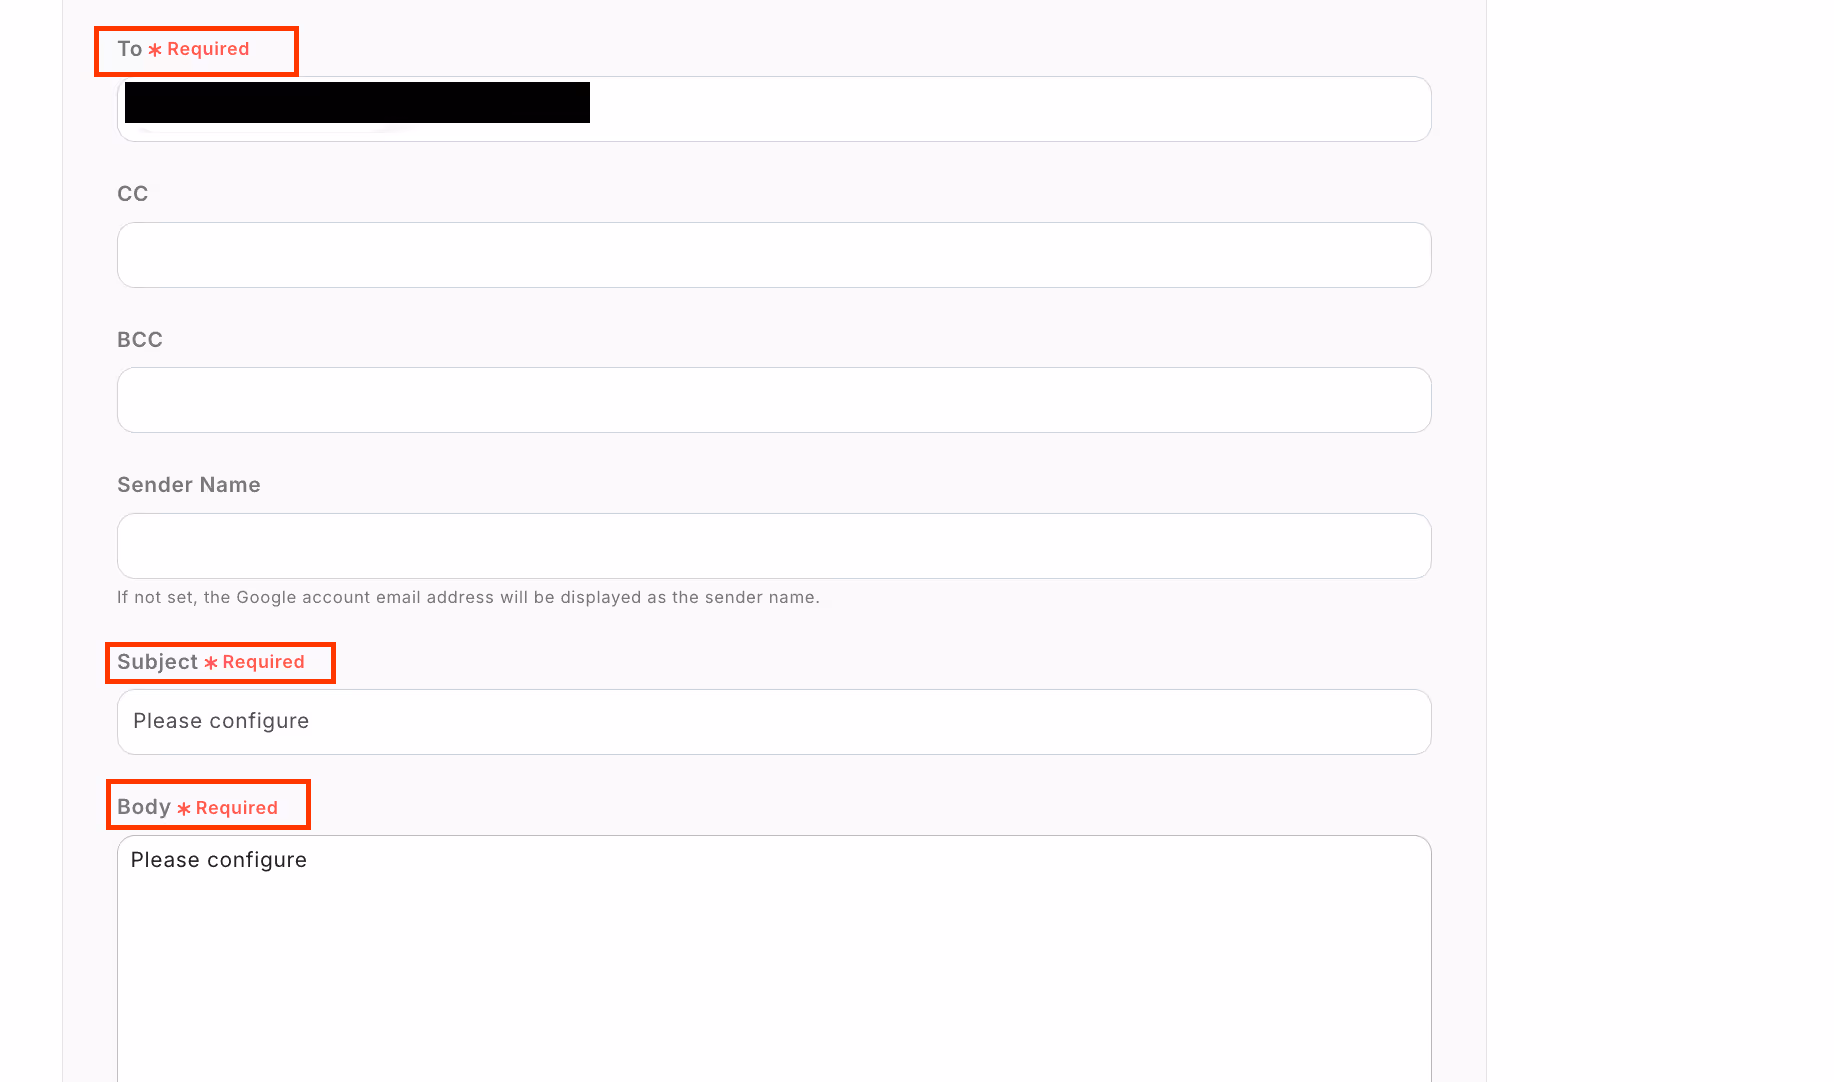
Next, set the required fields "Subject" and "Body".
Depending on the content you want to send, you can also add "Attachments".
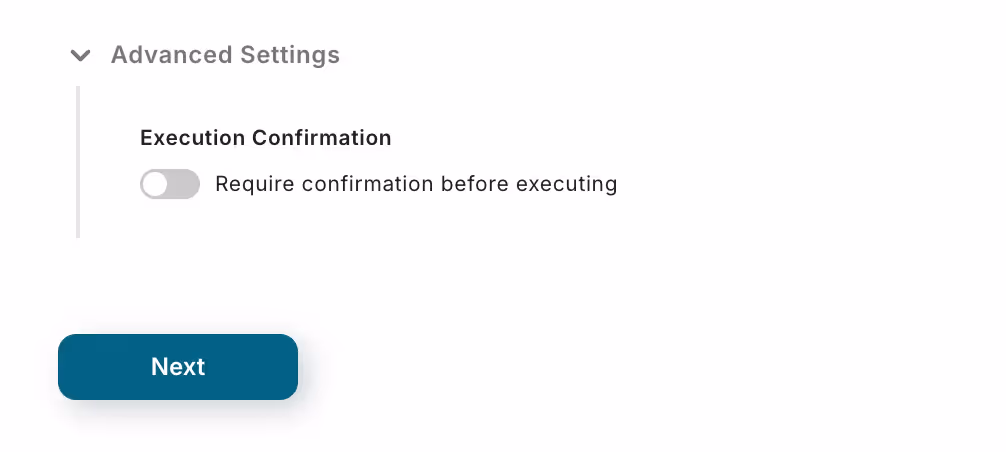
Since you want to send an automatic reply, turn off the pre-confirmation setting in the detailed settings.
Click "Next".
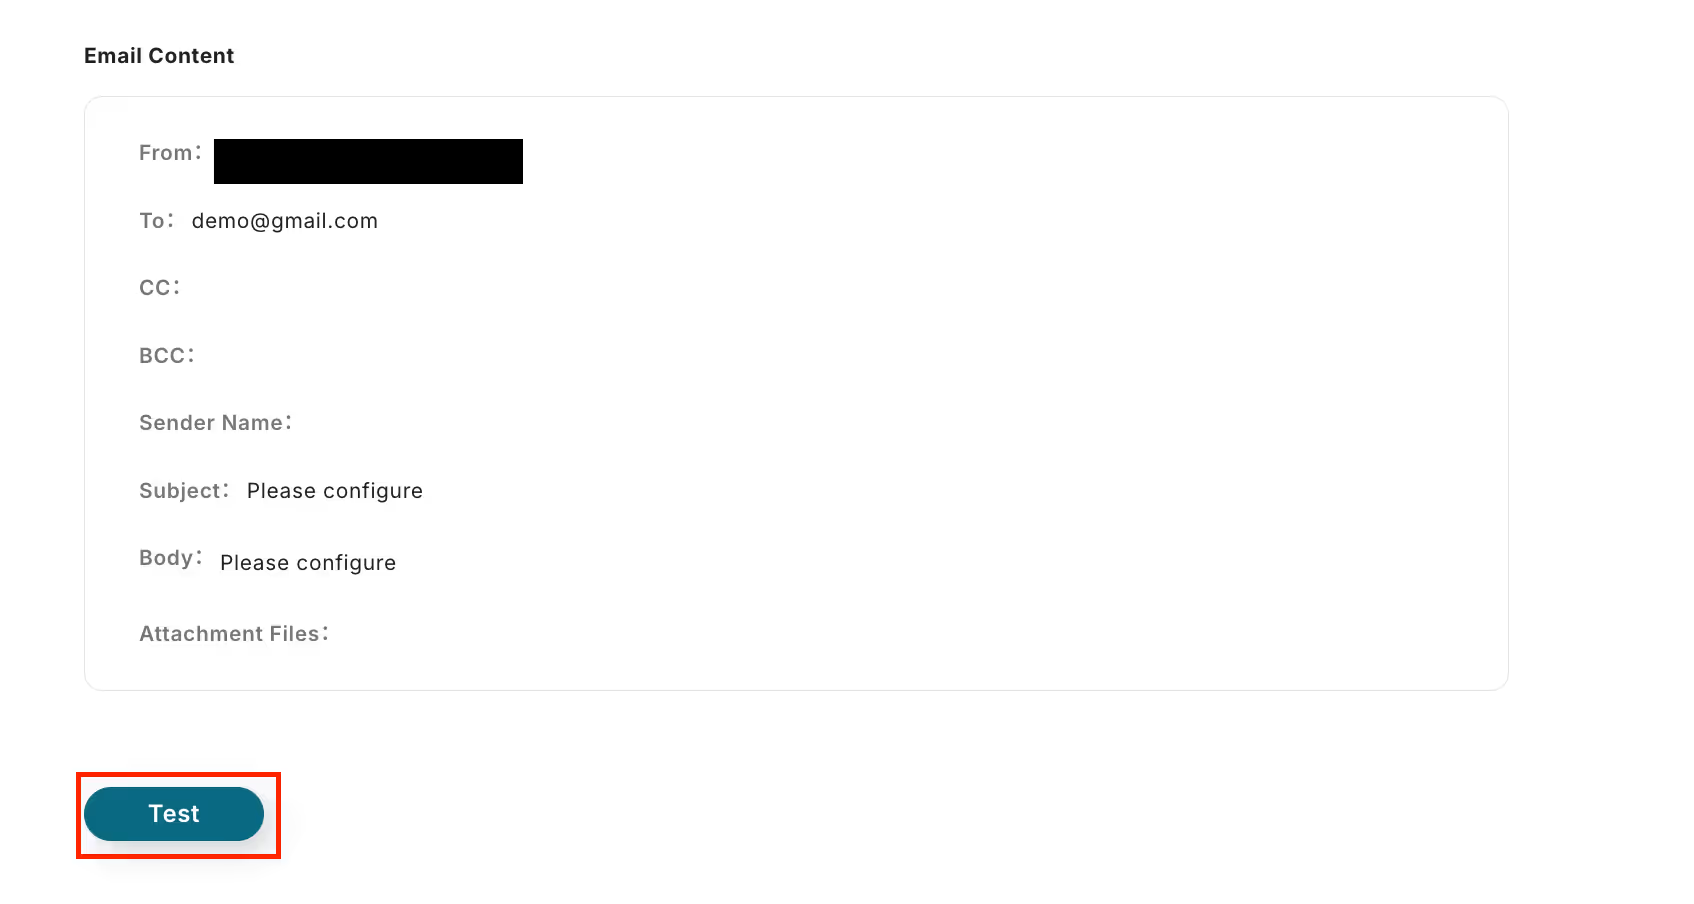
Then, the email content will appear, so click the "Test" button.
*As mentioned earlier, since this is for operation verification, initially set your own email address as the Recipient (To).
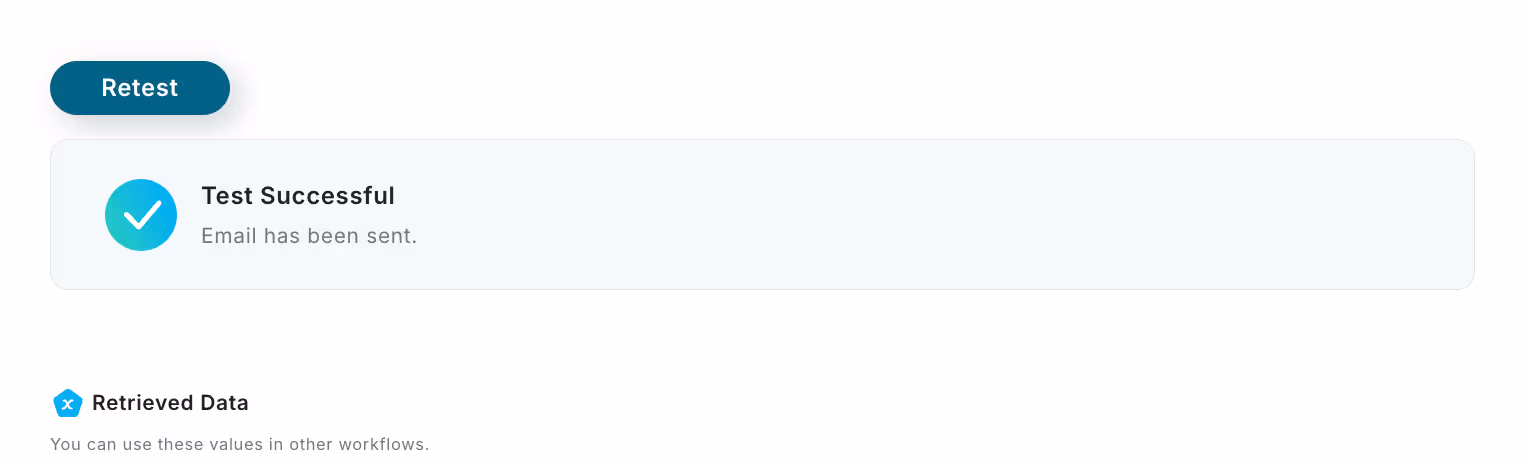
If the test is successful, the following display will appear.
After the test is complete, set the Recipient (To) in the previous settings section using the Google Form output as shown below.
This allows you to extract email addresses from Google Forms and send automatic replies.
If there are no issues with the settings, click "Save".
Then, the following popup will appear, so click "Turn on the trigger".

This completes all the settings for "Automatically Reply to Respondents with Gmail When a Google Form is Submitted".
Good job!


.avif)
.avif)
.avif)


