

.avif)
Step 1: Connect Google Sheets and Gemini with My Apps
First, connect the apps you will use with Yoom.
After logging into Yoom, click "+ Add" from "My Apps" in the left menu.

When the "New App Connection" window appears, search for Google Sheets and Gemini, and register them with My Apps.
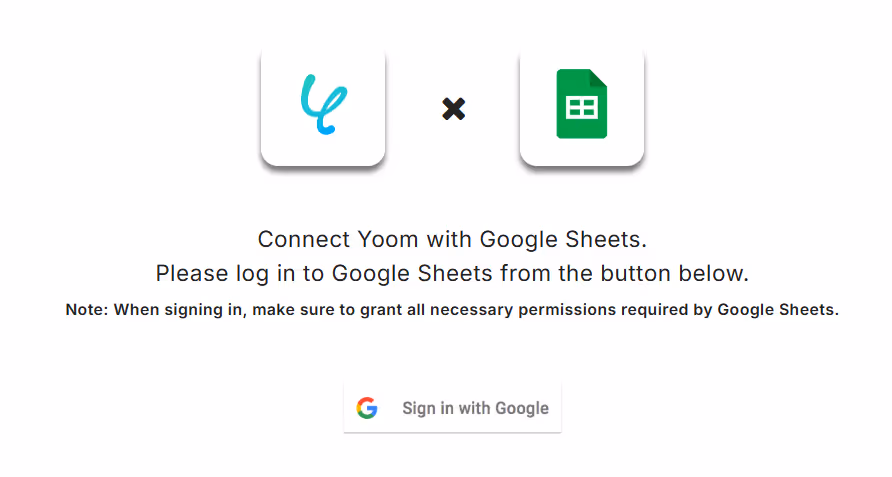
<For Google Sheets>
・Click "Sign in with Google".
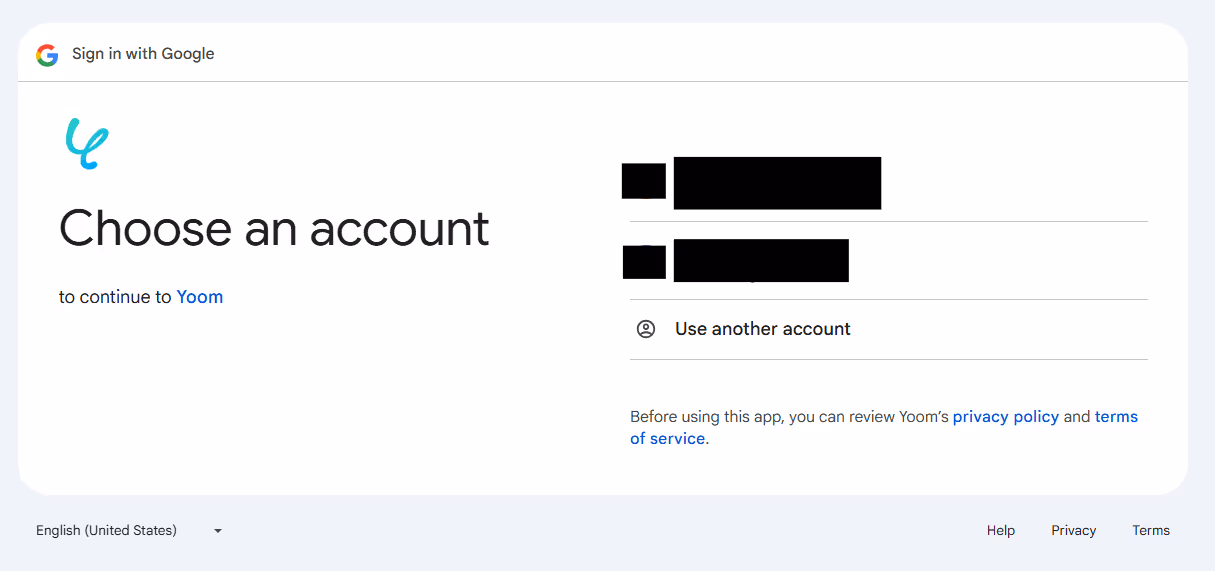
・Select the account to connect.
・Confirm the account to log in and click "Next".
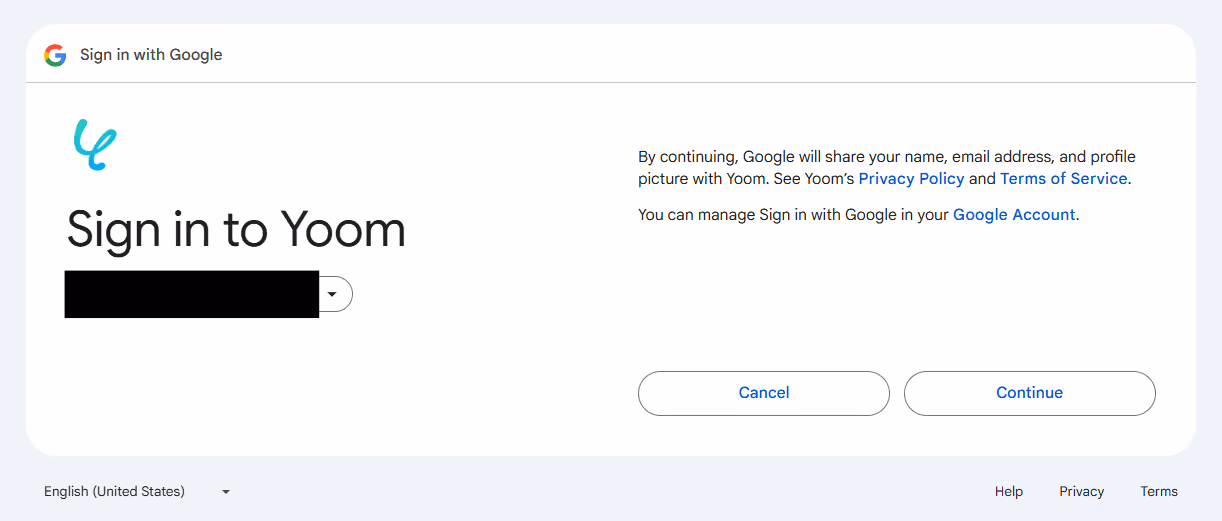
・Click "Continue" to complete the registration with My Apps.

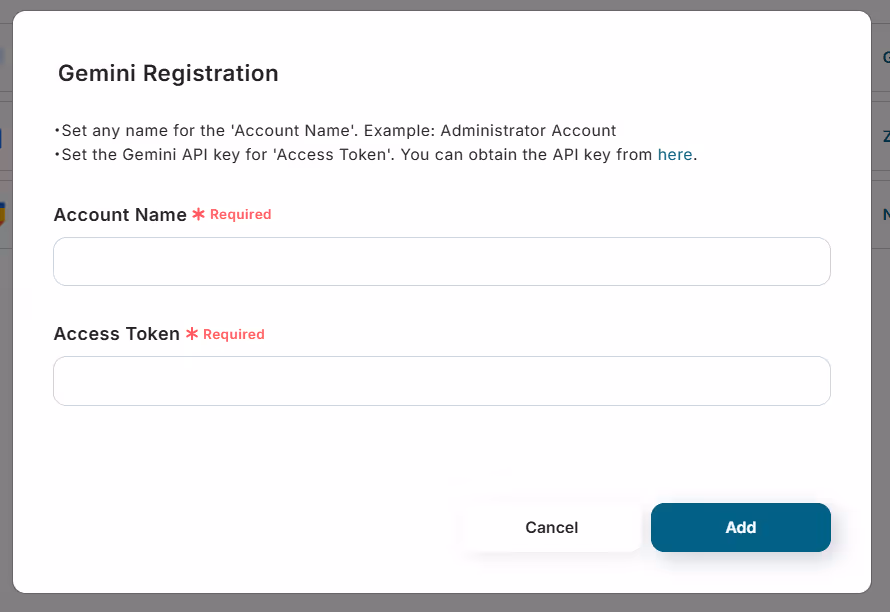
<For Gemini>
・Enter the account name and access token, and click "Add" to complete the registration with My Apps.
※ To obtain the access token, please issue the necessary API key from here.
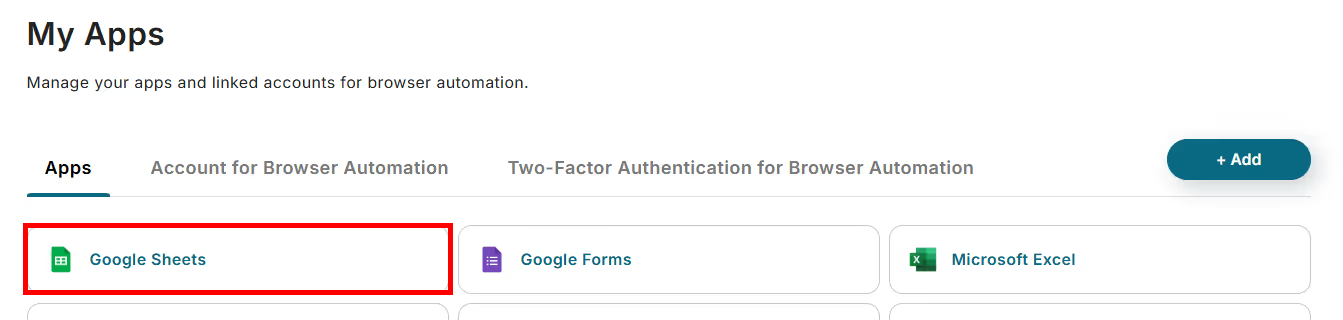
Once each connection is made, they will appear in the My Apps list.
Step 2: Set Up App Trigger
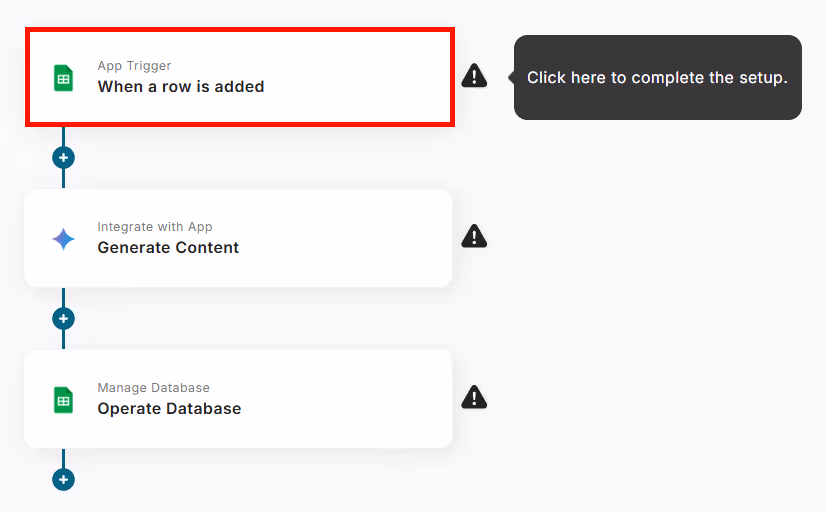
The initial setting is "When a row is added".
First, let's check the account information that has been linked with My Apps.

If you are linked with multiple Google accounts, sometimes an unintended account may be displayed. In that case, select the correct one from the options.
The title can be edited. If necessary, make corrections, and proceed to the next step without changing the trigger action.

Next, specify the Google Sheets to check the information and the trigger activation interval.
※ The trigger activation interval can be selected from 5 minutes, 10 minutes, 15 minutes, 30 minutes, or 60 minutes. The shortest activation interval varies depending on the plan. Generally, a shorter setting is recommended.
Select and enter each required item.
For "Column with Unique Values", choose one that is set so that there are no duplicate values within the same column.
In this case, since the Google Sheets is set as follows, "No." is used as the unique value.

After entering each item, click "Test" to obtain the output.
You can retrieve the contents of the above sheet.
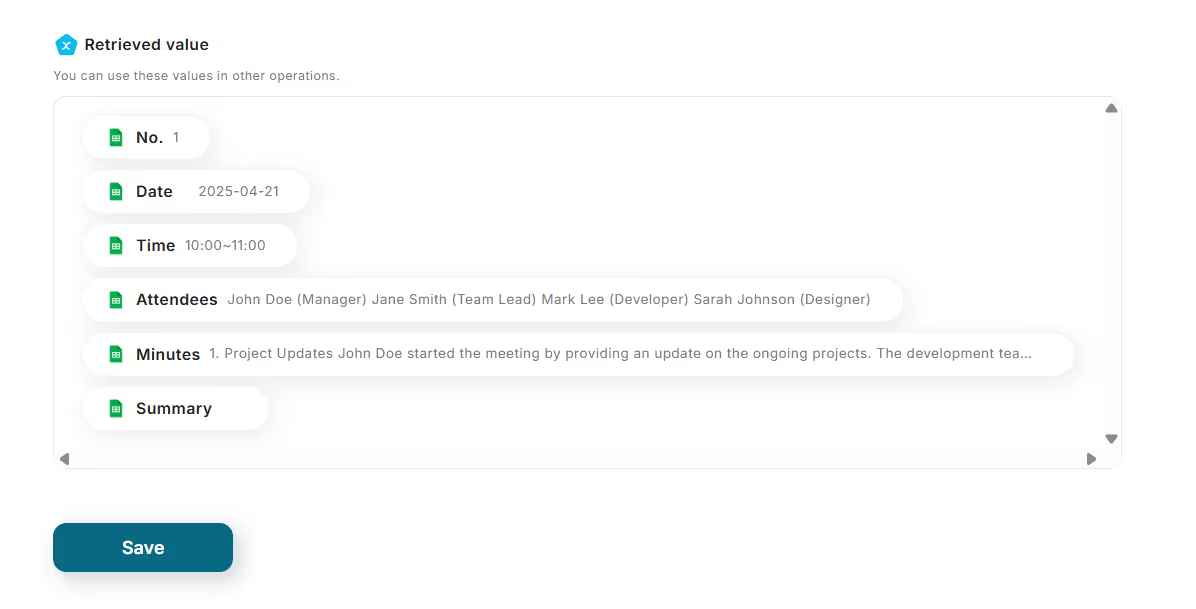
Once confirmed, click "Save" to complete the trigger setup.
Step 3: Set Up Summarization in Gemini
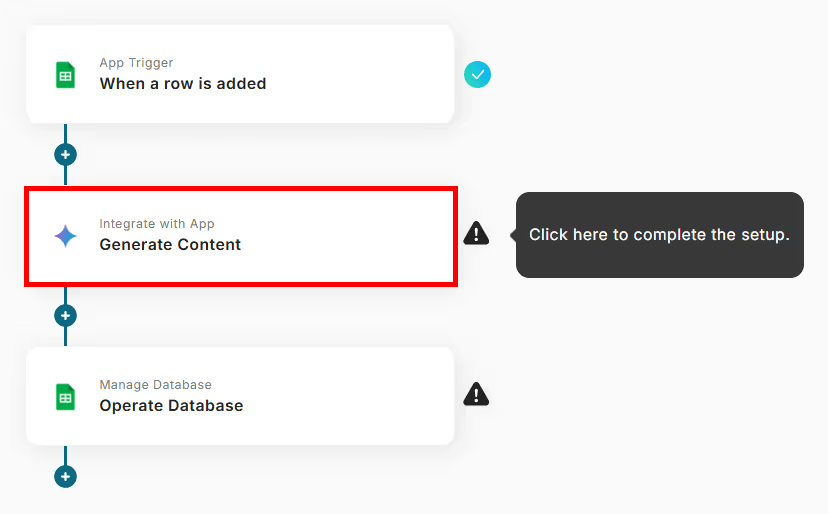
The next setting is "Generate Content".
On the first page, as with Google Sheets, confirm the account information and make any necessary title corrections before proceeding.
Next, select the Gemini model and set the instructions for summarizing the text.
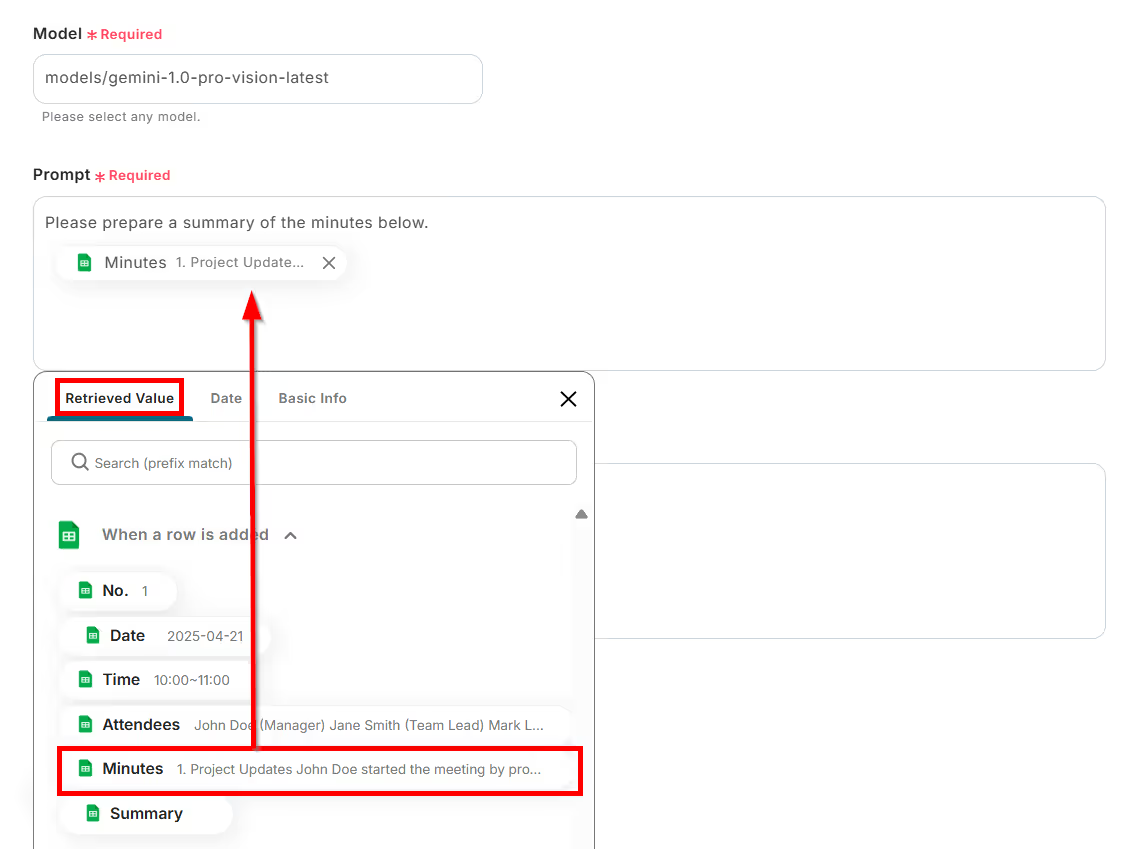
Use the output to create a prompt.
If there are specific requirements for the summary format, provide instructions here. Once you have entered up to "systemInstruction", click "Test".
Once the output is obtained, the summarization setup is complete.
Step 4: Set Up Information Update in Google Sheets
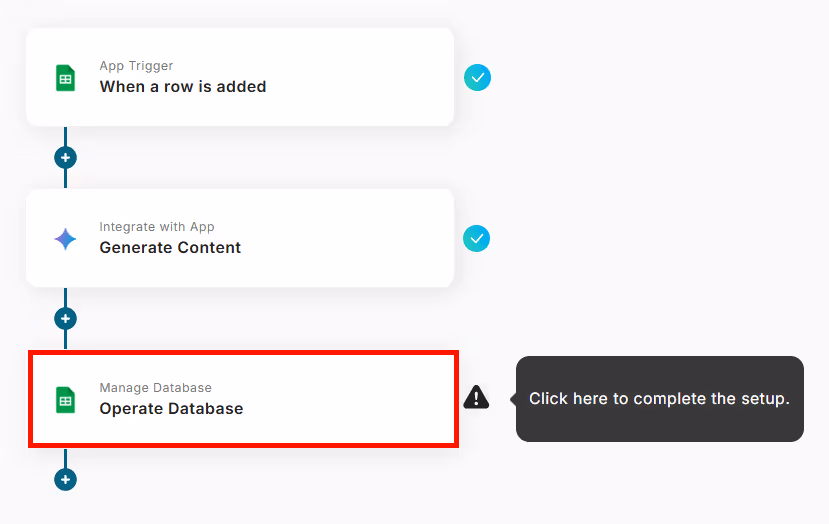
The final setting is "Update Record".
On the first page, as before, correct the account information and title.
Scroll down to find the section where you specify the sheet to update the record.

If you want to update information within the same sheet as the initial setup, specify the same one, or if you want to summarize separately, specify a different sheet.
Once entered, click "Next" to confirm the connection.
Next, set the conditions for updating the record.
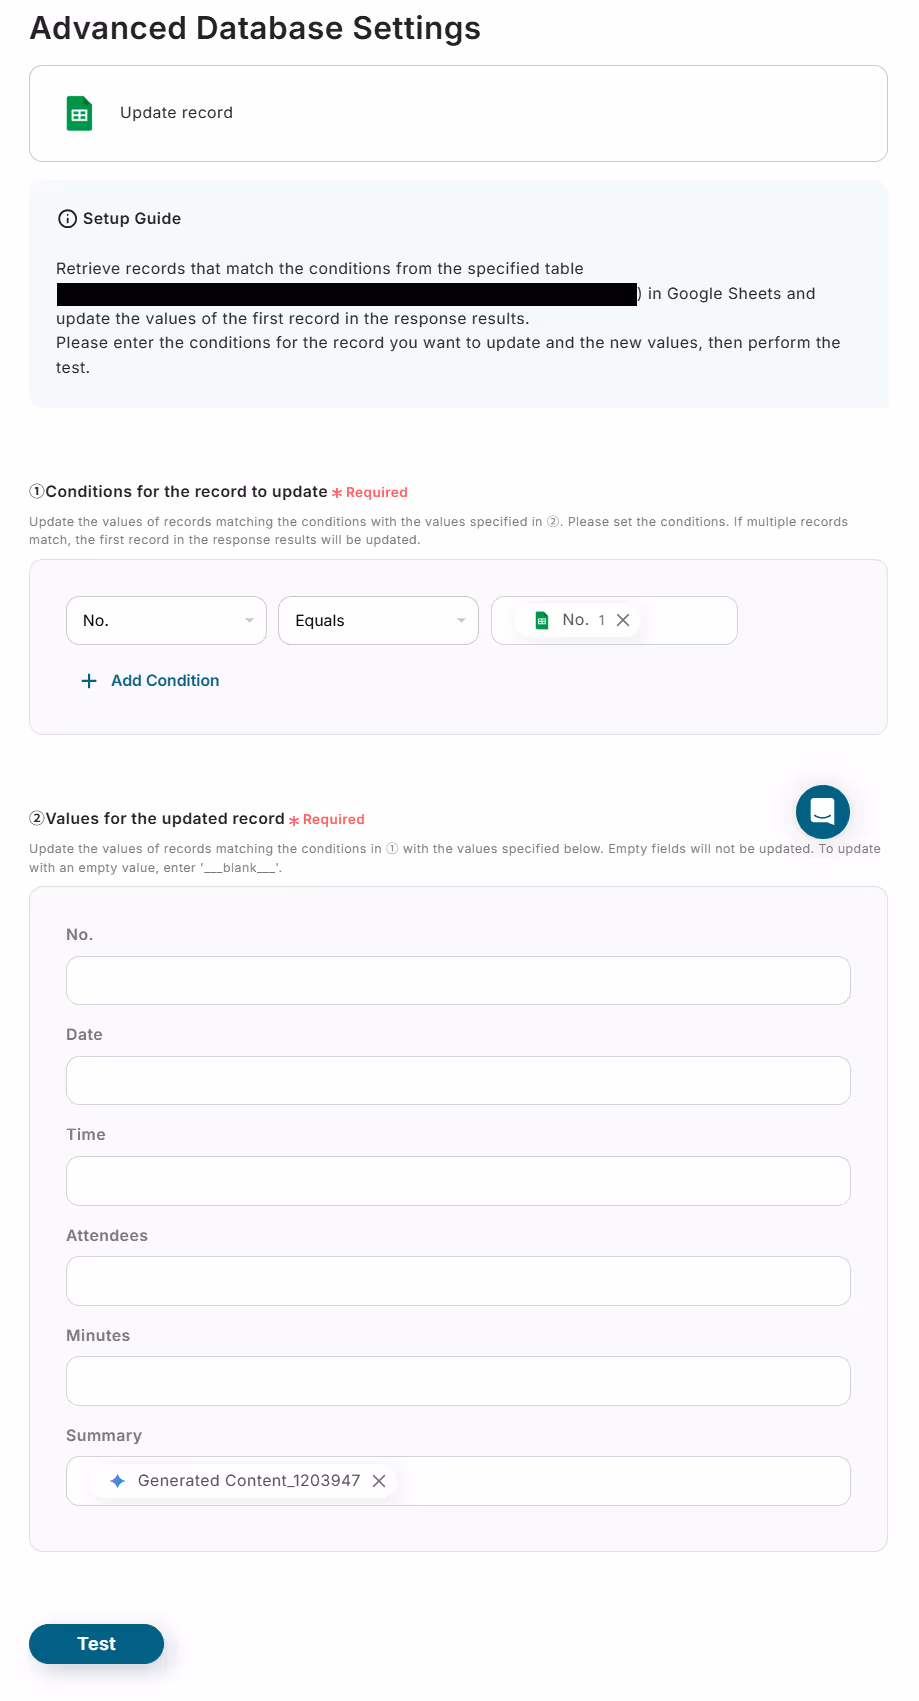
Update the row that matches condition ① according to the content of ②.
In the above image, it instructs to insert "Generated Content" into the "Summary" field of the row where the "No." in Google Sheets matches the "No." in the output (unique value).
Once set, click "Test" to check if the summary generated by Gemini is reflected in Google Sheets.
If it is successfully reflected, all settings are complete.
Finally, turn on the trigger to activate the flow.

With this, when information is updated on Google Sheets, the reserved text will be automatically reflected.


.avif)
.avif)
.avif)


