


Preparation
After copying the template, the first step in preparation is to register the Google Sheets and Google Workspace apps from Yoom's "My Apps".
※ If you have already registered, please proceed to "Step 1: Setting the App Trigger".
Procedure
1. After logging into Yoom, click "+ New Connection" from the "My Apps" menu on the left side.
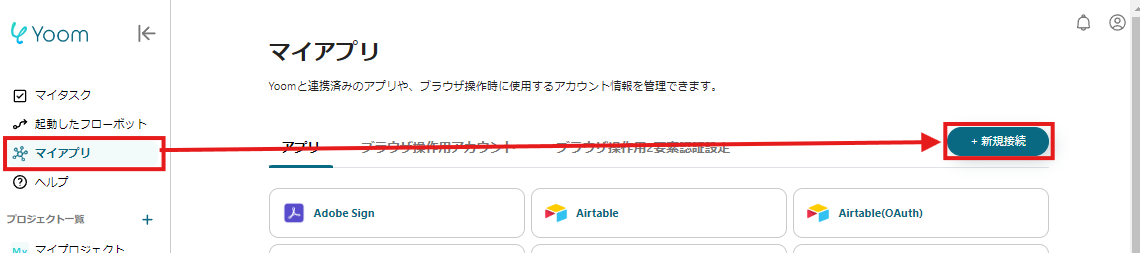
2. Search for the app name, enter the necessary login information, and register the app.
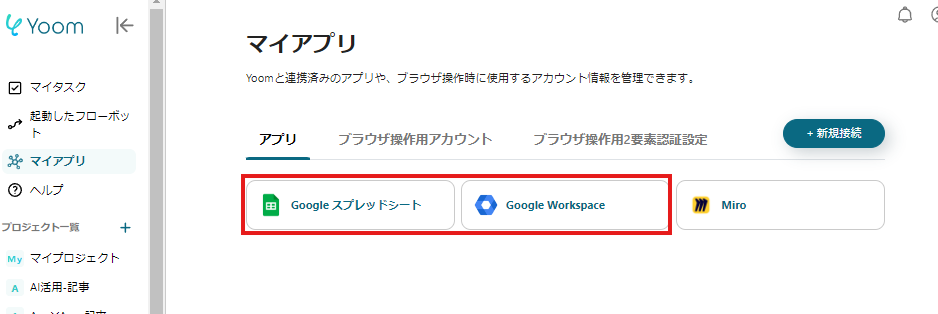
Once the Google Sheets and Google Workspace apps are displayed in the My Apps list, preparation is complete!
Let's proceed to the detailed settings!
Step 1: Setting the App Trigger
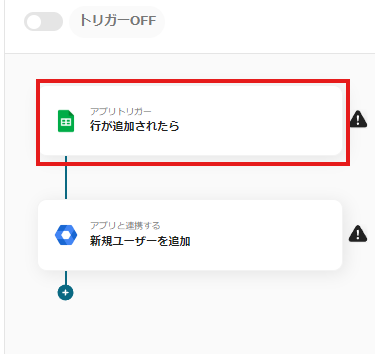
First, click on the initial setting "When a row is added".
On the first page, the pre-linked account information will be displayed, so please check it.
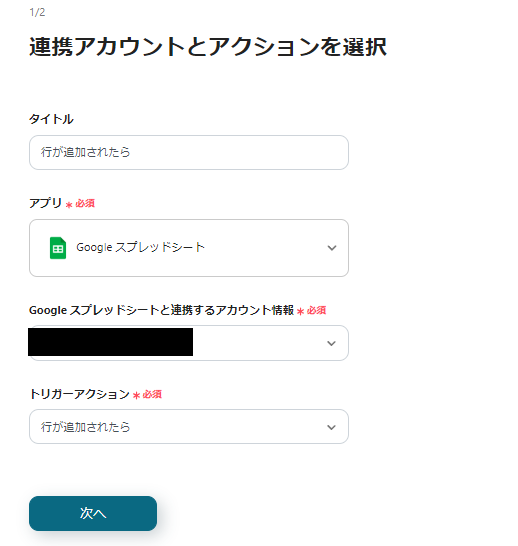
No changes are needed for other items, so please click "Next" as it is.
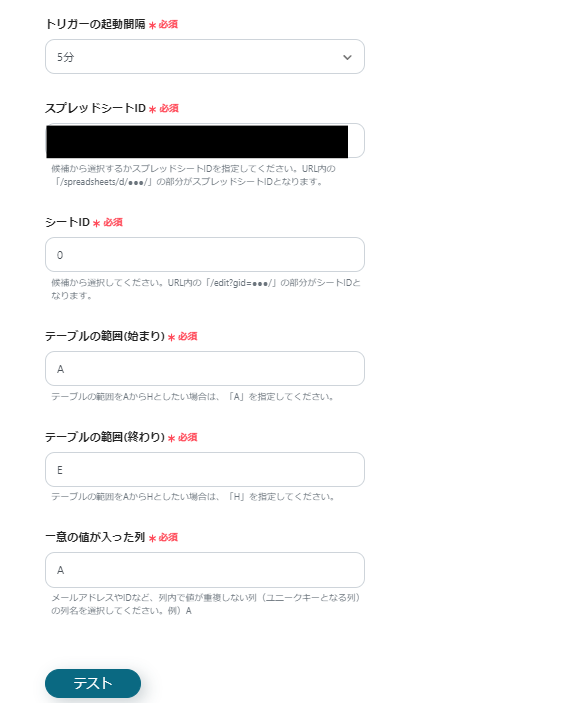
On the next page, please set the ID and range of the Google Sheets.
Especially, make sure to set a column with unique values as "Column with Unique Values".
If there are duplicate values within the column, it may not function correctly.
Once all items are entered, click "Test" to check for errors.
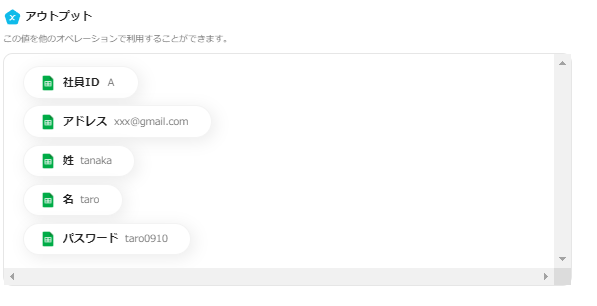
If the test is successful, the specified Google Sheets items will be reflected as output.
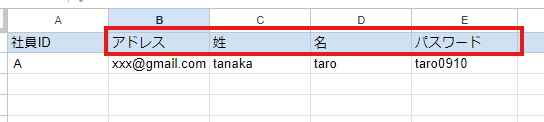
In this case, since the flow is to add a user to Google Workspace, at least four pieces of user information are required when adding a user.
<span class="mark-yellow">Therefore, please pre-store the four pieces of information "Address", "Last Name", "First Name", and "Password" in the Google Sheets as shown in the image below.</span>
If there are no issues up to this point, click "Save" to complete the trigger settings.
Step 2: Setting Google Workspace

Next, click "Add New User".
On the first page, just like with Google Sheets, only confirm the account information and select "Next".
On the next page, set the details for adding a user.
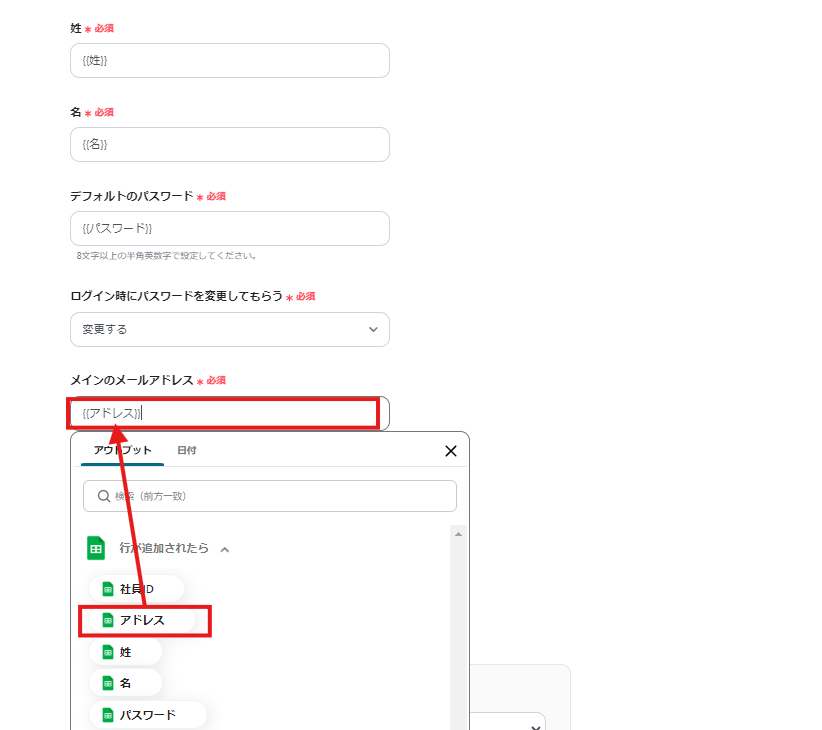
Use the information output from Google Sheets for the four items "Last Name", "First Name", "Default Password", and "Email Address".
Click "Test" and if no errors appear, click "Save" to complete the Miro settings.
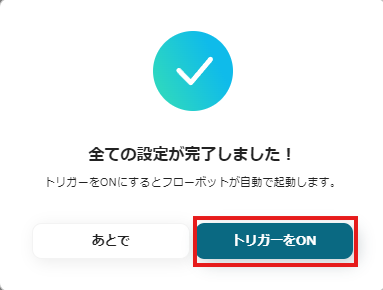
Once all settings are complete, a popup like the image above will appear.
When you turn the trigger ON, the flow will be executed.
Other Examples of Automation Using Google Sheets and Google Workspace
Yoom has many automation examples using Google Sheets and Google Workspace. Here are some representative examples.
1. A flow where an email is sent via Gmail when user information in Google Workspace is updated.


.avif)
.avif)
.avif)


