


After copying, click "OK" on the screen.

You will move to the following screen, so check the "Title" and "Description".
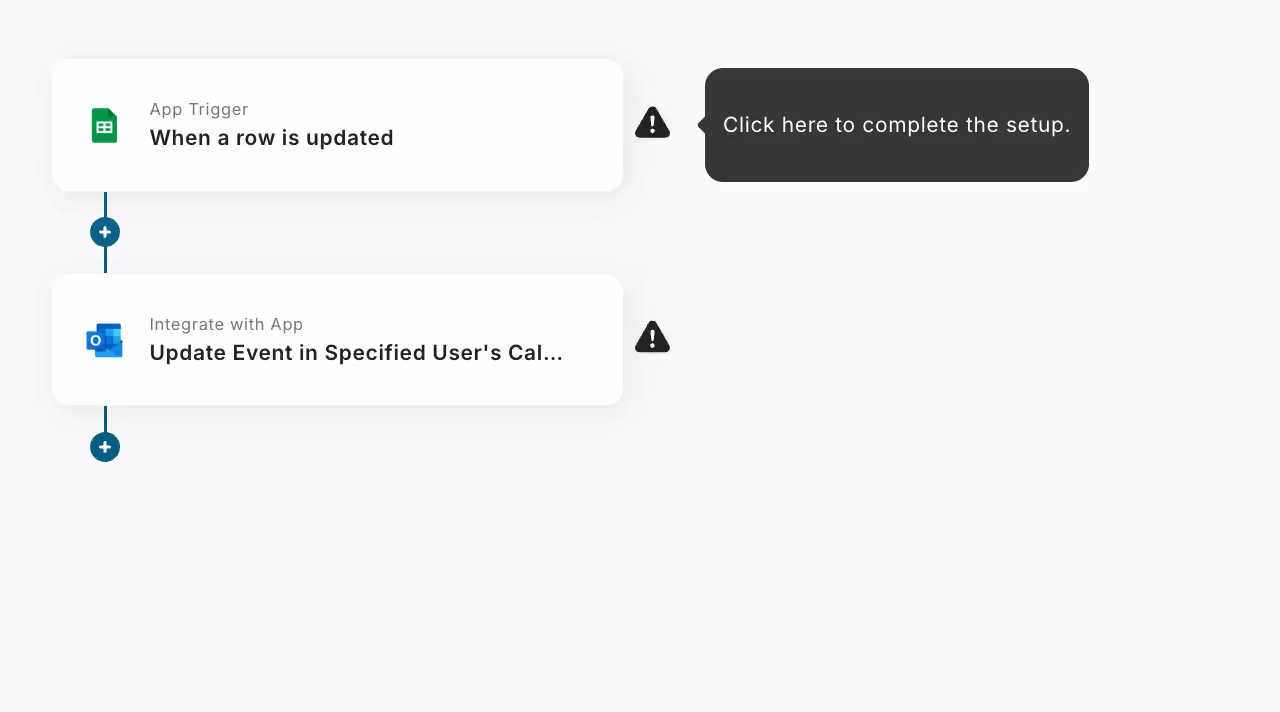
First, set up Google Sheets by clicking "When a row is updated".
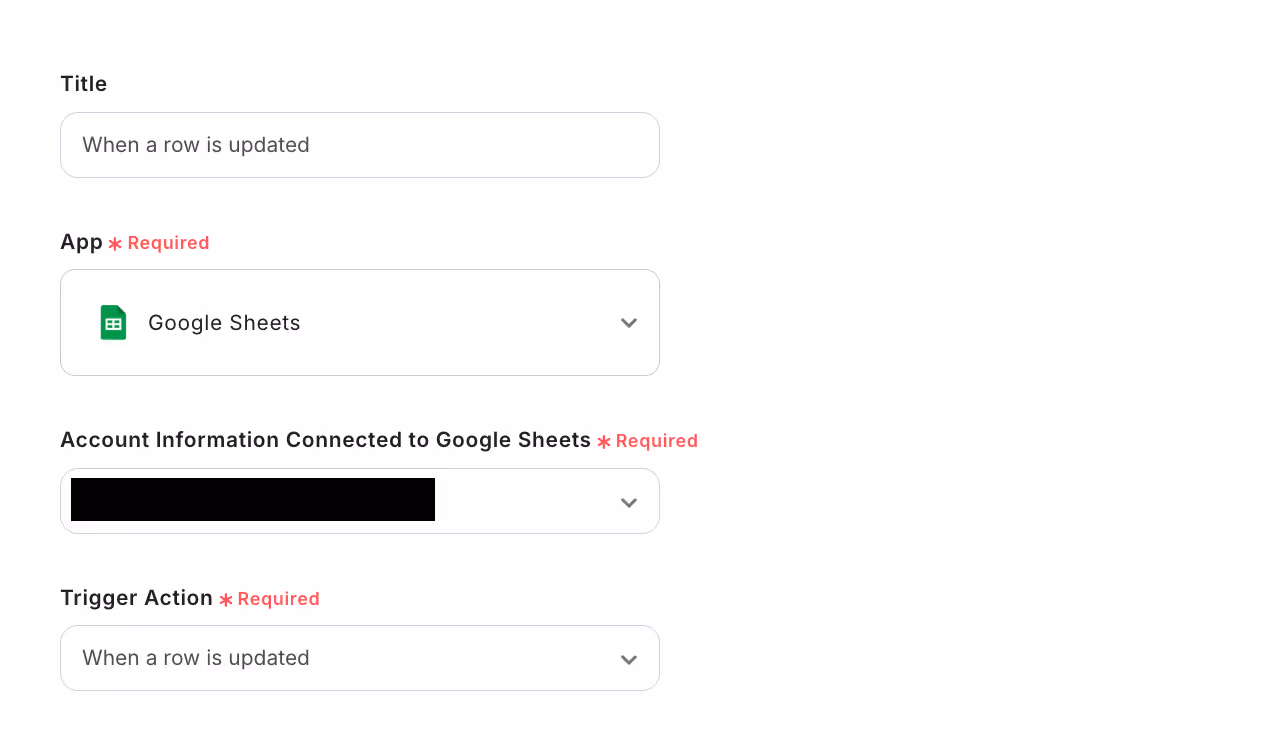
Once you move to the following screen, check the settings.
- "Title" → Can be changed if necessary
- "Account information to link with Google Sheets" → Confirm if correct
- "Trigger action" → When a row is updated
Once you move to the following screen, check the configuration method.
Move to the Google Sheets screen and enter schedule information for testing.
* The Event ID will be automatically entered if the following template settings are completed: "When a row is added in Google Sheets, register an event in the specified user's calendar in Outlook".
* For the start and end dates, you need to enter them in the format shown in the red frame in Outlook.
When entering, set the format to "Format" → "Number" → "Plain Text".
As an example, I set it as follows.
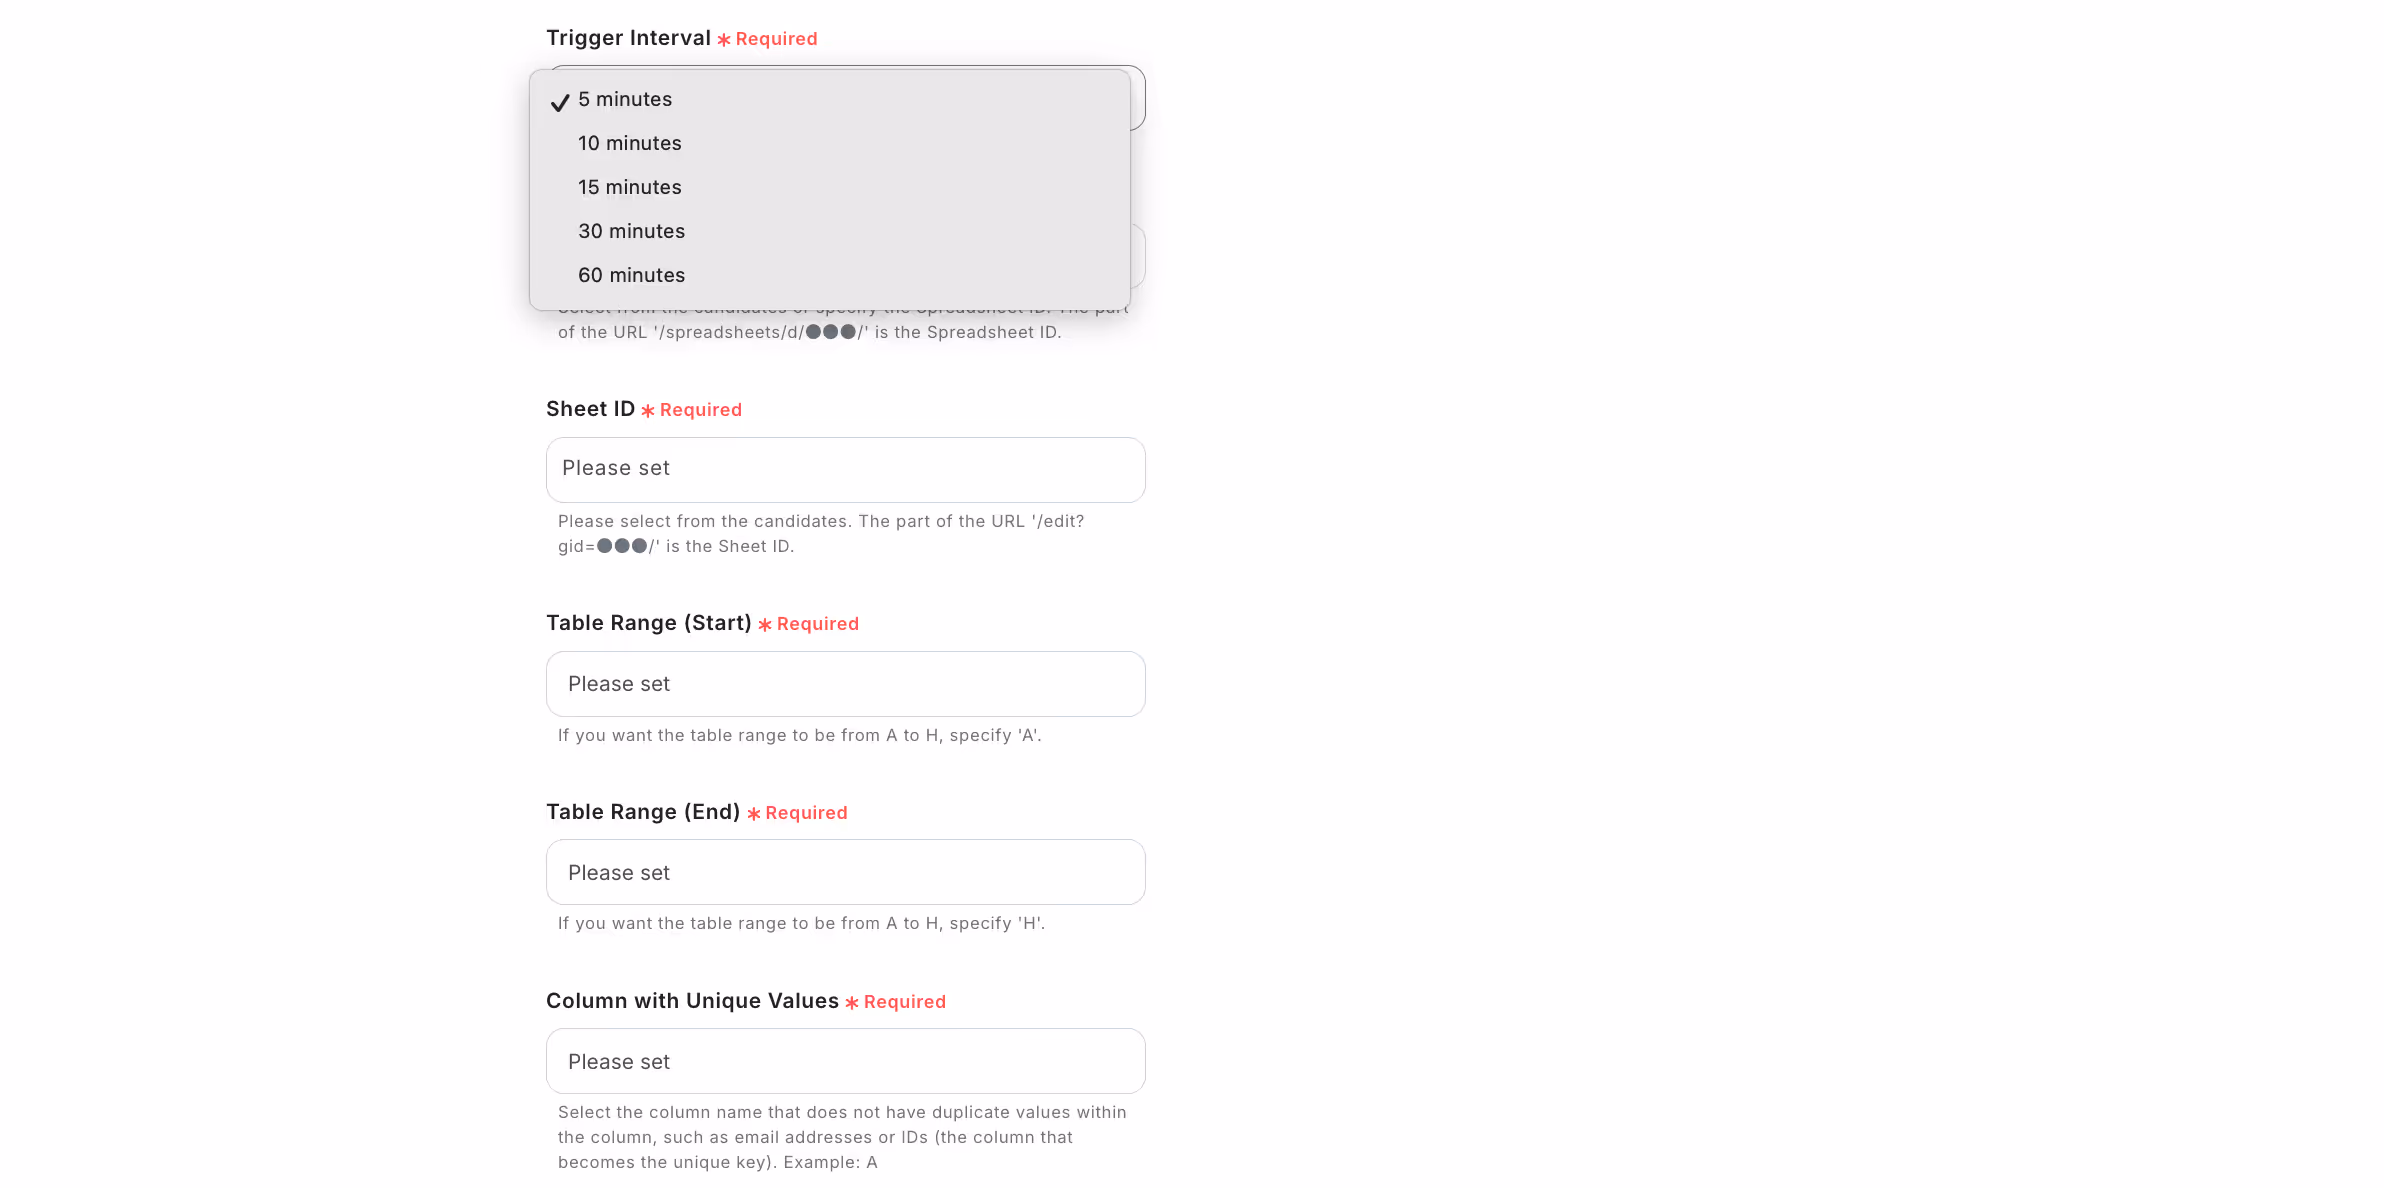
Return to the Yoom screen, scroll down, and make the following settings.
- "Trigger interval" → Choose from 5 minutes, 10 minutes, 15 minutes, 30 minutes, 60 minutes
- "Spreadsheet ID", "Sheet ID" → Select from candidates or read the description and enter
- "Table range (start)" → In this case, A
- "Table range (end)" → In this case, C
- * Specify the alphabet of the column where the items end
- "Column with unique values" → Specify the column where values do not duplicate
- * Ensure it is a column with unique values. If values are duplicated, it may not work correctly. In this case, we specified column A for the Event ID.
- "Column to detect updates" → Specify the column name to detect updates
* In this case, we set it to detect when the start date is updated, so specify B.
Which column to specify can be set arbitrarily.
Click "Test" → "Test successful" → "Save".
Next, set up Outlook by clicking "Update the specified user's calendar event".
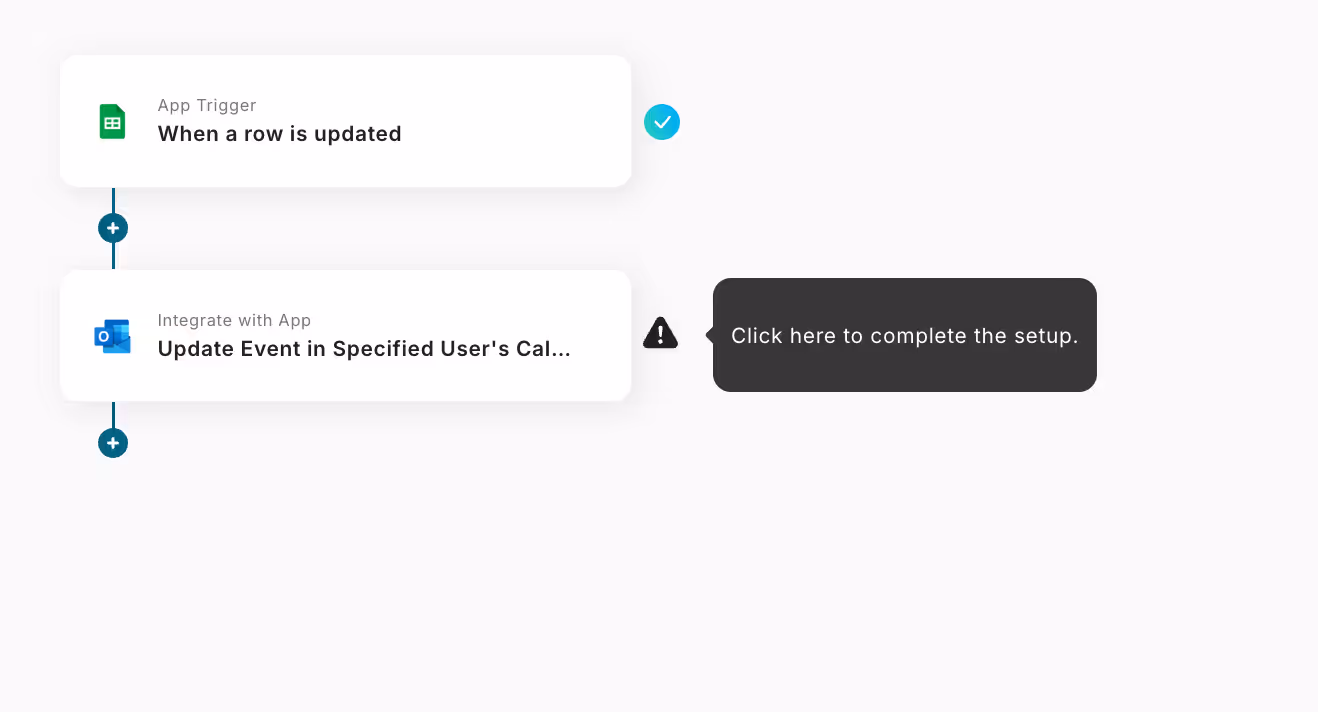
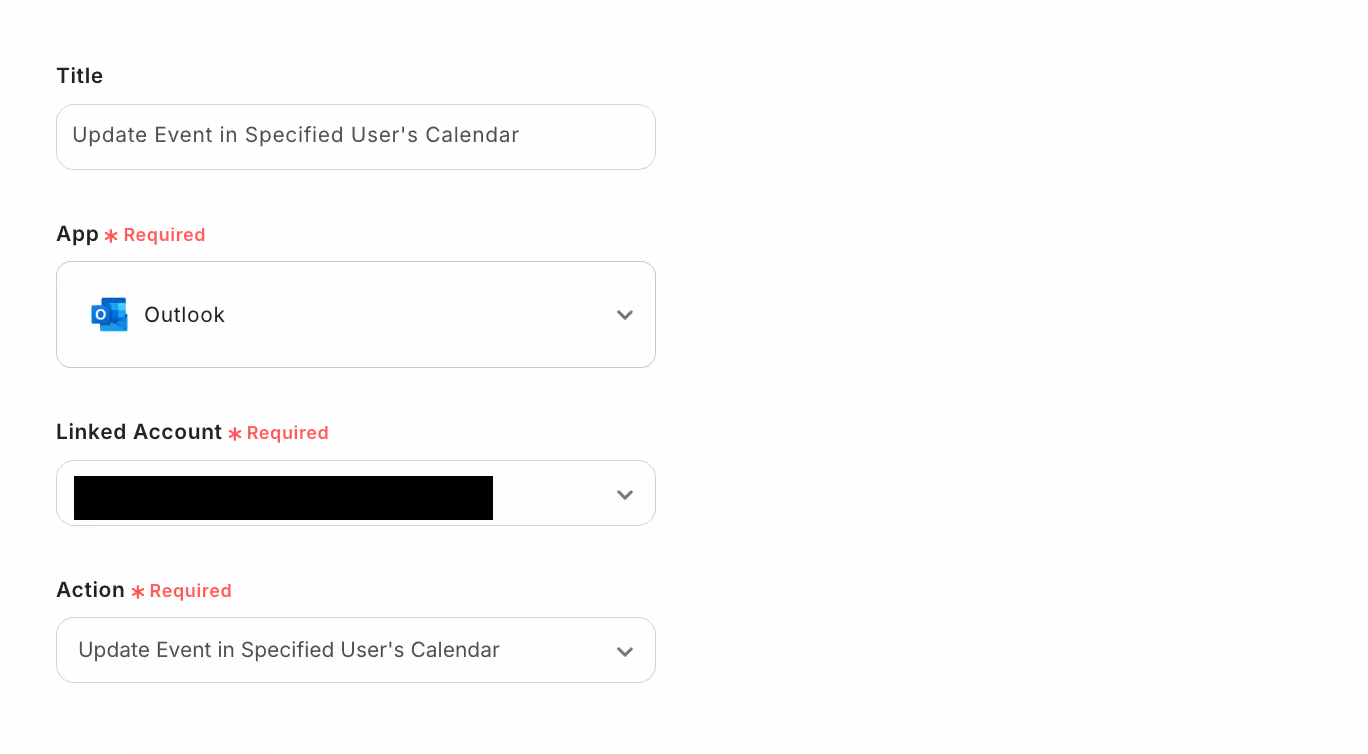
You will move to the following screen, so check the settings.
- "Title" → Can be changed if necessary
- "Account information to link with Outlook" → Confirm if correct
- "Action" → Update the specified user's calendar event
Once you move to the following screen, make the settings.
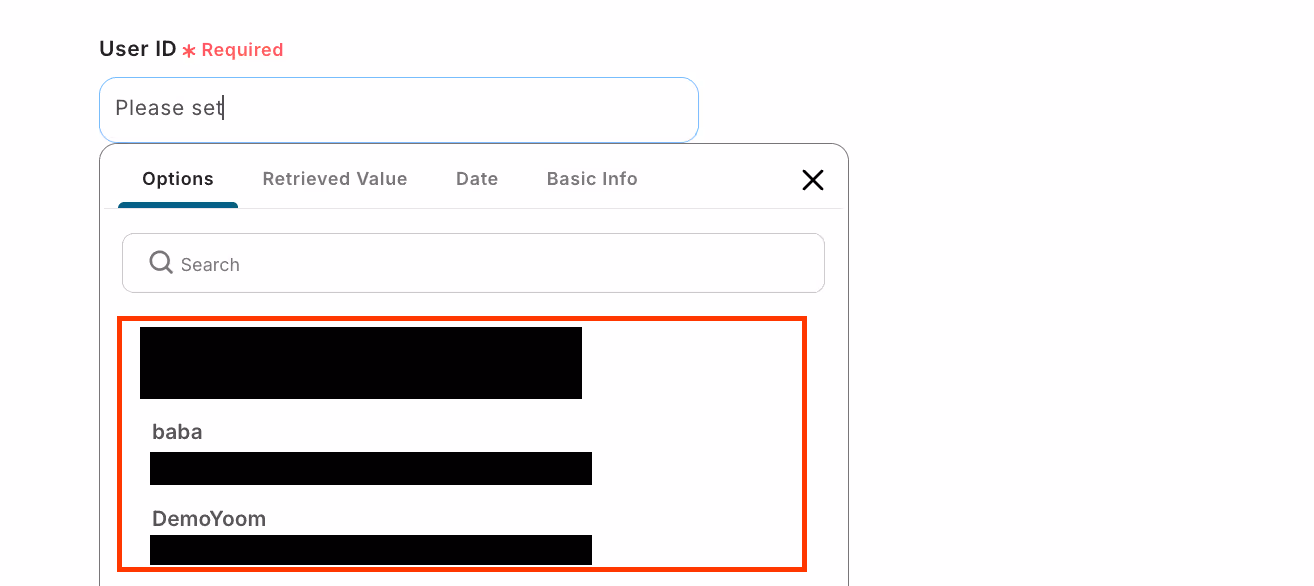
- "User ID" → Select from candidates
- "Event ID" → Use the output from Google Sheets
* Click the red frame to select the output.
{{Event ID}} ← The output will be displayed like this.
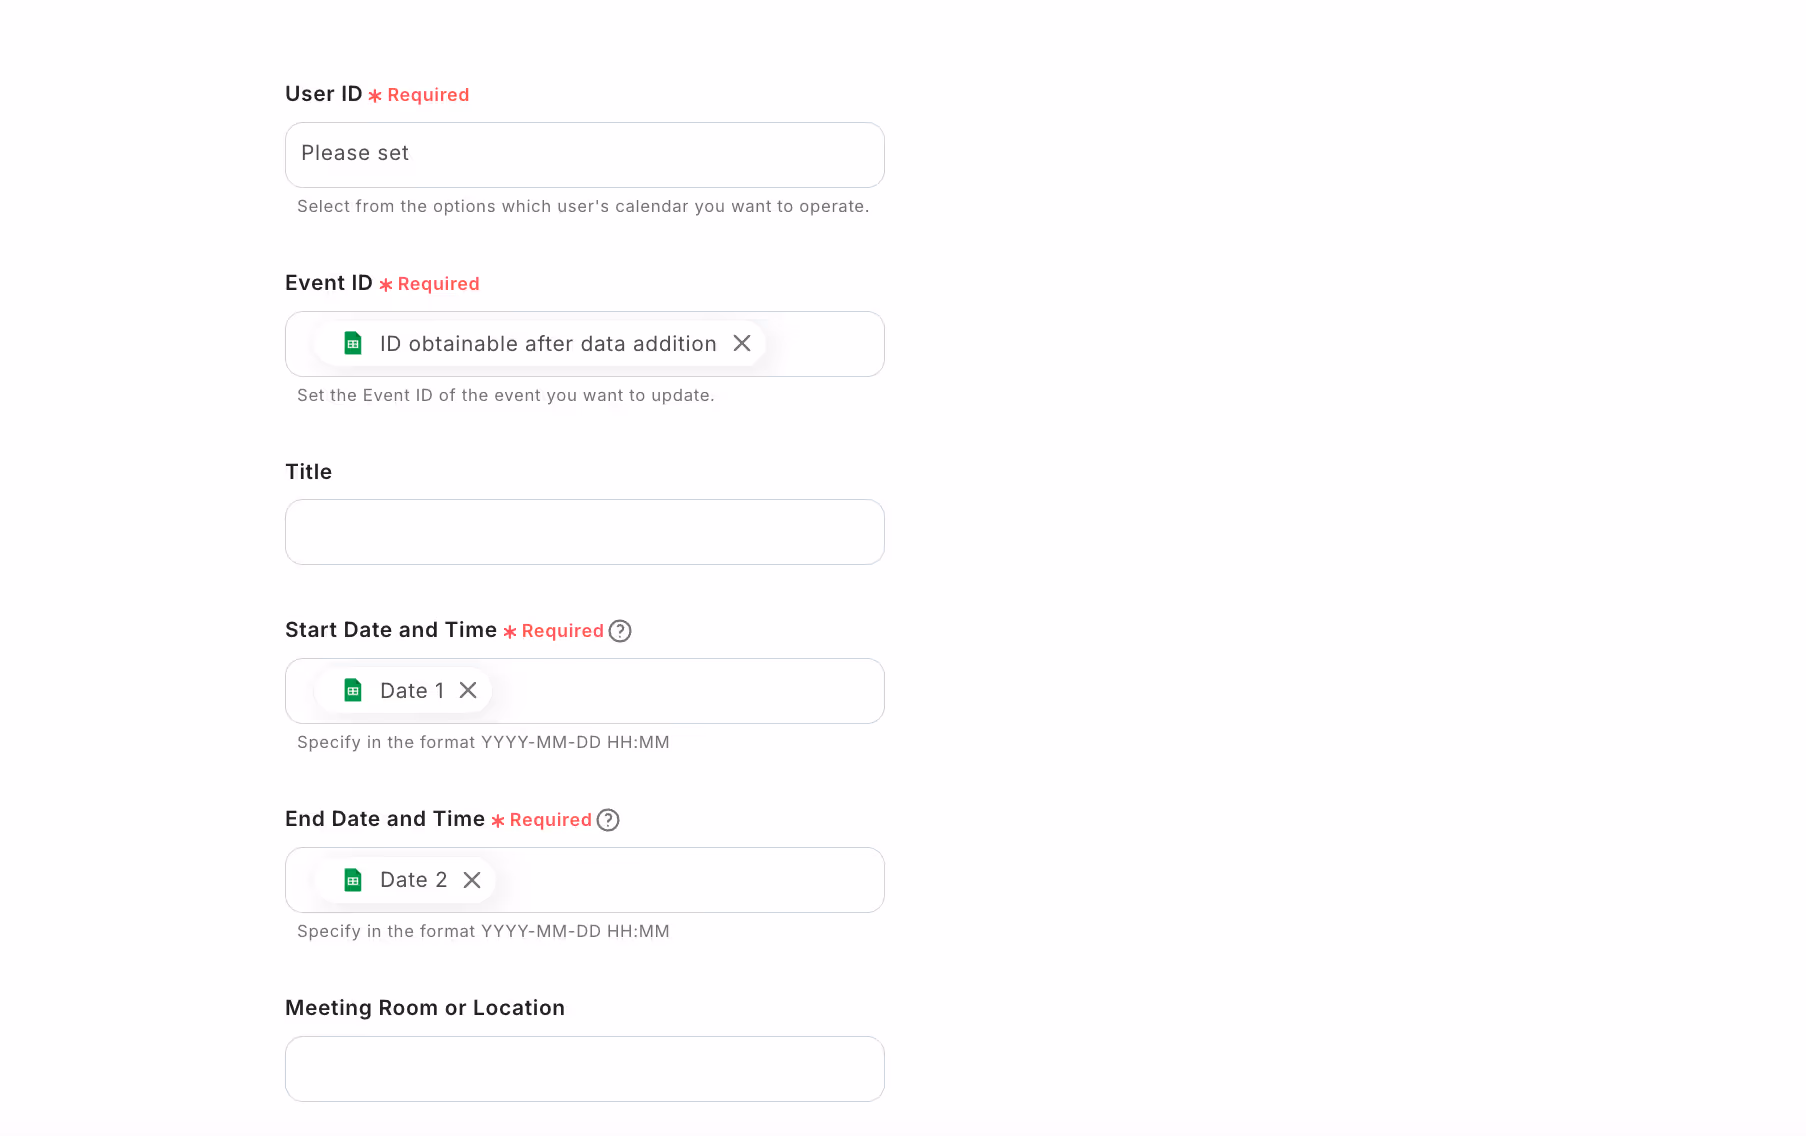
Scroll and set the "Start Date" and "End Date" as before.
Enter any other necessary items.
Click "Test" → "Test successful" → "Save".

Finally, click "Turn on Trigger" to complete the automation settings.

Good job on the setup!


.avif)
.avif)
.avif)


