

.avif)
Preparation
Before setting up the flow, connect Yoom with Google Sheets and Pipedrive.
After logging into Yoom, click "My Apps" on the left menu and then "+ New Connection".
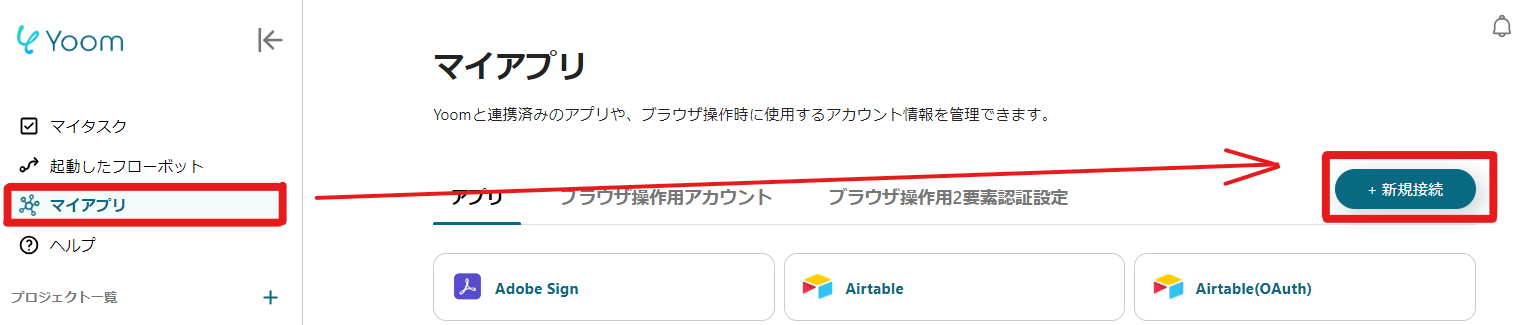
Search for the app names of Google Sheets and Pipedrive, and enter the necessary information.
Once the apps are connected, they will appear in the My Apps list.

If Google Sheets is also displayed, the preparation is complete.
Let's proceed with the detailed settings right away.
1. App Trigger Settings
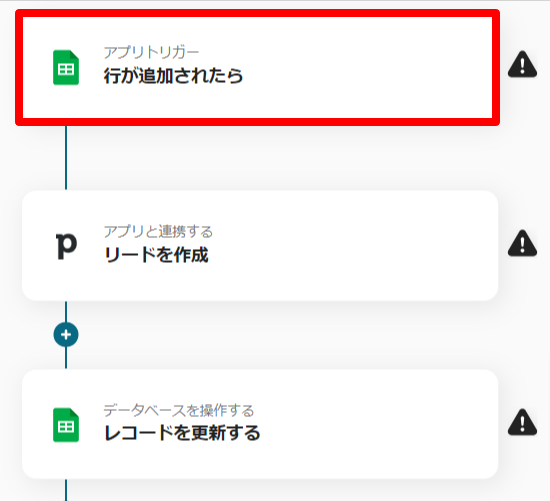
First, click on the initial flow "When a row is added".
On the first page, the account information of Google Sheets, which was linked in advance, is reflected.
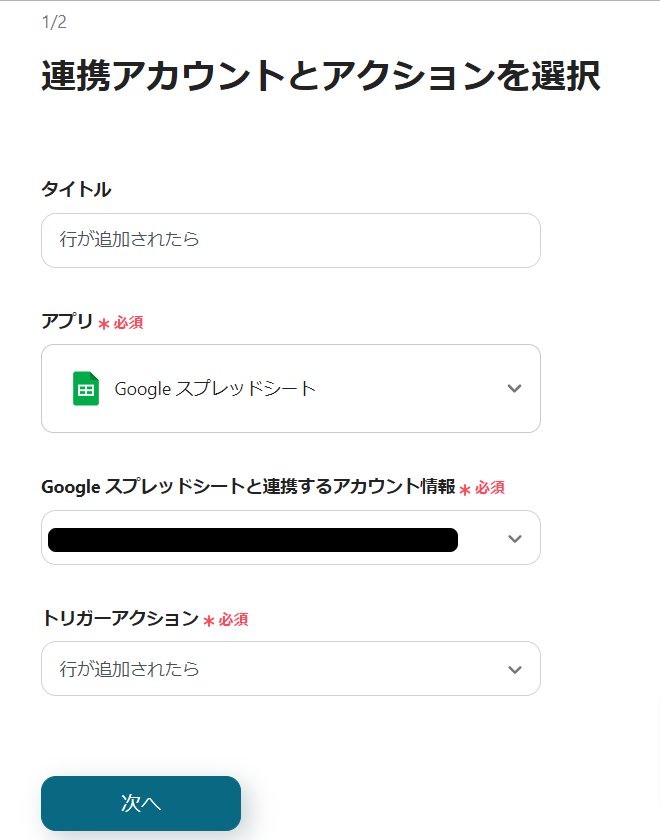
If the information is correct, click "Next" with the current settings.
On the next page, set up the Google Sheets to be monitored for updates.
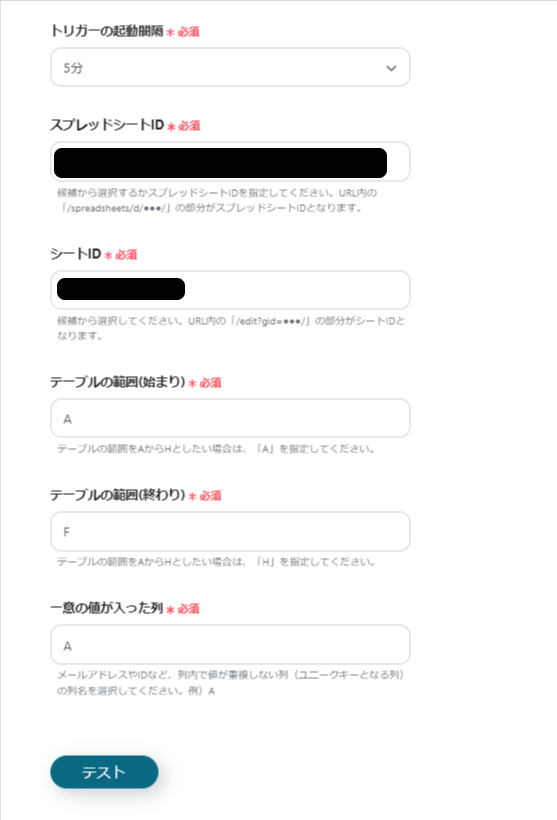
The trigger interval is a setting to check how often the specified Google Sheets information is added, so set it according to your business needs.
<span class="mark-yellow">For columns with unique values, set those that do not have duplicate values within the column.</span> (e.g., employee number, email address, etc.) If there are duplicate values within the column, it may not work correctly.
After entering all the items, click "Test".
If there are no errors, the information from the specified sheet is reflected as output.
Once confirmed, click "Save" to complete the trigger settings.
2. Pipedrive Settings
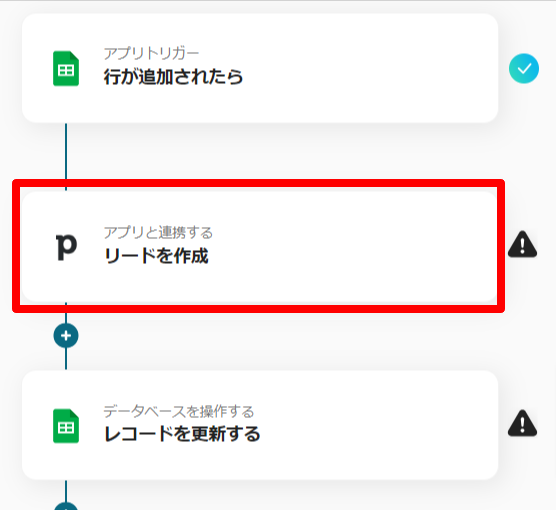
Next, proceed to the flow settings for "Create Lead Information".
On the first page, just like the Google Sheets settings, only confirm the account information and click "Next".

On the next page, set up to create lead information.
It is recommended to set a title that makes the lead content information easily identifiable at a glance.
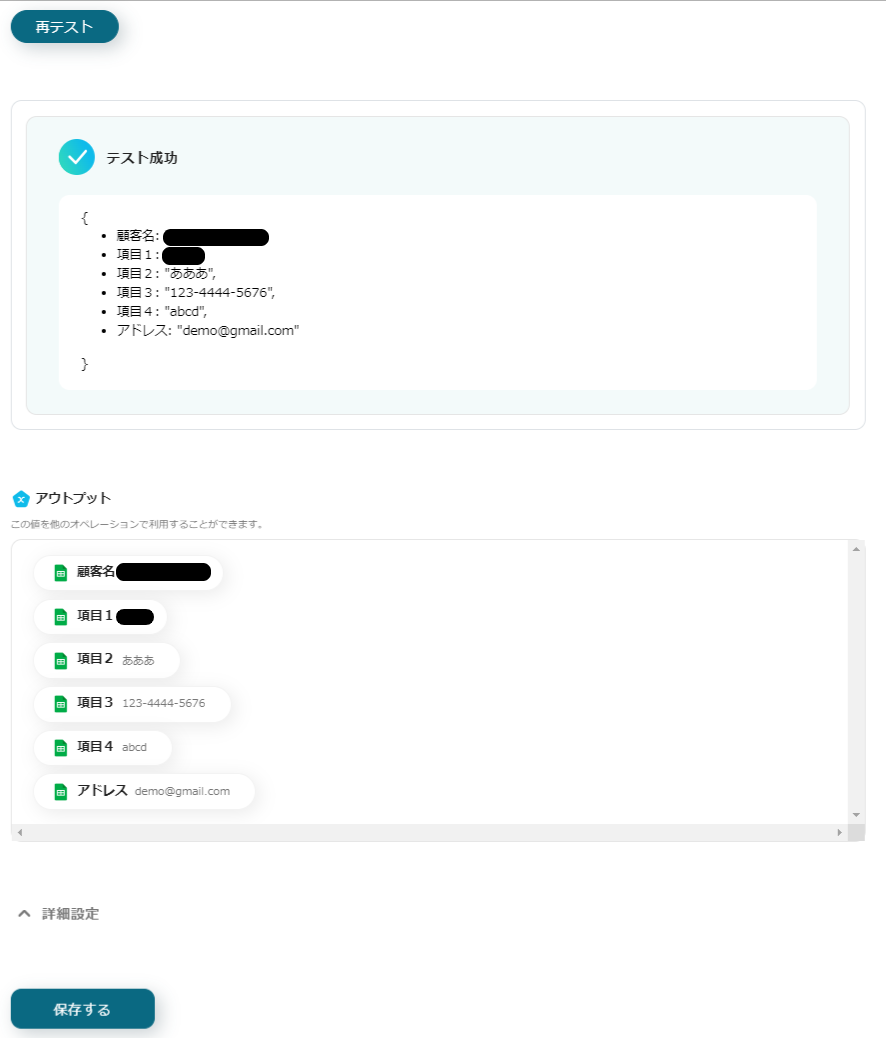
Enter the necessary information and click "Test".
Just like the Google Sheets settings, if the test is successful, the configured content + LeadID will be reflected as output.
(LeadID is a unique ID used to identify the information added in Pipedrive and will be used in the final settings.)
If there are no errors, the settings for creating lead information are complete!
Settings for Updating Google Sheets

Finally, set up "Update Record".
On the first page, after confirming the account information, enter the information of the sheet to be updated.
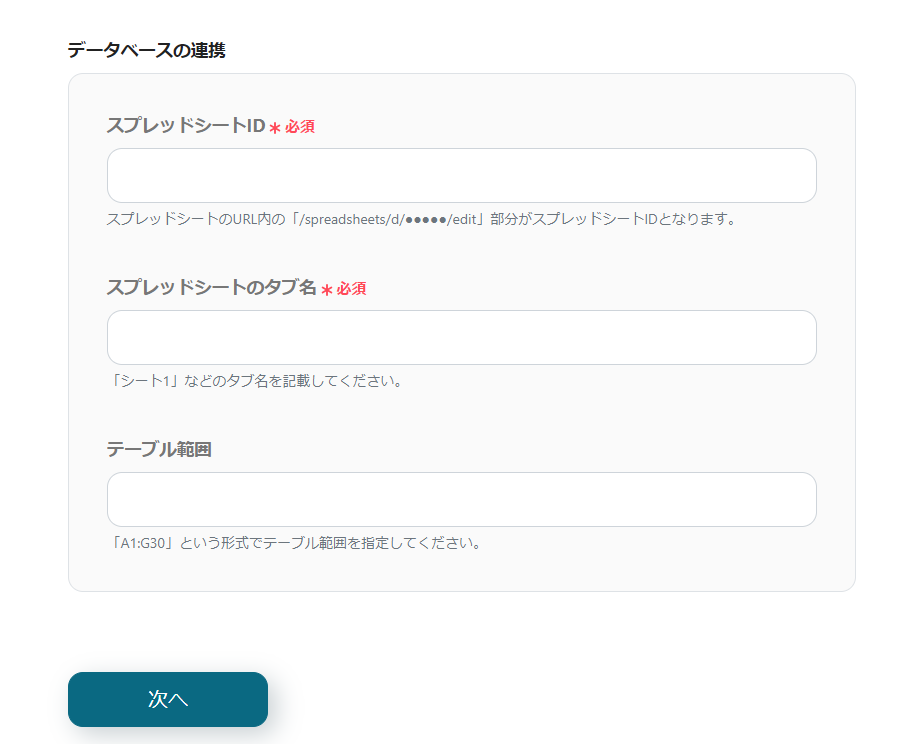
Enter the information of the sheet to be updated and click "Next".
If the sheet information is correct, proceed to the next page.
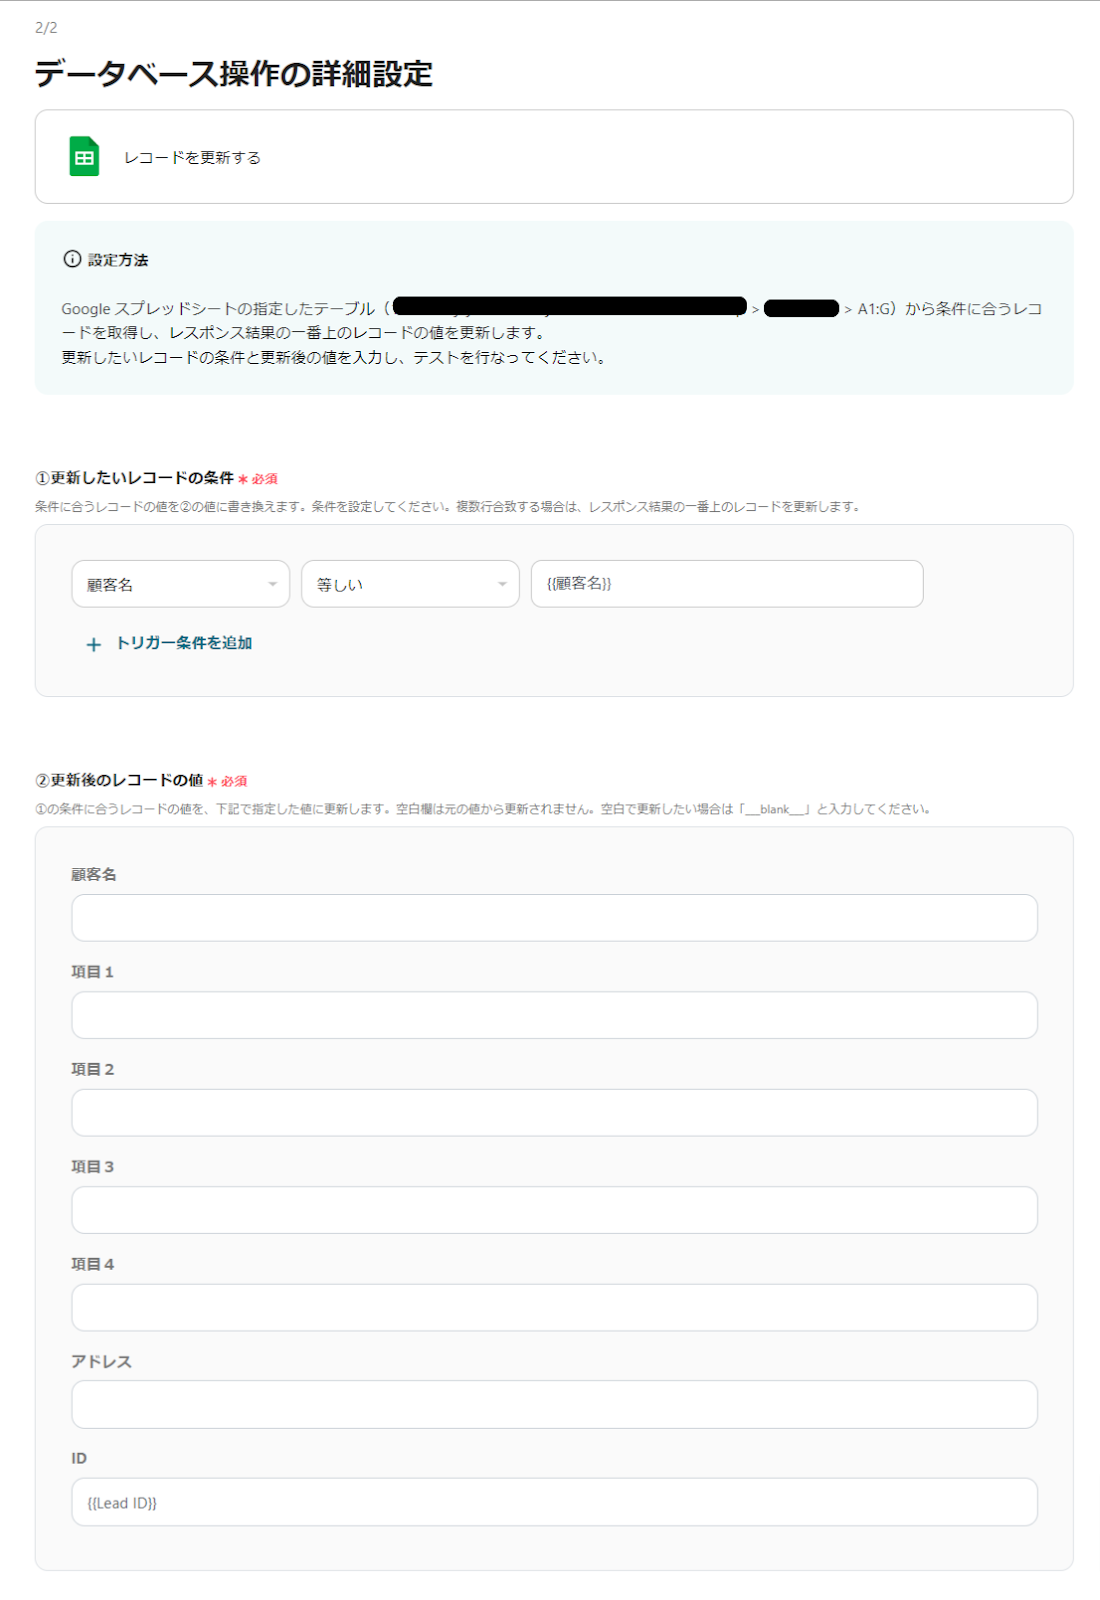
On the next page, set "Search by condition ① and update item ②" on the sheet set earlier.
In the image above, the setting is "Search for a row that matches the customer name and update the Lead ID".
Here, update the LeadID obtained as output in the Pipedrive settings earlier.

This flow is for "adding a row", but the "update a row" flow requires this LeadID.
LeadID is used as a criterion (unique ID) to find the row to be updated, so this is preparation for the update flow.
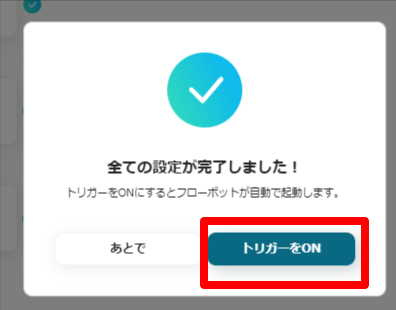
Once the settings are complete, click "Save" to finish all settings!
Finally, turn on the trigger to start the flow.
Now, when a row is added to Google Sheets, lead information will be added to Pipedrive.
Other Automation Examples Using Google Sheets and Pipedrive
There are many other examples of automation using Google Sheets and Pipedrive in Yoom, so let me introduce them.
1. In the integration of Google Sheets and Pipedrive, not only lead information but also deal information can be added and updated. For sales representatives, this eliminates the need for manual input and allows for quick actions on the deals they are handling.


.avif)
.avif)
.avif)


