


1. Hover over the banner and click "View Details"
2. On the transitioned page, click "Try this template"
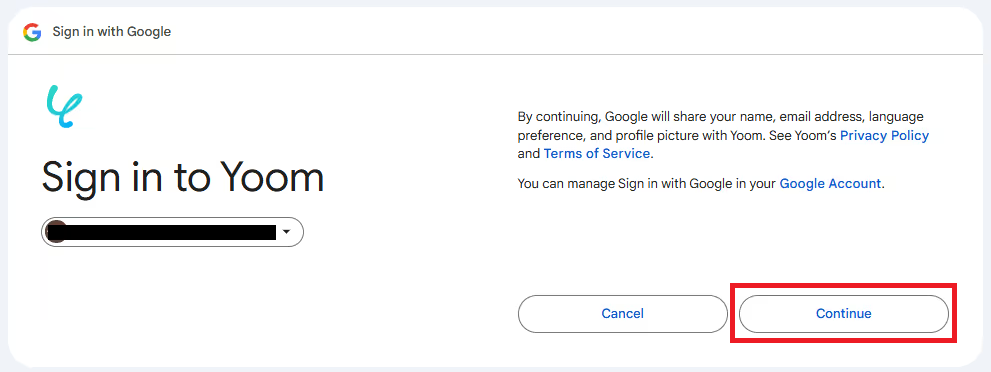
3. Register for Yoom
※ If you have already completed registration, the login screen will be displayed, so please log in.
Step 2: Set a trigger to activate when the status is updated in Google Sheets
From here, we will edit the Flowbot.
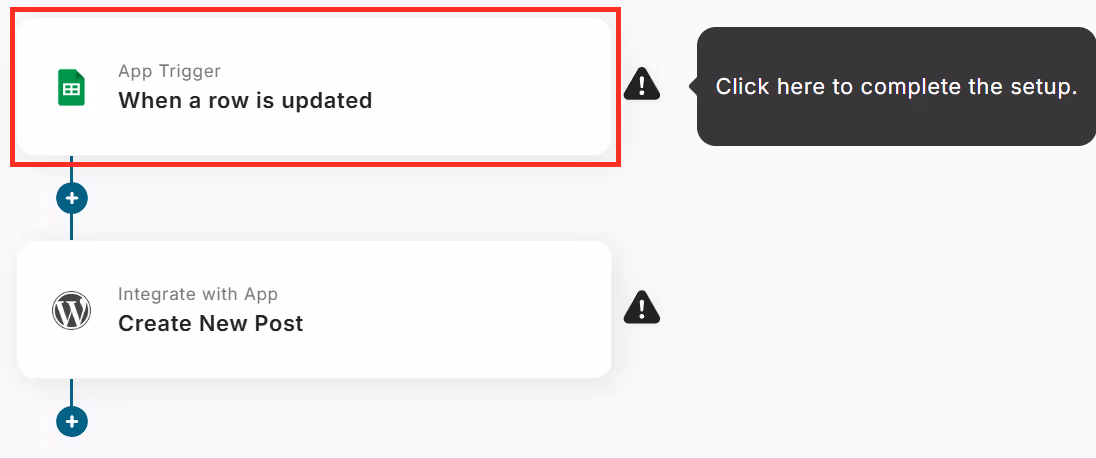
Click on the Google Sheets icon "When a row is updated".

Check for any errors in the account information to be linked, enter the required items, and click "Next".
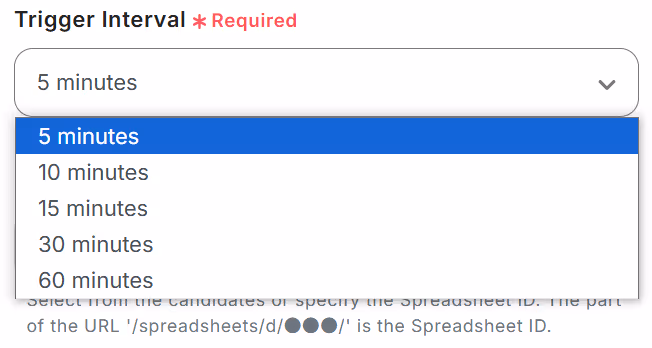
Set the activation interval.
The trigger can be set to activate at intervals of 5 minutes, 10 minutes, 15 minutes, 30 minutes, or 60 minutes.
Please note that the shortest activation interval varies depending on the plan.
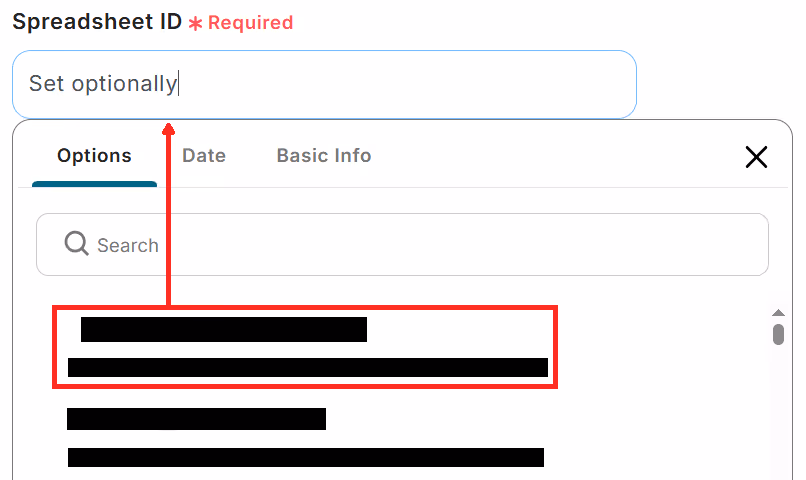
The data from Google Sheets will be displayed in a list, so click and insert the sheet you want to link. Set the sheet ID in the same way.
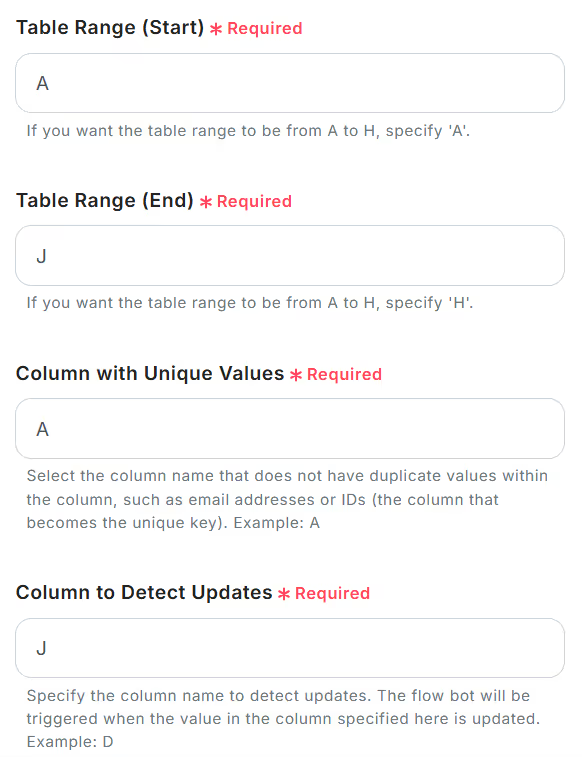
Specify the table range.

This time, the table range of the prepared Google Sheets is A~J.

Once the settings are complete, press the "Test button".
If "Test successful" is displayed, it is complete. Click Save.
Step 3: Set up a new post in WordPress
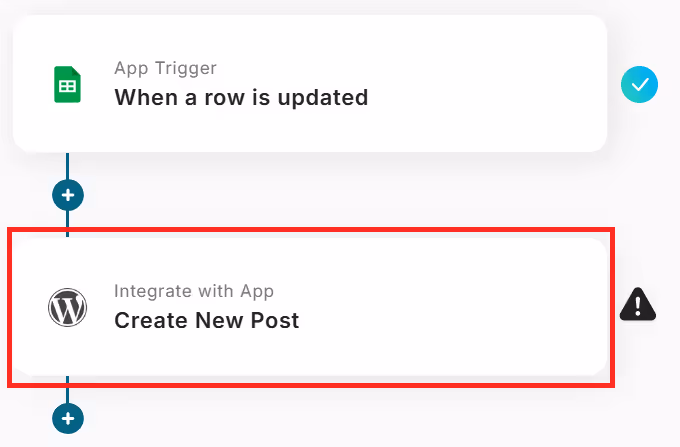
Click on the WordPress icon "Create a new post".
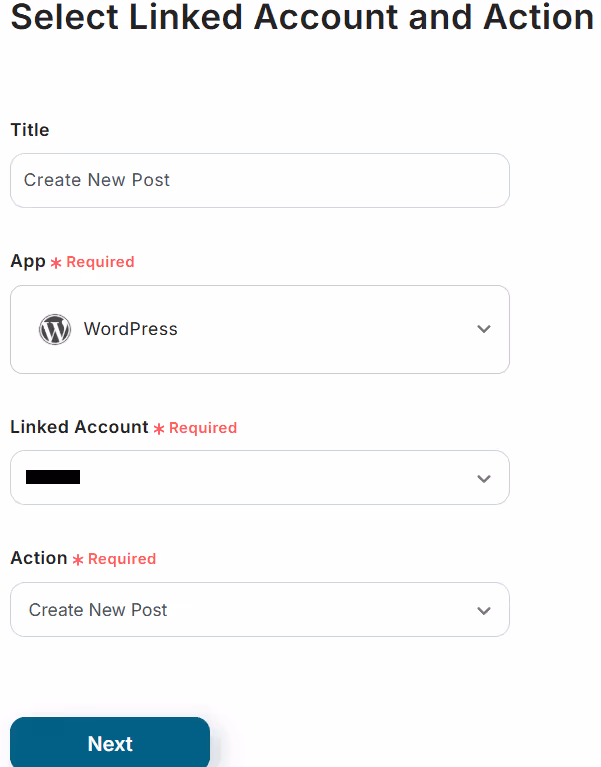
Check for any errors in the account information to be linked, enter the required items, and click "Next".
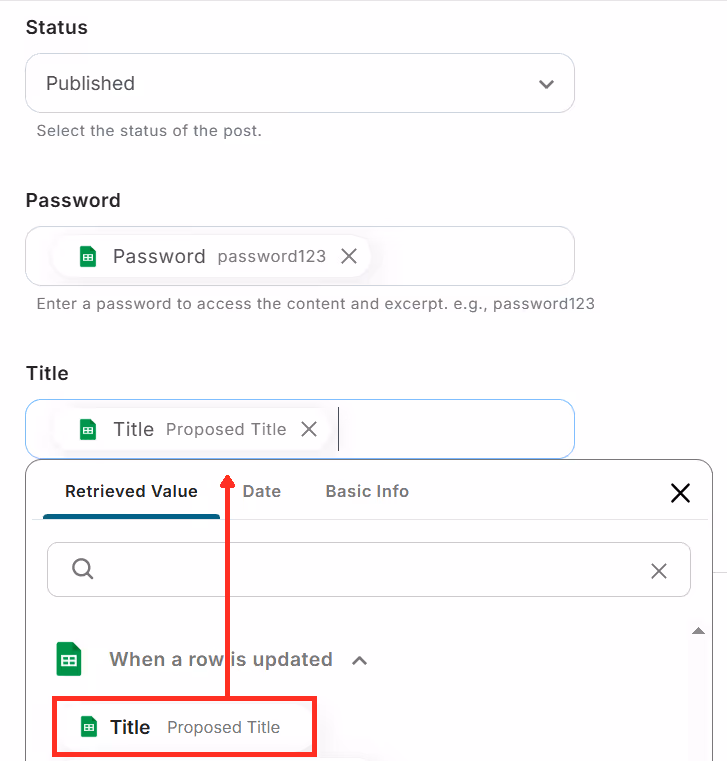
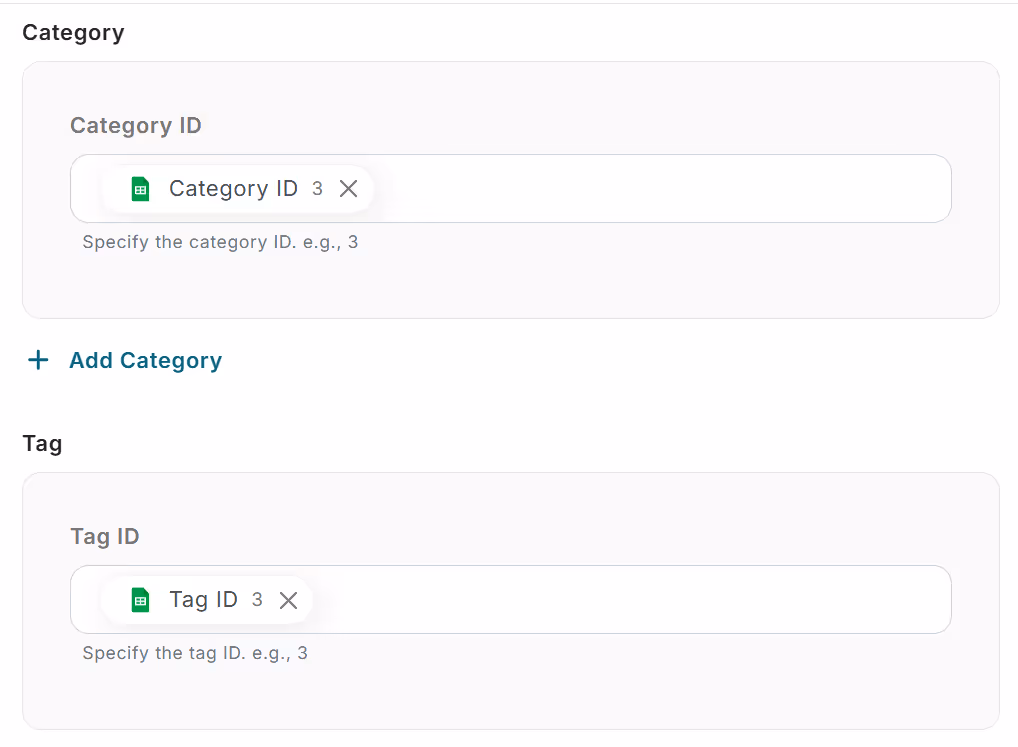
Set up the API connection.
From within the screen box, select the record values for each item from the output.
Once the settings are complete, click "Test" → "Test successful" → "Save".
Step 4: Turn ON the trigger button
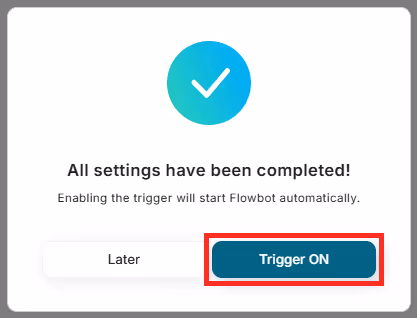
Once the Flowbot creation is complete, a display like the above will appear. The trigger is initially set to OFF, so turn it ON.
Template used this time
Create a post in WordPress when the status is updated in Google Sheets


.avif)
.avif)
.avif)


