1. Click on "View Details" on the top banner
2. Click on "Try this template" at the bottom of the transitioned screen
3. Register for Yoom
※ If you have already completed registration, the login screen will be displayed, so please log in.
How to Create an Integration Flow between Jira Software and Zendesk
STEP1: My App Integration

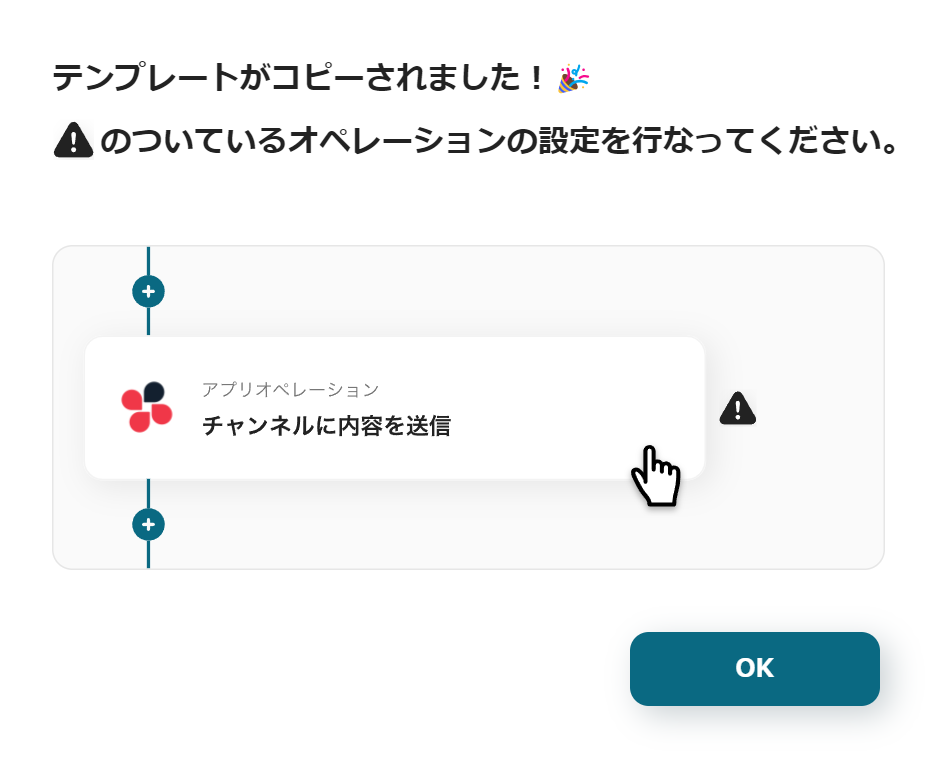
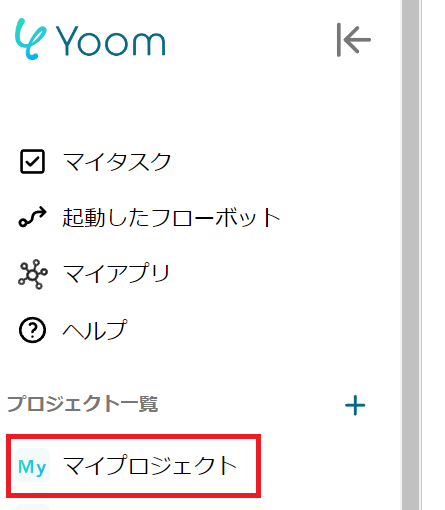
Once Yoom registration is complete, the Flowbot template will be copied to "My Projects".
When the display appears as shown in the image, please select "My Apps" from the menu on the left side of the screen.

Click the new connection button at the top right to integrate Yoom with each app.
Integration of Jira Software and Yoom
1. Search
Enter "Jira Software" in the search box and click the Jira Software icon.
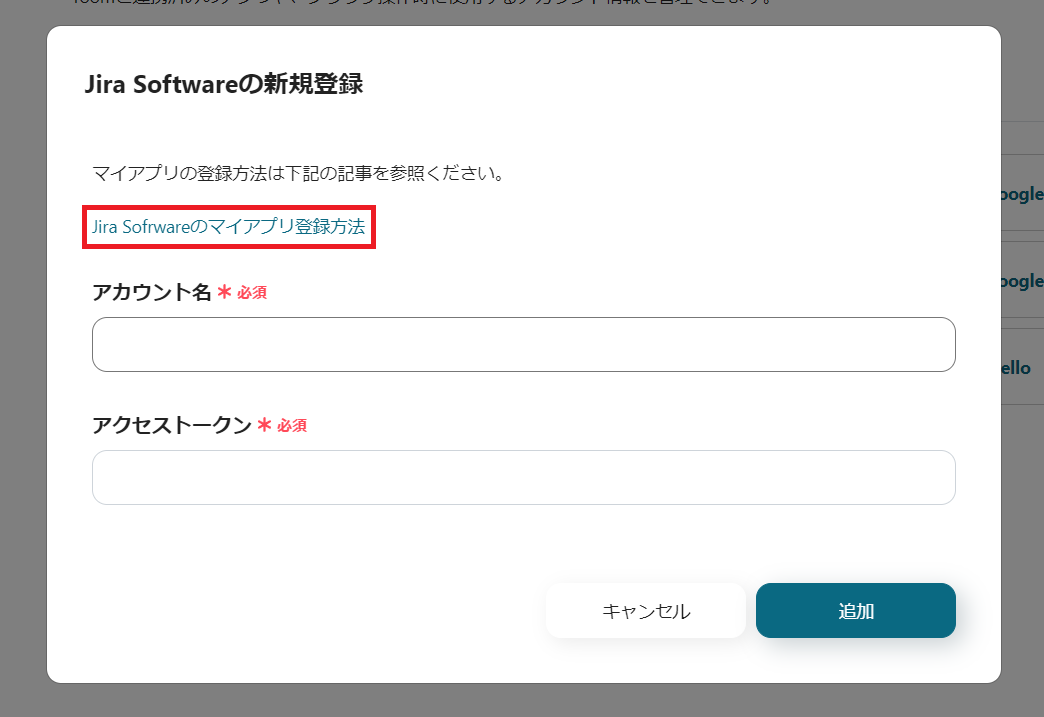
2. Set Account Name and Obtain Access Token

Set the required items.
For more details, please refer to How to Register My App for Jira Software.
4. Click Add

Once the two required items are set, press the add button at the bottom right.
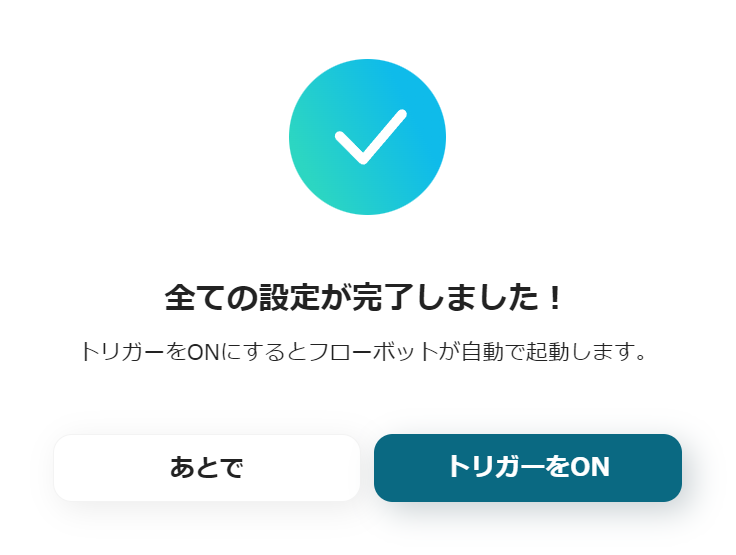
If the above display appears, it is complete.
Integration of Zendesk and Yoom
1. Search
Enter "Zendesk" in the search box and click the Zendesk icon.
2. Set Account Name and Obtain Access Token

Enter the account name and access token.
Combine the email address registered with Zendesk and the API token obtained from the Zendesk Support Admin Center with a ":", and encode in base64 format.
【Example】 Email Address/Yoom@xxxx.xx.jp
API Token/ABCDE1234fghIJK567
【Encoded String】
Yoom@xxxx.xx.jp:ABCDE1234fghIJK567
For more details, please check the following
How to Register My App for Zendesk
4. Click Add

Once the two required items are set, press the add button at the bottom right.
If the above display appears, it is complete.
This completes the My App integration for Jira Software and Zendesk.
Next, let's use the template copied earlier to configure the Flowbot.
If not yet copied, please copy the Flowbot template from below.


.avif)
.avif)
.avif)


