Mazrica and Todoist My App Integration
After copying the template, register Mazrica and Todoist in Yoom's My Apps as a preliminary step.
※If you have already registered, please proceed to "Step 1. Set App Trigger".
<Procedure>
1. After logging into Yoom, click "My Apps" → "+ New Connection" in order

2. Search for the app name and enter the required information

If Mazrica and Todoist are displayed in the My Apps list, you are ready!
Let's proceed to the detailed settings right away!
Step 1. Set App Trigger
First, click on the app trigger "When a case action is registered".
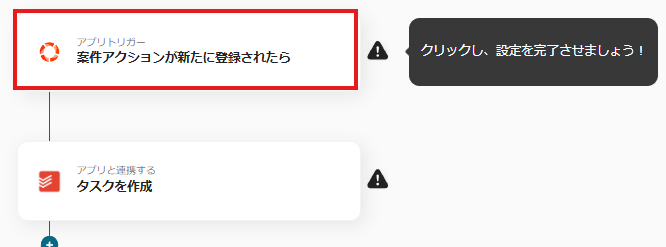
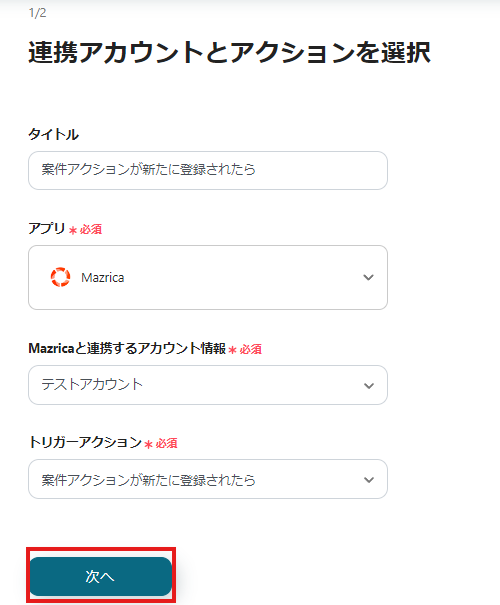
On the first page, the pre-linked account information will be displayed, so please check it.
If there are no issues, click "Next".
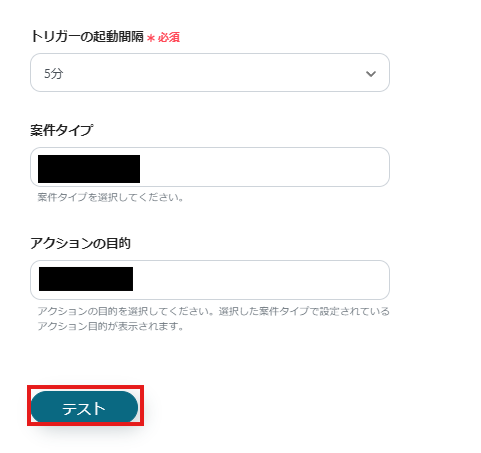
On the next page, set up the API connection.
Specify "Case Type" and "Purpose of Action", then click Test.
※Please note that the "Trigger Activation Interval" varies depending on your plan. For details, please seehere.
If there are no issues up to this point, click "Save" to complete the trigger settings.
Step 2. Create Task
Next, click "Create Task".
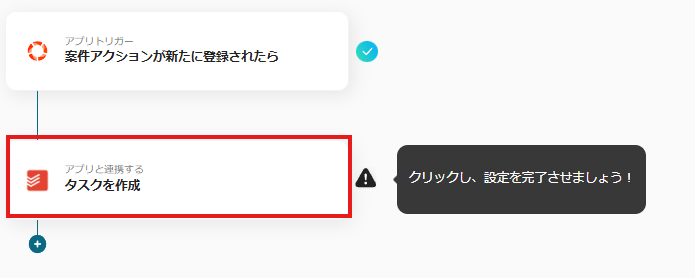
On the first page, the account information will be displayed as in Step 1, so if there are no issues, click "Next".
On the second page, set up the task creation.
"Content" is a required field, so use the output information to enter it.
Other fields are optional, so fill them in as needed.
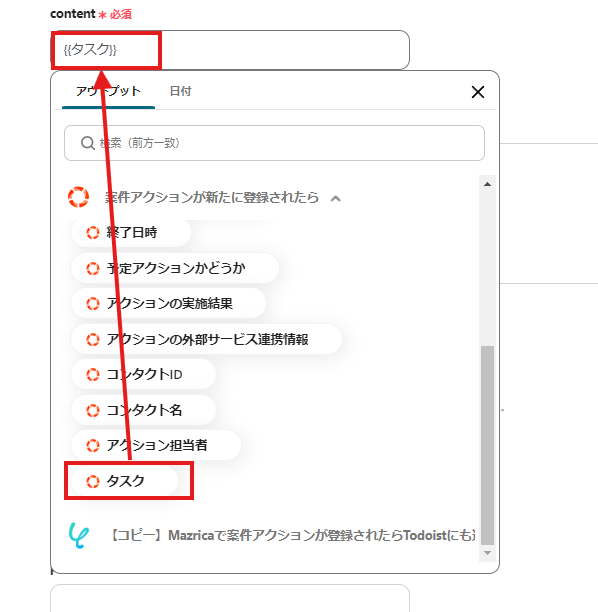
Click "Test" and if no errors occur, click "Save".
If a popup like the one below appears, all settings are complete.

Other Automation Examples Using Mazrica and Todoist
Yoom offers many automation examples using Mazrica and Todoist.
It is possible to integrate with various apps, so please refer to the following representative examples.
1. Add to Microsoft Excel when a case action is registered in Mazrica
This time, we automatically added case information to Asana, but it is also possible to add it to Microsoft Excel.
Recommended for those who want to aggregate and analyze data in Microsoft Excel based on case information registered in Mazrica.


.avif)
.avif)
.png)


