


Step 1: Connect My App
Connecting My App first will make the subsequent settings proceed smoothly.
First, let's connect Misoca and Yoom that you are using.
Select My App → New Connection from the left side of the Yoom page.
Search for Misoca.
When the following screen appears, log in with the applicable ID.

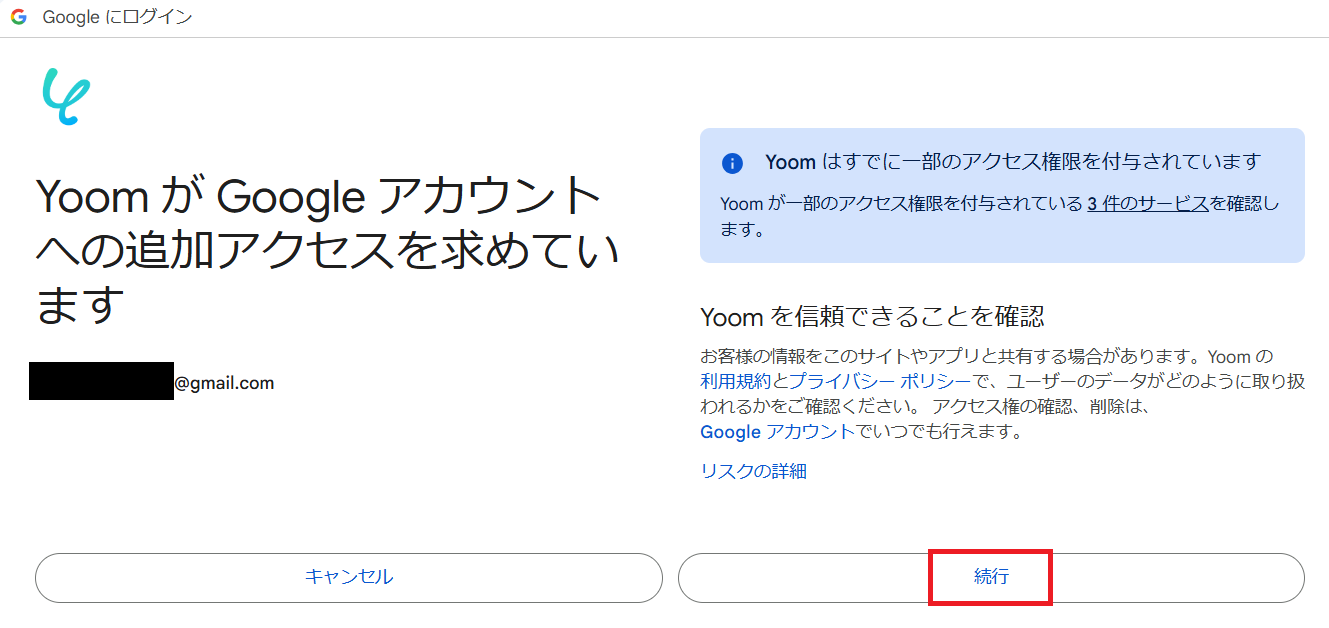
Next, connect with Google Sheets.
Enter your email address and password to proceed with the login, and when you reach this screen, click confirm and continue.
Once the app connected to My App is displayed, it's complete.
Step 2: Set Triggers and Actions
This time, we will use this template.
Open the template page and click 'Try this template'.
If you are using Yoom, log in, and if you are new, register as a member.
As you proceed, the template will be automatically copied to your workspace.
The name of the template can be changed as needed.
Click My Projects on the left to see the template you just copied.
Click the ellipsis (...) on the right and select Edit.

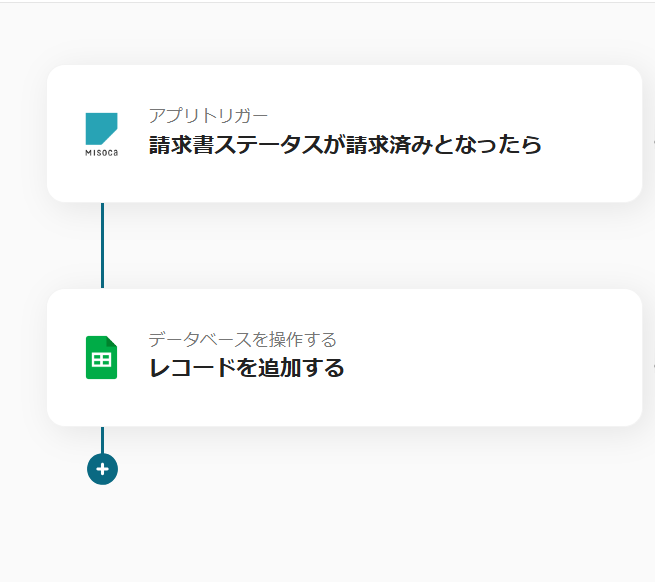
This time, it's the following 2 steps.
Let's set it up together!
Items to Prepare
A spreadsheet to write Misoca's invoice information.
Enter the items as headers in the first row.

Now, let's set up the app trigger.
Select "When the invoice status becomes billed".
The title can be changed to something easy to understand.
Check the account information to be linked.
Keep the action as it is and proceed to the next step.
- Trigger Activation Interval: You can choose from intervals of 5 minutes, 10 minutes, 15 minutes, 30 minutes, or 60 minutes.
※ The selection of activation intervals varies depending on the plan.
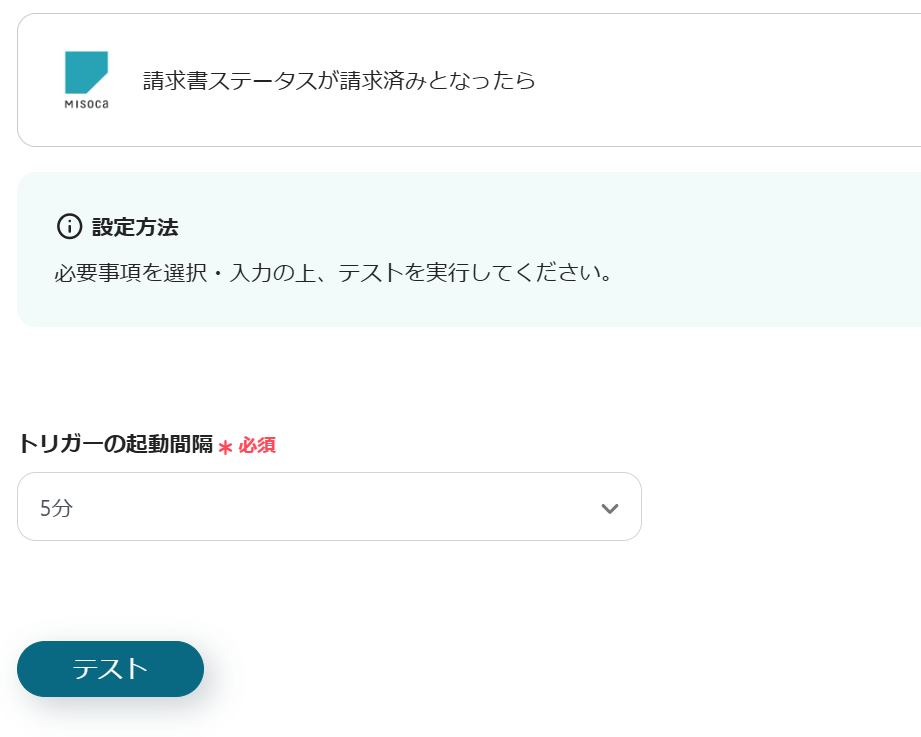
Test and save if Misoca's invoice information is reflected in the output.
Next, click "Add Record".
Check the account information to be linked here as well.
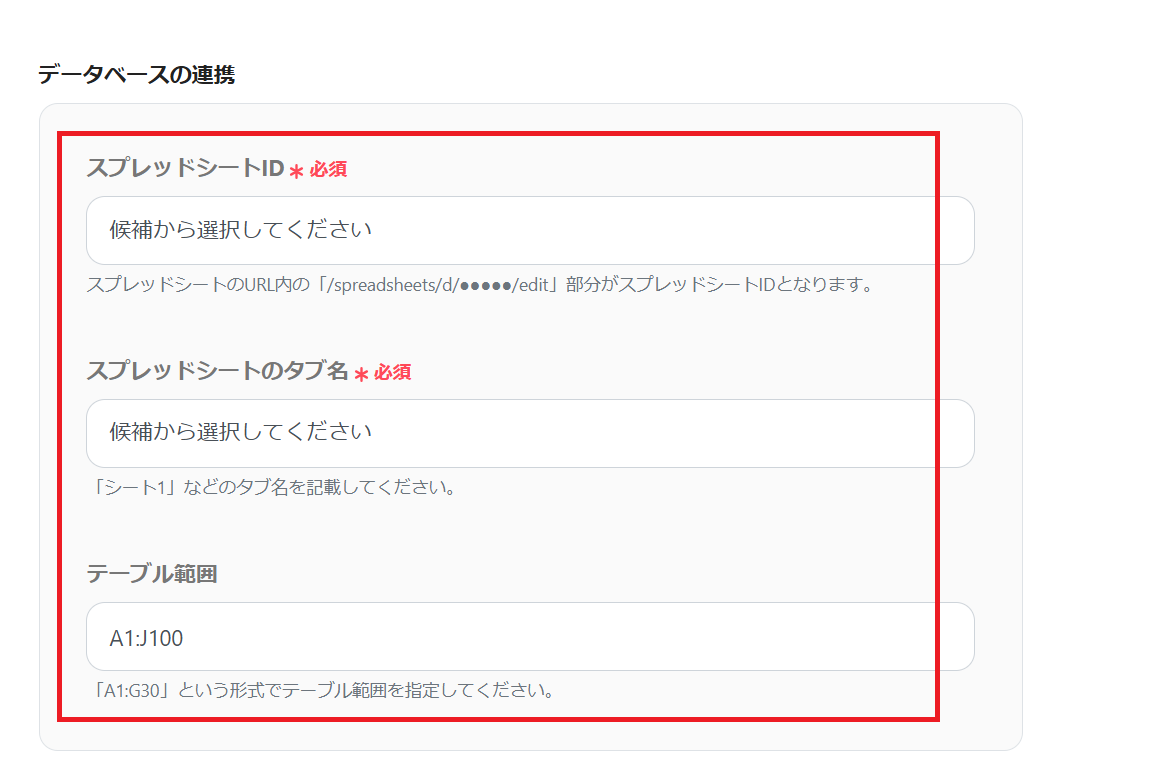
Keep the action as it is, link the database, and proceed to the next step.
Select the table range so that all headers set in the spreadsheet are included.
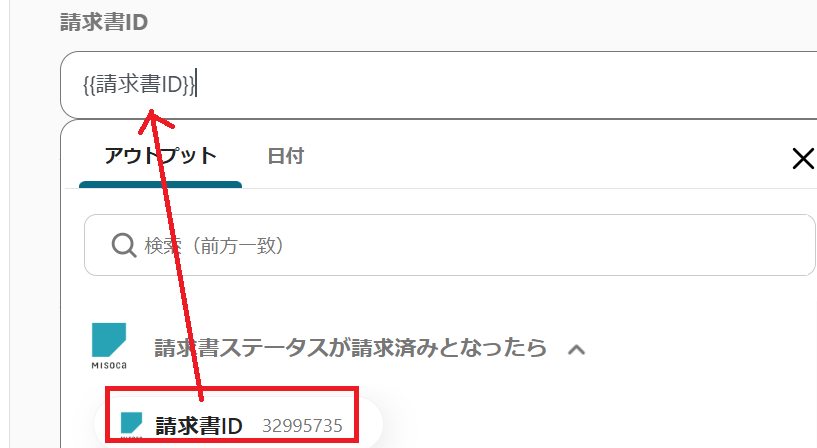
Set the values for the records to be added.
Since we created headers in the spreadsheet earlier, incorporate outputs that match them.
Select the output as follows.
No. is used for counting, so it can remain blank.
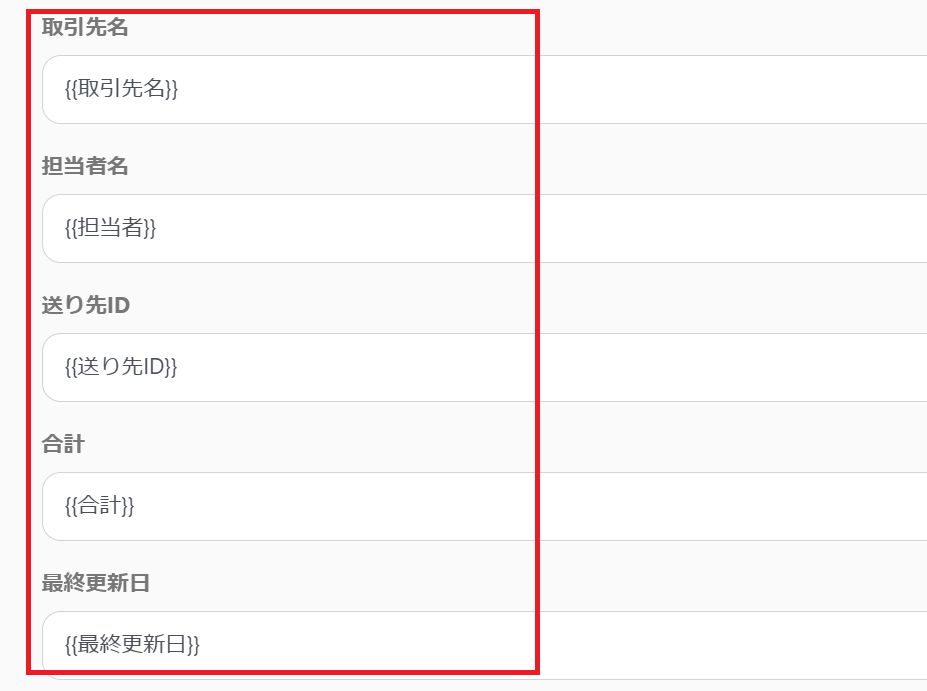
Select the output in the same way.
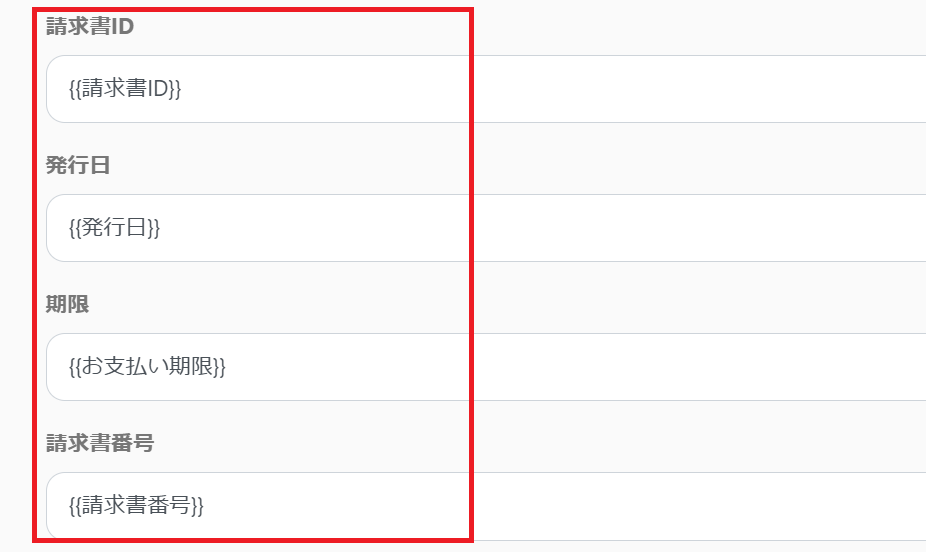
Set the remaining items.
Once the selection is complete, test it.
Check Google Sheets.

It was successfully reflected!
Finally, turn on the app trigger to complete.
Thank you for your hard work.
Even I, who am not familiar with programming, was able to proceed easily.
Here is the flowbot used this time ↓


.avif)
.avif)
.avif)


