

.avif)
Step 1: Integrate My App
Integrating My App first will make the subsequent settings proceed smoothly.
First, let's integrate Money Forward Kakebarai and Yoom that you are using.
Select My App → New Connection from the left side of the Yoom page.

Search for Money Forward Kakebarai.
- Access Token: Please refer to this for input.
Next, integrate Microsoft Excel.
When the sign-in screen appears, enter your email address and password.
※ Microsoft 365 (formerly Office 365) has a home plan and a general business plan (Microsoft 365 Business), and there is a possibility of authentication failure if you are not subscribed to the general business plan.

Once the two apps are integrated into My App, you're good to go.
Step 2: Set Triggers and Actions
This time, we will use this template.
Open the template page and click 'Try this template'.
If you are using Yoom, log in, and if you are new, please register as a member.
As you proceed, the template will be automatically copied to your workspace.
You can change the template name as needed.
Click My Projects on the left side, and the template you just copied will appear.
Click the ellipsis (...) on the right side and select Edit.

This time, there are four steps.
Let's set it up together!

Things to Prepare
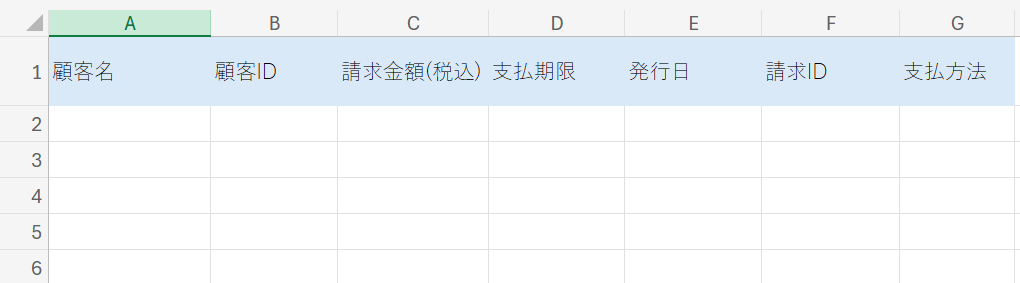
A Microsoft Excel sheet to transcribe invoice information from Money Forward Kakebarai.
The headers are set as follows.
(The headers are based on the output that can be obtained in the subsequent flow setting screen.)
In Money Forward Kakebarai, let's make a test invoice like the following.

Now, let's set up the app trigger.
Select "When invoice issuance is completed".
You can change the title to make it easier to understand.
Check the account information to be integrated.
Keep the trigger action as it is and proceed to the next step.
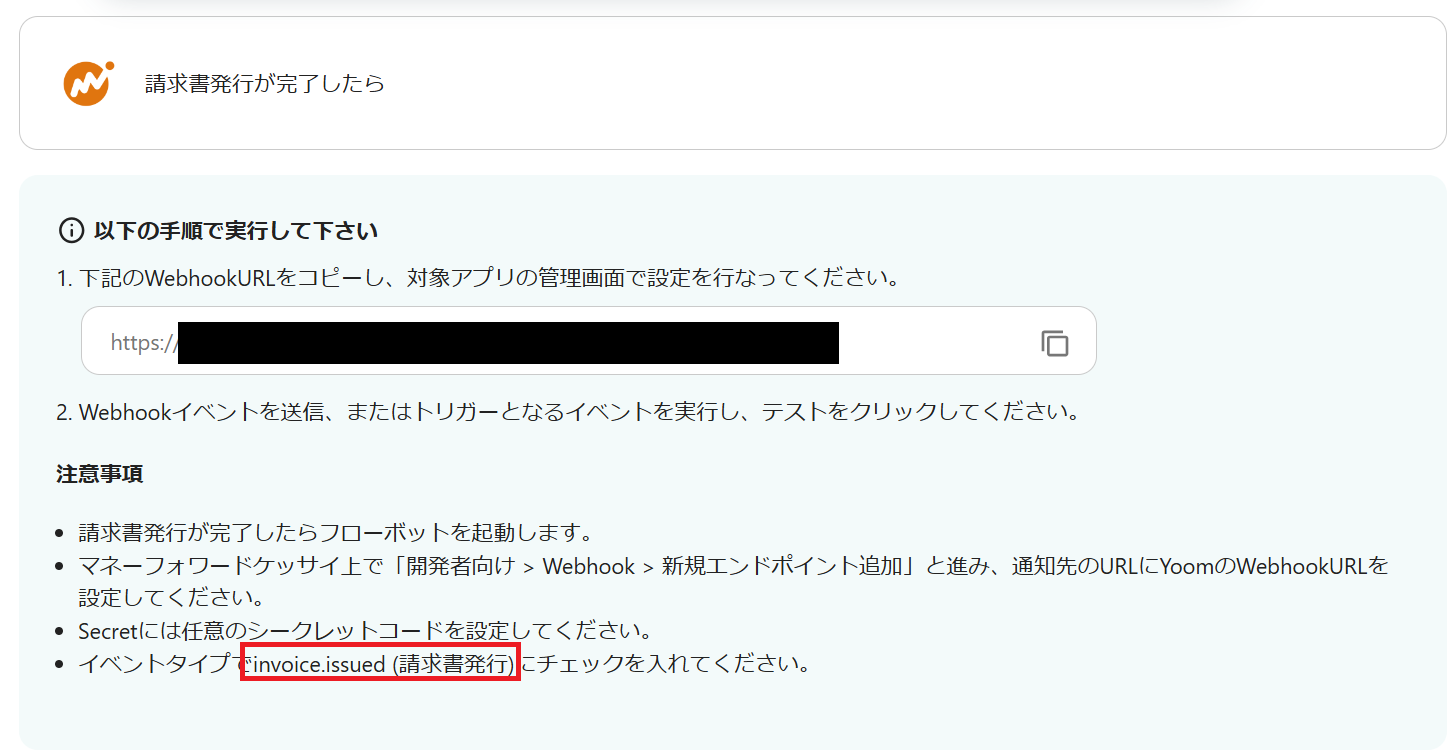
In the following screen, you need to set the Webhook event reception for the app trigger, so please refer to this article for settings.
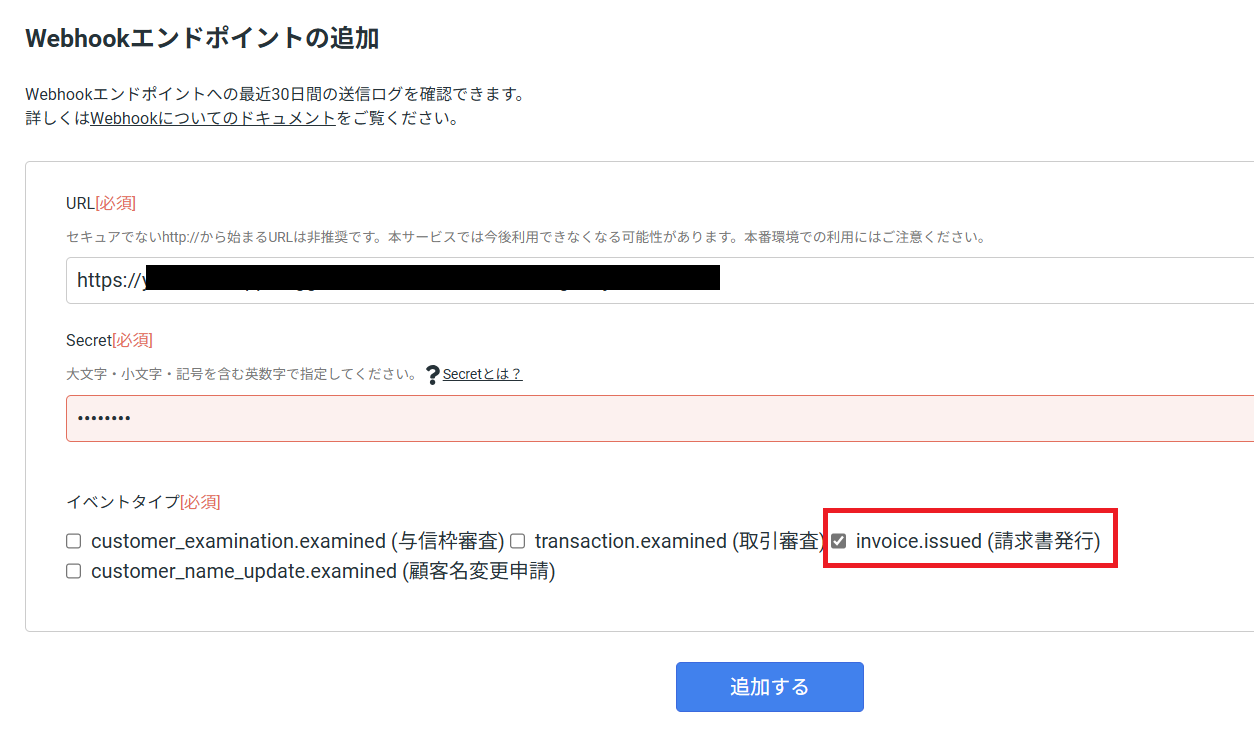
As you proceed on the Money Forward Kakebarai side, the following screen will appear.
Please check the box for Invoice Issuance and add the endpoint.
Return to the Flowbot settings, test, and if there are no issues, save.
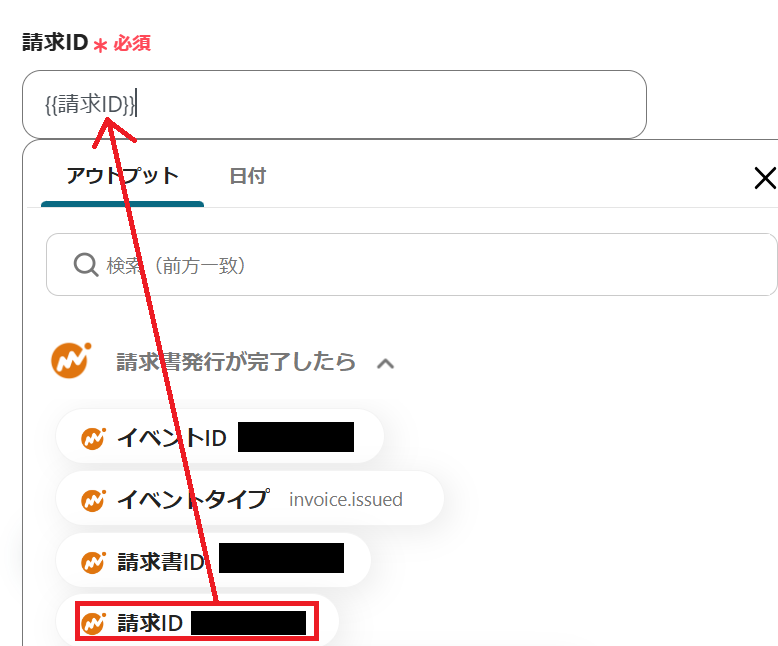
Next, click "Retrieve Invoice Information".
Select the invoice ID from the output as follows.
Switching to the Sandbox environment is optional.
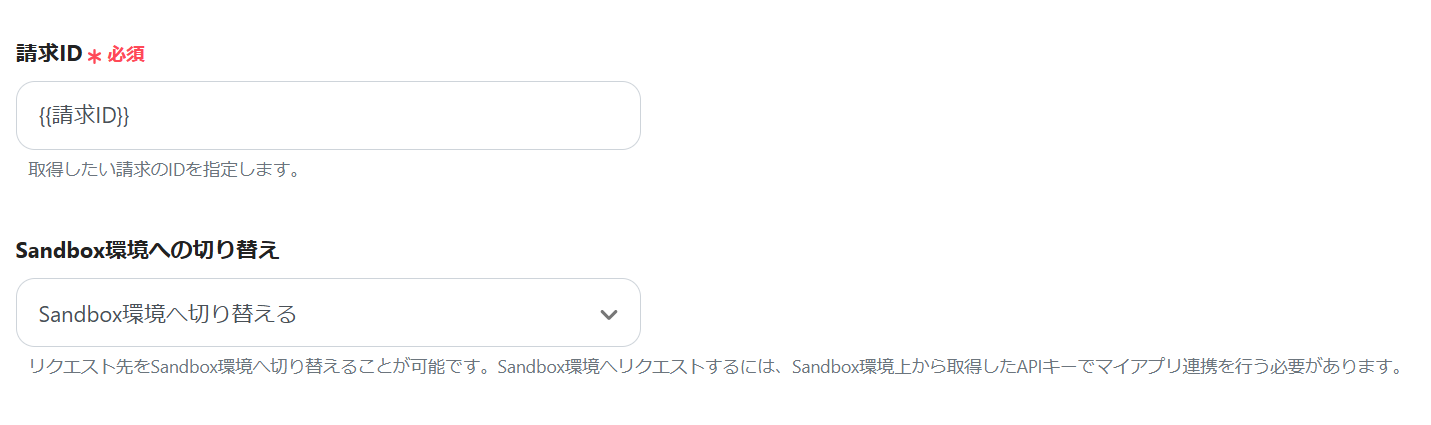
Test, and if the invoice information is reflected in the output, save.
Next, click "Retrieve Customer Information".
Select the customer ID from the output as before.
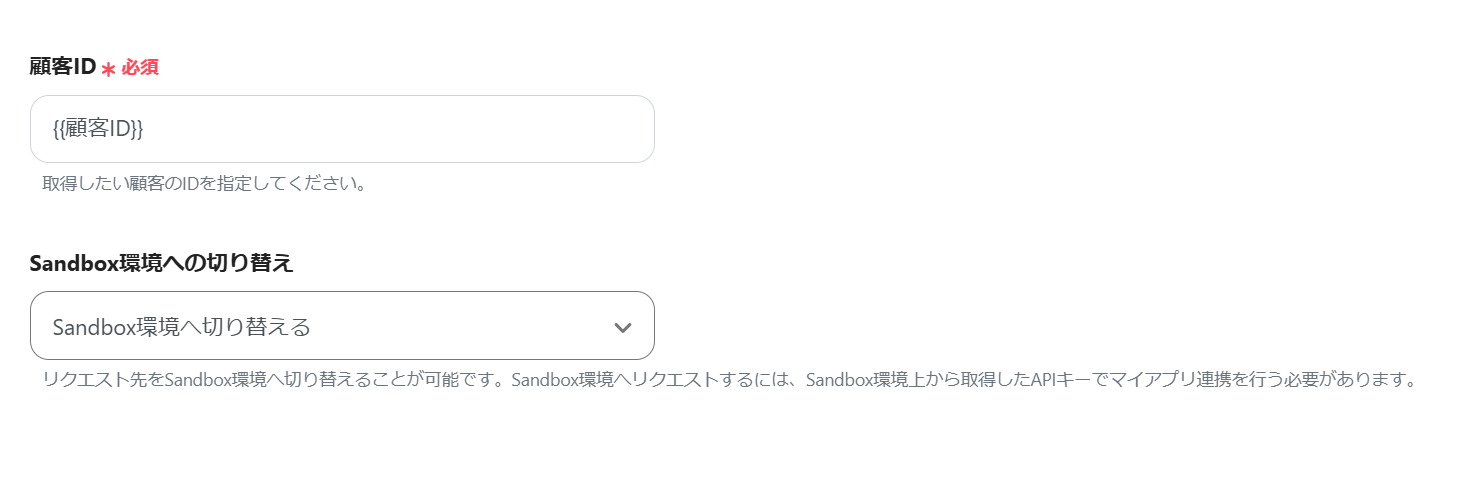
Test this as well, and if there are no issues, save.
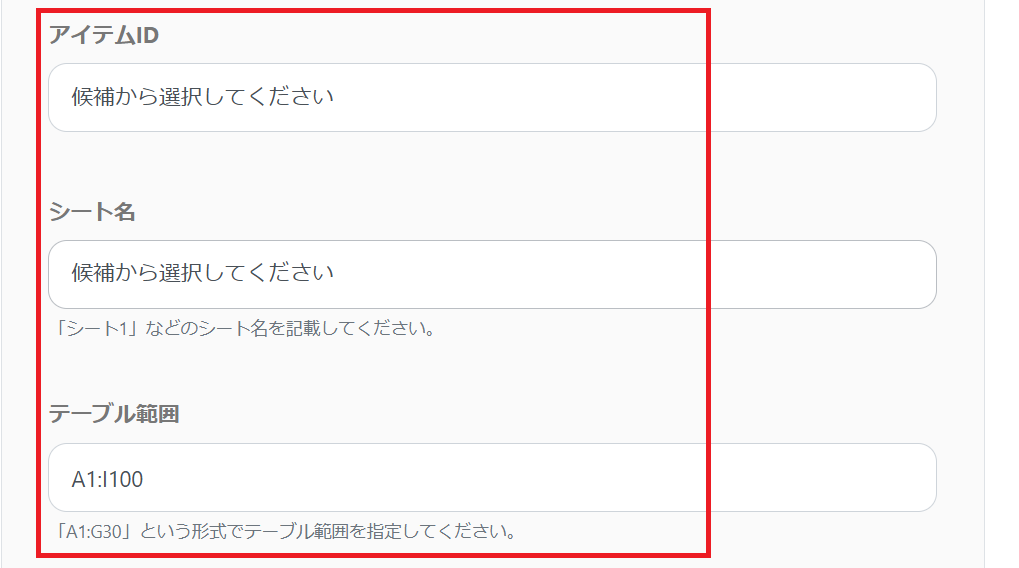
Next, click "Add Record".
Check the account information to be integrated.
Keep the action as it is and proceed with database integration.

Set the remaining items.
Proceed to the next step, and select the values for the records to be added from the output as follows.

Set the other items as well.
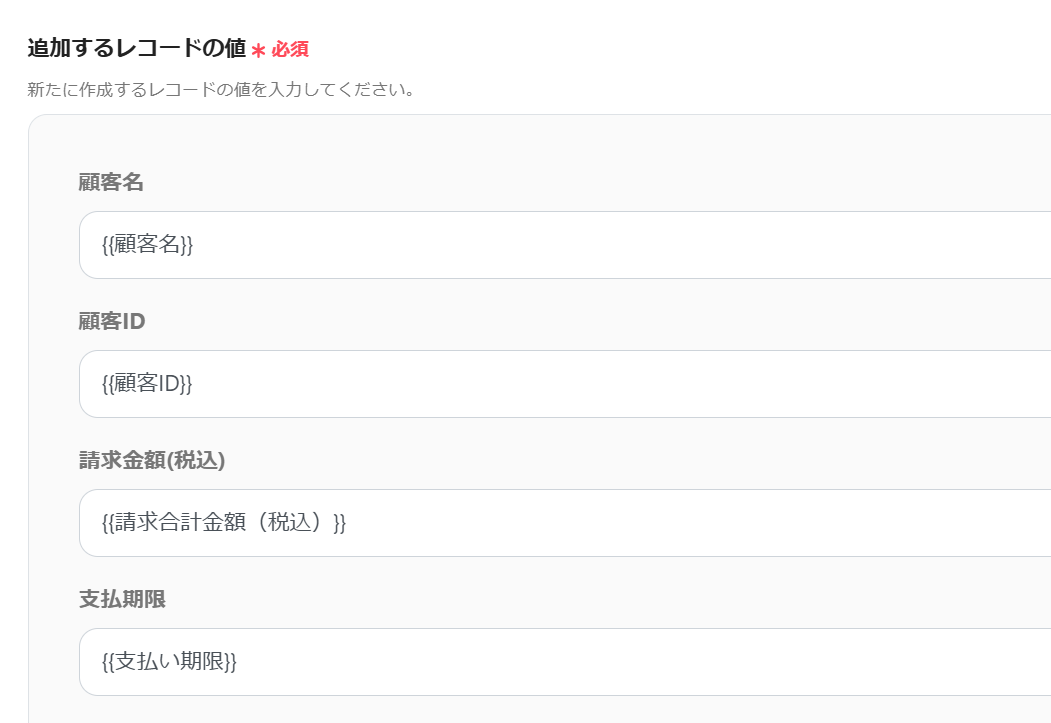
Scroll and set the remaining items.

Test this as well, and if there are no issues, save.
Check in Microsoft Excel.
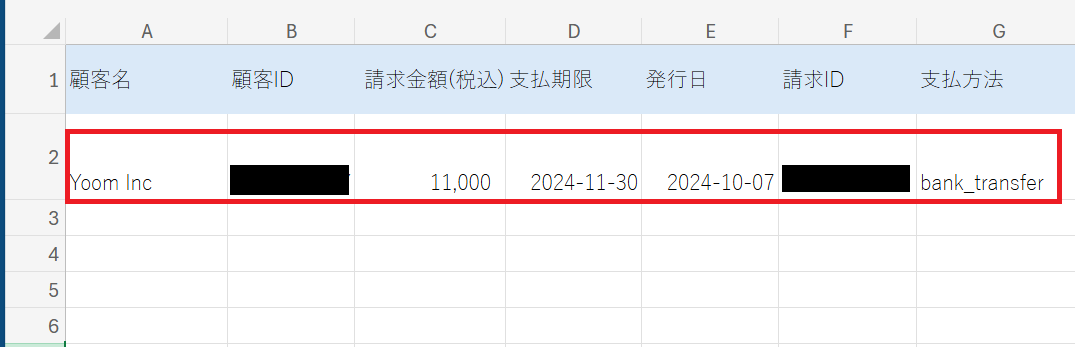
It was successfully reflected!
Finally, turn on the app trigger to complete.
Thank you for your hard work.
Even someone like me who is not familiar with programming was able to proceed easily.
Here is the Flowbot used this time ↓


.avif)


