If you haven't registered with Yoom yet, please register
* If you have already completed registration, the login screen will be displayed, so please log in.

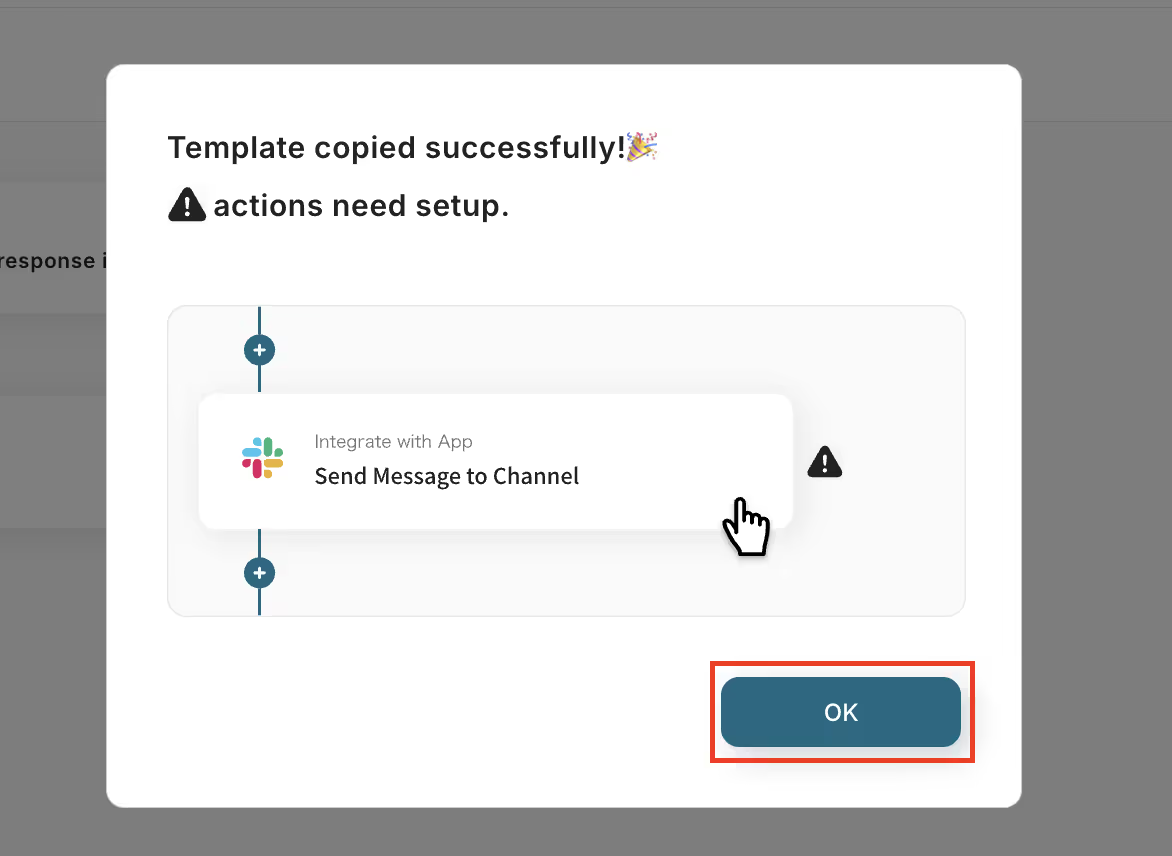
When the Flowbot template is copied to "My Projects", the above display will appear.

You will be taken to a page like the image, so let's proceed with detailed settings.
Step 3: Launch Outlook and Set Up Branching
1. Open My Projects
Open "My Projects" from the menu on the left side of the screen.
2. Open the copied template
Click "Upload attachments received in Outlook to Google Drive".
3. App Trigger

Select "When a specific subject email is received" from the Outlook icon.
Proceed to the next step.
4. Specify Trigger

Set the trigger activation interval.

You can set the activation interval from the dropdown as shown in the image.
The trigger can be set to activate at intervals of 5 minutes, 10 minutes, 15 minutes, 30 minutes, or 60 minutes.
Please note that the shortest activation interval varies depending on the plan.
5. Specify Folder

Specify the folder ID.

By clicking the box, the folders will be displayed in a list, so select and set them.
6. Set Keywords

Let's also set the keywords.

The specified keywords will be identified here, and the files attached to that email will be automatically processed.
7. Run Test

Press the test button, and if "Test Successful" is displayed in blue, press save.
* Please create a test email in advance, attach a file, and send it to Outlook.
Continue to set up branching.
1. Branch

Select "Branch by presence of attachment" from the Outlook icon.
Scroll down.
* Branching actions are limited to paid plans. A two-week trial is available for paid plans.
2. Specify Branching Conditions

Since the template is being utilized, the settings are already completed.
Therefore, check to see if it matches the image.
Step 4: Set Up to Retrieve and Download Data and Upload to Google Drive
1. Integrate with App

Select "Retrieve email attachment information" from the Outlook icon.
Proceed to the next step.
2. Set Email ID

Set the email ID.

Since the template is being utilized, the data is already inserted.
Check to see if it matches the image.
3. Run Test

Press the test button, and if "Test Successful" is displayed in blue, press save.
Next, let's set up downloading the Outlook file.
1. Integrate with App

Select "Download email attachments" from the Outlook icon.
Press Next.
2. Run Test

Since the template is being utilized, the settings are already completed.
Therefore, press the test button, and if "Test Successful" is displayed in blue, press save.
Finally, let's set up uploading to Google Drive.
1. Integrate with App

Select "Upload file" from the Google Drive icon.
Press Next.
2. Set Folder ID

Specify the folder to upload the file to. Click the box.

A list of created folders will be displayed. Click to select the folder you want to store.

The file name can be set arbitrarily. Click the box.
Select "When a specific email is received".
The email data received in Outlook will be displayed in a list.
By using the data in this list, you can use the email subject or received date as the file name.

This time, I selected the subject.
3. Run Test

Once the settings are complete, press the test button at the bottom.
If "Test Successful" is displayed in blue, the setup is complete. Press save.
4. Turn on the Trigger

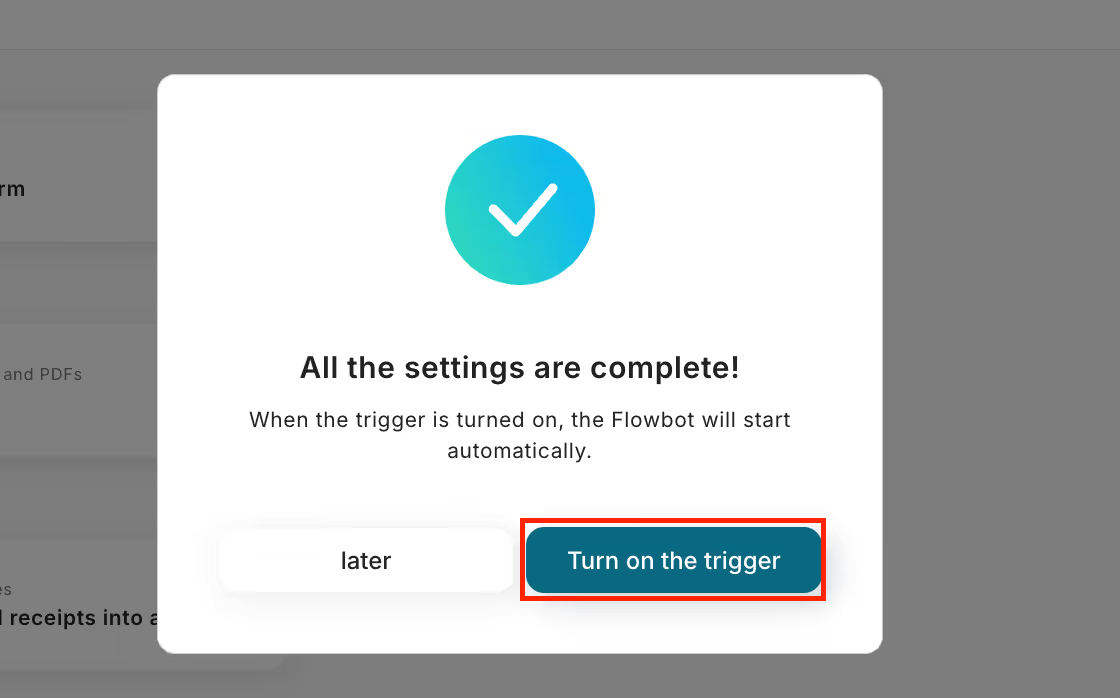
When the Flowbot creation is complete, the above display will appear. The trigger is initially set to OFF, so turn it ON.
Flowbot template used this time
Upload attachments received in Outlook to Google Drive


.avif)


.avif)


